MIX POTTING MIX
Coconutty Coir
For a couple of years, a block of coir has sat atop my bale of peat moss.
Peat moss, the product of slow, anaerobic decomposition of organic materials, accumulates, at a snail’s pace, in bogs: an inch or so depth per thousand years. To mine peat, the bog must be first drained. Besides upsetting bogs’ unique ecological habitats, draining the bogs aerates them, sending some of the carbon wafting into the air.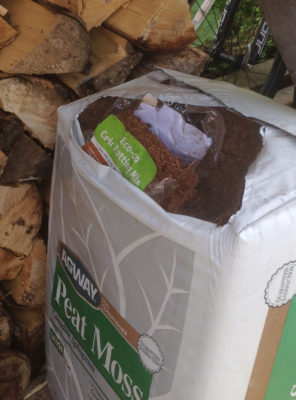
But peat is good stuff for potting mixes. My mixes are made up of equal parts peat moss, soil, compost, and perlite, along with sprinklings of soybean meal (for nitrogen) and kelp (for insurance against lack of any trace elements). Peat’s contribution to the mix is a long-lasting source of organic matter that helps cling to moisture and to nutrients, important in the relative confines of a flower pot.
Coir is marketed as a substitute for peat in potting mixes. A sustainable substitute, made from the fibre left around coconut husks after they’ve been cracked open to remove their meat.
This spring it was time to put that block of coir to the test, with a head to head comparison to peat. (I’ve tried this comparison before, but more casually.) The block, after slurping up a large volume of warm water, was ready to mix with the same ingredients as I mixed with the peat moss.
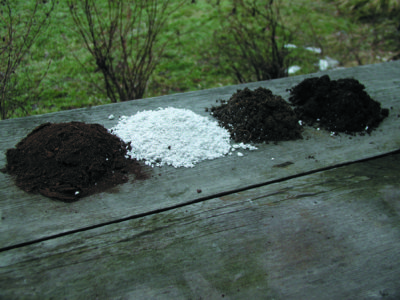
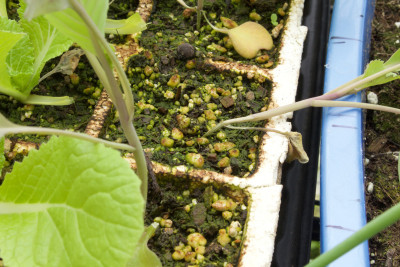
Some potting soil components
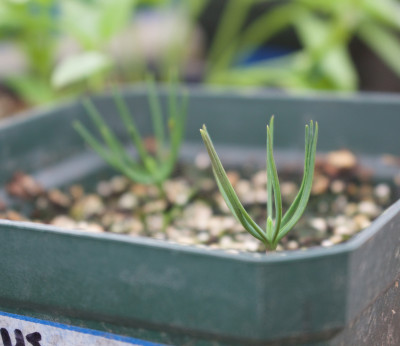
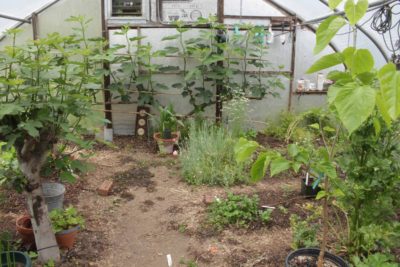
Both mixes went into their separately labelled , 5 gallon buckets. Each mix then was used to fill one-half of a few GrowEase Seed Starter Kits. Into one of the kits went lettuce seedlings, another got tomato seedlings, and a third got pepper seedlings. The 24 cells of each kit are automatically watered via a capillary mat that sits atop a water reservoir, providing very uniform moisture to all cells within a kit and from one kit to the next.
Peat, Coir Standoff
Drum roll . . . and the winner is . . . well, as I recently wrote, some of this year’s seedlings grew very poorly, perhaps, I’ve hypothesized, due to the soil I used, or the compost, both of which vary some from batch to batch. The overcast, cool conditions in the greenhouse during critical growth periods also could be to blame.
Differences in growth between coir and peat based mixes were not great, but tipped slightly in favor of the peat based mix. This, incidentally, jives with my previous, more casual observations. It also jives with more rigorously planned and executed, published research.
Coir Still in the Ring
The results of all this testing don’t spell continued destruction of peat bogs. Coir might still be a viable alternative.
Peat and coir are not the same material. I perhaps should not have used the same ratio for coir as I’ve long used for peat in my mix. There’s some evidence that coir, as it slowly decomposes in a potting mix, can suck up nitrogen at the expense of plants. If so, more soybean meal in my mix could solve that problem. Other nutrients, or lack thereof, could also come into play, as could anti-growth factors, such as phenolics, known to be present in coir.
More playing around is needed with coir.
Peat and Coir Substitutes
No need to put all our eggs in one coir basket. Other organic materials can and have fulfilled the niche of peat (and coir). And our culture has no lack of organic “waste” products. Composted bark has been used in commercial mixes for many years, as has sawdust. More exotic, around here, at least, would be rice hulls.
Home-grown and readily available “organics” for a potting mixes would be compost and leaf mold, both of which I’ve used in rougher mixes, such as for temporarily repotting small trees.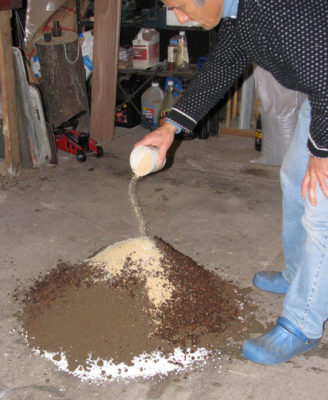
The point is that any of these organic materials, including coir, could make a good potting mix if ratios and amounts of other materials are adjusted accordingly.
Gardening (and farming) should be, and could be, sustainable; even the potting mixes used to raise seedling or grow potted plants.
Now Perlite, Hmmmm
The other major component of any potting mix is some aggregate, for providing good drainage. My mixes use perlite. Not sustainable. More on that another time.

 Cucumbers and melons love heat, so a few extra plants that I started back in early May went into beds.
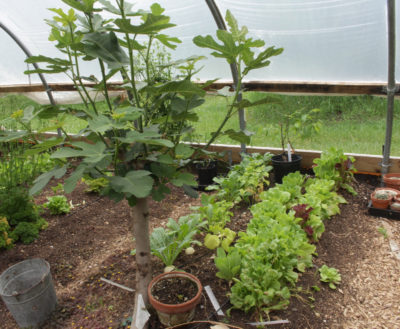
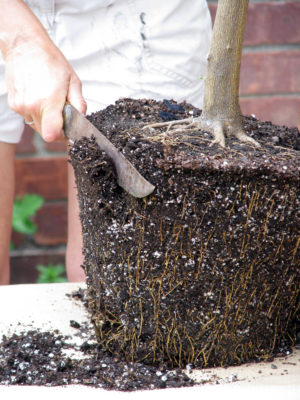 So much for the roots. To keep it manageable, the plant also needs stem reduction. Some stems get shortened, some are removed in toto, and some are left untouched. Who gets what treatment depends, for fruiting plants, on their fruiting habit — just where and how they bear fruit. Figs that bear on new shoots can be pruned rather severely; pineapple guavas bear on new shoots growing off older stems, so only moderate pruning is tolerated so that some older stems are preserved, etc.
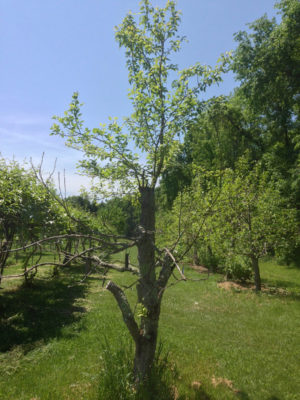
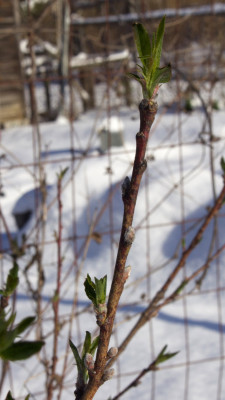
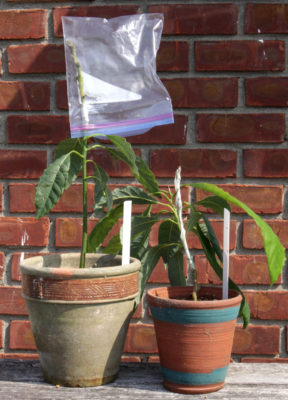
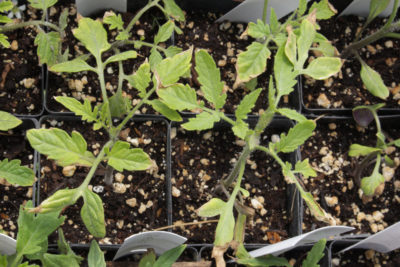 And every season I’ve had sturdy, lush green transplants to set out over the past few weeks. Not this season. Too many of the transplants are stunted, with flaccid leaves that are not uniformly lush green. Some have slight, interveinal yellowing of oldest leaves, some have slight reddening of veins, hinting, respectively, at insufficient nitrogen and phosphorus uptake .
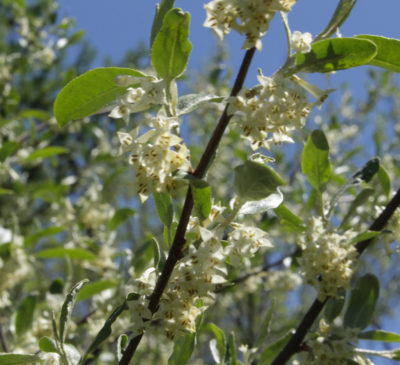
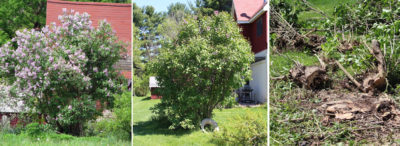
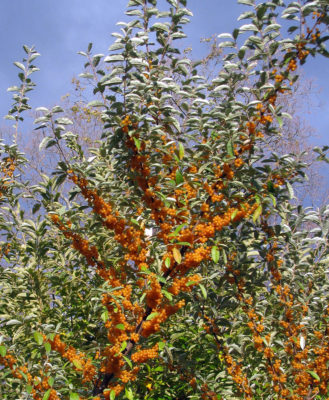 (Autumn olive is often confused with Russian olive, E. angustifolium, a close relative that is more tree-like, less invasive, and with sweet, olive-green fruits. Another equally attractive, fragrant, tasty, and soil-building plant is gumi, E. multiflora, not well known but closely related to the other “olives.”)
 Offer an explanation and, if correct, you’ll be in the pool of readers, one of whom, randomly selected, gets sent a free copy of my book

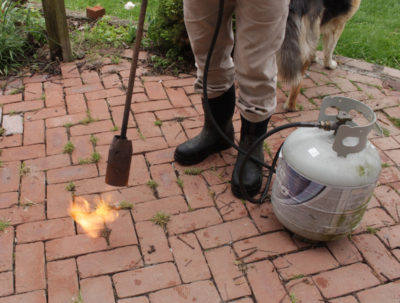 It’s a tribute to the tenacity of weeds how they manage to take root or sprout, and then thrive, in the small openings between adjacent bricks. Even in the small cracks between the bricks and the masonry wall of the house. Some of those “weeds” are actually welcome there — such as the wild columbines that send up thin stalks at the ends of which hover orange and yellow blossoms whose rear-pointing spurs gives the flowers the appearance of flaming rockets.
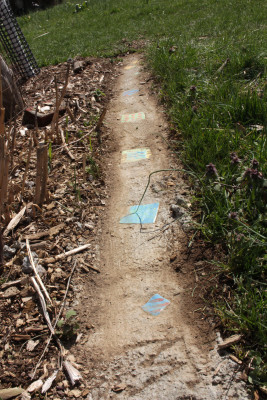
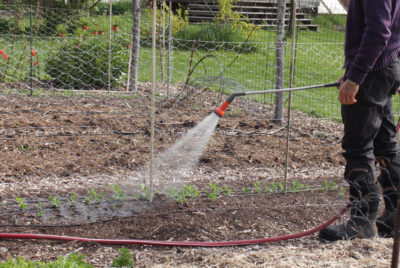 Hand watering also required patience. A light sprinkling of the ground does nothing but wet the surface fraction of an inch. If you care to know, the amount of water needed to wet a soil about 6 inches deep is 3/4 of a gallon per square foot or, equivalently, a one-inch depth of water. And said water needs to be applied slowly enough to percolate into the ground rather than running off elsewhere.
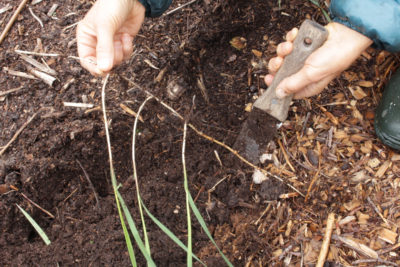
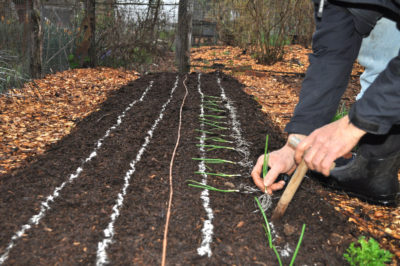 With yesterday’s 75 degree temperatures, urges to plant were satisfied — for that day, at least — by my poking holes into the ground into which I dropped onion plants sown indoors on February 1st. Three-hundred of them in a 20 foot long by 36 inch wide bed. (This was later than the April 21st onion planting date specified in my book, but the weather was cold so I forgot to look at my book.)
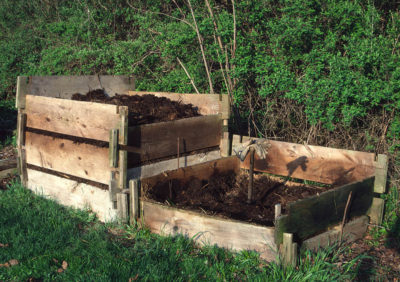
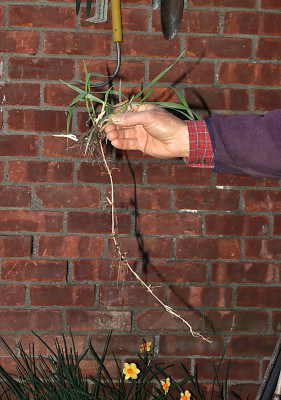
 My plan is to sacrifice the coral bells and pull out every rhizome I can find. In soft soil this time of year, long pieces can be lifted with minimum breakage or soil disturbance. A mulch with a few layers of newspaper, topped with a wood chip mulch (part of weed management, as described in my book Weedless Gardening) will suffocate any overlooked rhizome pieces trying to sprout. In the absence of other plants among which the rhizomes could sprout, mulching alone can do in quackgrass, as it did in my second garden.