
OF MITES & MOISTURE
It Mite be a Pest
Mites! Eek! A new pest in town (for me). Actually, the mites, which showed up on some newly rooted Meyer lemon cuttings, don’t really scare me, nothing like the scale insects that regularly turn up on some of my citrus. Chigger mites, scabies mites, dust mites, itch mites — they’re not pests of plants, and they WOULD scare me.
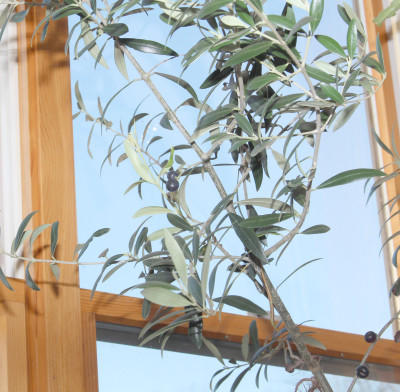
The cuttings were well rooted and just sitting still, basking in a south-facing window, waiting for longer days and warmer temperatures before they can come alive. (They pick up an attenuated version of seasonal temperature changes at that window.) A few weeks ago I noticed a yellow stippling developing on the green leaves.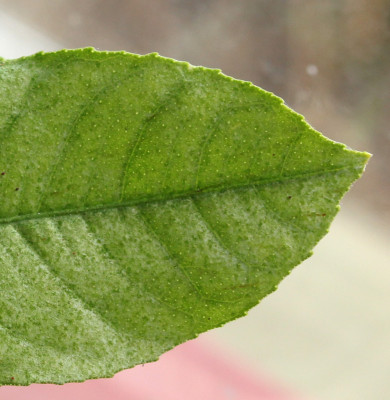
No panic; the plan was to wait a few weeks and see if the stippling disappears or if new growth, unstippled, develops. Citrus sometimes develop iron deficiency, which also yellows leaves, in cold soils, not because the soil lacks sufficient iron but because the roots aren’t at the top of their game in cold soil.
A closer look a few days ago revealed, to the naked eye, very small black specks on the leaves. An even closer look, with a hand-held lens, revealed tiny mites crawling around on the leaves.
Mites are mostly problems in dry, dusty conditions, not atypical for a house heated in winter and the usual for summer in Mediterranean climates such as California. One simple cure is to make conditions less dry and dusty. Climate change within the whole house would be impractical. Instead, I started giving the plants a daily spritzing with water.
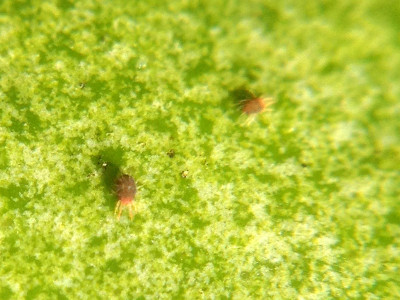
Mites, photo with iPhone + hand lens!
More potent sprays may be needed; fortunately they need not be toxic to humans. “Horticultural oil” sprays are effective as are sprays of insecticidal soap. Problem is that these sprays are inconvenient to use indoors, where excess spray would end up on windows, furniture, and floors. Sprays need to be repeated weekly to kill mites that hatched from eggs (which are spray resistant) since the last spray.
Because the Meyer lemon cuttings are still small with very few leaves, I chose to go at them mano a mano, merely rubbing my fingers across each leaf to crush the buggers (technically arachnoids, like spiders, not bugs). As with the oil or soap sprays, mano a mano combat must be repeated to crush newly hatched mites. But it’s quick and satisfying.
Mites do have many natural predators, among them other kinds of mites. Just like Jonathon Swift’s flea that “Hath smaller fleas that on him prey; And these have smaller still to bite ‘em; And so proceed ad infinitum.”
Low-Tech Auto Water
Every couple of days I have to think of all the plants in the house (they’re not all “houseplants”) that need water, including the mite-infested Meyer lemon cuttings. Two devices or setups keep me sane and my plants healthy in the face of all this watering.
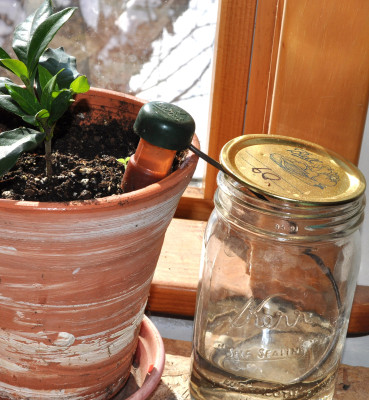
Hydrospike
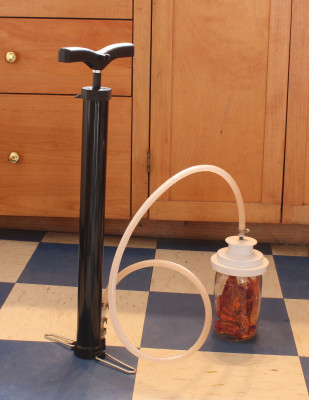
Larger, potted plants — those in pots over about 4 inches in diameter — are serviced by “water siphons” (aka “hydrospikes”, “self-watering probes”). A porous ceramic probe, previously soaked in water, filled with water, then capped, is pushed into the potting soil. The far end of the long, thin, flexible tube that comes out of the cap is plunked into a reservoir of water. I use mason jars as reservoirs and pre-fill the tube with water so that the water column is continuous from the ceramic probe to the reservoir.
Voila! As the potting soil dries out, it sucks water from the ceramic probe which sucks water along the tube from the reservoir. Larger pots need more than one ceramic probe.
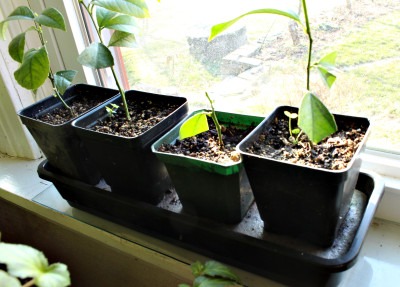 For smaller pots, I use capillary mats, which are nothing more than water-absorbing mats (available from www.gardeners.com) on which sit the pots. The mat is laid on a stand that sits above a similarly shaped, one-inch-deep tray, with one end of the mat dipping down into the tray. The mat absorbs water from the reservoir and the potting soil in the pots, as they dry, absorb water from the mat.
It’s important to maintain good capillary contact between the potting soil and the mat. This means no coarse drainage material in the bottom of the pots (a silly, counterproductive idea anyway), and no “feet” elevating the bottom of the pot.
Not having to frequently water makes it all too easy to forget about watering. I already lost one old rosemary plant this winter. Hydrospikes and capillary mats don’t work — duh! — unless their reservoirs have water in them.
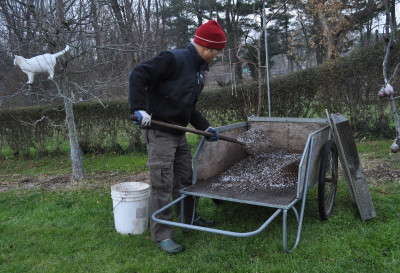 I will now divulge my recipe for potting soil. The main ingredients are garden soil, compost, peat moss, and perlite. I thoroughly mix together equal volumes of these four ingredients, then add a cup of soybean or alfalfa meal (for extra nitrogen). If I’m feeling generous, I also throw in a half a cup or so of kelp meal (for micronutrients, although it’s probably superfluous with the panoply of nutrients from the compost). Perhaps also a half a cup of dolomitic limestone (for alkalinity, calcium, and magnesium, also probably superfluous with the buffering action and richness of the compost). Using wooden frames onto which I’ve stapled 1/2 inch hardware cloth, I sift together the mixture.


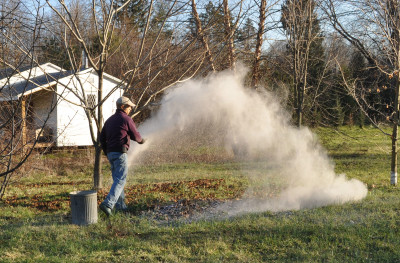 Wood ash is both a waste product and a resource, depending on how much you have and how much space you have to spread it. As a resource, it’s high in potassium, an essential nutrient for plants, and contains other essential elements. Wood ash decreases the acidity of soils which, around here, mostly increases naturally over time.