Easiest Houseplant of All?!
What with the frigid temperatures and snow-blanketed ground outside, at least here in New York’s mid-Hudson Valley, I turn my attention indoors to a houseplant. To anyone claiming a non-green thumb, this is a houseplant even you can grow.
Most common problems in growing houseplants (garden plants also) come from improper watering. Too many houseplants suffer short lives, either withering in soil allowed to go bone dry between waterings, or gasping for air in constantly waterlogged soil. Also bad off yet are those plants forced to alternately suffer from both extremes.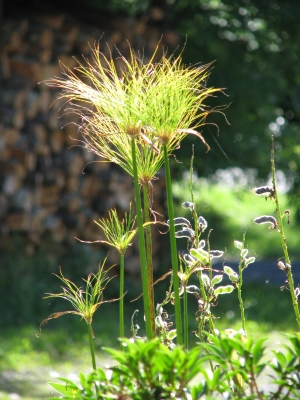
The plant I have in mind is umbrella plant (Cyperus alternifolius); it requires no skill at all in watering. Because it’s native to shallow waters, you never need to decide whether or not to water. Water is always needed! The way to grow this plant is by standing its pot in a deep saucer which is always kept filled with a couple of inches of water. What could be simpler?
One caution, though. The top edge of the saucer does have to be below the rim of the pot. Umbrella plants like their roots constantly bathed in water, but not their stems.
Lest you think that umbrella plant sacrifices good looks for ease of care, it doesn’t. Picture a graceful clump of bare, slender stems, each stem capped with a whorl of leaves that radiate out like the ribs of a denuded umbrella.
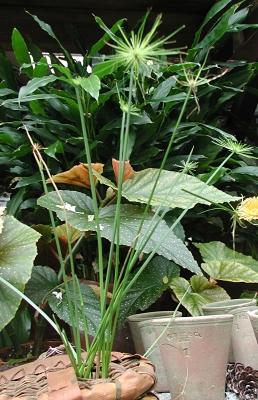
The stems are two to four feet tall, each leaf four to eight inches long. A dwarf form of the plant, botanically C. albostriatus, grows only a foot or so high, and has grassy leaves growing in amongst the stems at the base of the plant. There’s also a variegated form of umbrella plant, and a wispy one with especially thin leaves and stems. 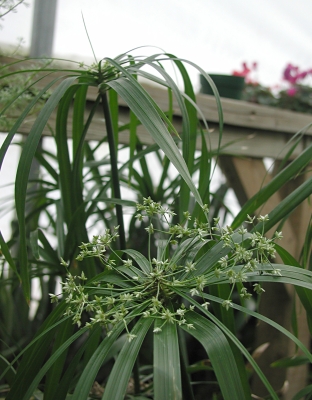
Umbrella plants aren’t finicky about care other than watering. They grow best in sunny windows, but get along in any bright room. As far as potting soil, your regular homemade or packaged mix will suffice. Umbrella plants like a near-neutral pH, as do most other houseplants.
Want More?
As the clump of stems ages and expands, they eventually get overcrowded in the pot, calling out to be repotted. You could move it to a yet larger pot, or make new plants by pulling apart, cutting if necessary, the large clumps to make smaller clumps and potting each of them separately.
One way wild umbrella plants propagate is by taking root where their leaves touch ground when the stems arch over. You can mimic this habit indoors if you want to increase your umbrella plant holdings without dividing the clump. Fold the leaves down around the stem with a rubber band, as if you were closing the umbrella. Cut the stem a few inches below the whorl of leaves and poke the umbrella, leaves pointing upward, into some potting soil — kept constantly moist, of course.
An Almondy Relative
Though you may be unfamiliar with umbrella plant, you probably have come across its near-relatives either in the garden or in literature. One relative is yellow nutsedge (C. esculentum), a plant usually considered a weed and inhabiting wet soils from Maine down to the tropics.
The edible nutsedge, also C, esculentum, usually called chufa or earth almond, is not invasive, at least in what I’ve read from many sources, and in my experiences growing the plants. It’s a perennial that has been cultivated since prehistoric times and was an important food in ancient Egypt.
But esculentum in the botanical name means “edible,” and refers to the sweet, nut-like tubers the plant produces below ground. I grow this plant, and now consider it quite esculentum, with a taste and texture not unlike fresh coconut. 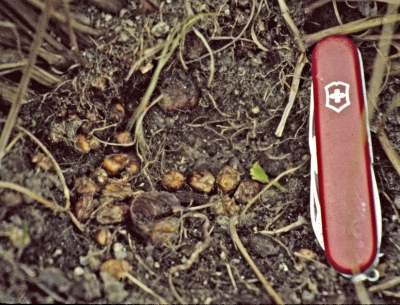 The main challenge with this plant is clearing and separating the almond-sized tubers from soil and small stones.
Storage improves their flavor, but they must be dried for storage, at which point they become almost rock hard. Give them an overnight soaking and they’re ready to eat as a snack or incorporate into other edibles or drinkables.
Paper Plant
Umbrella plant’s other famous relative is papyrus (C. papyrus), a plant that once grew wild along the Nile River. In ancient times, papyrus was used not only to make paper, but also to build boats and as food. Papyrus looks much like umbrella plant, and being subtropical, also would make a good houseplant. But with stems that may soar to fifteen feet in height, except for the diminutive variety King Tut, this species is too tall for most living rooms.
The Egyptians never recorded their method for making papyrus into paper but the Romans learned the process from the Egyptians and Pliny the Elder, a Roman, wrote about it in the first century B.C.
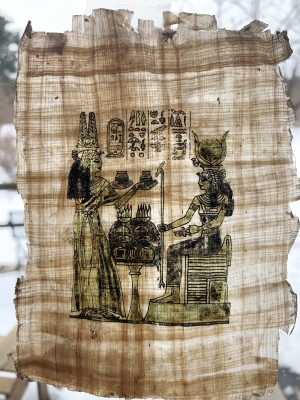
Genuine, Egyptian papyrus
Here’s how: You put on your toga and sandals (the latter also once made from papyrus), and prune down a few umbrella plant stalks. Cut the stalks into strips and, after soaking them in water for a day, lay them side by side in two perpendicular layers. Make a sandwich of the woven mat surrounded on either side by cloth, to absorb moisture, surrounded on either side with pieces of wood, then press.
In Egyptian sunlight, you could figure on the paper being dry and ready for use after about three weeks. Cut it to size to fit your printer.

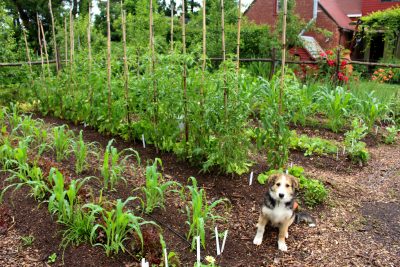
 Seed is cheap. Unfortunately, those extra seeds merely gave chipmunks more to eat in that first planting. So . . .
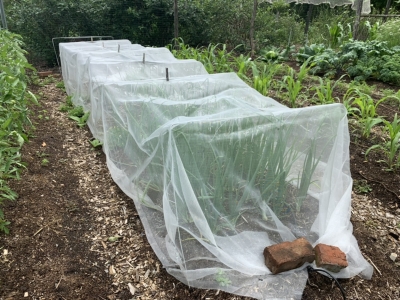
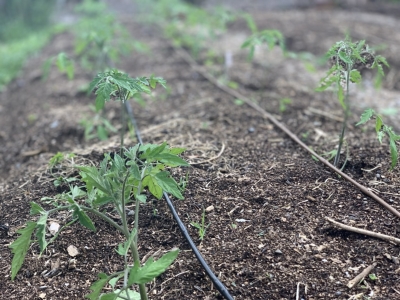
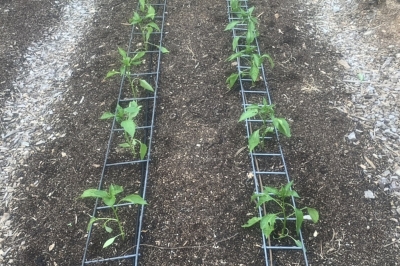
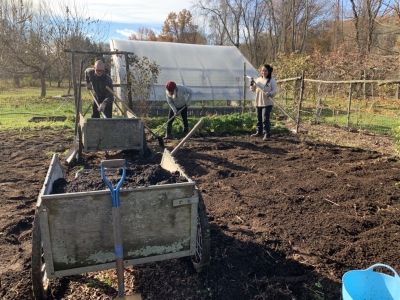 We rolled out gray resin paper to suppress weeds sure to sprout in the newly disturbed soil, then topped the paper with compost in the beds and wood chips in the paths.
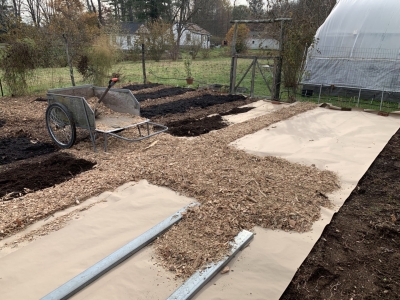
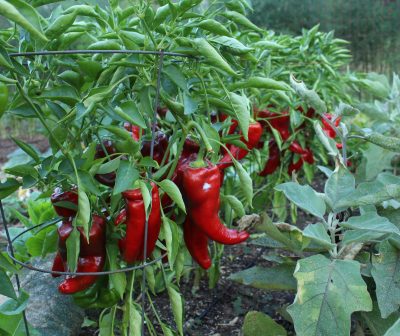
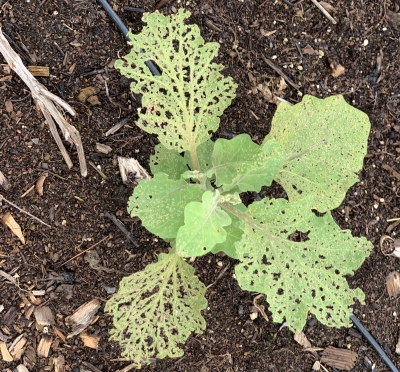 I’ll admit to spraying the organic pesticide Pyganic while waiting for the eggplants to outgrow the damage.
 It responds favorably (for me, not it) to sprays of household strength vinegar or any of the other organic herbicides whose active ingredient is ammonium nonanoate, such as Ortho® GroundClear® Weed & Grass Killer or the more benign sounding BioSafe Weed & Grass Killer.
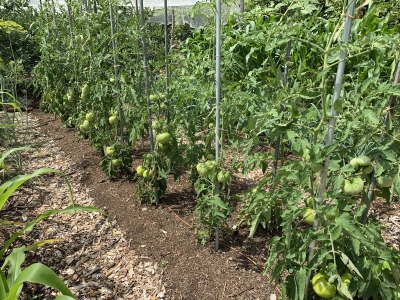
 They’re a little finicky to sprout, so I collected seeds from one of my plants and planted them in a seed flat, where I could watch and nurture them individually, then transplant them to individual pots. Here it is, three years later, and later this summer, delicate pink flowers will hover like small butterflies above each of the ten fat tubers.
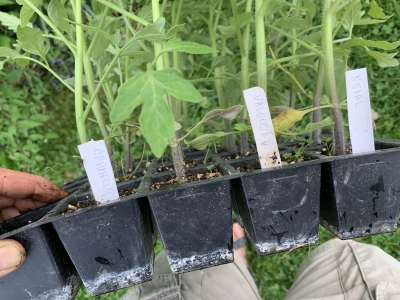

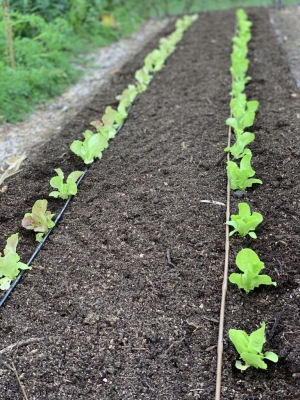
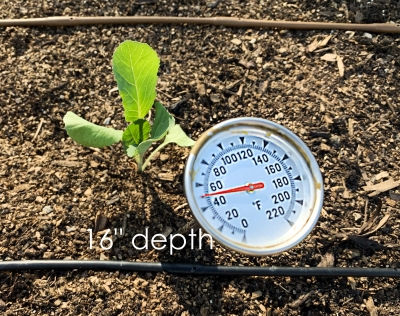 The above listing gives minimum, not optimum, temperatures for germination. Optimum temperatures might be even thirty degrees higher than the minimums, as in the case of celery which germinates quickest at seventy degrees. Waiting for the optimum temperature isn’t advisable, though. To delay sowing until the soil temperature reached the optimum temperature for pea germination (seventy-five degrees) would result in a midsummer harvest, when hot, dry weather turns peas coarse in taste and texture.
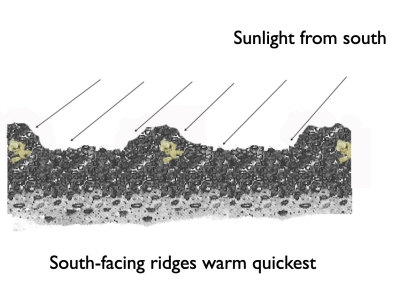 (For the same reason, here in the Northern Hemisphere, south-facing slopes are warmer than north-facing slopes. North-facing slopes ideal for planting peaches and apricots to delay their flowers to when there’s less possibility of a later spring frost snuffing them out.)
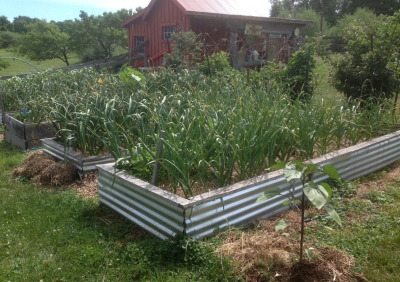
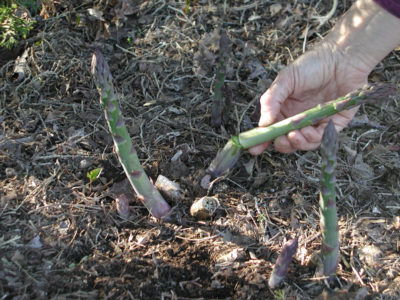
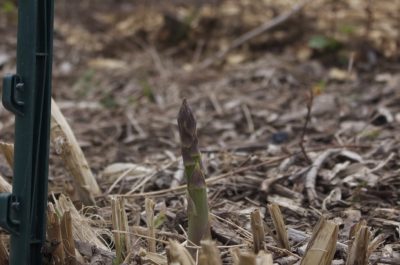 Borrow a taste from a neighbor’s asparagus bed, or from a wild clump along a fencerow, and you’re likely to want some growing outside your own back door. Minutes-old asparagus has a very different flavor and texture (both much better) than any asparagus that reaches the markets. The time to plant is now.
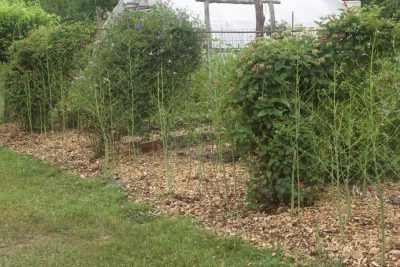 Planting asparagus beyond the confines of the vegetable garden works out well because the lacy, green foliage stands as a backdrop for perennial flowers. Or, it can soften the line of a wall or fence.
 Then, when the spring sun warms the soil, energy stored in the roots fuels growth of the spears. As the spears grow higher and higher, feathery green branches unfold. Photosynthesis within these green branches pumps energy to the root system, energy that keeps the roots alive through the winter and fuels early growth of spears the following spring, thus completing the plant’s annual cycle. (The true leaves of asparagus, which are the small scales on the stems, are much reduced in size and function; the green stems take on most of the job of photosynthesis for this plant.)
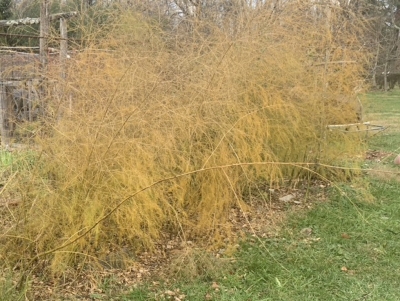
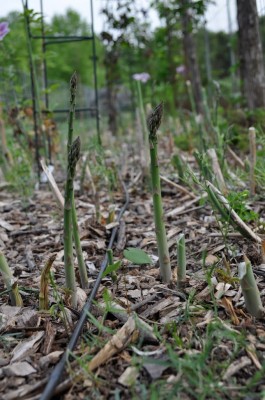 Remember, the plants do need some time to nourish their roots in preparation for winter. Following the last harvest, all new green stems are left untouched until their summer job is over, as they turn brown in the fall.
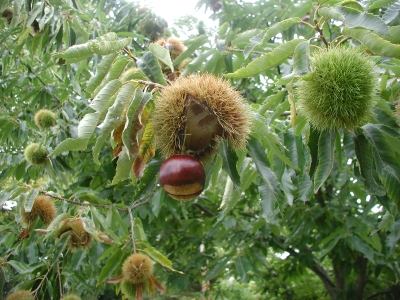 They’re often billed as the “bread tree” because in contrast to other nuts, which are high in fats and protein, chestnuts are high in starch. Obviously, you’re not going to be eating home-grown chestnut stuffing this year, or next, or the next; it takes awhile for a chestnut tree to start bearing. Not that long though. I’ve had plants grown from seed begin to bear within six years, and a grafted tree from a nursery should bear even sooner than that.
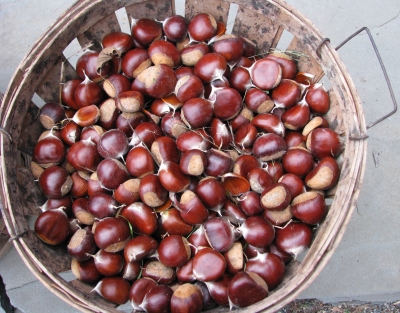

 Native Americans harvested and ate nu nu, and this was one of the foods crucial in helping the Pilgrims survive their first winters in Massachusetts.