
GARDEN ESSENTIALS, FOR PEGGY
Compost, of Course, and More
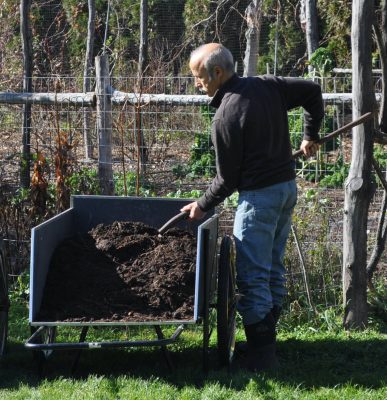
Very soon I plan to drive a truckload of compost to my sister Peggy’s house. Like many people, she’s caught the gardening bug, and this compost, along with a wheelbarrow I fished out of my town’s metal recycling, is a gift. It includes my help spreading it.
What else would be a good gift for any beginning gardener? (Okay, Peggy has been dipping her toes in the gardening waters for years, but only recently got more serious about growing vegetables.)
For starters, indispensable, would be a trowel or a hori-hori knife, the latter being something of a hybrid of a garden knife and a trowel, not as good as either parent but great for all-around use. No need to labor over the worth of a high-end, stainless steel, oak-handled trowel; either will work well and last long if stored out of the elements.
A pair of hand shears would come in handy for clipping tomato suckers or cutting down pepper or eggplant plants at season’s end. They’e admittedly not indispensable for vegetable gardening but very useful if any shrubs or trees are also in the picture. 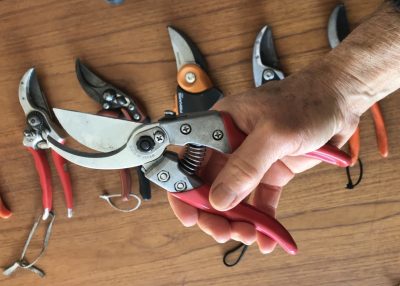 For a hand shears, quality counts. Blades of the best hand shears, as in their name, shear past each other like those of scissors. They’re called “bypass pruners.” My favorite is the ARS hand shears. Shears with anvil blades — “anvil pruners” — sport a sharp blade that comes down on a narrow, flat surface; the flat surface limits how close you can make a cut and the shear works poorly if any nick or waviness develops on the sharp blade.
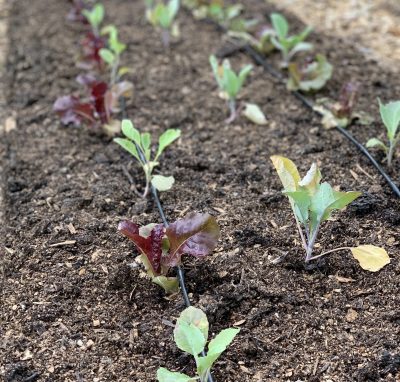
For anyone venturing into growing their own seedlings, which greatly widens the choices of varieties to grow, I recommend one of the many “self watering seed starters.” Cells housing plants sit on a capillary mat that dips into a water reservoir just below.  Soil in the cells sucks up moisture from below through capillary action to remain consistently moist, and the reservoir requires replenishment infrequently.
And finally, gloves, although these are very personal and it’s hard to pick out a pair suited to anyone else besides yourself. How about money for gloves? And some people like to get their hands in the dirt. As a professional pianist and piano teacher, probably not Peggy (check her out at www.peggyreich.com).
Reading Can Substitute for Years of Gardening
Okay, moving on to a most important “tool” for beginning, even intermediate and advanced, gardeners alike: books and the web. That is, if the information offered is sound — not always the case. One way to get solid information off the web is to follow any search term(s) with “site:edu” or “site:gov”, which brings you to university or government sites, respectively.
Not that those are the only reputable sites, but then judge whether other sites are reputable based on the author(s), possible agendas for financial gain, and comparing other information on the site with that you know for sure is either correct or false.
As an example, someone recently told me that black walnut plants are high in iodine, as evidenced by the brown stain from the hulls and the first of many hits if you enter “iodine” and “black walnut” into a search engine. This didn’t ring true to me so I looked up analyses of iodine concentrations in black walnut on a number of reputable sites. No, black walnut plants do not contain iodine, despite all the sites touting the myth that they do.
(Everything you read on my site is, of course, reputable. Ha, ha.)
On to books . . . if I may be so bold as to begin by recommending my own. Weedless Gardening 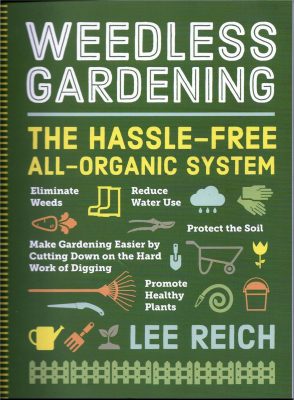 tells how to prepare and manage the soil, when to sow and transplant vegetables, what to use for mulch, how to make compost, the ins and outs of drip irrigation, and more. A Northeast Gardener’s Year
 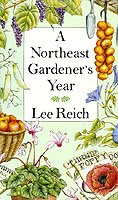 takes you on a timely jog through the year with all things gardening: soil, flowers, houseplants, naming plants, etc., depending on what needs doing gardenwise indoors and out. I’ve written more books (all are listed on this site), but these two are more essential.
Plenty of other reputable gardening books are around if you seek them out. For an all around gardening book, check out Barbara Damrosch’s The Garden Primer. Specifically, for vegetables, there’s E. C. Smith’s The Vegetable Gardener’s Bible or some oldies, or, if you can get them, A. C. Burrage’s Burrage on Vegetables or Gardening: The Complete Guide to Growing America’s Favorite Fruits & Vegetables from the National Gardening Association.
Quality Compost?
Back to that truckload of compost for Peggy. A truckload of compost is more than I can spare of my own black gold, so I’m purchasing it in bulk.
I picked up the phone, dialed some numbers, and asked some prospective compost merchants about their products to make sure the compost would be of good quality. What went into the compost, for instance? A greater the variety of raw materials results in a better variety of nutrients in the end product as long as those raw materials don’t include industrial wastes that might contain heavy metals, or, in dry regions, feedlot manures, because of excess salts.
What about the acidity or pH? Ideally the pH lies between 6 and 7.
How rocky or stony is the compost? No need to pay for rocks rather than compost. Similarly, is the material pure compost (desired), or compost diluted with a large portion of soil?
How about weeds or weed seeds? Time, temperature, and pile turning all have bearing on the number of viable weed seeds in a finished compost. A carefully built compost pile easily reaches a high enough temperatures to kill most weed seeds. But even when weed-free initially, composts that sit around too long (especially if uncovered) will pick up weed seeds carried in by wind and animals.
Good gardening, and especially organic gardening, involves moving bulky organic materials such as hay, straw, wood chips, wood shavings, leaf mold, and compost. These organic materials are what feed the friendly soil microbes which, in turn, feed the plants, as well as beef up the soil ecosystem in many biological and physical ways.
So two other items that come to mind, after the trowel, pruning shears, seed starting flats, and books, are a wheelbarrow or garden cart, and pitchfork or shovel. As I wrote, I’ll leave the wheelbarrow with her and can also leave of the many pitchforks I’ve accumulated over the years. Have I forgotten to mention any other gardening essentials?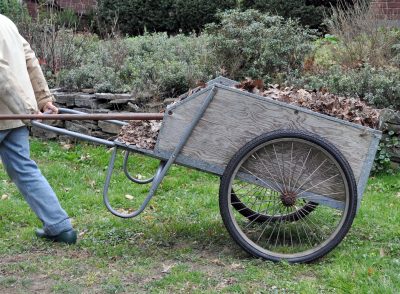
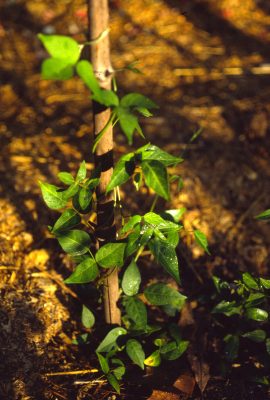
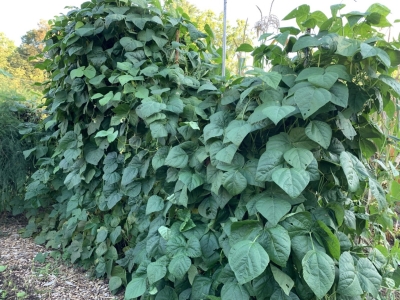
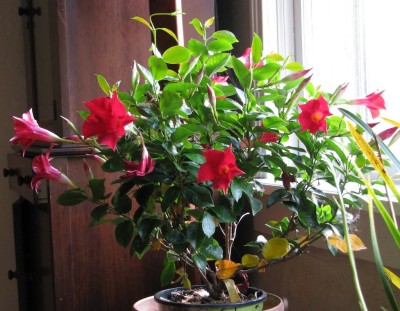 vining habit was also a big part of the draw, making the plant a stand-in for morning glory, but with prettier leaves and brighter flowers. Mandevilla is a perennial, tropical vine, so must winter indoors rather than be seeded outdoors each spring like morning glory. My vine’s leaves yellowed so much in winter that I tired of looking at it; one winter day I walked it over to the compost pile.
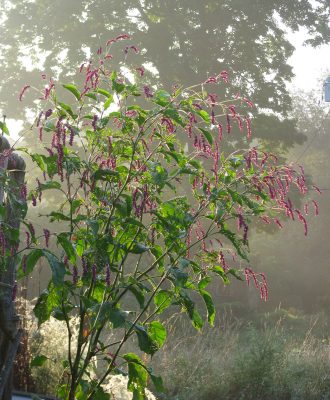
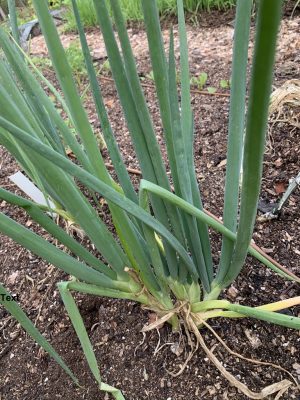
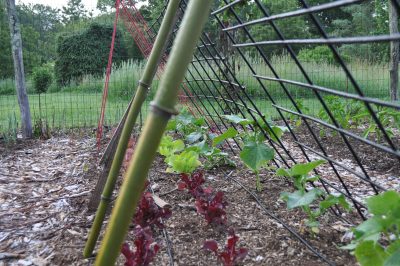
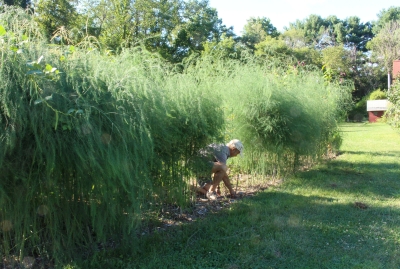 weeds germinating and growing, and hard to reach among the 6-foot-high forest of feathery stalks. The bed is now weeded and soon to be fertilized (2#/100 square feet of soybean meal) and mulched (wood chips 2 inches deep).
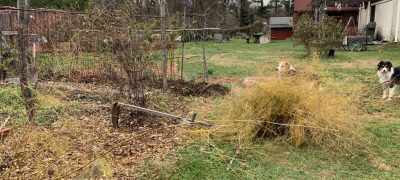

 mpost? Interested in details about how to make gourmet compost? This is a reminder that on Wednesday, September 23, 2020 from 7-8:30pm EST, I’ll be hosting a webinar about composting. For more information and registration, go to


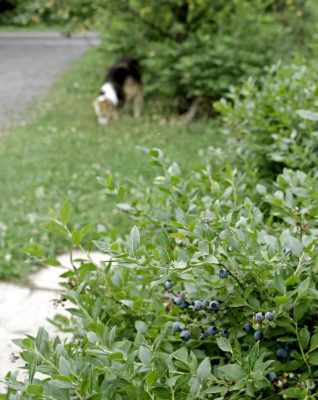 The wall supports the bed of them planted along with lingonberries, mountain laurels, and rhododendrons. These plants are grouped together because they are in the Heath Family, Ericaceae, all of which demand similar and rather unique soil conditions. That is, high acidity (pH 4 to 5.5), consistent moisture, good aeration, low fertility, and an abundance of soil organic matter. The small blueberries send me back to many summers ago in Maine when a very young me hiked in the White Mountains and picked these berries from plants growing amongst sun-drenched boulders. Care needed: mulching in autumn, and cutting a portion of the planting to the ground with a hedge trimmer every second or third winter.
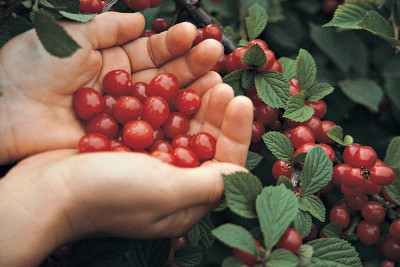
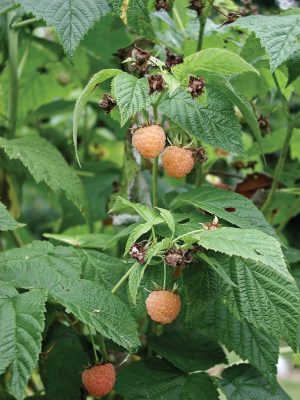 This variety, carrying genes of some species of Asian raspberry, has a sweet, delicate flavor unlike any other variety. Physically, the berries are similarly sweet and delicate, a pale, pinkish yellow. Their fragility makes them a poor commercial fruit so you won’t see them for sale. Grow them.
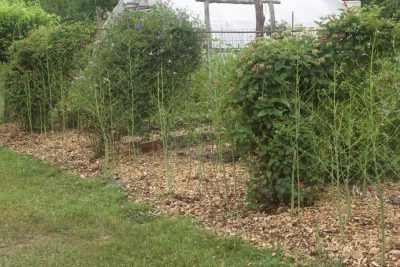
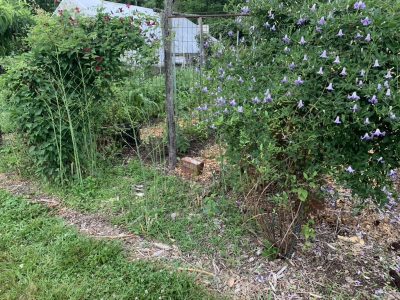
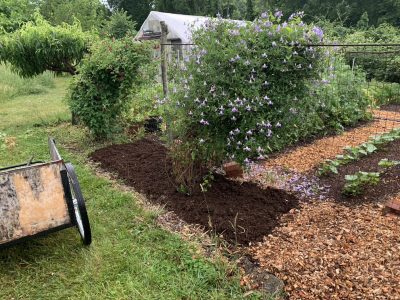
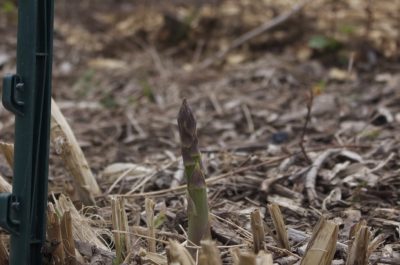
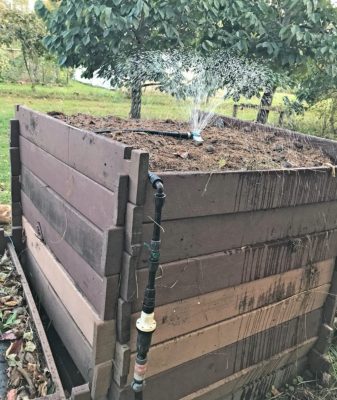
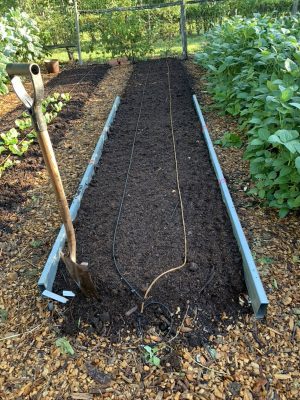
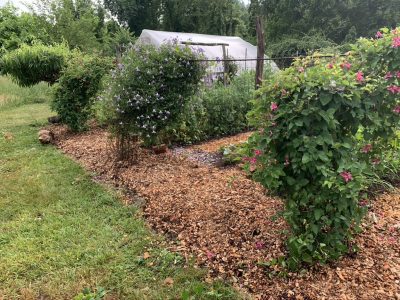 The compost will nourish the asparagus . . . and the weeds, most of which I hope will be sufficiently young or weakened to not push up through the compost and the wood chips to light.

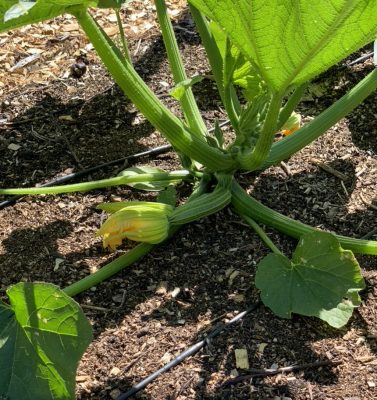 I grow only Sweet Mama and Waltham winter squashes. The first variety is botanically Cucumbita maxima and the second is C. moschata; the two species do not cross-pollinate.
 Distance between varieties can prevent cross-pollination. So can fine mesh bags. I plan to use small organza bags normally sold for wedding favors.