ALL FOR THE FUTURE
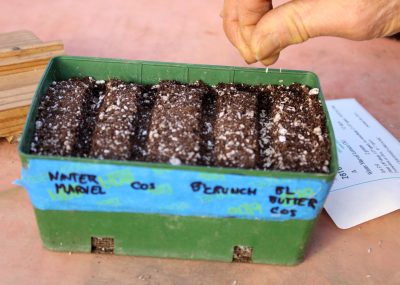
Seeding Transplants? Again.
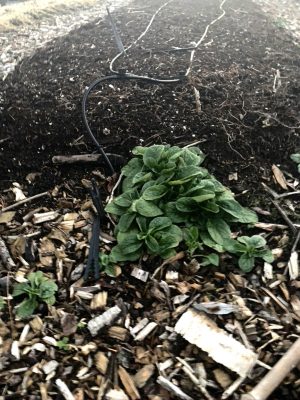
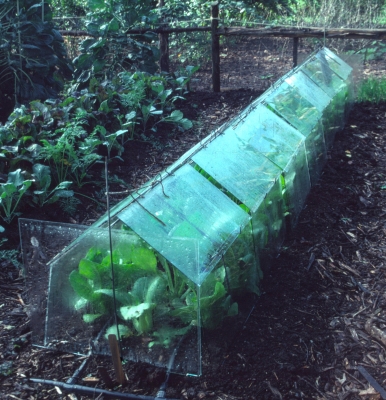
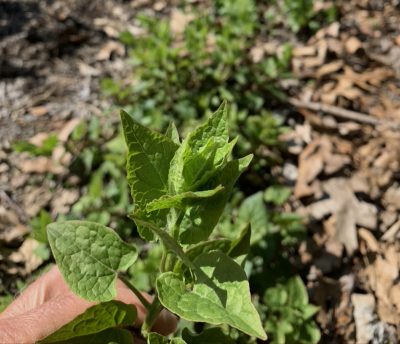
Only a couple of weeks ago I finished planting out tomato, pepper, melon, and the last of other spring transplants, and here I am today, sowing seeds again for more transplants. No, that first batch of transplants weren’t snuffed out from the last, late frost when the thermometer dropped to 28°F on May 13th.
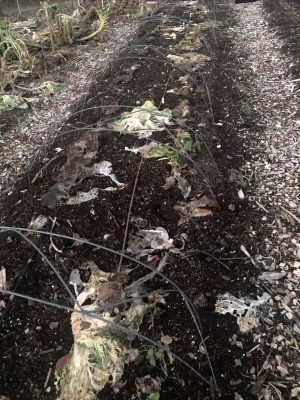
And no, those transplants were not clipped off at ground level, toppled and left lying on the ground, by cutworms. Neither were they chomped from the top down to ground level by rabbits.
I’m planting seed flats today to keep the harvest rolling along right through late autumn.
Future Further
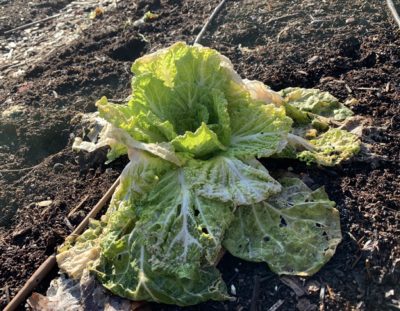
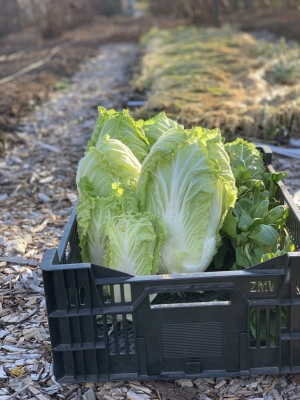
Looking farthest ahead, I have in hand two packets of cabbage seed, Early Jersey Wakefield and Bartolo. Early Jersey Wakefield is a hundred year old variety with very good flavor and pointy heads, due to mature a couple of months after transplanting. Once those heads firm up, they can keep well out in the garden for a few weeks in the cool, autumn weather. Those I set out in spring, once mature, are apt burst open from rapid growth in summer weather. Bartolo yields firm, round heads that store in good condition after harvest, well into winter. They are ready for harvest 115 days after transplanting.
I plan for any of today’s sowings to spend about a month in their containers before being planted out. Cooler weather and lowering sunlight dramatically slow plant growth around here by early October, so any late ripening vegetables need to be ready or just about ready for harvest by then. Bartolo cabbage, with 30 days in a seed flat plus 115 days out in the garden, is then ripe by . . . whoops . . . the END of October! No wonder Bartolo often didn’t ripen for me in the past. (Nothing like writing about my garden to keep me honest and awake. I should re-read the detailed timing schedule I wrote in Weedless Gardening for various vegetables in various climates.)
Okay, all is not lost for winter storage cabbage. Warm weather, timely water from drip irrigation, and soil enriched with plenty of compost might speed maturity along faster than predicted. Unseasonally warm weather through October would also help ripen nearly ripe heads. And there’s always the fallback, with sure-to-ripen Early Jersey Wakefield.
Still on time, guaranteed, will be today’s sowing of Charming Snow cauliflower, maturing 60 days from transplanting.
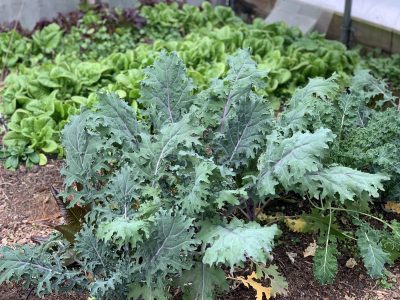
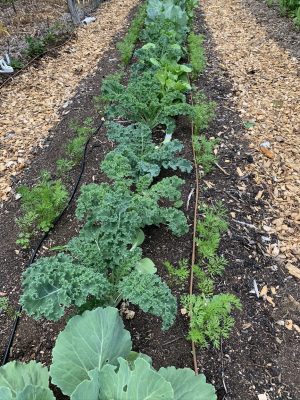
That’s it, for now, for the cabbage family. Later on in summer I’ll be sowing Chinese cabbage seeds. Perhaps more kale also, although spring sowings of this almost perfect vegetable can carry on right into winter, even spring if the winter is sufficiently mild.
Future Sooner
For sooner use in the coming weeks will be today’s sowings of lettuce, cucumber, and summer squash. I like lettuce but lettuce doesn’t like hot weather and longs days. Those conditions cause leaves to turn bitter as plants send up flower stalks and go to seed. But if I sow a pinch of seeds in flats every couple of weeks, the transplanted lettuce can usually be harvested small, before it’s socked away enough energy and wherewithal to go to seed.
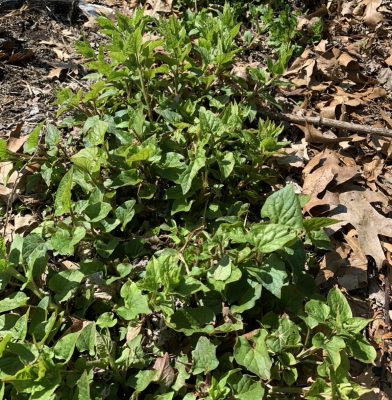
The cucumber transplants I’ll want on hand to replace cucumber plants that I set out a couple of weeks ago. After a few weeks those spring plantings invariably succumb to powdery mildew and cucumber beetles, which not only feed on the plants but also spread bacterial wilt disease. (Easy identification for bacterial wilt, besides a wilting plant, is the thread of bacterial ooze visible as you pull apart a cut stem.)

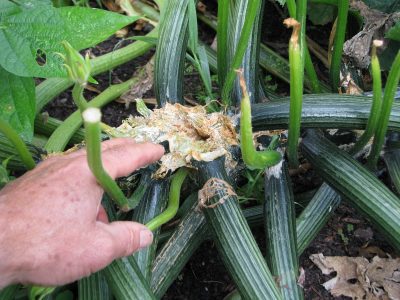
Summer squash plants also peter out during summer, mostly from, again, powdery mildew, and also from squash bugs and vine borers. If squash vines are covered with soil along their stems, roots will form at the nodes, and the plant will continue production. I’ve got to be careful in saving the older squash plants, though; it’s too easy to have too much of this vegetable.
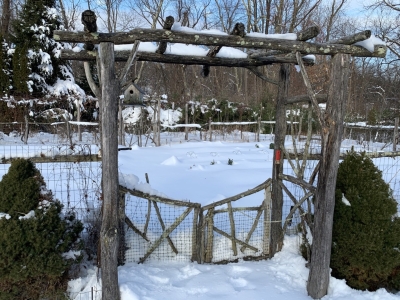
Memorial Day, Before, During, and After It
Here in the States, the traditional time to plant a vegetable garden, is for some reason, Memorial Day weekend. But that can’t be true from Oregon to Florida and from Maine to Arizona, with our wide variations in climate!
I did put tomatoes, peppers, and plenty of transplants in the ground here during Memorial Day weekend. But I already had sown seeds or transplants of peas, arugula, lettuce, kale, carrots, celeriac before that weekend. And, as I’ve written above, there’s plenty of planting to be done after that date. Memorial Day weekend is not a seminal date in my gardening calendar.
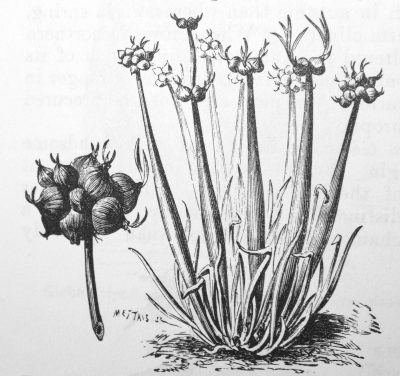 The bulbs take root, grow, bow, and deposit the bulbs another few inches away, so, unfettered, the plant spreads by “walking” around the garden. I stopped growing it because the flavor was too sharp for me.
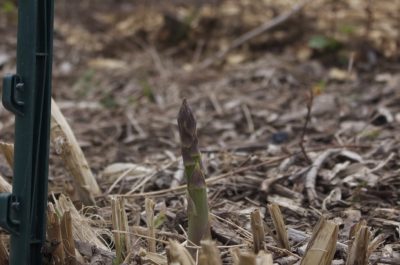

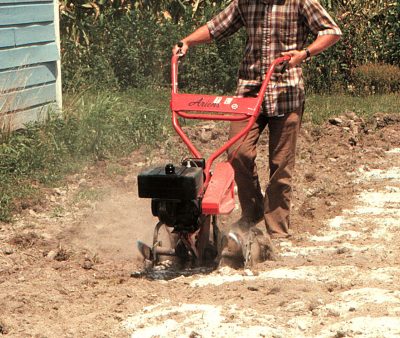 Wait two weeks for Mother Nature to work her magic decomposing some of that existing vegetation. Or, rather, part of her magic. After two weeks, dig up the ground again, this time adding some compost or fertilizer. You could dispense with the compost or fertilizer this season if whatever was growing there before digging looked vibrant. Better not to go out to a store these days if you don’t have to anyway. Wait another two weeks, and when you’re ready to plant, use a garden rake to tickle the surface of the ground and crumble it.

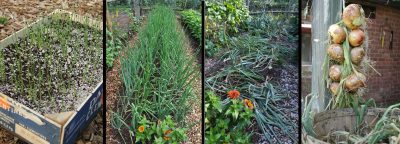
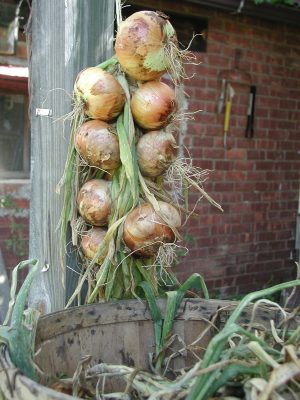
 When transplanting out in the garden, plant each cell with its seedlings intact, spacing them further apart than you would with individual transplants so their roots get adequate water and nutrition. As vegetable growing maven Eliot Coleman wrote in Four-Season Harvest, “the onions growing together push each other aside gently.”