Somethings Old, Somethings New, Nothing Blue
Rare and/or Perennial
I usually draw a blank when someone asks me “So what’s new in your garden for this year?” Now, with the pressure off and nobody asking, I’m able to tell.
Of course, I often try new varieties of run of the mill vegetables and fruits. More interesting perhaps, would be something like the Noir de Pardailhan turnip. 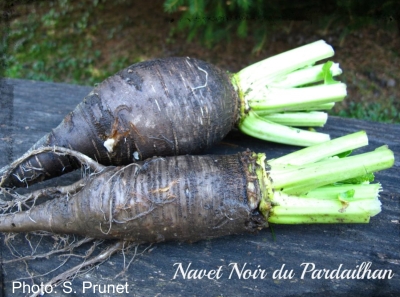 This ancient variety, elongated and with a black skin, has been grown almost exclusively near the Pardailhan region of France. Why am I growing it? The flavor is allegedly sweeter than most turnips, reminiscent of hazelnut or chestnut.
I planted Noir de Pardailhan this spring but was unimpressed with the flavor. Those mountains near Pardailhan are said to provide the terroir needed to bring out the best in this variety. (Eye roll by me. Why? See last chapter in my book The Ever Curious Gardener for the skinny on terroir.) I’ll give Noir de Pardailhan another chance with a late summer planting.
Also interesting is Nebur Der sorghum. This seeds of this variety, from South Sudan, are for popping, for boiling, and for roasting. What sorghum has going for it is that it’s a tough plant, very drought resistant and cosmopolitan about its soil. With my previous attempt with sorghum, with a different variety, the seed didn’t have time to ripen. Nate Kleinman, of the Experimental Farm Network, where I got Nebur Der seed, believes this variety may ripen this far north.
Nate also suggested some perennial vegetables to try — that’s right, vegetables you plant just once and then harvest year after year. I planted Caucasian mountain spinach (Hablitzia tamnoides), a relative of true spinach, and, as predicted, growth is slow this, its first, year. 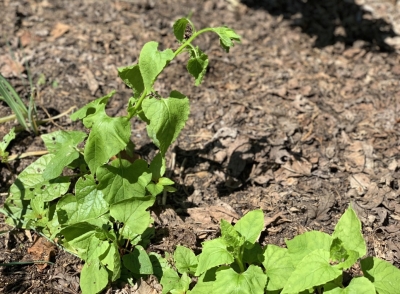 Next year I can expect a vine growing 6 to 9 feet high and which is both decorative and tolerates some shade. What’s not to like? (I’ll report back with the flavor.)
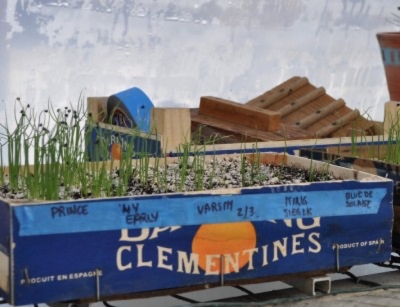
Andy’s Green Multiplier Onion (Allium cepa var. aggregatum), also from the Experimental Farm Network, will, I hope, fill that early spring gap here when some onion flavor can liven salads. 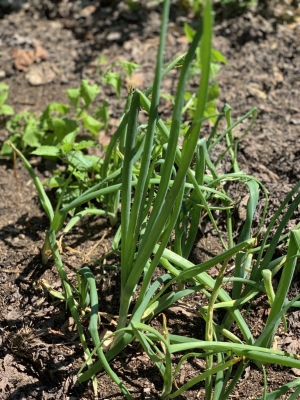 Later in the season, cluster of bulbs form, similar to shallots, although forming larger bulbs. They can overwinter and make new onion greens and bulbs the following years.
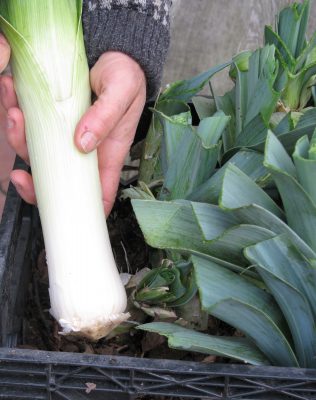
And finally, again from Nate, the New Zealand strain of perennial multiplying leek (Allium ampeloprasum). This seems to be a variable species, with some members yielding large bulbs know as elephant garlic. The flavor might vary from that of leek to that of garlic.
One more perennial plant (this one for the greenhouse so not really perennial here), is jicama (Pachyrhizus erosus), a climbing vine in the pea family. The flavor and texture of the large, turnip-shaped root is something like water chestnut. The flavor of the other parts of the plant are . . . not to be tried. All other parts are poisonous! The greenhouse is so hot in summer that I figured this is one of the few plants, besides figs and ginger, that would thrive there.
Probably not. I should have researched before planting: Jicama roots are poor quality unless the plant experiences a long period of warmth with short days. But when short days come around, my greenhouse is starting to fill with lettuce, mâche, spinach, and other fresh greenery for winter salads.
Could Be Frightening, But Not
At least one more newish crop made it into my garden this year, one that I hope is not perennial. The plant is sometimes called yellow nutsedge, sometimes chufa, and sometimes tiger nut or earth almond. When I lived in southern Delaware, “yellow nutsedge “would strike terror in the hearts of local farmers; it’s been billed as “one of the world’s worst weeds.”
But there are two botanical varieties of yellow nutsedge. That weedy one is Cyperus esculentus var. esculentus. The one that I am growing is C. esculentus var. sativus. The latter is not weedy; it rarely flowers or sets seed, and doesn’t live through the winter. Both varieties, being sedges, enjoy soils that are wet but also enjoy those that are well-drained.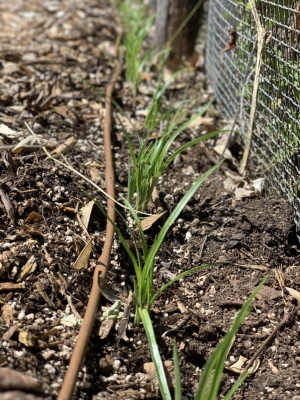
The edible part of chufa are the dime-sized tubers, which are sweet and have flavor likened to almonds. I did grow the plant once and thought the tubers tasted more like coconut. 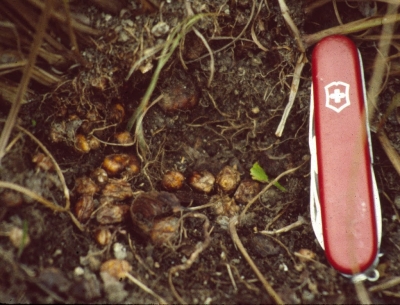 The problem was separating the small tubers from soil and small stones. I have a plan this time around — more about this at harvest time.
I’ll be in good company growing chufa. We humans munched on them in the Paleolithic period and they were good food to the ancient Egyptians. Hieroglyphic instructions detail the preparation of chufa for eating, as a sweet, for instance, ground and mixed with honey.
Even today, chufa is enjoyed in various parts of the world. The chufa harvest is anxiously awaited each year in Spain, when the dried tubers are washed and pulverized, then made into a sugar-sweetened “milk” know as “Horchata De Chufas.”

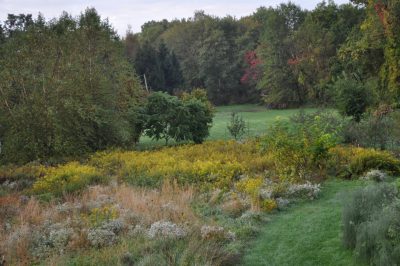
 Flowering meads of herbs, flowers, and grasses blanketed the ground beneath most of the orchards, providing — probably unknown back in colonial days — forage for beneficial insects to help protect crop plants.
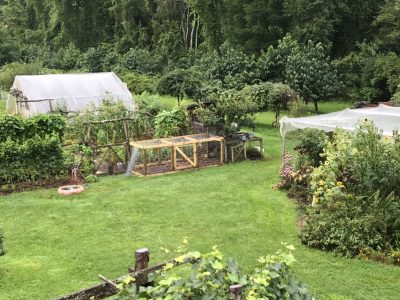
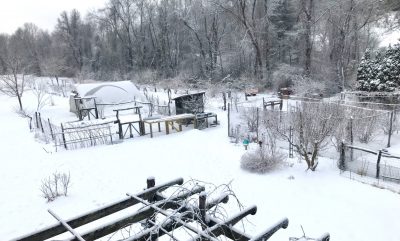
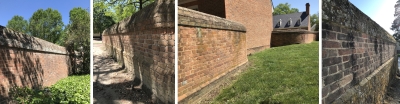 My own home is brick; even a few four-foot-high walls around my vegetable garden and in other areas would improve the general appearance — and provide, warmer microclimates for cold-tender plants or early harvests. Not that the rustic locust fencing and arbors enclosing my vegetable garden look unsightly . . . but I’d like some brick walls.
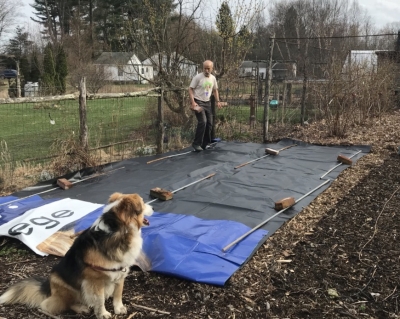 Actually, that insidious blackness covering my beds is black vinyl. But that’s beside the point. Its purpose, like the black plastic against which I’ve railed, is to kill weeds. Not that my garden has many weeds. But this time of year, in some beds, a few more sprout than I’d like to see.
 I had just dug my first garden which had a clay soil that turned rock hard as it dried, so I was especially awed, inspired, and admittedly jealous of the soft, crumbly ground in Scott’s garden. What a surprise when someone who had worked with Scott for a long period told me how tough and lean his soil had been when he started the garden. A number of giant compost piles were testimonial to what it takes to improve a soil.
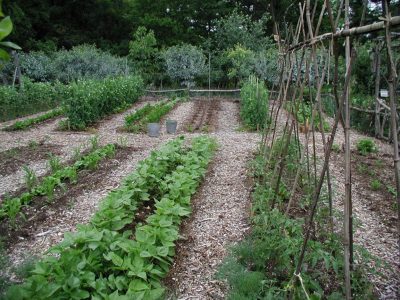
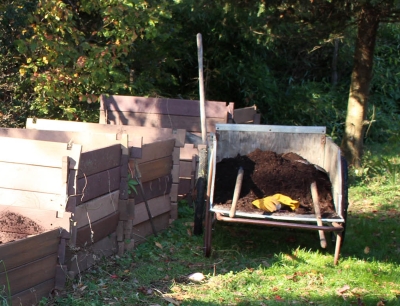 The soil in my permanent vegetable beds is never turned over with a rototiller or garden fork; instead, every year a layer of compost an inch or so deep is lathered atop each bed, and no one ever sets foot in a bed. That inch of compost snuffs out small weeds, protects the soil surface from washing away, and provides food myriad beneficial microbes (and, in turn, for the vegetable plants).
 Recent additions to that pile were an old soil pile from a local horse farm and soil from a hole I was digging to create a small duck pond. The latter was poorly aerated subsoil.
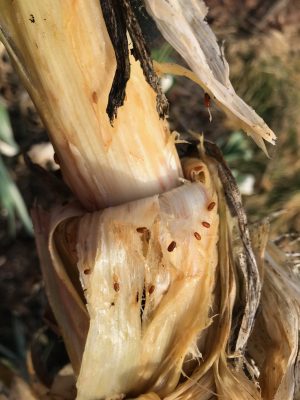
 In practice, I mostly pay attention to rotation of plants most susceptible to diseases, which are cabbage and its kin (all in the Brassicaceae), cucumber and its kin (Cucurbitaceae), tomato and its kin (Solanaceae), beans and peas (Fabaceae), and corn (sweet or pop, in the Gramineae).
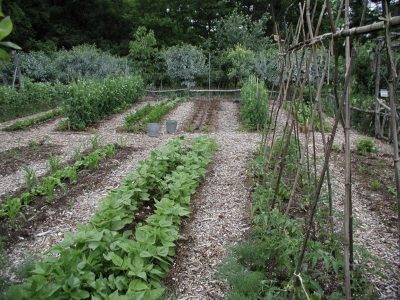 Root, leafy, and fruiting vegetables have somewhat different nutrient needs, so in the ideal garden these crops are rotated to make best use of soil nutrients.
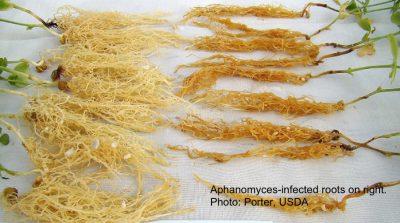
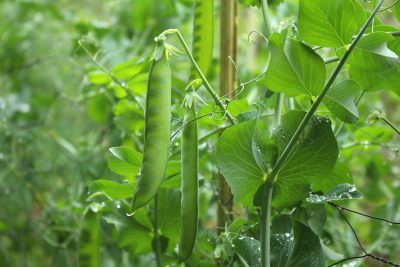 A few years ago they stopped bearing well, collapsing with yellowing foliage not long after they bore their first pods.
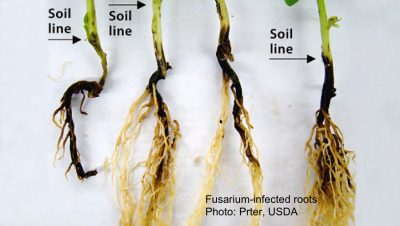 Plants infected by aphanomyces have fewer branch roots and what roots there are lack the plump, white appearance of healthy roots.
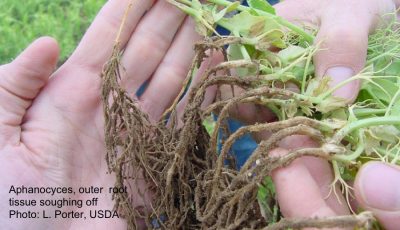
 My tea is nothing more than the liquid strained from compost soaked in water, then applied with a watering can at the base of the pea plants.

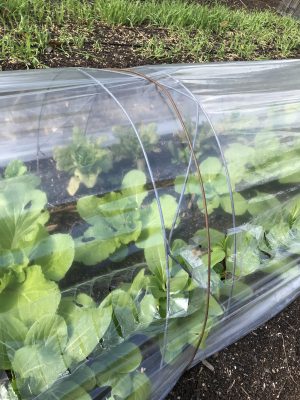
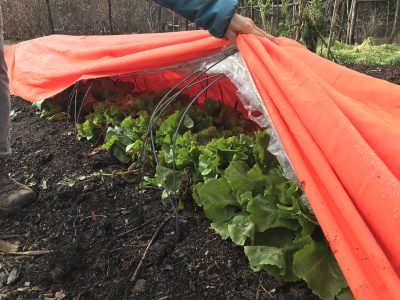
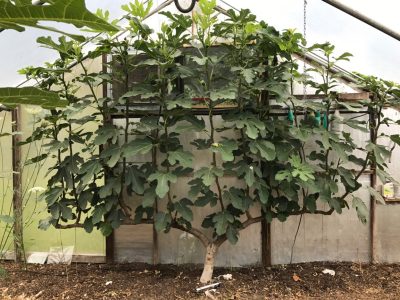
 And what about winter? A greenhouse full of salad and cooking greens solved that problem, in addition to providing figs in summer and early and late season cucumbers.
 For the past few years, I’ve allowed celery in the greenhouse to go to seed each fall. The seeds drop and, within a few months, sprout to furnish plenty of seedlings for early summer celery in the greenhouse and later celery out in the garden. All of which is most welcome because celery seedlings are very slow to germinate and grow. Before celery volunteered around here, I had to sow seeds in early February in seed flats, keep the flats warm and moist until the seeds sprouted, transplant the sprouts into individual cells in another flat, and finally transplant the seedlings, after about 10 weeks of care, out into their permanent homes.
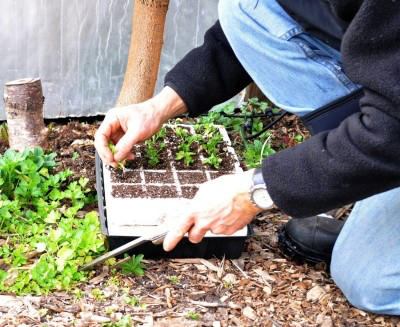

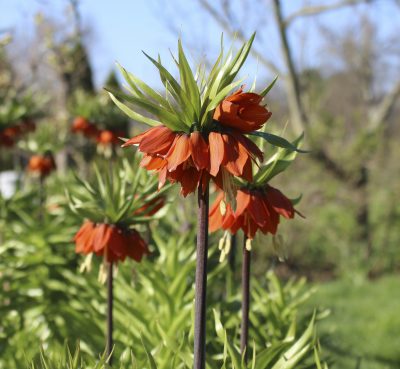
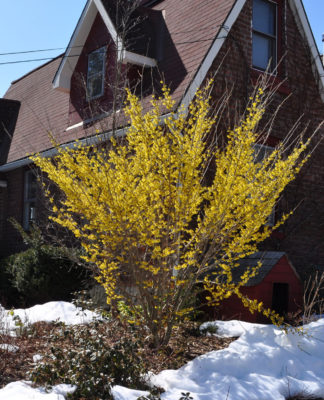 The flowers don’t exactly jump out at you so you have to get up pretty close to even notice them. Still, they are a sign of plant life in the depths of winter.
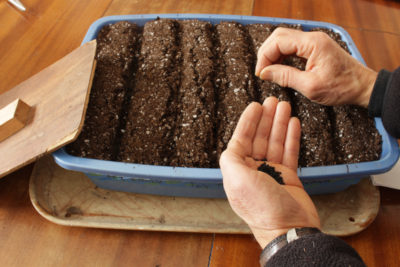

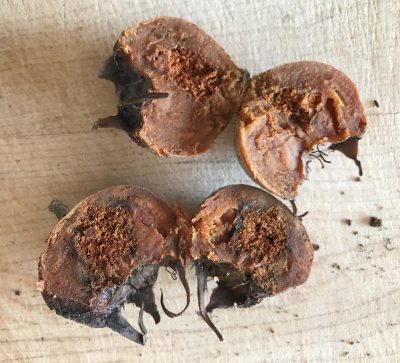
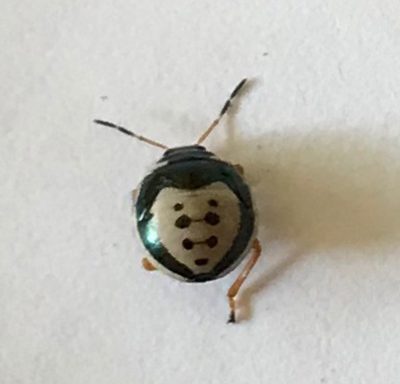
 Usually the plant is pest-free but a few years ago something, perhaps a fungus, perhaps an insect, started attacking it, leaving the flesh dry and crumbly. I have yet to identify the culprit so that appropriate action can be taken.