Greenhouse Happenings, Figs and Lettuce and . . .
Darkness Descending
Plant growth has come screeching (almost) to a halt. Lettuces just sit, hardly growing. No wonder, you are no doubt thinking. It’s getting colder and colder outside. I know that, but I’m writing about lettuces in my greenhouse. The issue isn’t lack of heat. It’s lack of light.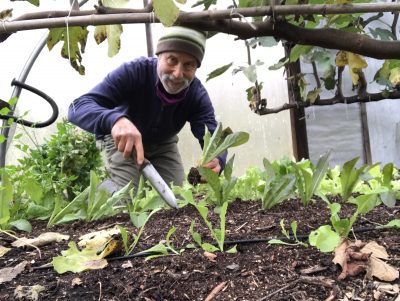
For more evidence that light is the issue, look to good vegetable gardens in southern Europe. In that mild climate, harvest from a well-planned vegetable garden continues year ‘round. But year ‘round harvest there takes planning — lack of light also makes for very slow growth over there in these darkest months. Unprotected plants survive because the winter weather never gets that cold over there. (And cool-season vegetables, such as spinach, radish, and turnips, that we plan for sprig or fall, are what do well in Mediterranean winters.)
My garden here in the Hudson Valley, at about the 42nd parallel, experiences winter day lengths the same as Rome, Italy or the island of Corsica — all on about the same 42nd degree of latitude. If lettuce plants grow slowly in Rome and Corsica, then the slow growth of lettuce in my greenhouse should come as no surprise. But it always does surprise me, and the brakes seem to start getting applied back in October, with full pressure about now.
All this came to the forefront of my attention back in 1992, when I read Eliot Coleman’s excellent book Four-Season Harvest. After highlighting the similar insolation of much of our “northern regions” with much of balmy Europe, he went on to describe various ways of protecting winter vegetable from our winter cold, which would kill most of them. Keeping the plants a bit warmer also gets them growing sooner once days become longer and brighter.
My goal, in the greenhouse, is to get a good share of the plants almost fully grown going into December. With lettuces, I try to plan to have enough of them to fill salad bowls through January and February, after which smaller plants are starting to grow fast enough to fill those bowls.
The 42nd Parallel
The reason Corsica and Rome remain relatively balmy all winter while winters here, with both locations at the 42nd parallel, get so frigid is that Corsica is bathed by the Gulf Stream, that warm mass of air that flows up from the Caribbean and across the Atlantic to wash over western Europe.
The warm touch of the Gulf Stream is lost as you move further east across Europe and into western Asia. Kazakhstan, parts of which also lie at the 42nd parallel, experience average annual temperatures from -60°F to 104°F!! The climate of nearby Turkey, whose north end touches that latitude, is moderated by the Caspian Sea. Moving further east to parts of Inner Mongolia, still within the 42nd parallel, winter temperatures might dip to -90°F.
A Greenhouse is not a Hothouse
If you were to join me in my greenhouse today, don’t forget your hat and gloves. The greenhouse is heated, but only minimally, enough to keep the temperature from falling below 37°F. That temperature provides a nice balance between energy use and reasonable year ‘round harvest. (Expotentially more energy is needed for incrementally increasing temperatures.)
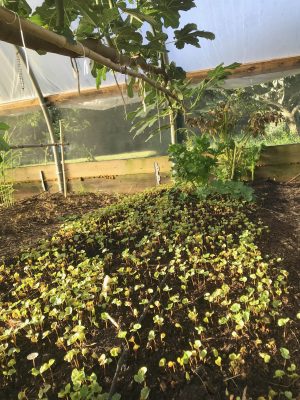
Today is rainy and very cool, but not cool enough to kick on the greenhouse heater. So it’s pretty much the same temperature inside the greenhouse as outside the greenhouse — in the 40s. Most of what’s growing — kale, celery, mâche, claytonia, Swiss chard, mustard greens, parsley, and arugula — do fine with these conditions.
Leafy vegetables require less energy (i.e. sunlight) than do fruiting vegetables, so the low light is also fine to keep them happy even if only slowly growing, just as they would be planted (outdoors) in a garden in Corsica or Rome.
That’s also home to my baby, hardy cyclamens (about which I recently wrote), in a seed flat, until they decide to lose their leaves and go dormant. And two cardoon plants, also native to Mediterranean regions.
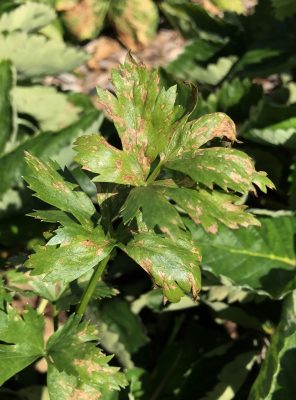
One Mediterranean plant that is very unhappy this year, even in the greenhouse, is fig. Figs are still ripening but, with the high humidity and low light, each is soon covered with fuzzy, gray mold. 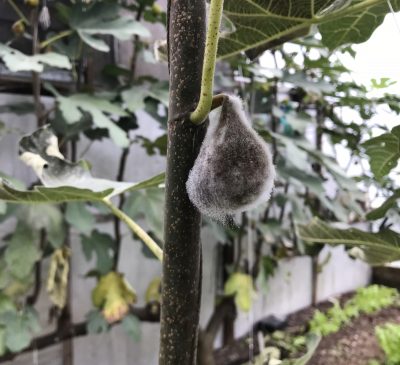
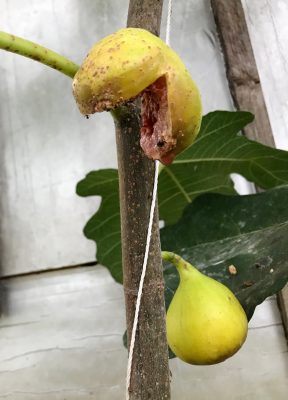 Roots of Rabbi Samuel fig, near the endwall, spread under the wall and outside the greenhouse, soaking up so much water that the figs split before ripening. Yet, a few fig fruits escape both afflictions and ripen to juicy sweetness.
I wonder if fig gardeners in the Mediterranean share my fig problems.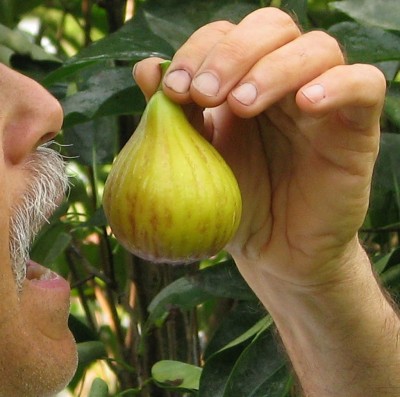
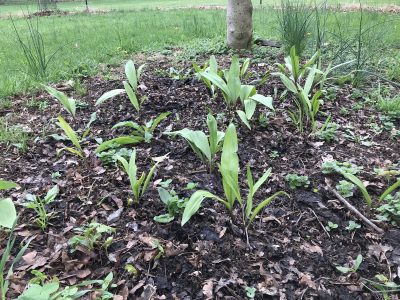
 Also enjoying this awful weather are the oat cover crops that I’ve sown in some of my vegetable beds. The oats are especially lush and green, as is your and my lawn grass. The same goes for beds I recently planted with lettuce, radishes, arugula, turnips and other cool weather vegetables.
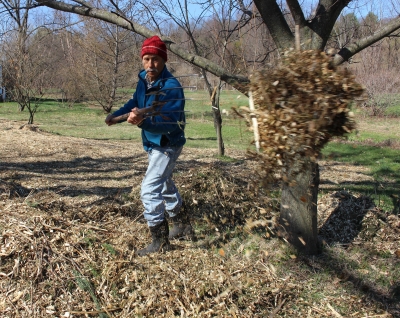
 Buckwheat provides a quick and temporary cover of the bare ground. Sprinkling it with water assured its getting off to a quick start.
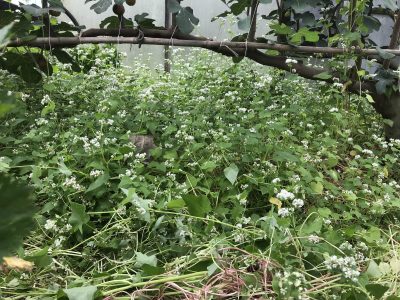 Below ground, the roots were latching onto nutrients that might otherwise leach away, bringing them up into the roots, stems, and leaves.
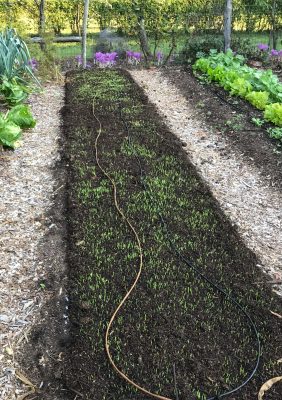 So any bed no longer needed for autumn vegetables and cleared before about the end of September gets oats (and compost). After the end of September, short days don’t provide enough light for the oats to grow enough to warrant planting.
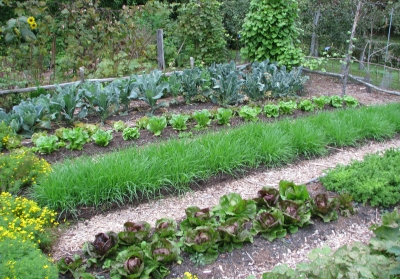 While I have great respect for soil, it’s not pretty to look at — and being bared isn’t good for the soil or the plants growing in it. I’d much rather look at a uniform, green carpet than bare, brown soil.
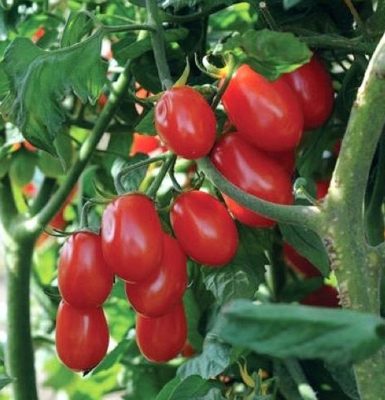 As it turns out, even taste is a matter of taste: To me, Garden Gem is not a great-tasting tomato; not even a good-tasting tomato. It lacked any sweetness or richness to smooth out the acidity, which is basically all I tasted.
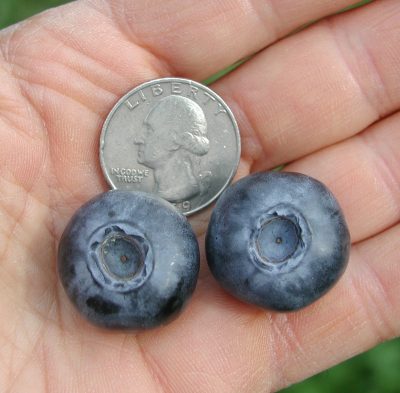
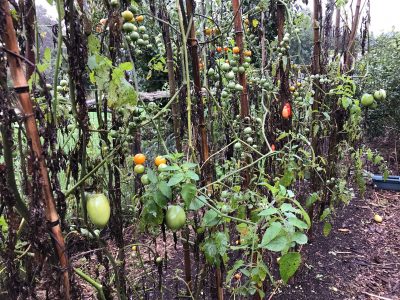
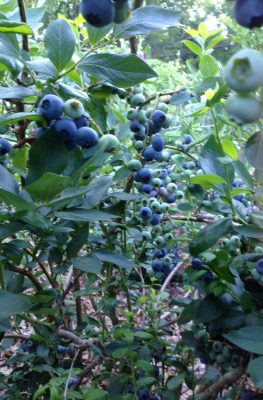 As I write, in September, the variety Elliot is still bearing ripe berries.
 Last fall I thoroughly cleaned up diseased plants, even planted some celeriac this year in the greenhouse. Failure occurred both outdoors and in the greenhouse, although lots of rain and heat could have helped (the fungi or bacteria, not me).
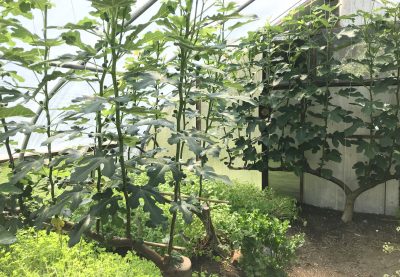
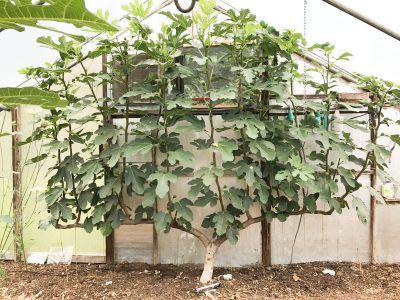 Left to its own devices, a fig can grow into a tangled mess. In part, that’s because fig trees can’t decide if they want to be small trees, with single or a few trunks, or large shrubs, with sprouts and side branches popping out all over the place.
 All that despite my attempts at control by going over plants with a toothbrush dipped in alcohol, oil sprays, and sticky barriers to keep ants, which “farm” these pests, from climbing up the trunks.
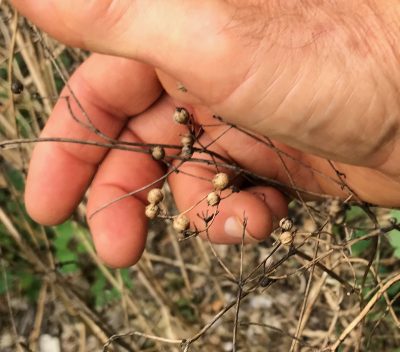 Those seeds will drop and germinate in the cooler temperature a few weeks hence. But I need cilantro now.
 So I started the water sprays again, which have the potential problem of creating so much humidity and moisture that ripening figs rot. On the other hand, it might set back the scale, perhaps by knocking off ants, who “farm” scale. I also ordered a new predator, one for scale, Aphytis melinus.
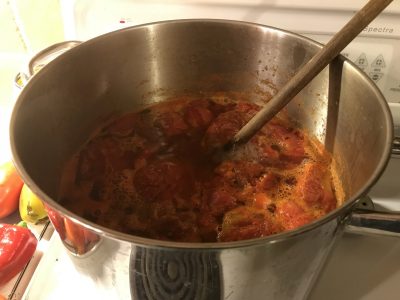 No de-skinning, de-seeding, or chopping. The pot is allowed to cool a bit after its volume has been reduced to one-half to two-thirds of the original volume.
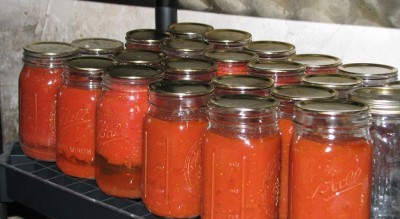 Once cool, pressing down on the the center of each lid lets me know whether that jar has sealed well. The lid should not move down when pressed.
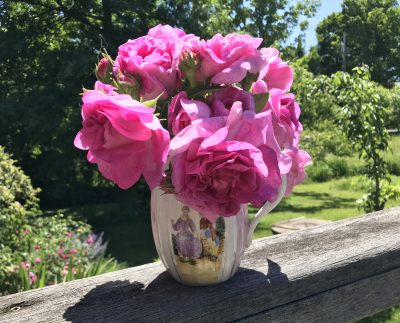 Descriptions of Rose de Rescht tell how it blossoms repeatedly through the season; not my rose. I finally honed down my rose’s identity from among the choices suggested by a number of rose experts based on photos and descriptions I had sent them.
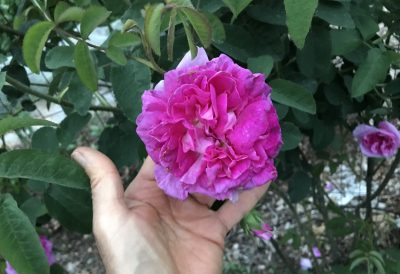 And the fragrance! Intense, and my favorite of all roses. Rose d’Ipsahan is a variety of Damask rose and has the classic fragrance of that category of rose.
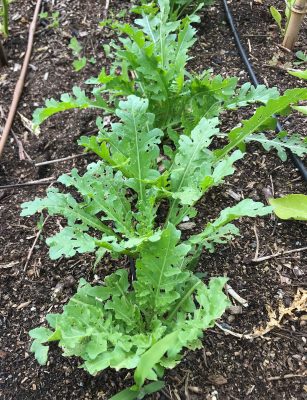 More important, Italian arugula tolerates heat better. As my rows of common arugula are sending up seed stalks, the Italian arugula just keeps pumping out new leaves.
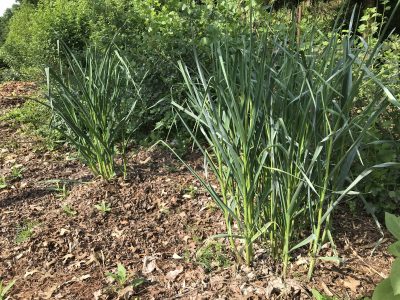 But if I want some garlic flavor in spring, I can pull stalks out of the ground, peel off the outer covered of leaf sheath, and chop up the ivory white lower portion for use. Many I just pull out and toss into the compost pile; the garlic is getting weedy.
 If spreading mulch is delayed until the soil turns dry, all the more water will be required to give the soil below a good drenching.
 If the area is wet, though, taking soil from paths is going to lower them, making them that much wetter.
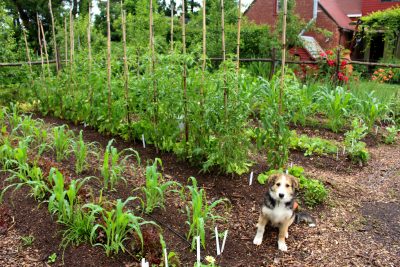 Paths get replenished with wood chips only if they start to get weedy or bare soil starts peeking through.