And The Season Begins . . .
St. Patty’s Day Passed; No Matter
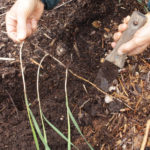
Uh oh! St. Patrick’s Day was way passed and I hadn’t planted my peas. No matter. St. Patty’s Day is the right time to plant peas in Virginia, southern Missouri, and other similar climates, including, probably, Ireland.
Around here, in New York’s Hudson Valley, where the average date of the last killing frost is sometime in the latter half of May, April 1st is more like it. That’s the date that I shoot for, at least. Some springs, like the spring of 2017, earlier plantings would have done better. But you never know what bodes for the weather, so playing the averages is the best bet.
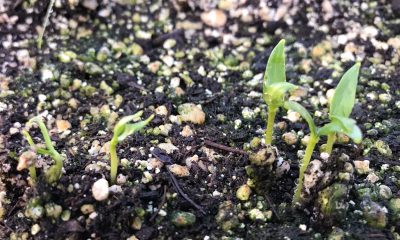
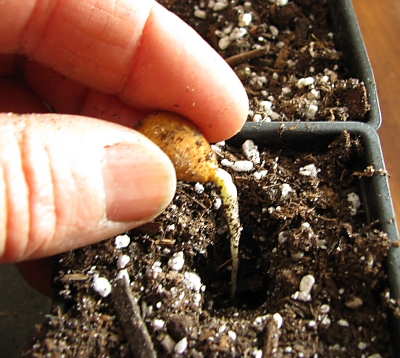
The problem with planting pea seeds too early is that the seeds will just sit and perhaps rot in cold soil. The problem with planting peas too late is that temperatures are too hot when the plants are supposed to be in all their glory, so they peter out rather than bear well. Again, an April 1st planting date, around here, generally works best.
Soil temperature is an even better guide than calendar date; pea seeds germinate when the soil warms to 40°F. Or a phenological indicator; blossoms of spring-flowering trees and shrubs open in response to warmth. Forsythia blossoms are just about to open at about the same time that the ground has warmed to that 40° temperature.
Get ‘Em Up
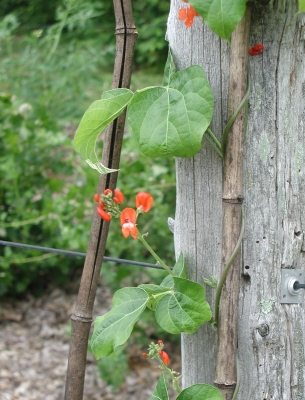
Peas grow as vines anywhere from a foot and a half tall to more that 6 feet long. Whether short or long, the vines are not self supporting. The laissez faire gardener just lets the vines sprawl on the ground, then lifts them to harvest.
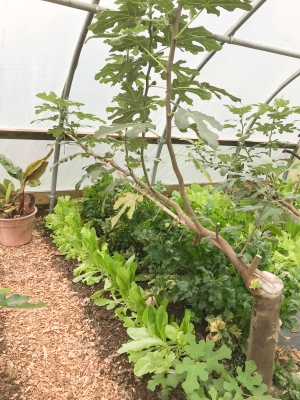
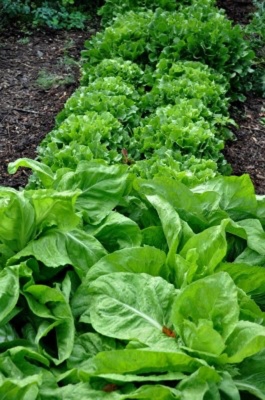
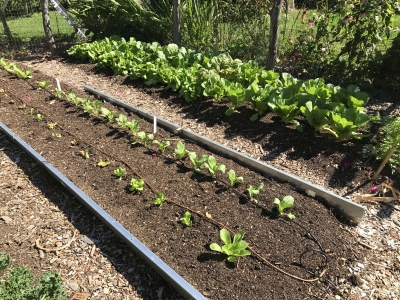
For a neater garden and cleaner pods, I trellis my peas. By exploiting a third dimension — up — I also reap more productivity per square foot of garden space from trellised peas. 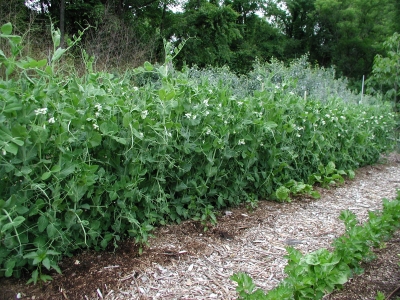 Plus, if the peas are planted down the center of my 3-foot-wide garden beds, I can flank them with other vegetables, such as carrots, radishes, lettuce, and arugula.
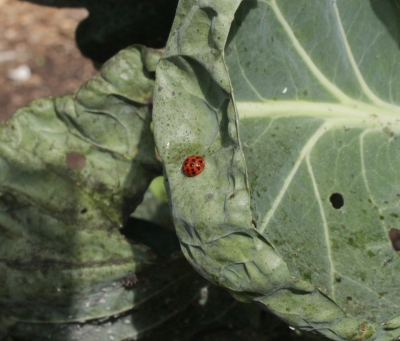
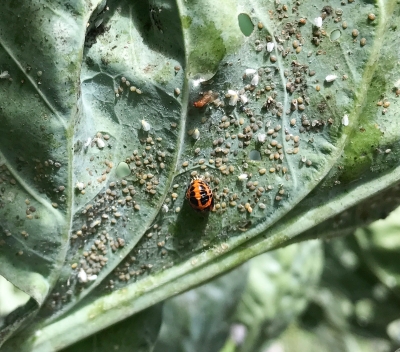
Peas, like other vegetables, should be rotated around the garden, that is, not planted in the same place again within 3 years. Crop rotation avoids the buildup of pest problems that overwinter in the ground. Without their host plants, they starve.
With this caveat, peas need temporary trellising, trellising that can follow them around the garden. Traditional temporary trellising for peas, and very British, are pea sticks. Looking quite charming, this trellis is made by merely sticking brushy twigs into the ground along the pea row. Pruning off branches sticking out perpendicular to the row leaves a flat plane of twigs up which the clinging vines can clamber.
The traditional pea trellis takes some time to set up and requires some time gathering a lot of suitable twigs.
Second Best Pea Trellis
I opt for the “second best pea trellis” which starts out by my pounding an old piece of inch-thick iron plumbing pipe into the ground at each end of my pea row. The trellis itself is chicken wire, each end of which I weave onto the pipes. The chicken wire can then be cut to the length of the row, or excess roll can just be left standing just beyond the pipe. The chicken wire slides down the pipes most easily if kept almost parallel to the ground, so I attach one end partway on one pipe, then the other end partway on the other pipe, and keep going back and forth easing the mesh down to the ground.
At this point, the trellis is quite floppy. I strengthen it with some of those inexpensive, fiberglass posts sold for electric fencing, weaving one of these posts into the chicken wire every three feet or so and then pushing it into the ground.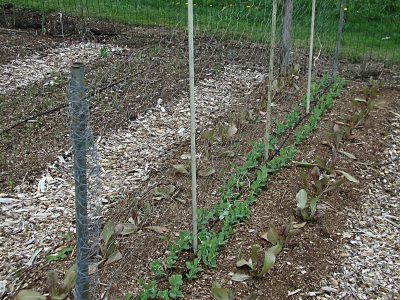
Presto! In about fifteen minutes, I’ve erected a serviceable and inexpensive pea fence. This fence can be erected just after the peas emerge through the soil, so what it lacks in beauty it makes up for by spending little time uncovered with pea vines. After pea harvest is over, I pull the vines down off the trellis and dismantle the fence in a reversal of the steps described. The fence, not being permanent, can move around the garden to a different location each spring — just as should the peas.


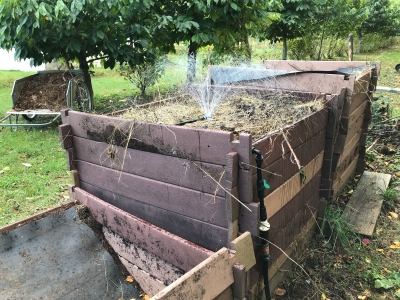

 A one to two inches deep layer smothers most weeds sprouting from seeds as well as provides nourishment for multiple waves of vegetable plants — for a whole year! (Also provides food and habitat for beneficial soil organisms, protects the surface from washing, and increases the soil’s ability to hold on to both air and moisture.)