
WHAT I LEARNED ABOUT BRUSSELS SPROUTS
Sprout Success
Years ago, a friend referred to Brussels sprouts as “little green balls of death;” that never exactly increased the gustatory appeal of this vegetable for me. The same could be said for “a little boiled to death,” a too common way of preparing the vegetable, and perhaps that’s what the friend had actually said.
Still, I’m always up for a horticultural challenge, even if I had never had success with Brussels sprouts. What does “lack of success” mean with Brussels sprouts? Dime-size sprouts.
Sit tight. This season my Brussels sprouts are a roaring success, and I’m going to impart to you what I learned about growing this sometimes maligned vegetable. Or, at least, what I did differently this year, which was a few things, so I’m not sure whether one or more of them was responsible for my achievement. It could even have been the weather, which I had no hand in.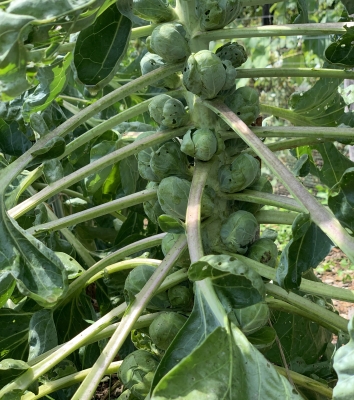
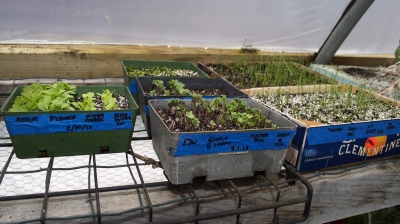
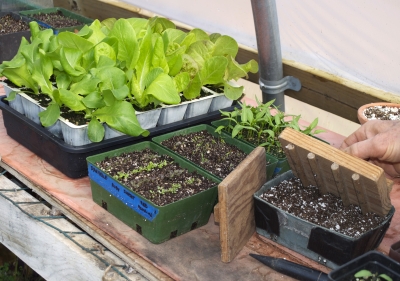
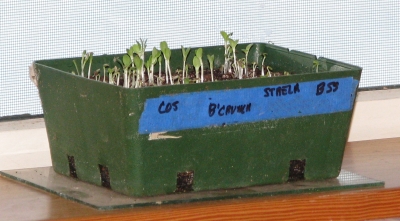
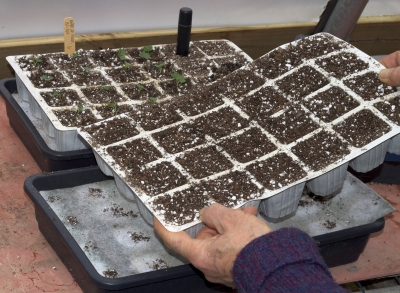
Brussels sprouts is a very long season vegetable, so seeds need to be sown in spring for a fall harvest. Check. I planted mine back indoors in March for transplanting in May. They could have been sown a little later, at some sacrifice of yield.
A big difference in what I did this year was that the seeds that I sowed were those of a new variety, Catskill. Although a new variety for me, Catskill is actually an old variety, first introduced in 1941 by Arthur White, of Arkport, New York. It’s billed as yielding especially large sprouts (yes) on compact stalks (nope). In previous years I grew Gustus, Hestia, and Prince Marvel, and all were duds for me.
The Catskill mountains are only an hour’s drive away from my farmden, which perhaps explains my success with the same-named variety. But, as they often say (quietly) in advertising, “your results may differ.” My suggestion is to try a few varieties until you find one that does well wherever you garden or farmden.
Brussels sprouts requires a rich, near neutral soil high in organic matter. Check. My Brussels sprouts beds have always received, as do my other vegetable beds, an annual dressing of a one-inch depth of compost. Decomposition of compost enriches the soil with a variety of nutrients, including nitrogen.
Still, another big difference in what I did this year was to give my plants an extra oomph with, in addition to the compost, a sprinkling (1 pound per 100 square feet) of soybean meal, an organic source of nitrogen.
In anticipation or hope of large plants, each Brussels sprouts plant was afforded plenty of elbow room this year, with plants two-and-a-half feet apart down the middle of the three-foot-wide bed. They were flanked on each side by a single row of early carrots which, I figured, would be harvested and out of the way by the time the Brussels sprouts plants were spreading their wings (leaves).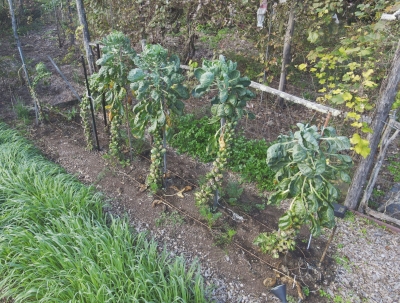
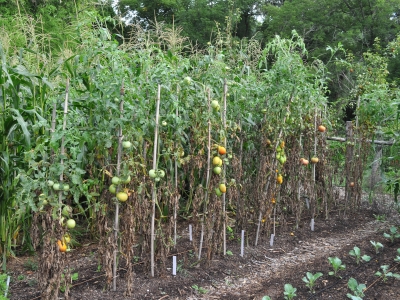
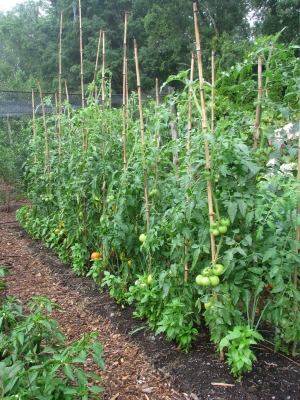
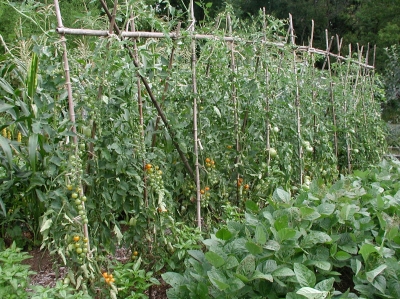
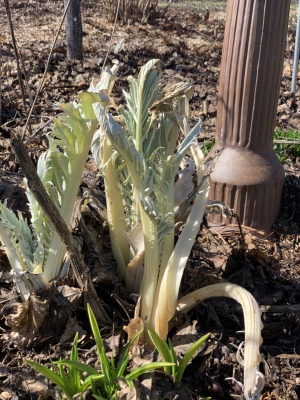
My previous efforts with Brussels sprouts always resulted in three-foot-high plants that, early in their youth, flopped to the ground. Only after a plant’s supine stem had created a firm base would the end of its growing stem curve more or less upward, according to original plan. That youthful waywardness wasted and muddied lowermost sprouts, with the sprawling plant demanding even more space, which was a problem in my intensively-planted garden.
This year each plant had the companionship of a sturdy metal pole right from the get-go. Loops of string around the stalks and the stakes kept up with the plants’ upward mobility.
Pest Alert
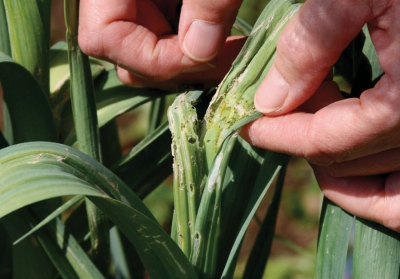
Finally, and very important, is pest control, specifically of any one of the few leaf-eating caterpillars, colloquially called cabbage worms, which are the offspring of of those cheery, white moths that flutter among the plants on sunny days. The caterpillars also attack broccoli, cabbage, and cauliflower, all relatives in the cabbage family (Brassicaceae).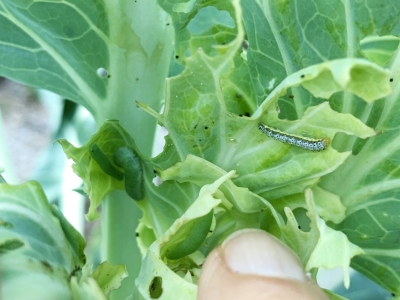
A very effective and nontoxic to most creatures (including to you and to me) control is spraying with Bacillus thuringienses, a naturally-occurring bacterium extracted from the soil. This material is more easily remembered under the name Bt, packaged up under such commercial names as Thuricide, Dipel, and Monterey B.t.
I checked the plants frequently through the growing season, at first just crushing any caterpillars I found and, only when the damage was getting severe, resorting to the spray. Cabbageworms, like any pest, can develop resistance to most pesticides, more likely the more that is used.
GMO. No
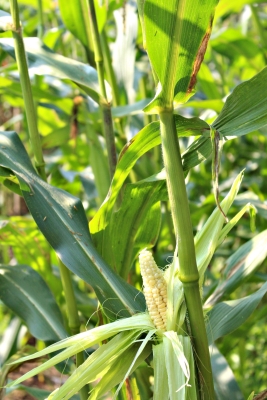
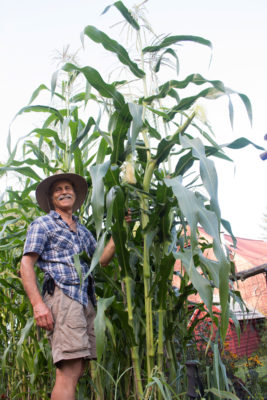
As an aside, that potential resistance of a pest to Bt is a problem with crops developed as genetically modified organisms wit Bt toxins. Almost all commercial corn and cotton have been genetically engineered in this way; the genetic material has also been incorporated into cotton, potato, rice, eggplant, canola, tomato, broccoli, collards, chickpea, spinach, soybean, tobacco, and cauliflower.
The problem arises because a field of plants expressing the Bt toxins is akin to that whole field being sprayed with Bt all season long. There is evidence of the development of resistance to Bt by insect pests of the genetically modified crop plants.

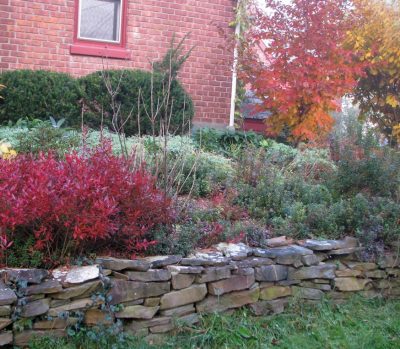
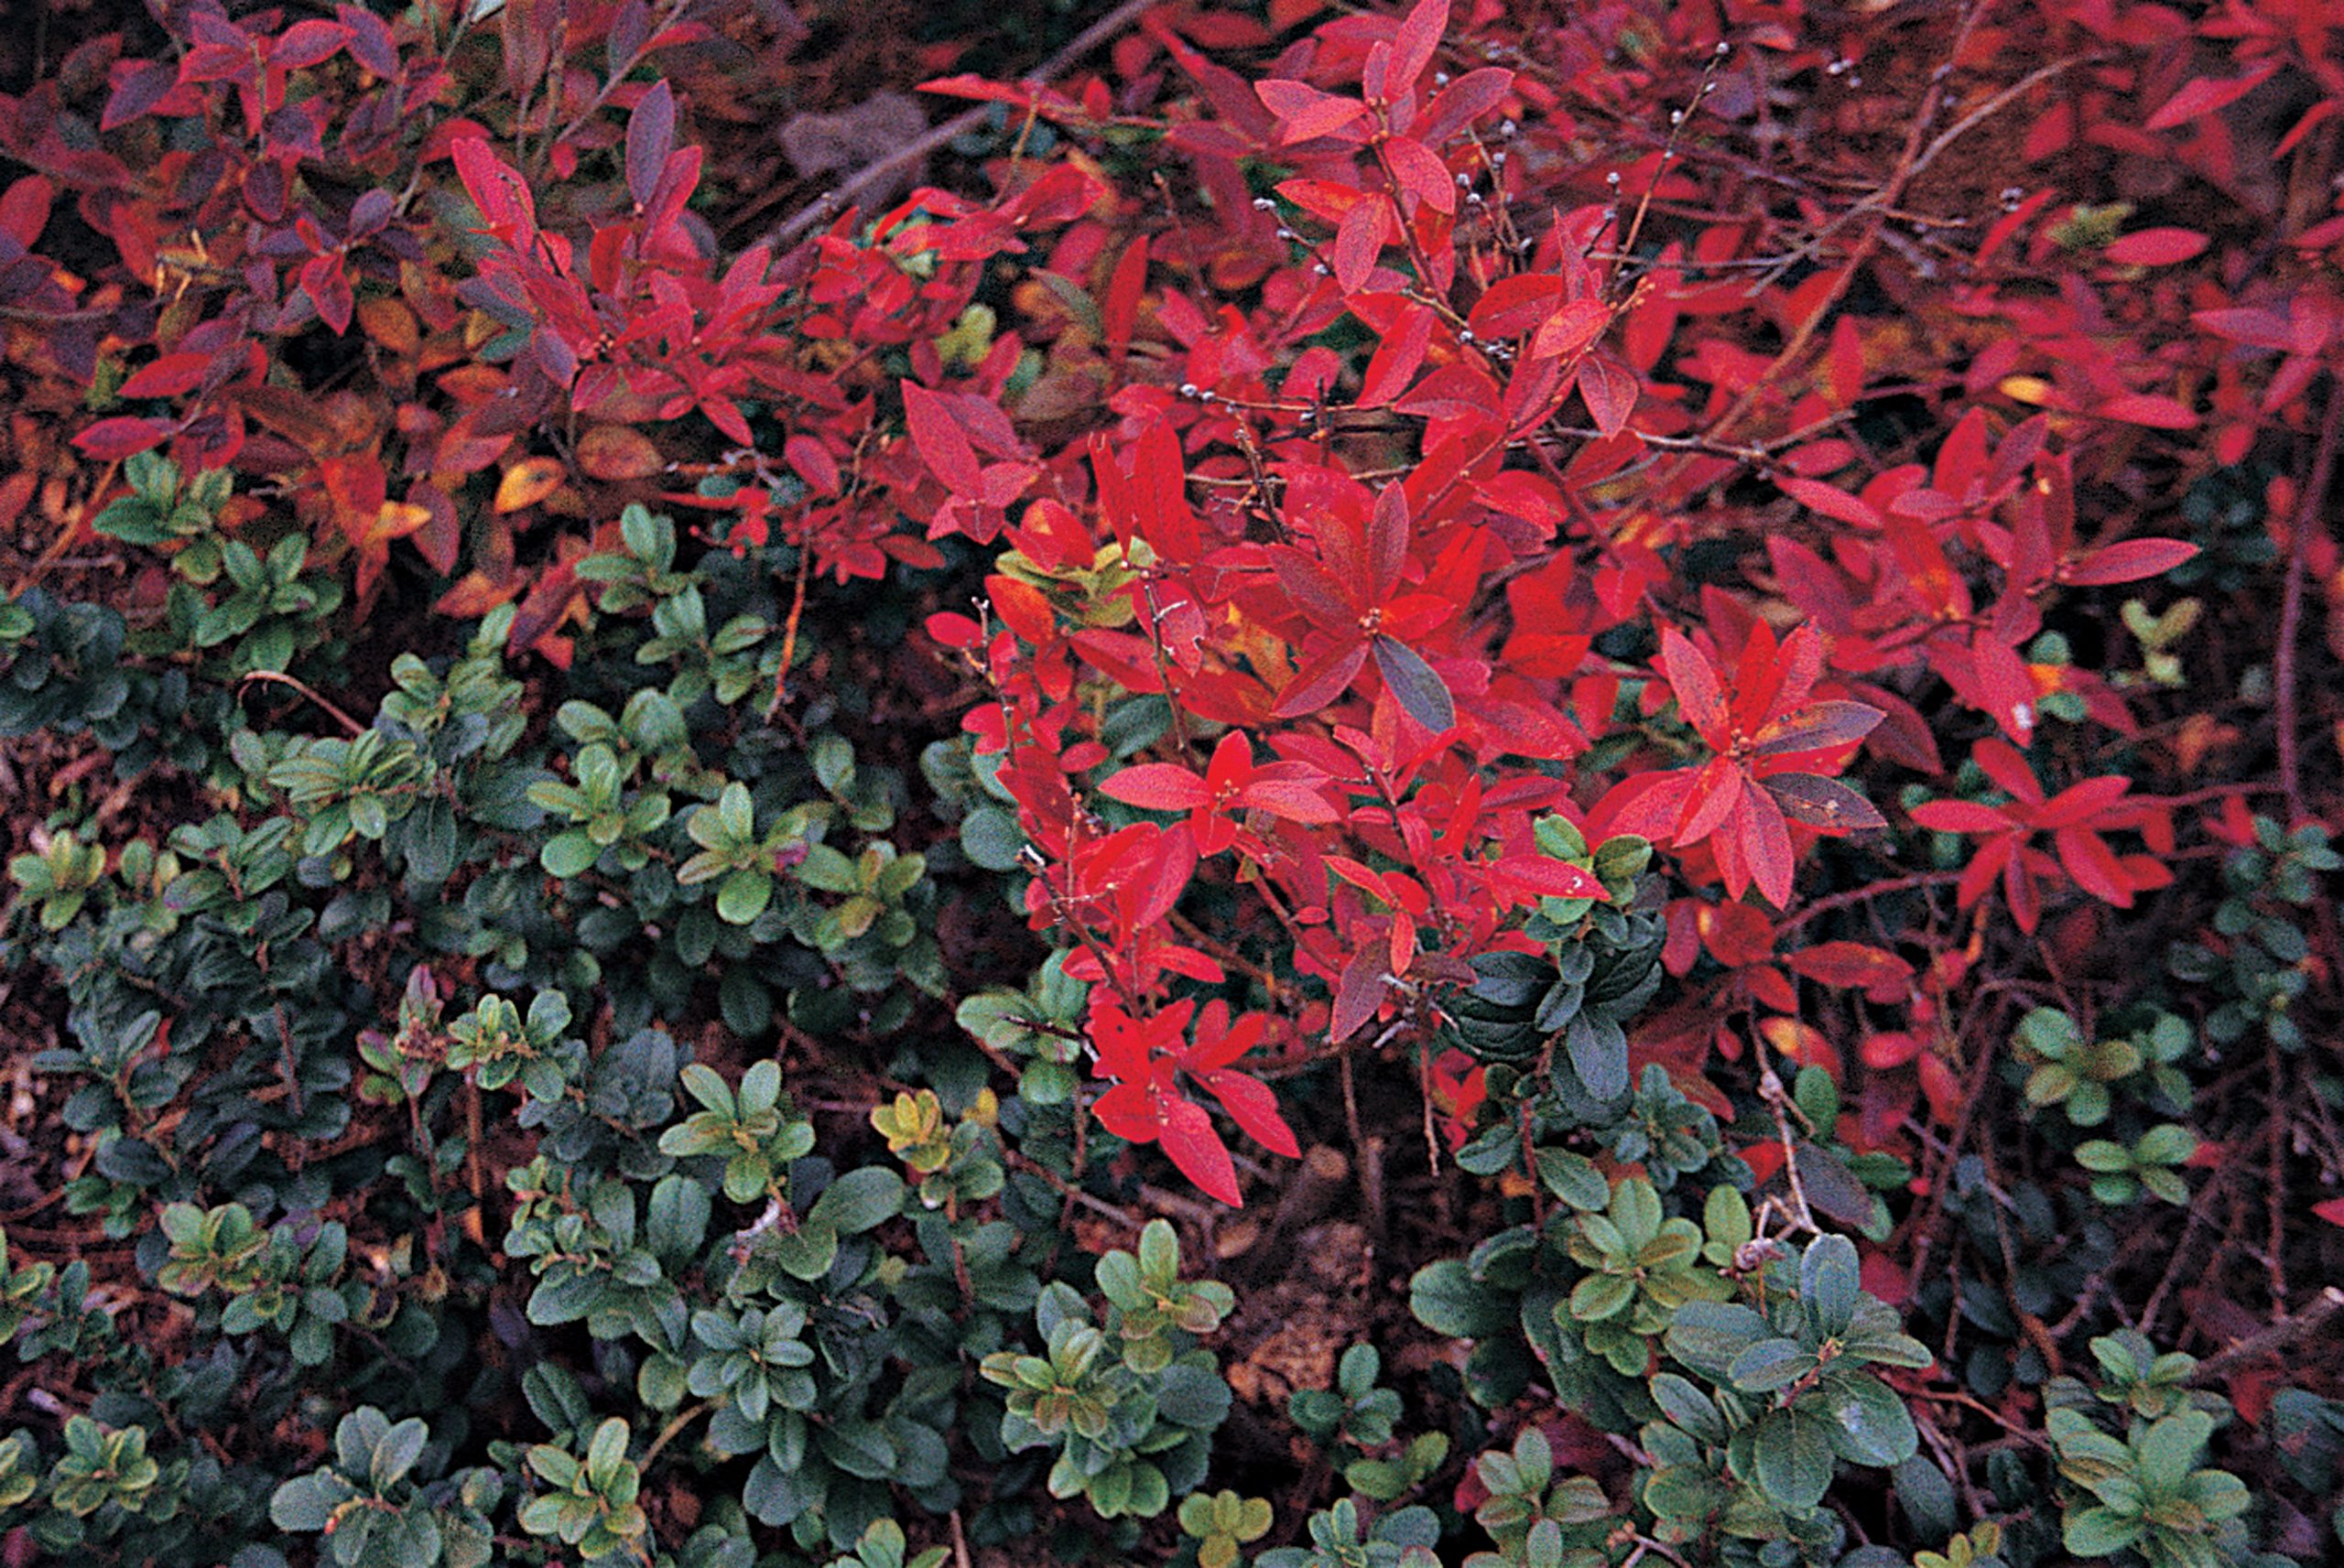
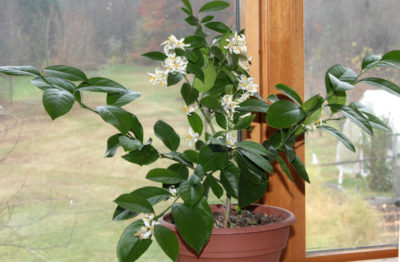
 I’ve invited a few non-family members into the bed. Most notable are a witchhazel that’s covered in fragrant, yellow blossoms in late winter and a stewartia that is now spreading open the white petals of its camellia-like blossoms.
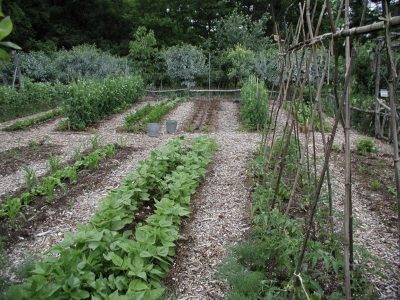


 (The cooler is an insulated room cooled with an air conditioner that has been tricked, with a device called
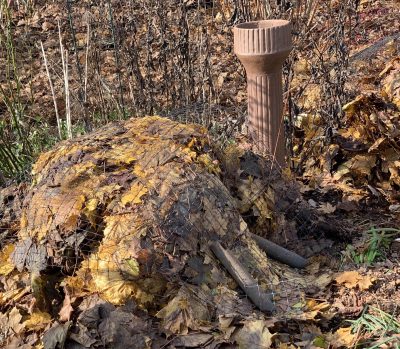
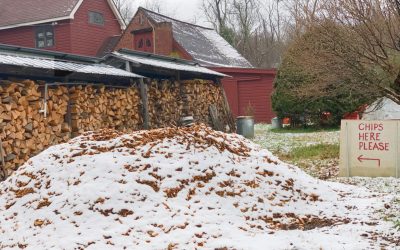 I figured I could spread it on the ground beneath some of my trees and shrubs, especially the youngest ones. There, next summer, the mulch would keep weeds at bay, slow evaporation of water from the ground, and feed soil life, in so doing enriching the soil with nutrients and organic matter.
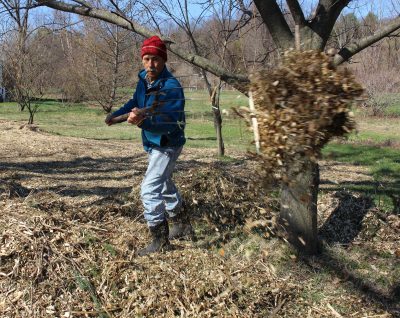 Chips there are mostly to suppress weeds which thrived with last season’s unusually abundant rainfall and to soften, by spreading out, the impact of footfall on the paths. I generally “chip the paths” every couple of years at a minimum if for nothing more so that the height of the paths keeps up with the rising height of the vegetable beds which get — and already got, at the end of this season — a one-inch deep blanket of compost annually. (Besides the usual benefits of mulches, the compost provides enough nutrients for the intensively planted vegetables for the whole season. No fertilizer per se is needed.)
 Like the stems of any other plant, a strawberry stem each year grows longer from its tip and also grows side shoots. So a strawberry stem rises ever so slowly higher up out of the soil each year.
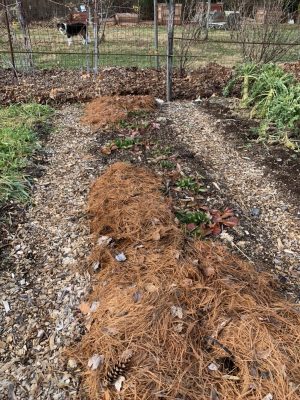 Mulching too early might cause the stems to rot. I typically wait until the ground has frozen about an inch deep which usually occurs towards the end of December here, and then cover the plants with about an inch depth of wood shavings.
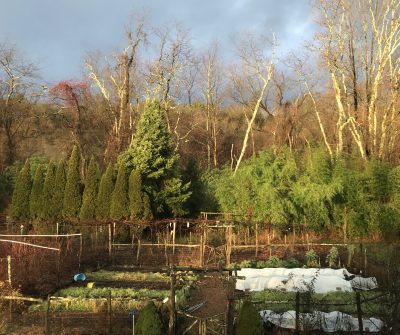
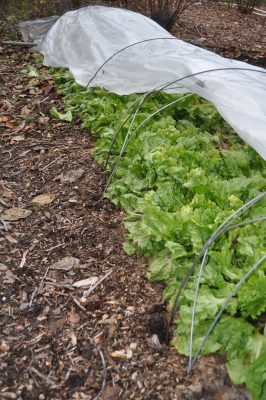
 Only the slightest hint of bitterness remains, enough to make the taste more lively — delicious in salads, soups, and sandwiches.
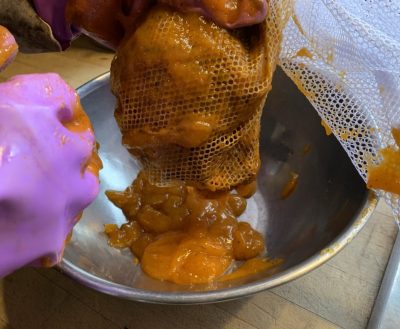 the pulp without seeds. No sweetener needed. Just jar it up and refrigerate (keeps about 2 weeks) or freeze. Delicious.