BACK TO THE FUTURE
What’s Not to Like About Gardening
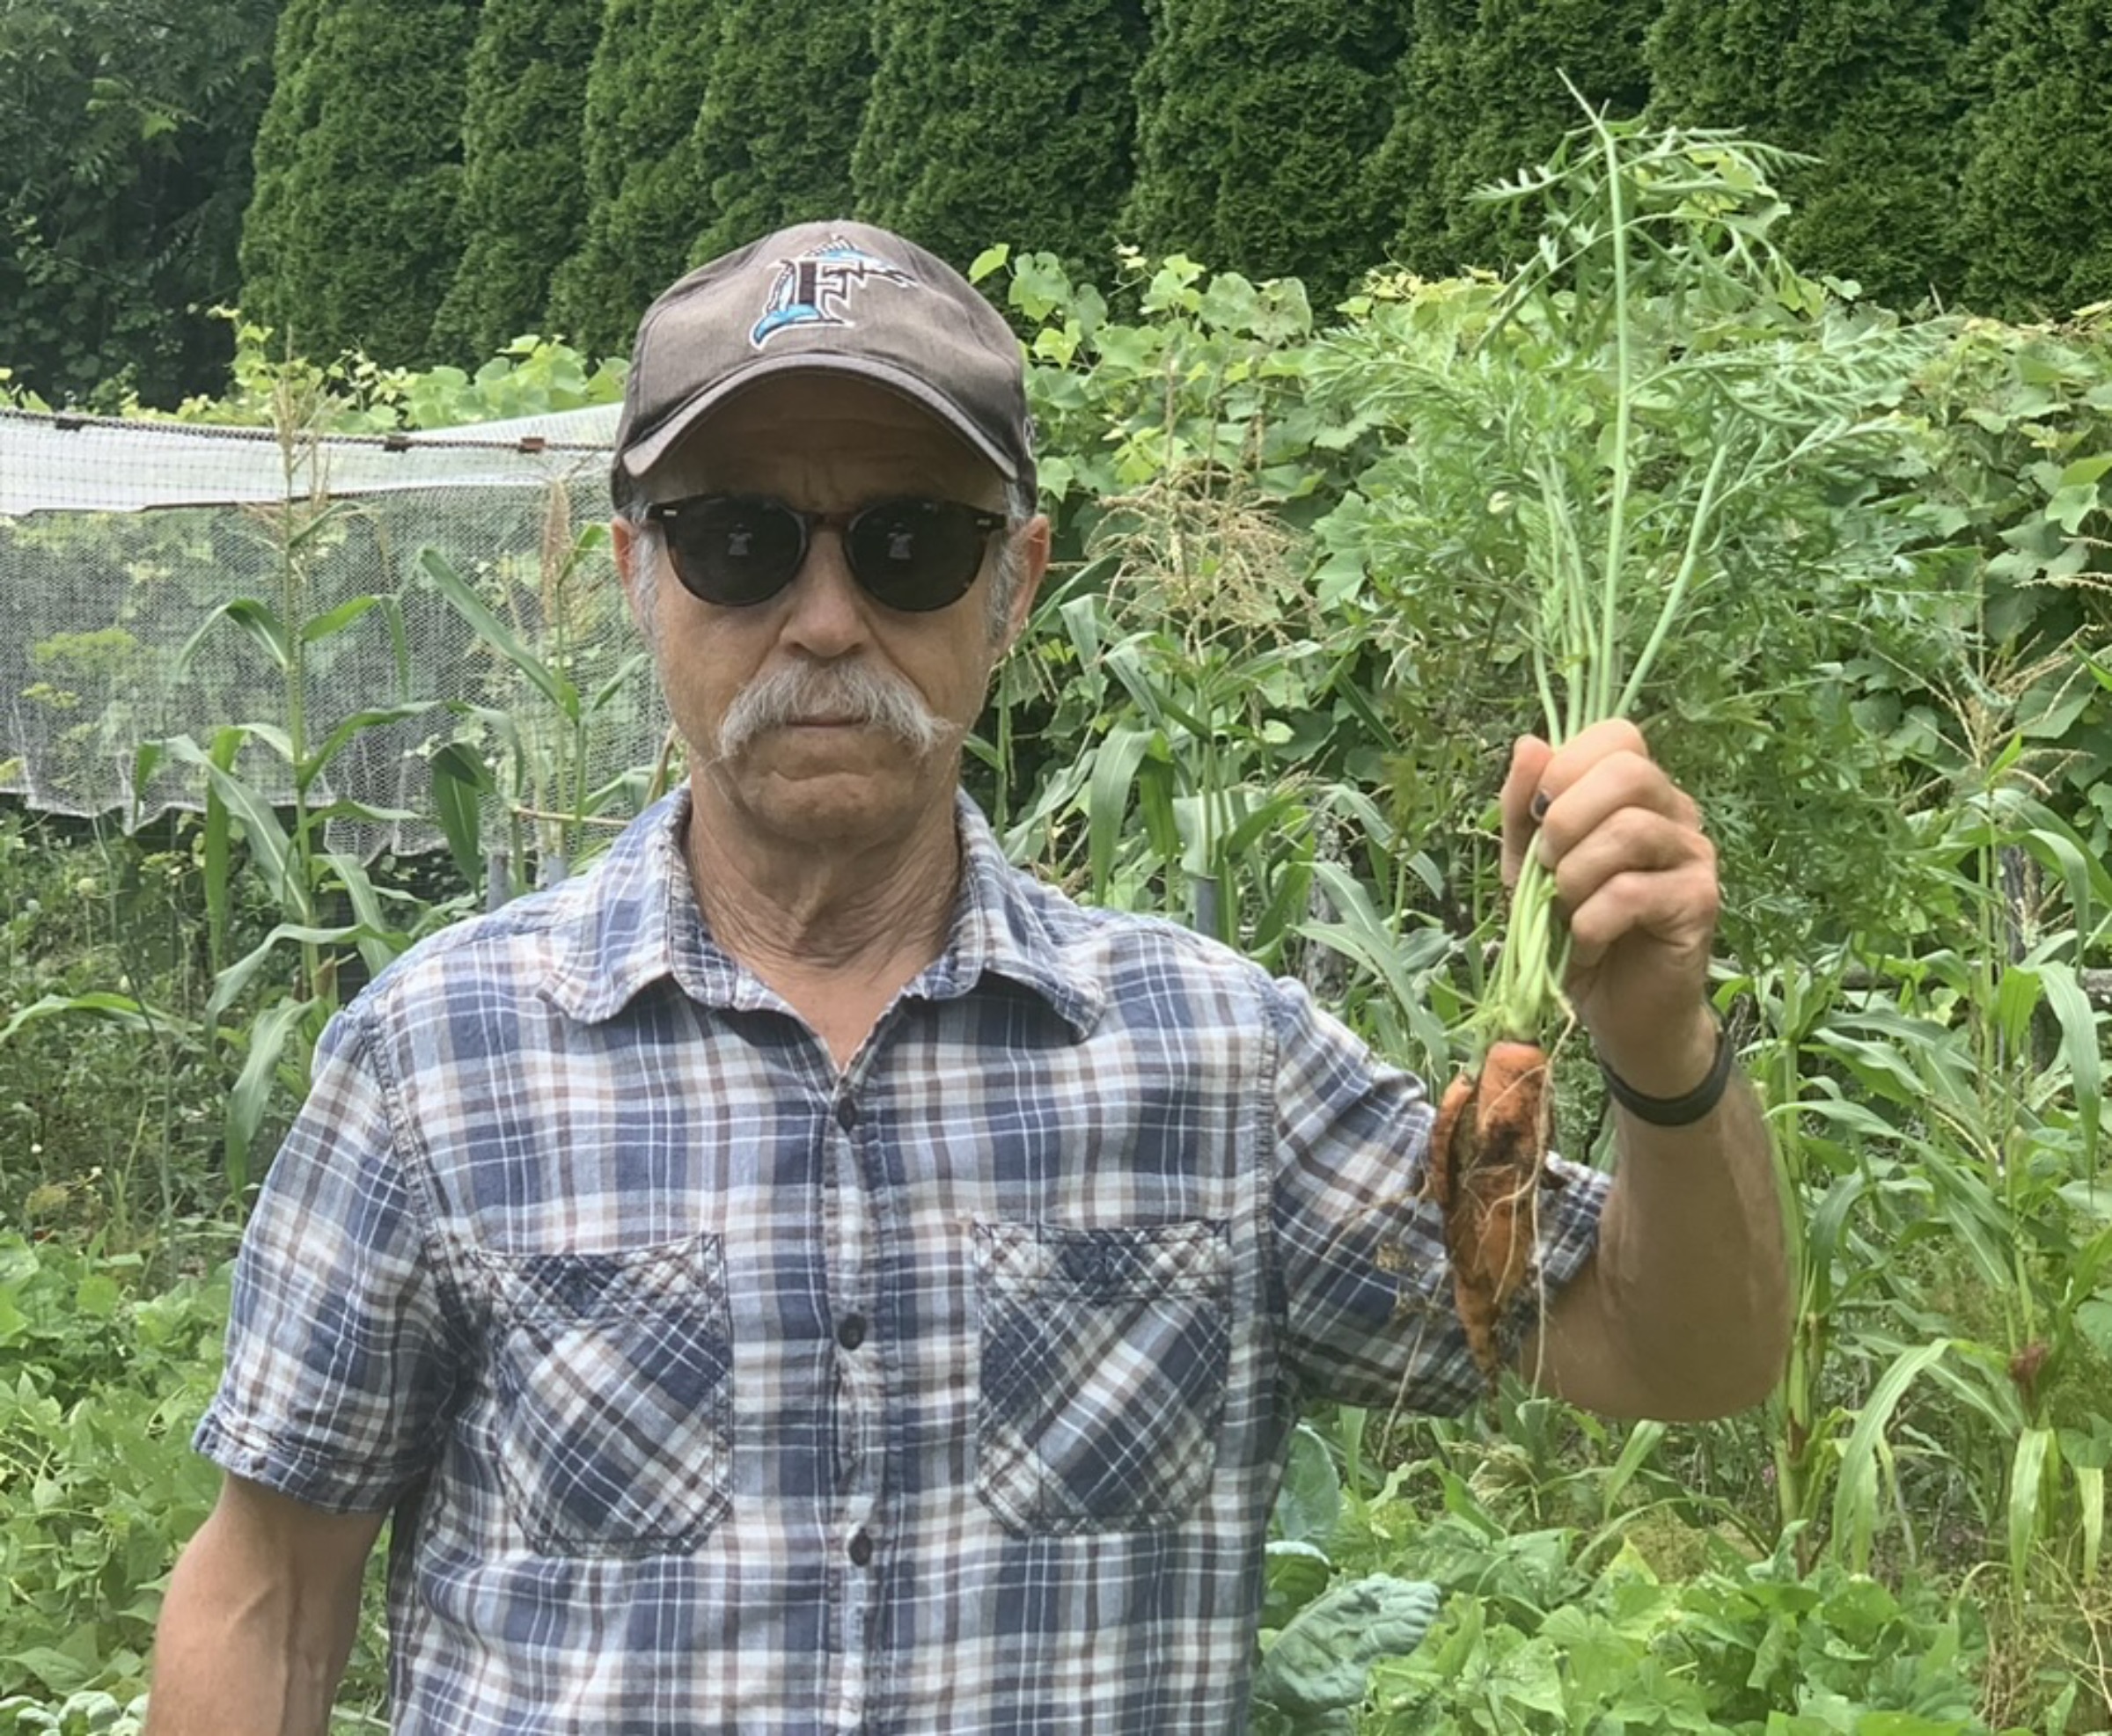
If there’s one thing that irks me about gardening, it’s the necessity for too often having to think to the future. Always living in the moment just doesn’t cut it if you want to garden well.
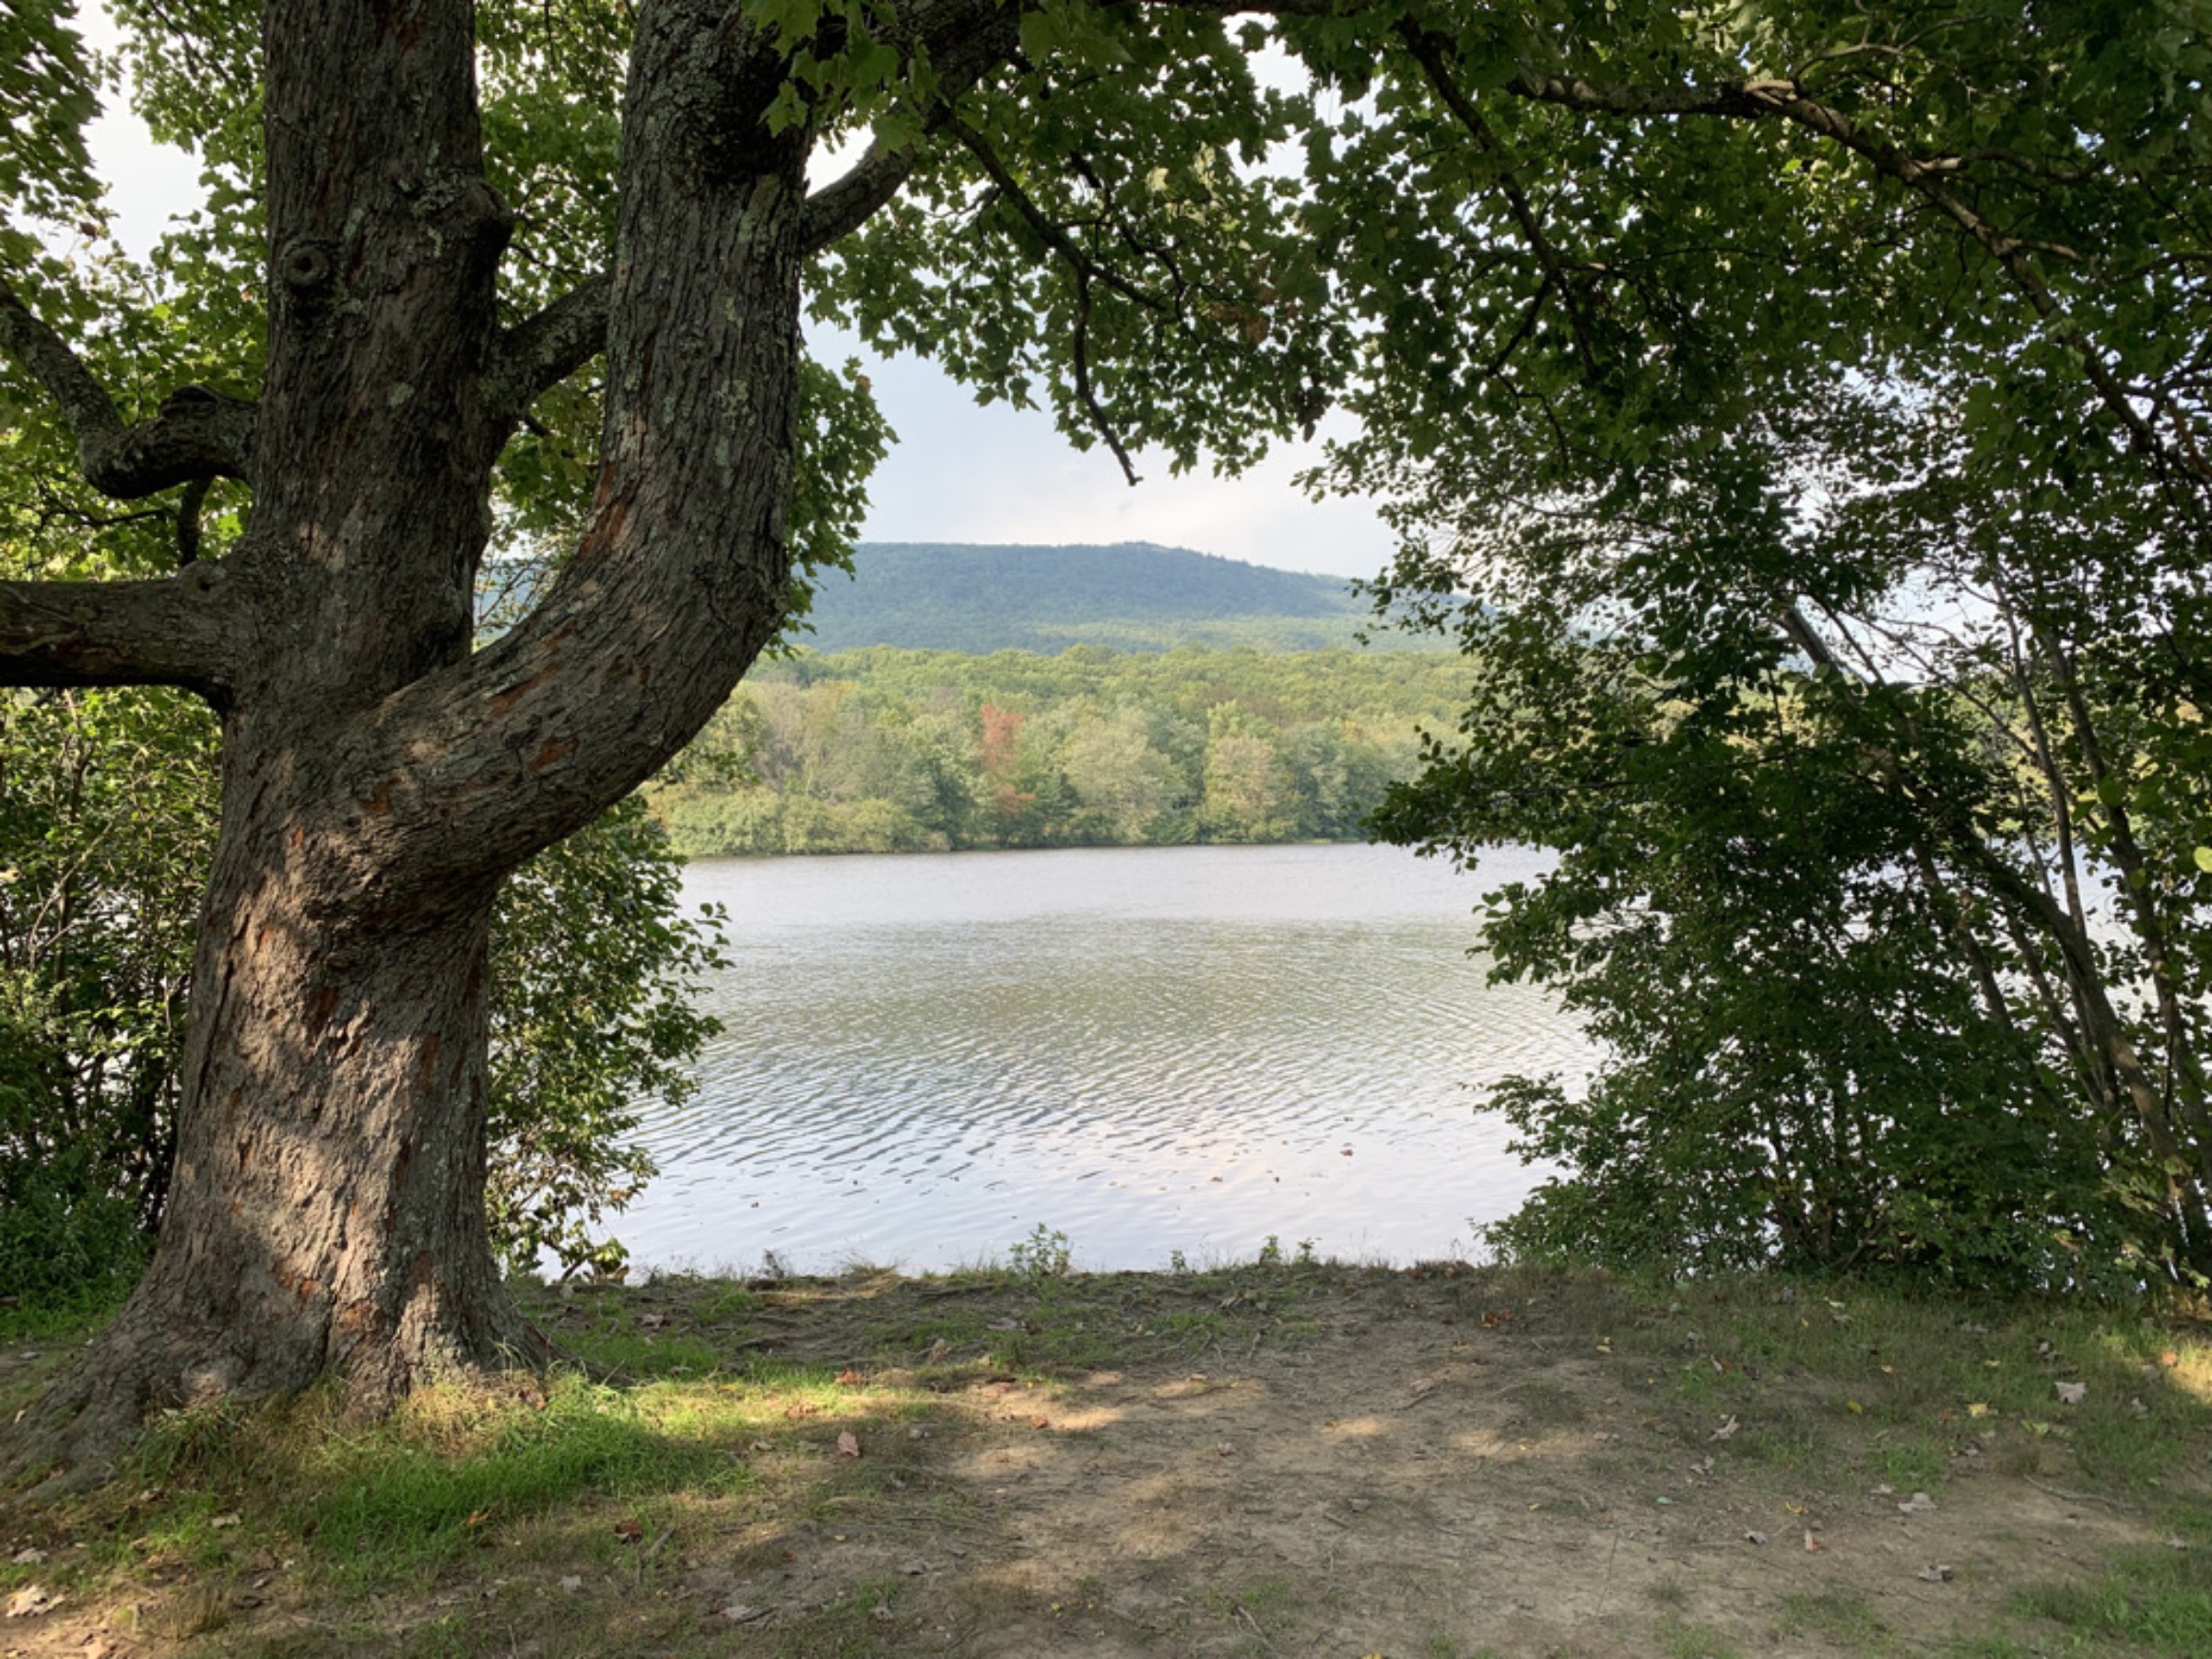
Yesterday, as I was swimming in a local lake enjoying, each time I turned my head for a breath of air, the sun beaming down on me and the view of cottony cumulus clouds hovering above green, forested mountains, my thoughts turned to autumn. I was reminding myself that now, in the summery middle of August, it was time to sow certain vegetable seeds.
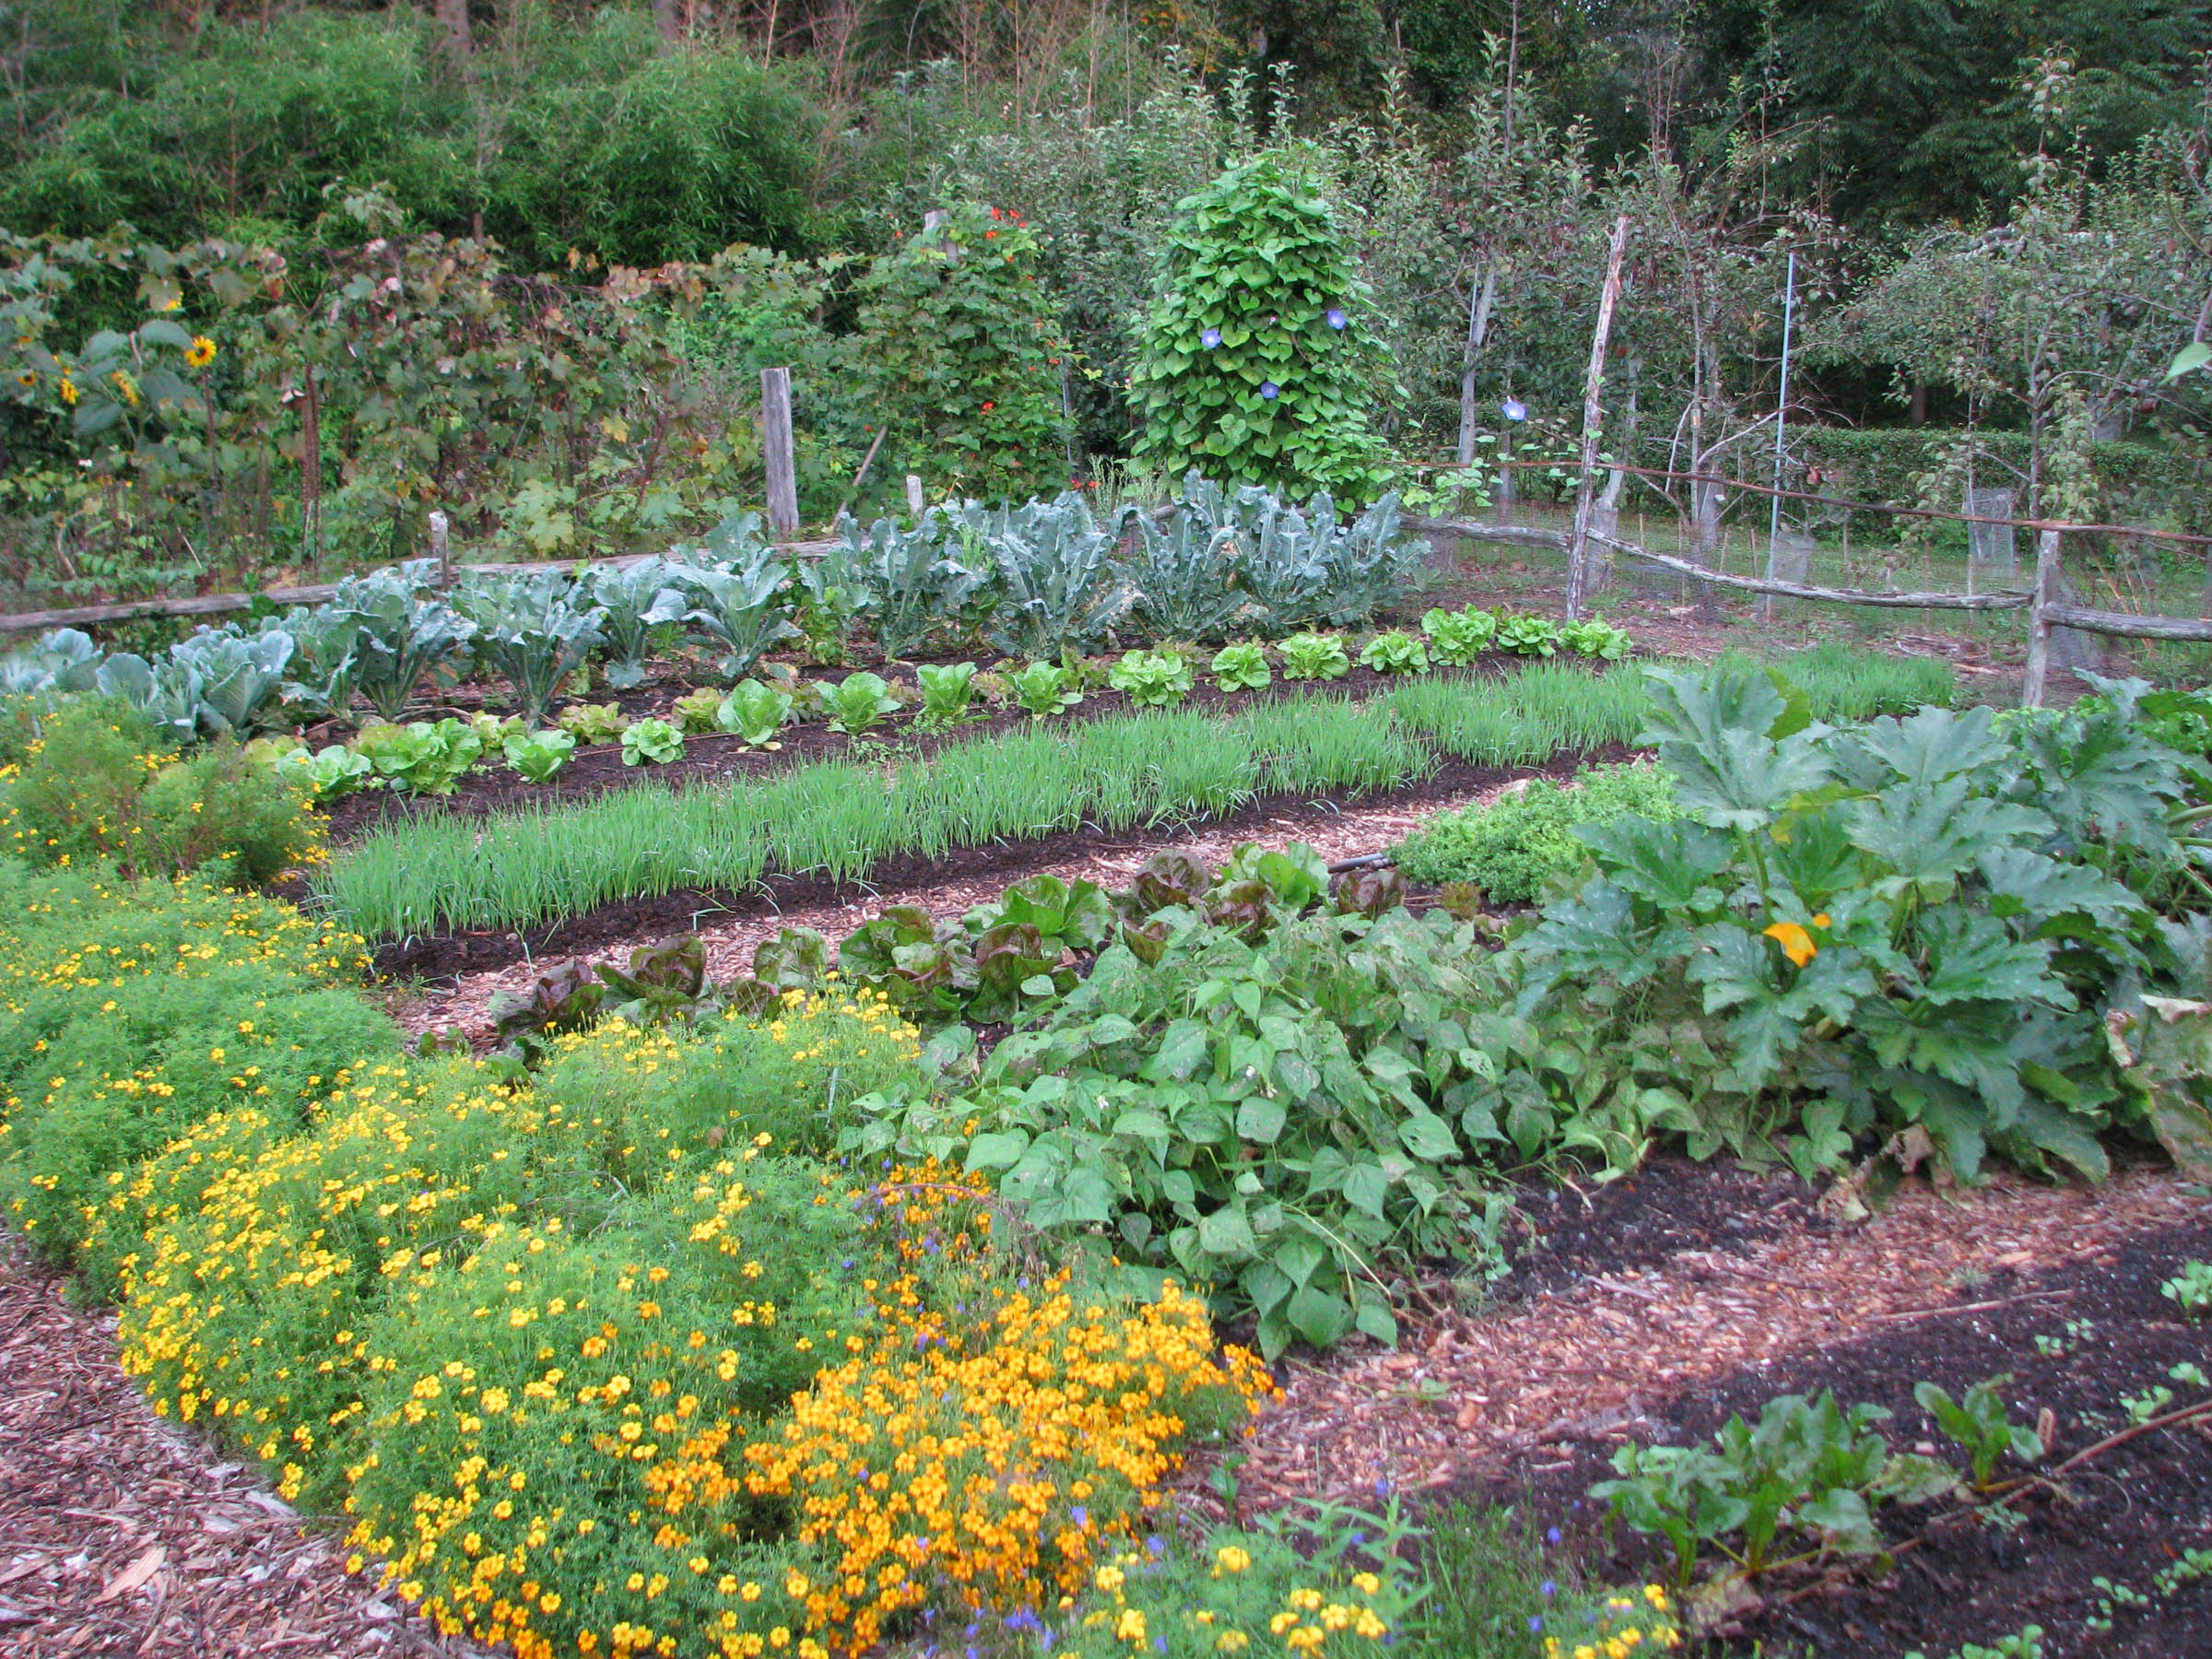
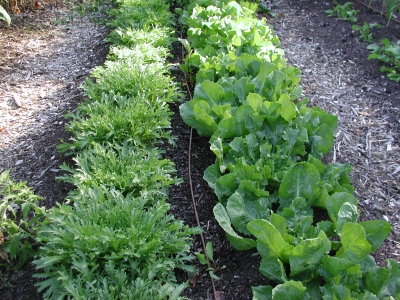
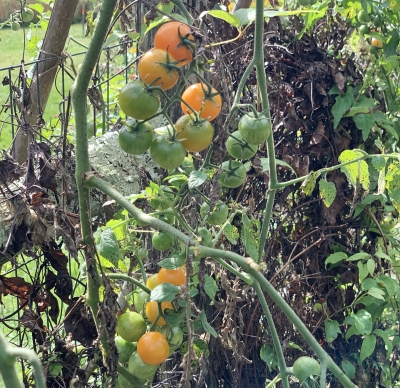
Soon after getting back to the farmden, I filled a couple of small flats with potting soil. In the first, I made four mini-furrows, and sprinkled in seeds of Little Jade, Purple Express, and Blues napa cabbage, and Shuko Pac Choi cabbage, one variety per mini-furrow. Into the other flat went a mini-furrow each of Cos, Buttercrunch, Pirat, and Outredgeous lettuce seed.
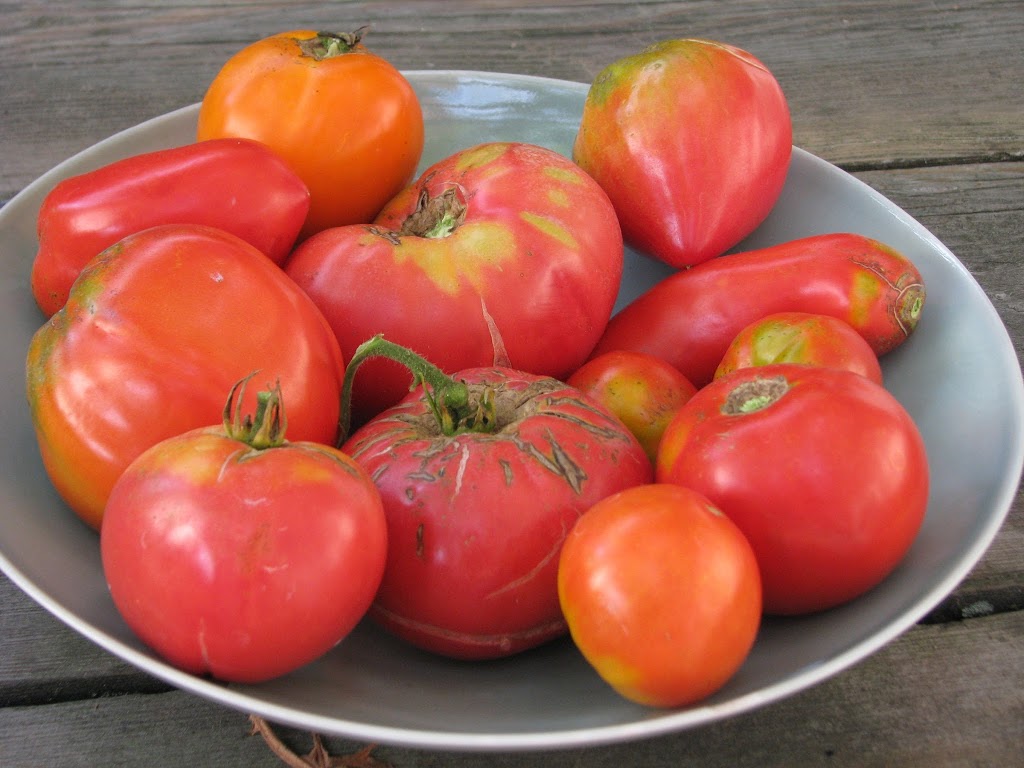
Except for the lettuce, none of those Chinese cabbages appeals to me right now. But much of gardening entails not going with your gut (literally and figuratively in this case). Read more