EASY RICHES
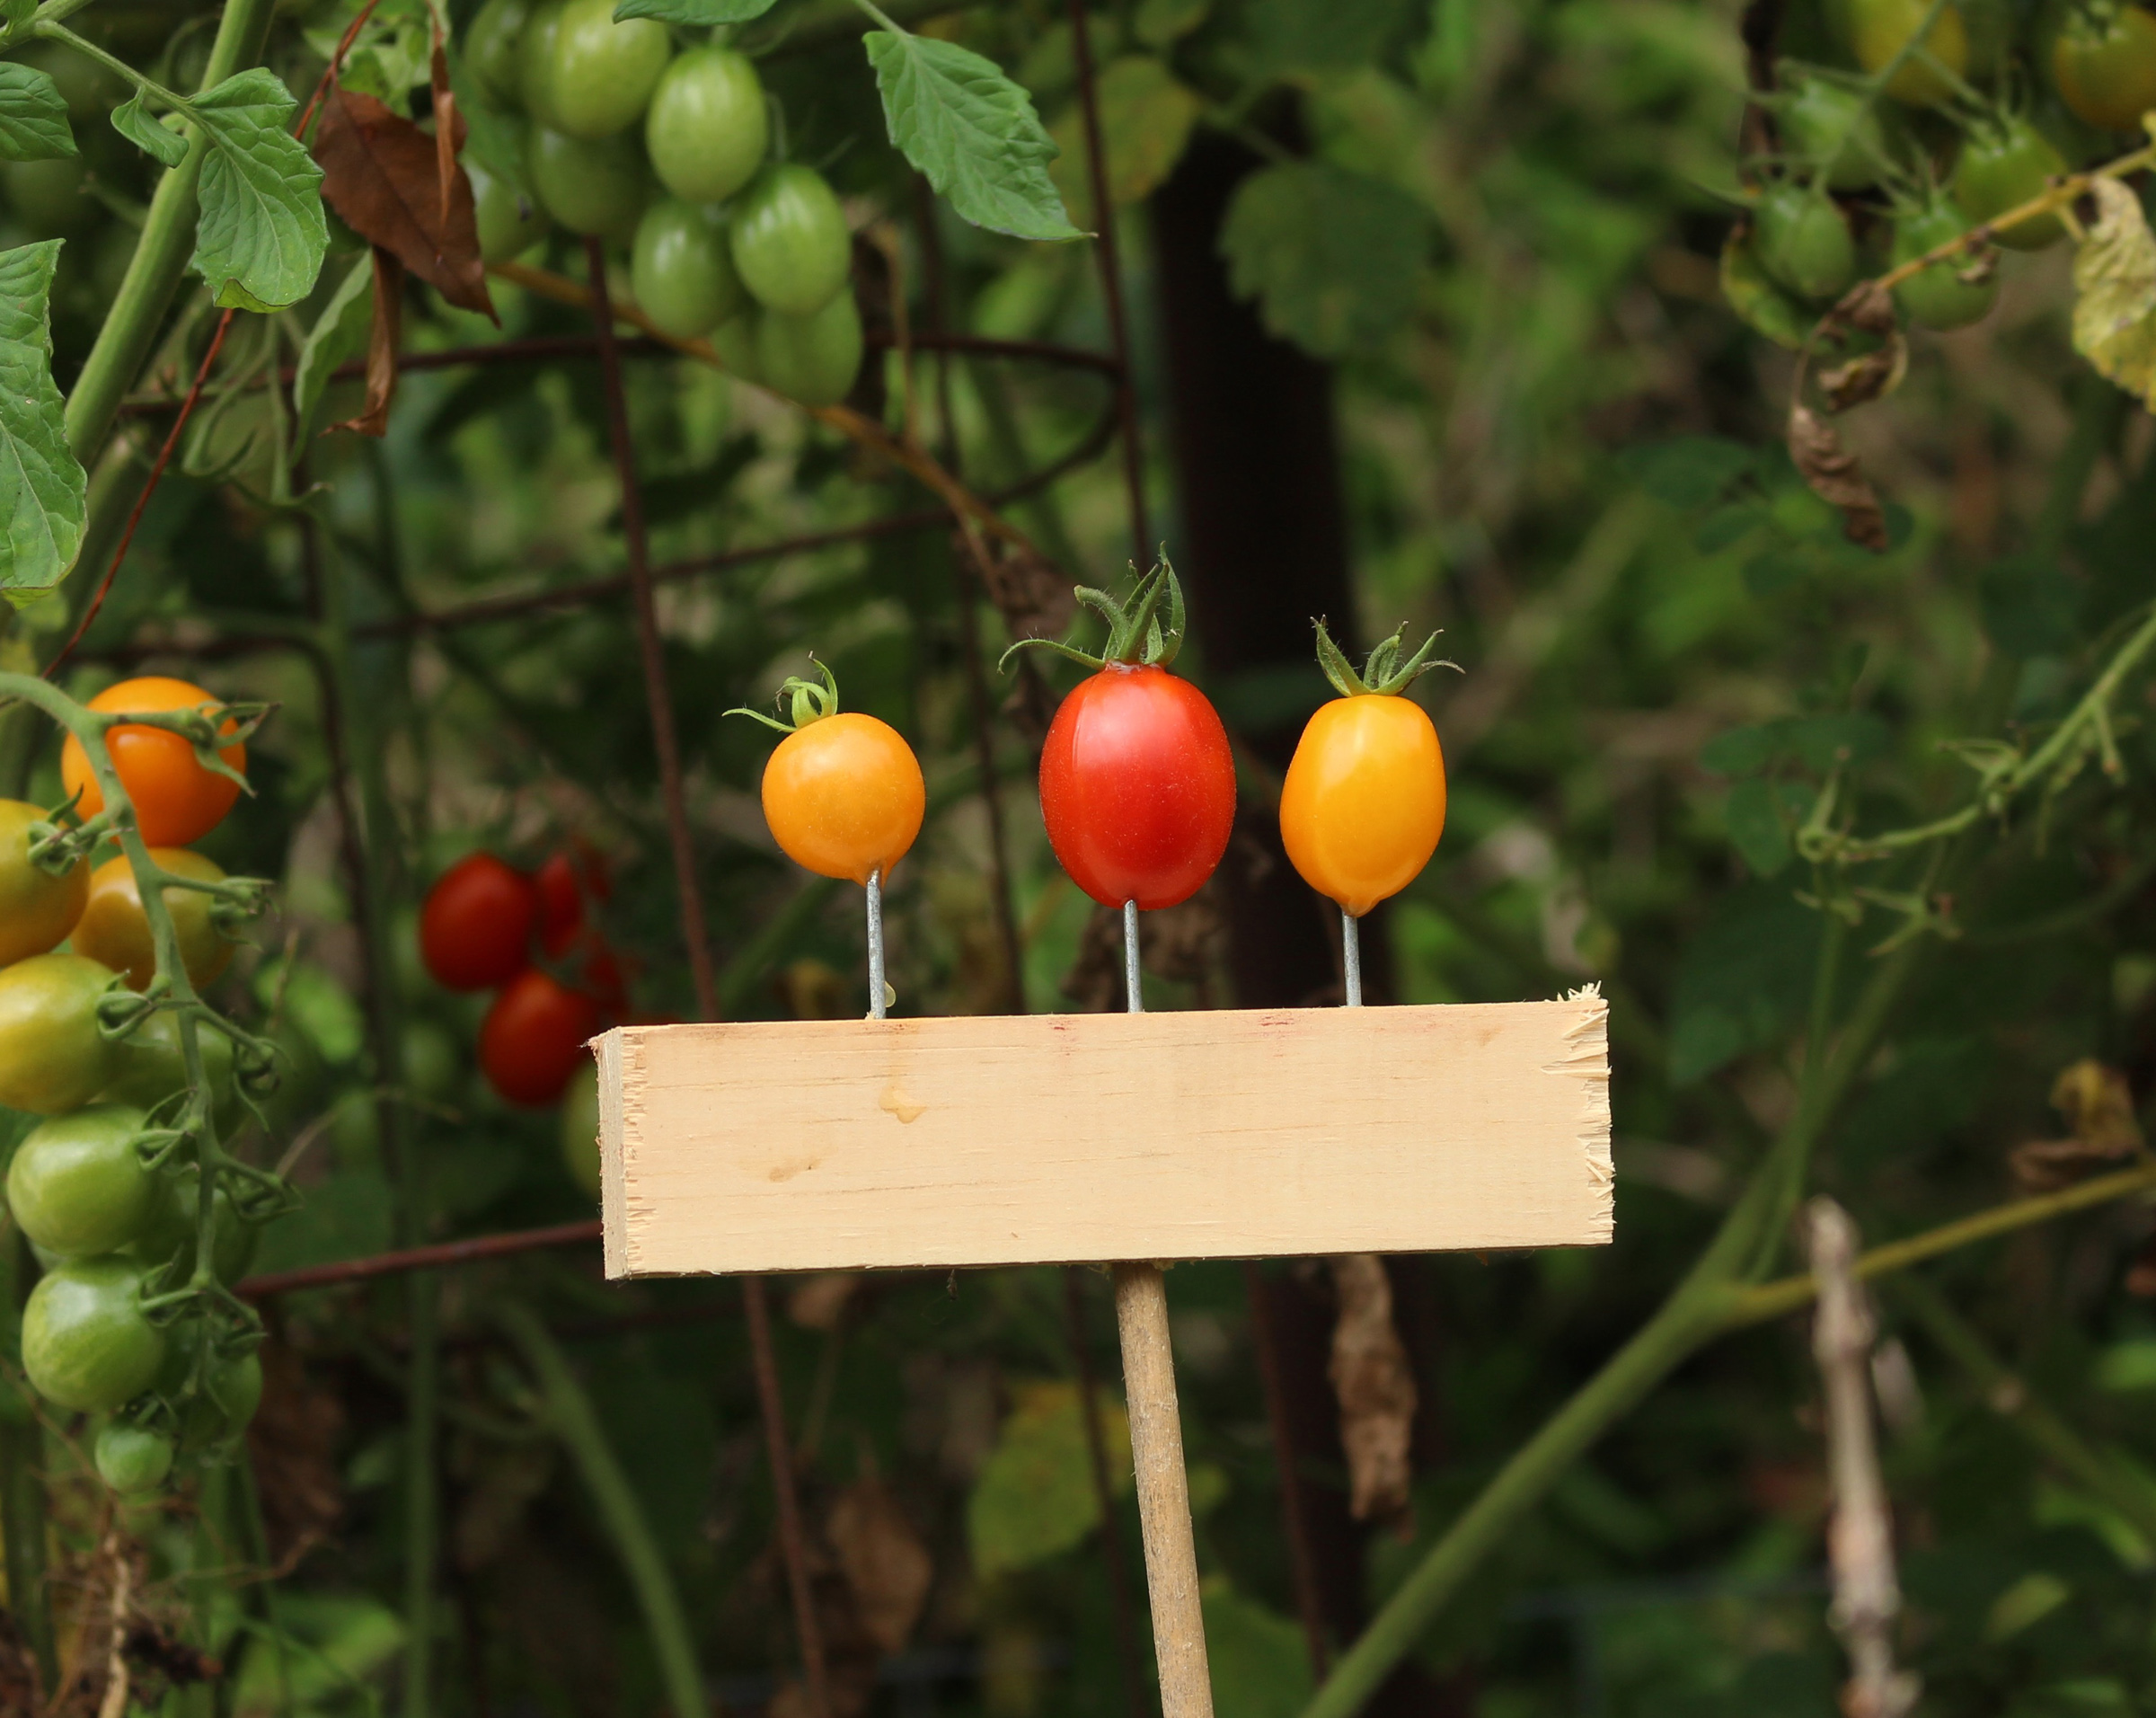
Tasteless Tinies
Truman Capote said something to the effect that the difference between the super-rich and the rest of us is that the super-rich eat tiny vegetables. So there’s another plus for gardening: It’s easy to be super-rich, or at least eat the way the super-rich do.
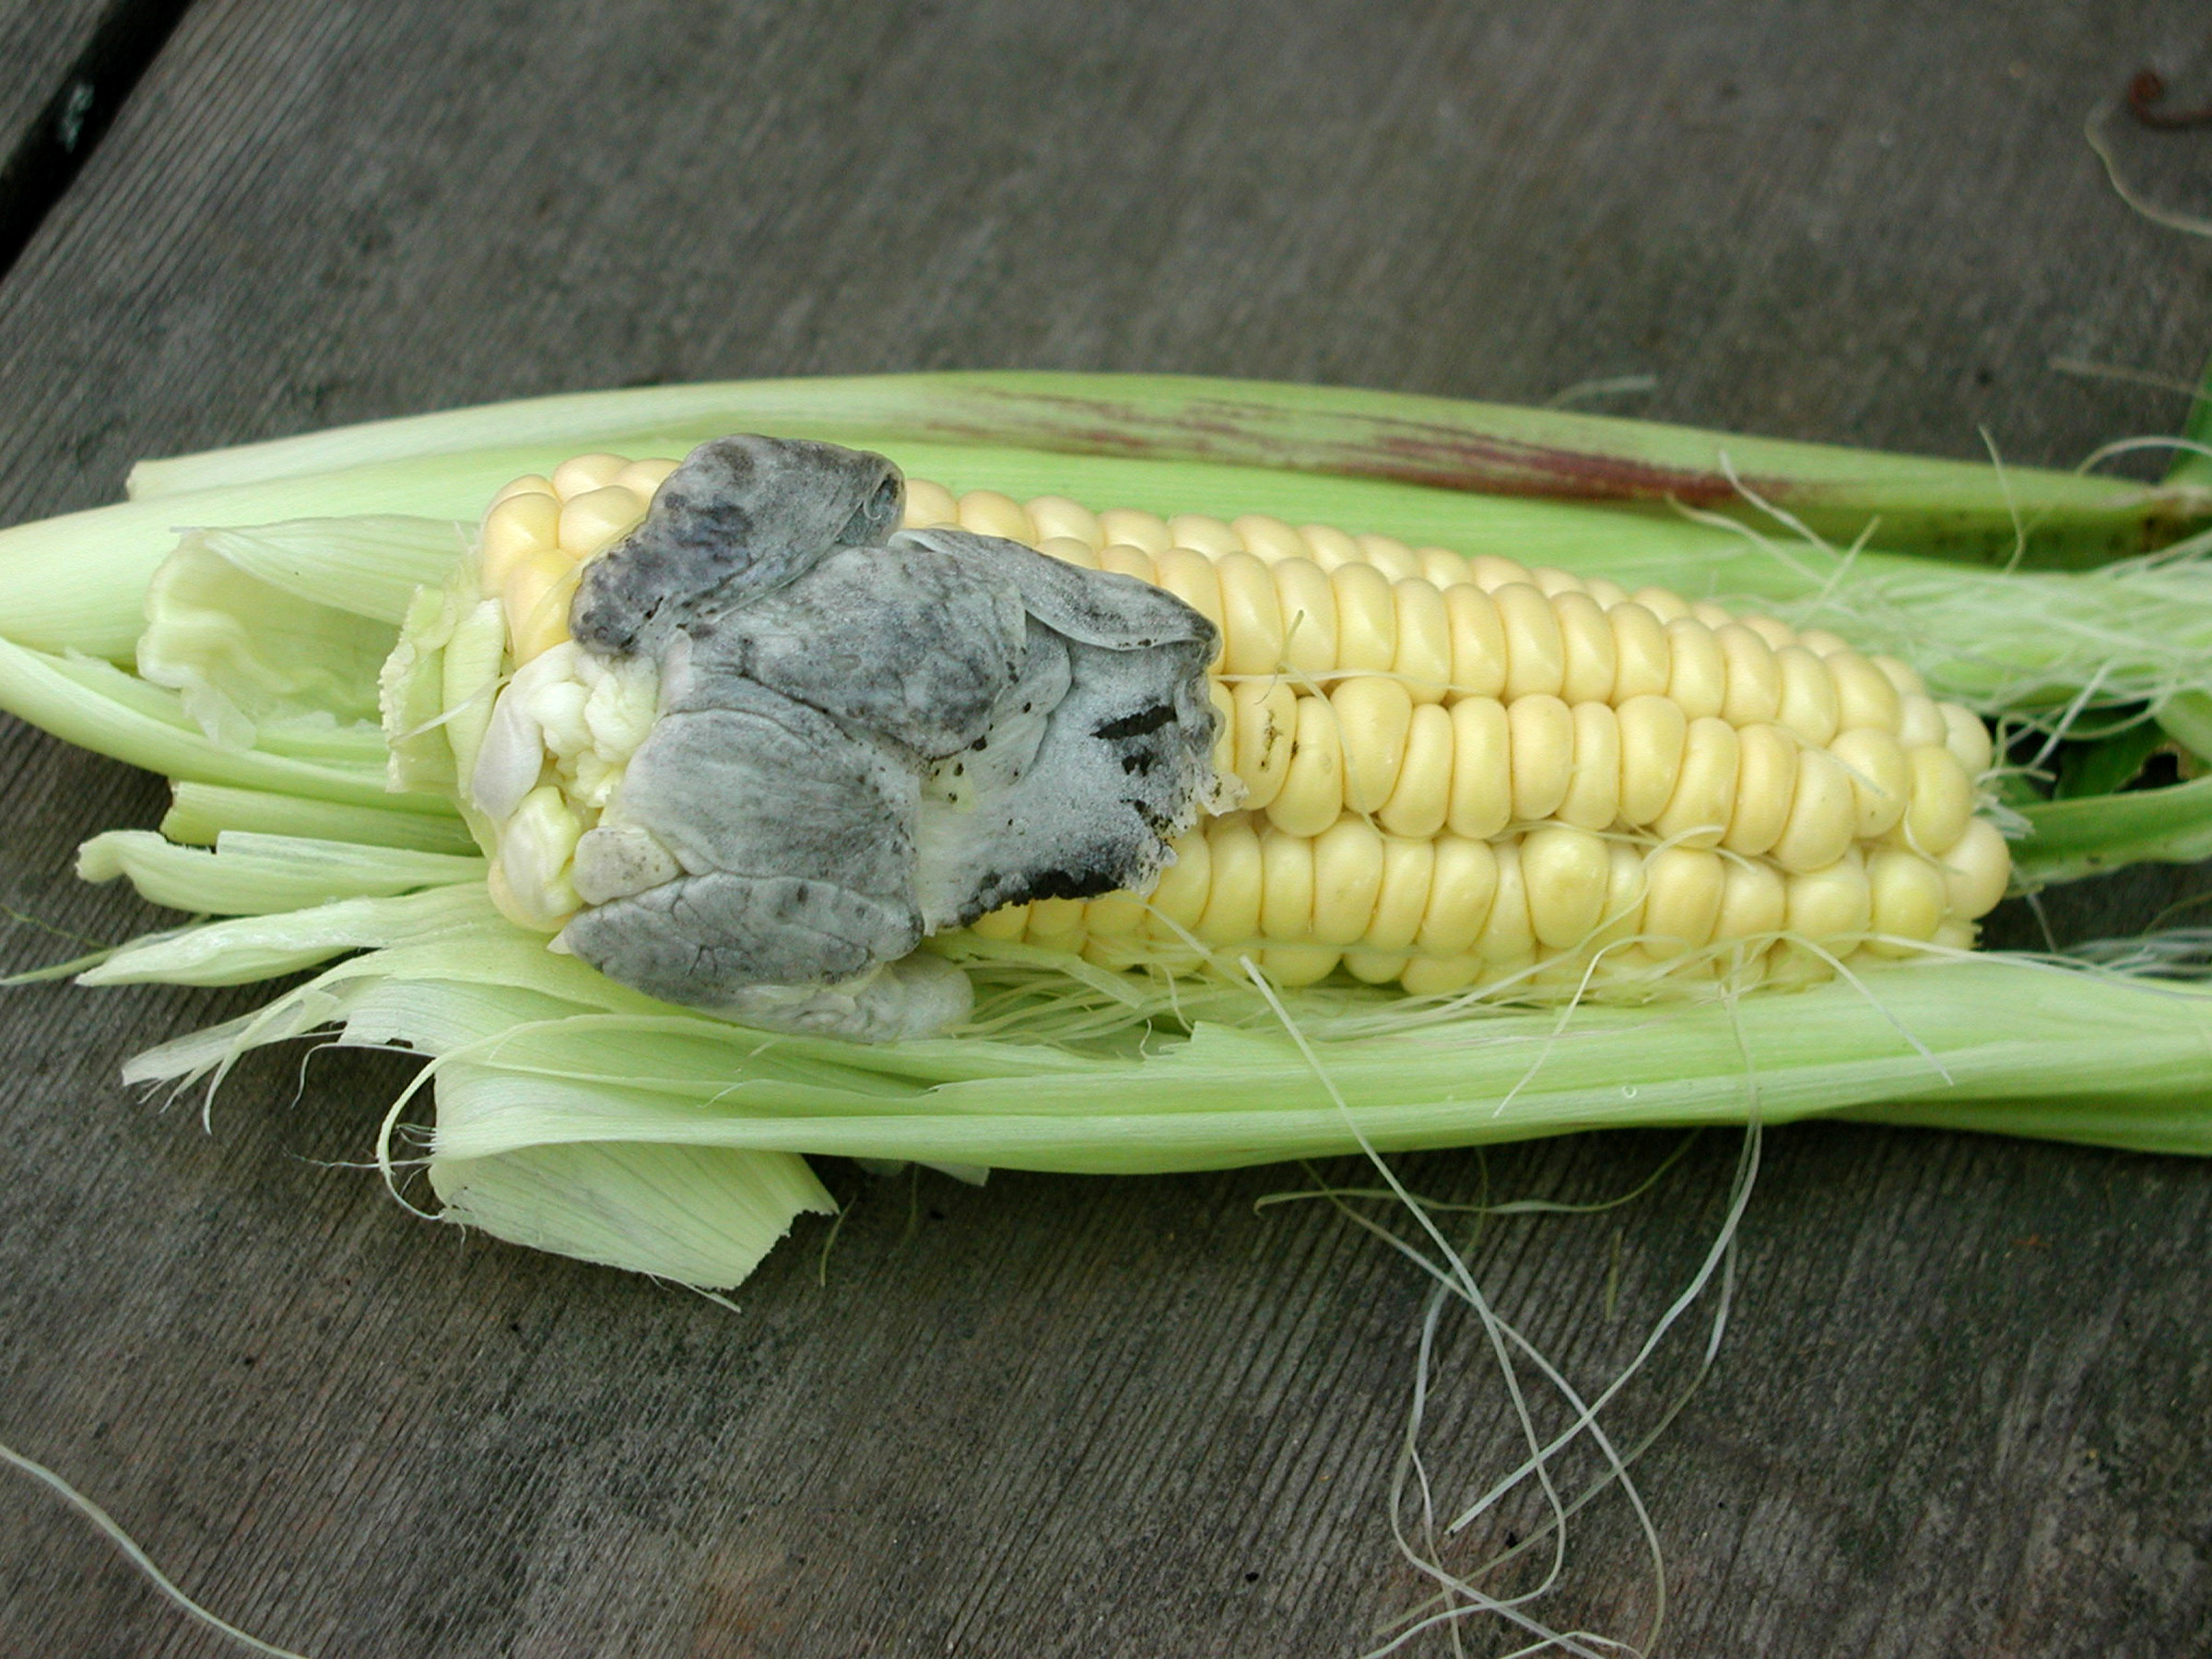
Not that smaller is always better in the world of vegetables. A cucumber picked undersized does not taste better and is surely not as juicy than one allowed to swell up before harvest — as long as that full-sized one is picked before its skin yellows and seeds start to harden.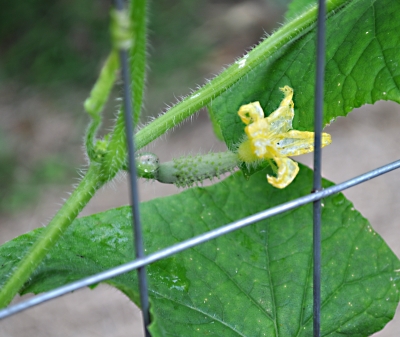
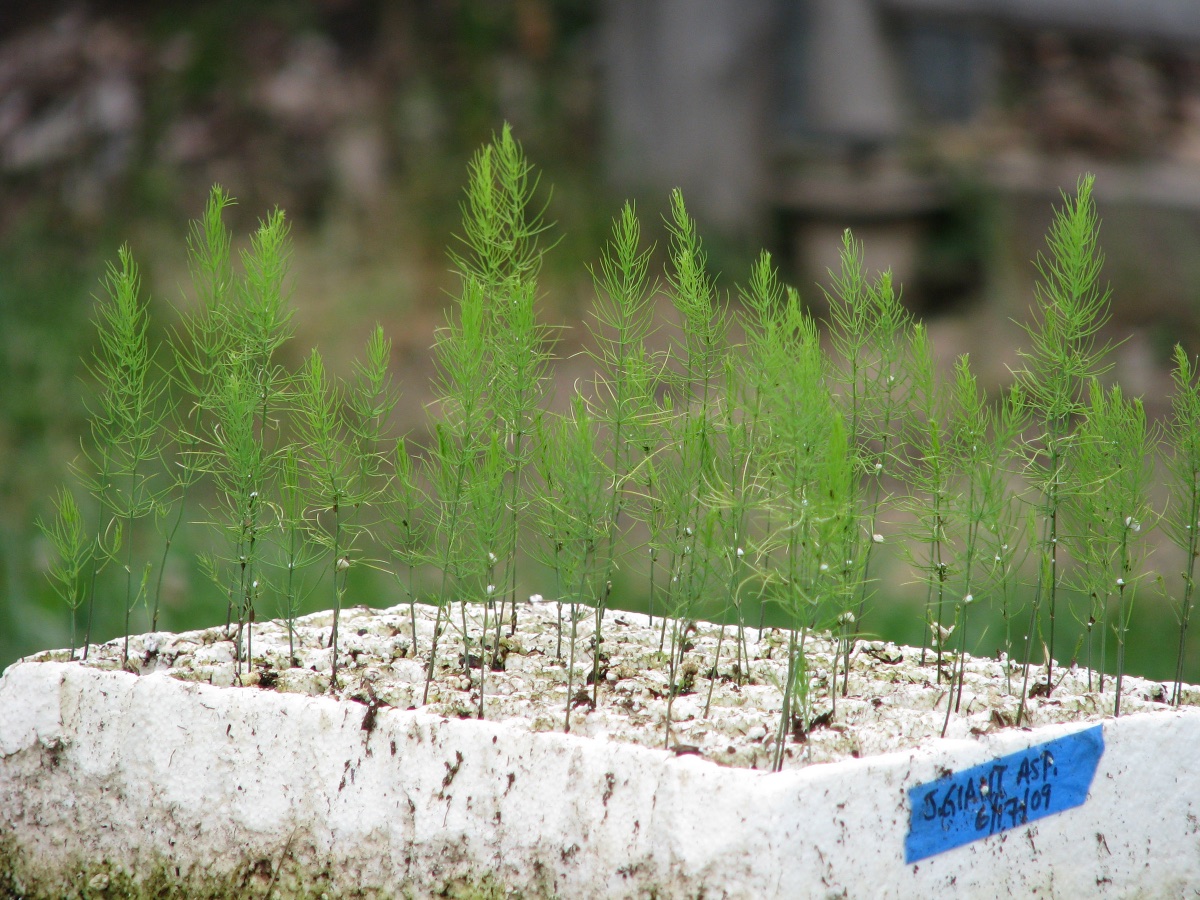
Similarly, the taste of baby carrots can’t compare with fully grown ones, unless the “baby” size is how big the carrots are supposed to be when fully mature. Read more
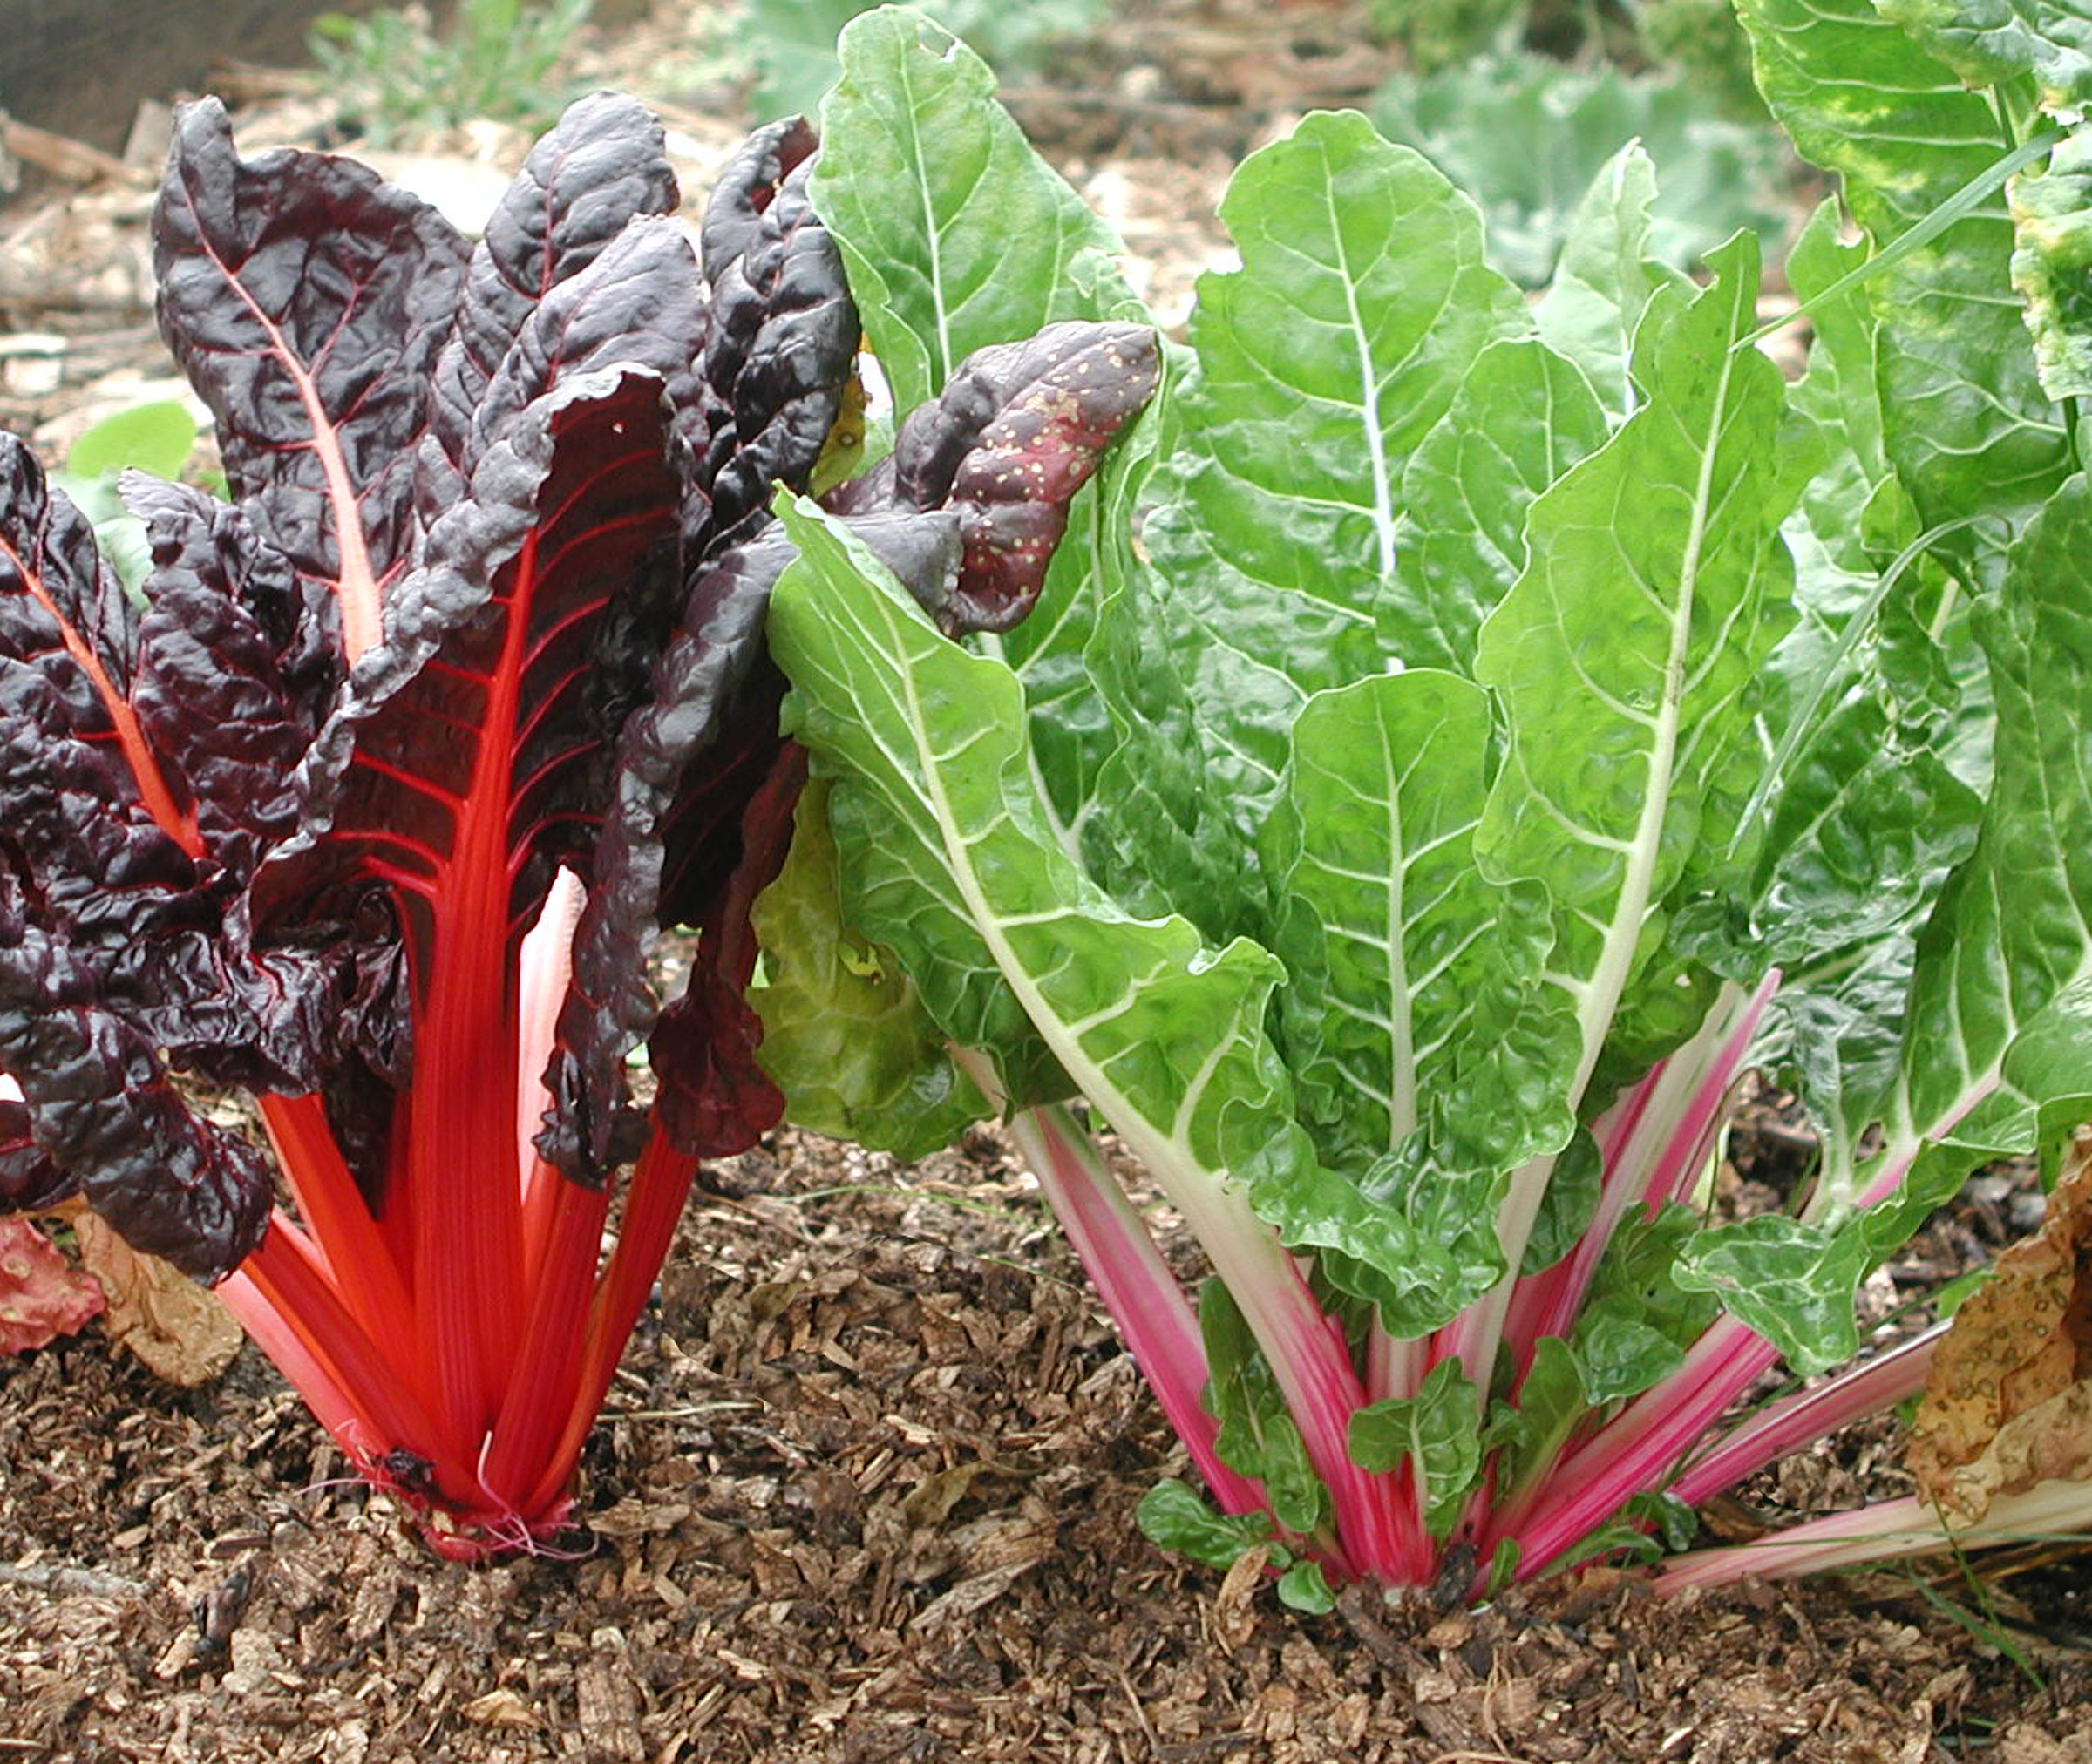

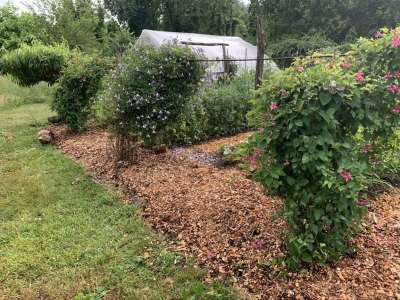
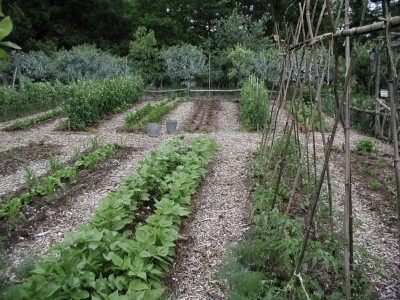

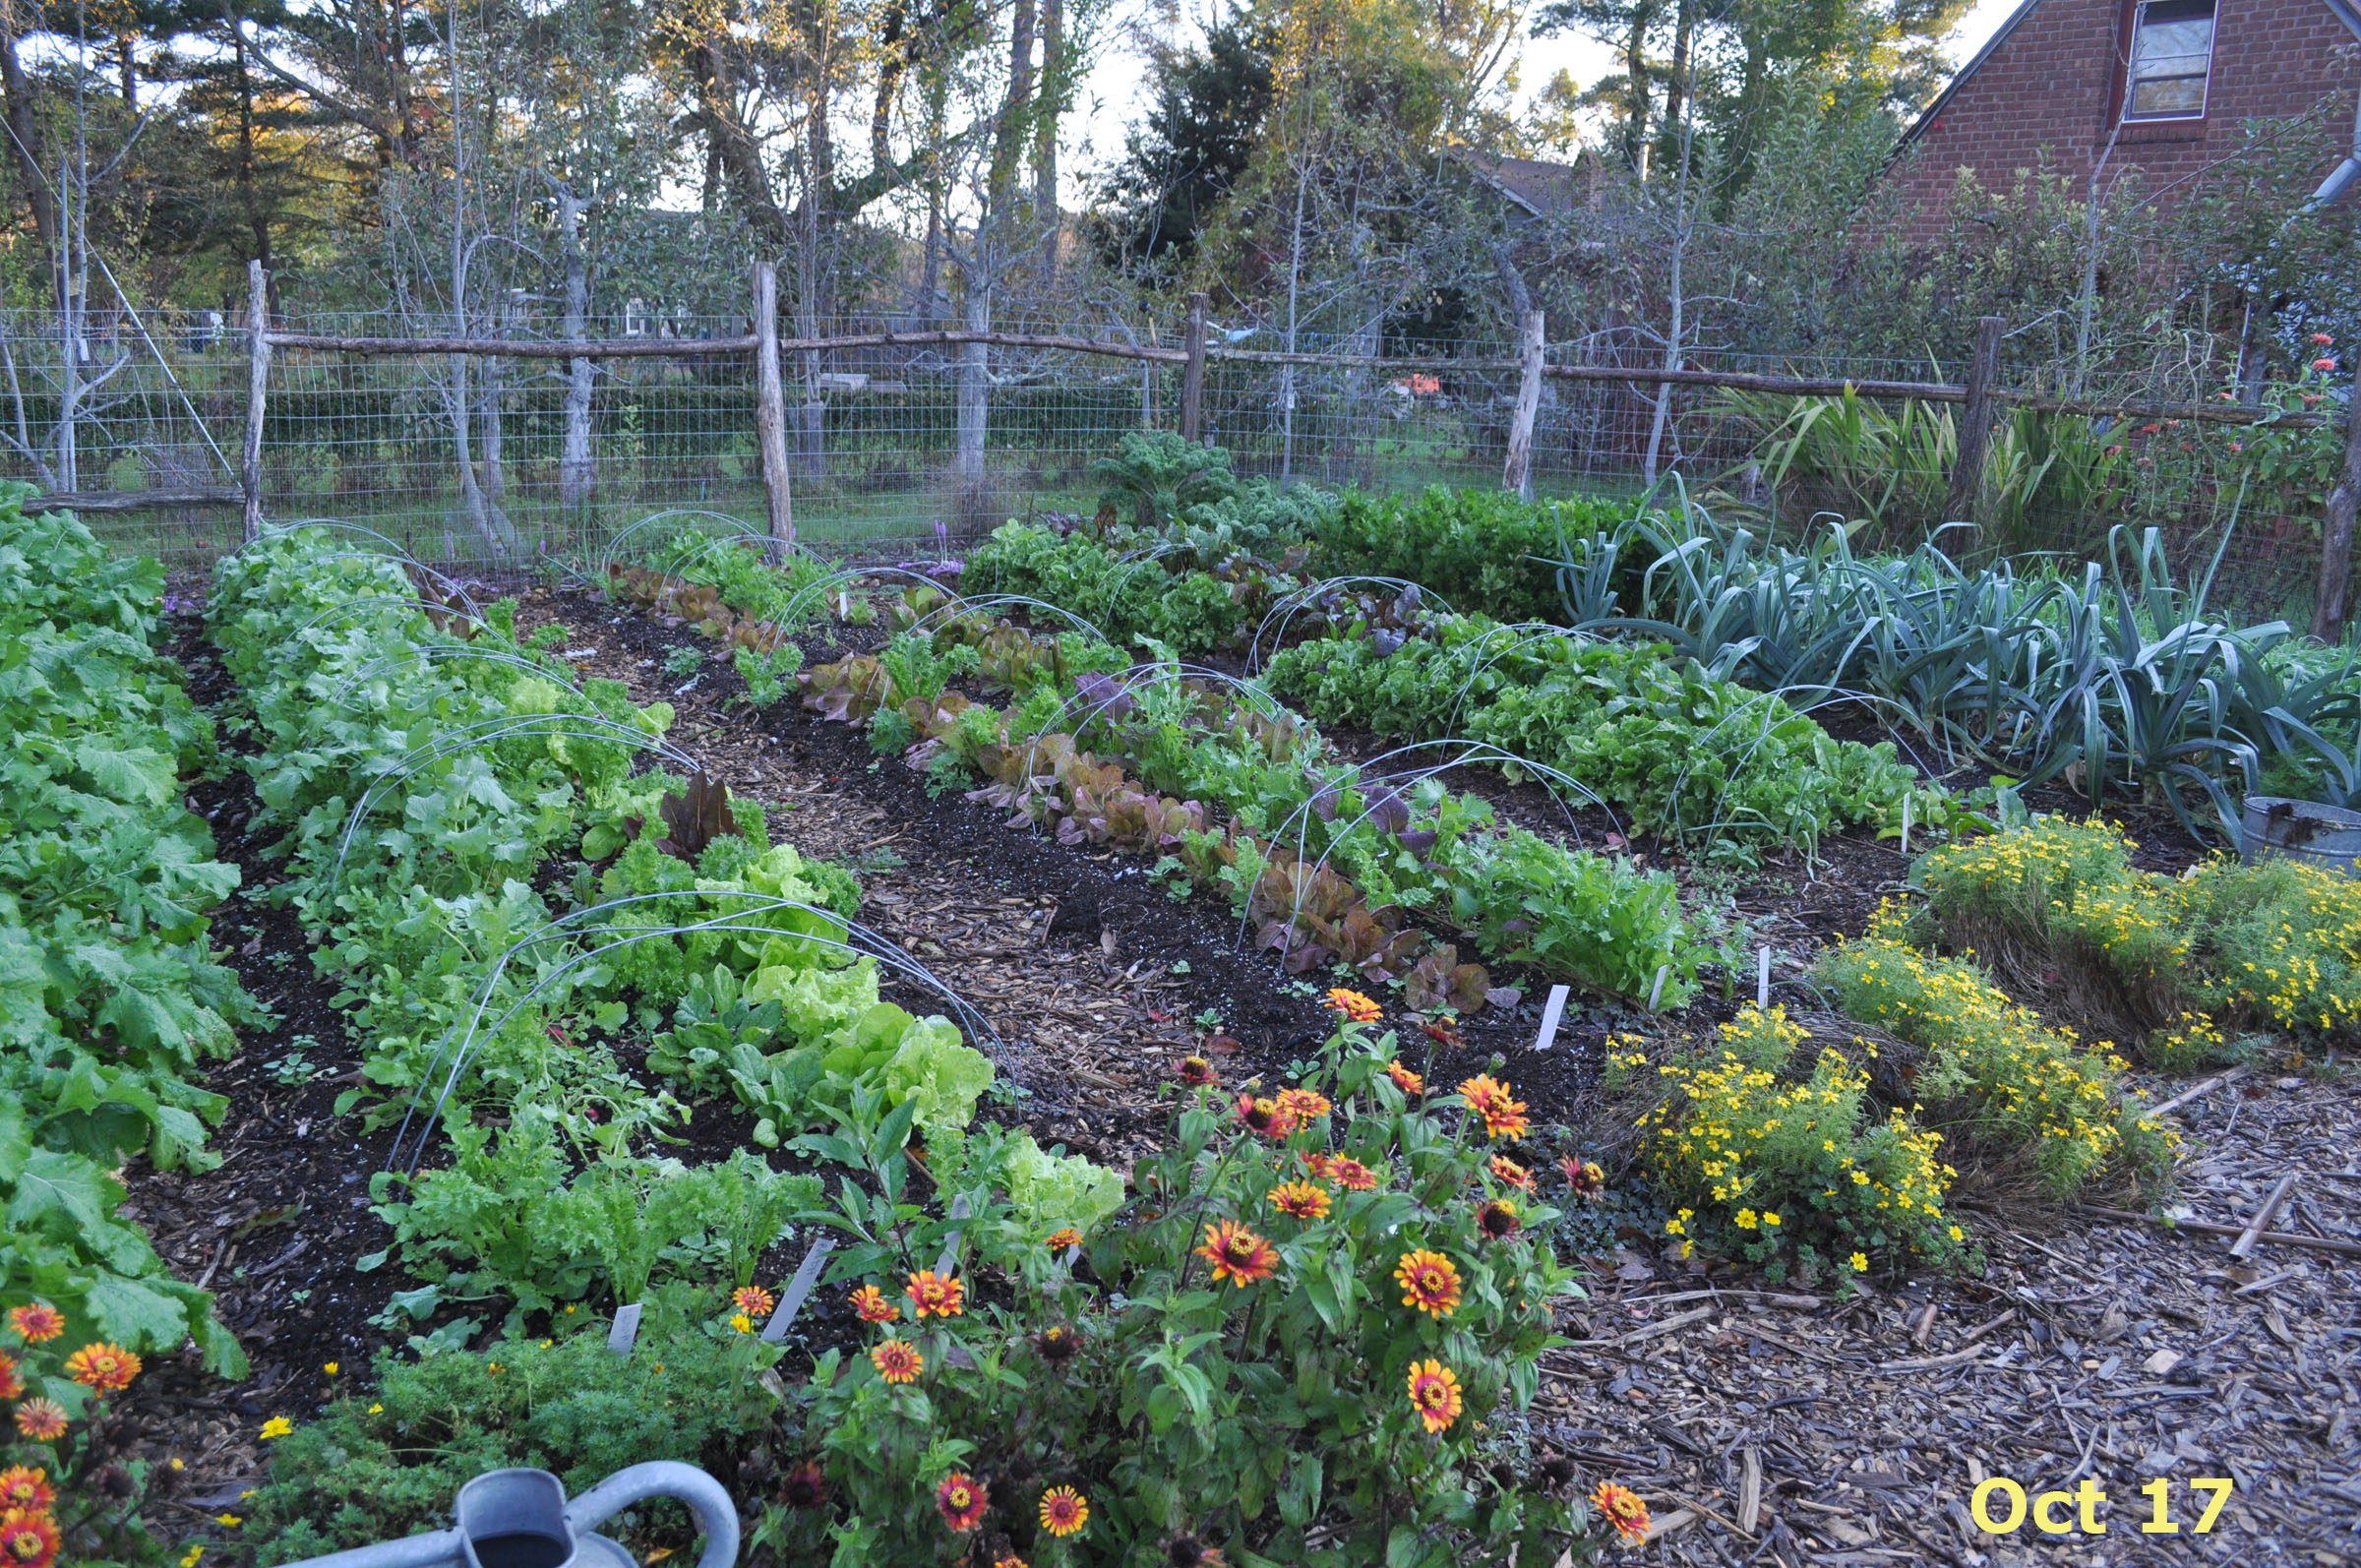
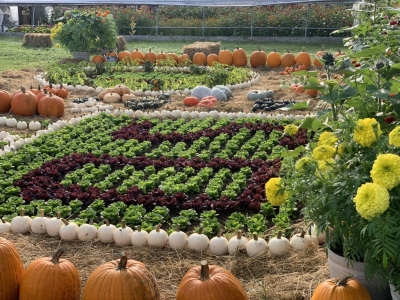
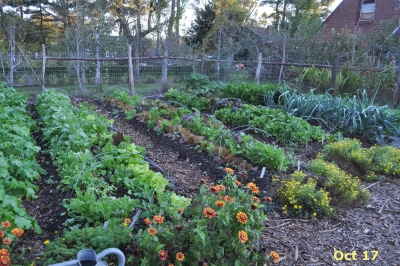 Recently, as I opened and walked through the gate into my vegetable garden, I thought, hmmm, things are looking pretty spiffy in the garden. Even a seasoned gardener friend remarked, “There’s so much green!” And that green is not from weeds, but from neat rows of napa cabbages, large heads of lettuce in various shapes and shades of green, and dark green rows of arugula and mustard. Leafy tops of Watermelon radishes (the name from the look of the sliced roots, not any affinity in flavor) and sweet Hakurei turnips perched above swelling roots.