Making Sense
Lilies, More Than Just Pretty
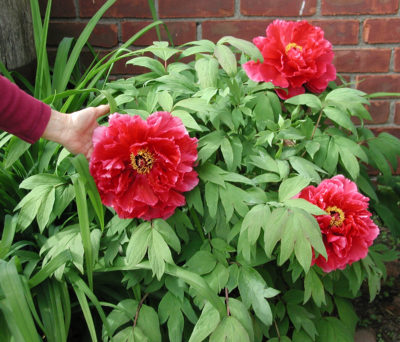
I’m triply thankful for the lily stems in the vase in the kitchen.
First, for their beauty. The large, lily-white (of course) petals flare out into trumpets, from whose frilly throats poke groups of rust-red anthers and single tear-capped stigmas. The petals spread about 8 inches wide from one side to the other, and the single stalk I plunked into the vase sports six of them!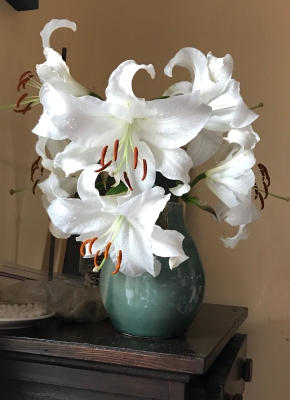
Second, I’m thankful for the lilies’ fragrance. The heady, sweet fragrance fills the whole room.
And third, I’m thankful that the plants, cut from outdoors where they share a bed with staked Sungold tomato plants, are alive. They’ve been threatened by a relatively new pest, the lily leaf beetle (Lilioceris lilii). This European pest made its North American debut in Montreal in 1945, and its debut on my farmden in 2015.
Lily leaf beetle can be controlled by sprays, even organic ones such as Neem or spinosad. But I’m not keen on spraying anything on plants rubbing elbows with edibles, in this case my Sungold tomatoes.
The beetles’ bright red color makes them easy to spot, at which point they can be crushed. Battling the beetle mano a mano is a viable control for a backyard planting. This was my approach a couple years ago. With other garden distractions and many crown imperial (Fritillaria) plants, which also are attacked by the beetle, I abandoned any efforts to control the beetle.
Yes, I saw some beetles on the lilies this season; yes, the plants are still doing well. Plants can tolerate a certain amount of pest damage and still do fine.
Play It Again Sam
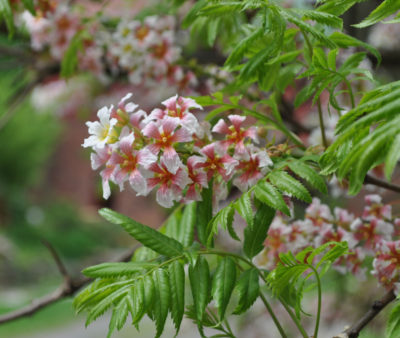
My awesome lilies aren’t just any old lilies. They’re true lilies (Lilium species), not daylilies (Hemerocallis species). Once we’ve narrowed down “lily” to the genus Lilium, there are about 100 species within that genus from which to choose.
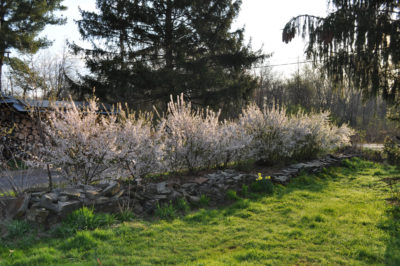
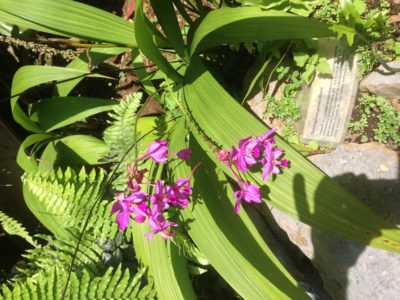
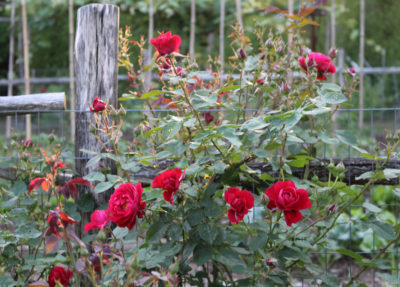
My lily is one of many varieties of Asiatic hybrid lilies. Its name: Casa Blanca. I highly recommend growing it.
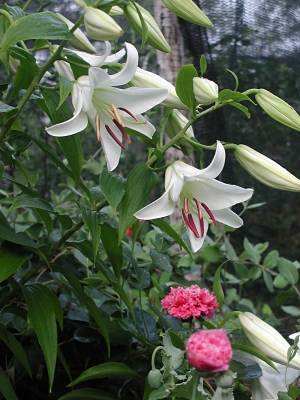
Casablanca lily in the garden
Popeye’s Delight, Later
With eyes and nose taken care of, let’s move on to another of the senses, taste. I’d like some spinach. But I can’t have it — yet. I can plant it very soon, though, and then in a month or so I can be eating it.
So why didn’t I plant it a month ago so I could be eating it now? The reason is that spinach is a long day plant, which flowers (aka “goes to seed”) during summer’s long days. Planted a month ago, even two months ago, and after making a rosette of a few leaves the plant would pump its energy into flowers and seeds. Besides yielding a paltry harvest of leaves, that whole “going to seed” thing also ruins the flavor of the leaves.
Actually, it isn’t long days that make spinach gustatorily morph from Dr. Jekyll to Mr. Hyde; it’s short nights. (Photoperiodism, the name for this response, was originally though to be the response to daylength; calling it a response to “daylength” stuck even after it was discovered that the response was to the length of the the night.) Beets, gladiolas, lettuce, and radishes are also “long day plants.”
Photoperiod doesn’t work alone in prodding plants to grow or flower. Temperature, either before germination or while the plants are growing, also figures in, as does light intensity and soil moisture. Spinach usually flowers when days are 14 or more hours long (more correctly, short nights that are 10 or less hours long), but will also do so following 8 hour days (16 hour nights) if the seeds are chilled.
Nights are now just over 10 hours long so I can plant spinach. While the plants are growing, cooler temperatures, which are coming this way, and adequate water, which my plants will get thanks to drip irrigation, also factor in to keep spinach from going to seed. So the spinach that I sow today will put all its energy into growing large and tasty leaves.
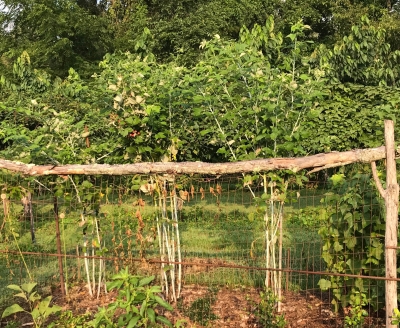
Peas, Please
A taste of peas would also be nice. The spring harvest was good. Still, some gardeners successfully plant peas in summer for an autumn harvest. Not me.
Daylength isn’t what messes up late sown peas, for me, at least. Heat is. Peas languish during hot weather, common through August and even lingering into early autumn. So the peas grow poorly, and if they do weather the hot weather, they are apt to be struck down by the first frost of autumn.
I’ve heard that Wando is a pea variety that can take some heat. I haven’t tried for an autumn harvest for many, many years. With climate change, perhaps autumn peas are worth another try.