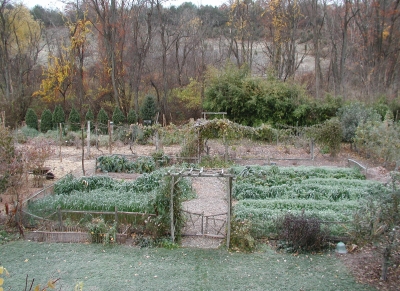
End of Year Punch List
Winterizing
My carpenter friends, near the end of their projects, have their “punch lists” to serve as reminders what odds and ends still need to be done. I similarly have a punch list for my gardens, a punch list that marks the end of the growing season, a list of what (I hope) will get done before I drop the first seeds in the ground next spring.
(No need for an entry on the punch list to have the ground ready for that seed. Beds have been mulched with compost and are ready for planting.)
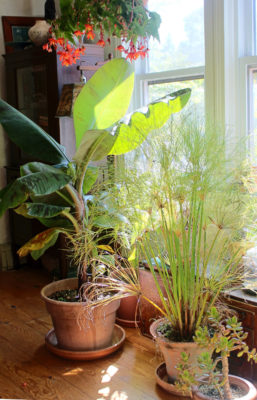
Hardy, potted plants, including some roses, pear trees, and Nanking cherries, can’t have their roots exposed to the full brunt of winter cold. I’ve huddled all these pots together against the north wall of my house but soon have to mound leaves or wood chips up to their rims to provide further cold protection.
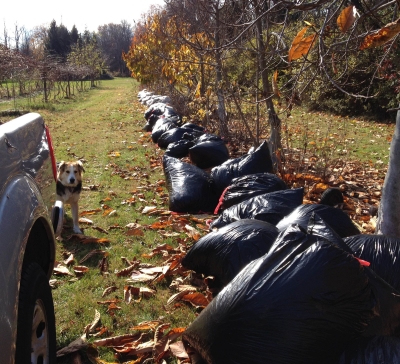
I’ll save some leaves to protect strawberry plants. Their insulating blanket won’t go down until weather turns colder, with the soil frozen an inch deep, or else their evergreen leaves will rot beneath the leaves.
I’ll be digging out or cutting down a number of woody plants, some even 10 or 20 years old, in the next few days or weeks to make way for better ones. (Ruthless!) Anna hardy kiwifruit, short for Annanasnaya, grows very well but ripens a bit late and doesn’t have quite as good flavor as my other varieties: Geneva, MSU, and Dumbarton. So out it goes. The same goes for Mars, Concord, and Cayuga White grapes; their flavor isn’t up to snuff. And Halle’s Giant, Lewis, and Clark filberts, except that their shortcoming is their susceptibility to the disease filbert blight.
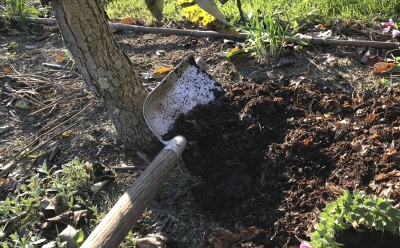
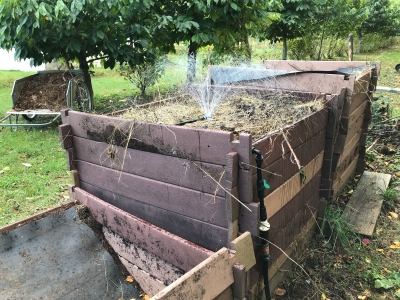
A 5 gallon bucket filled with equal parts sifted compost and soil will be ingredients for any potting soils I’ll need for seedlings from midwinter on. For the finished potting soil, I’ll mix in another 5 gallon bucket with equal parts peat moss and perlite.
One sunny day soon I’ll lean pitchforks, rakes, and shovels against the garden carts and brush them with linseed oil diluted with equal parts paint thinner. 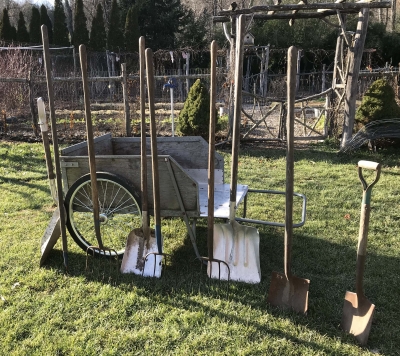 After the handles have been wiped down, 10 minutes later, they’ll be in good condition for at least another year.
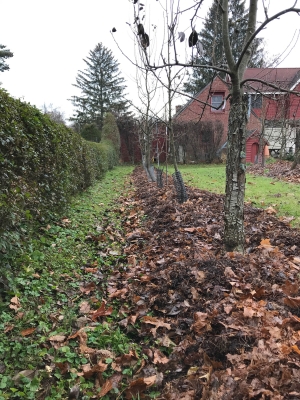
Pruning hardly needs to be added to my punch list. I’m reminded about this annual job every time I look out the window or walk out the back door.
Deer at Bay
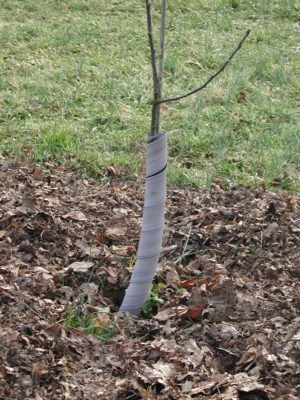
Protecting some of my trees and shrubs from animals doesn’t make it to the punch list either — because it needs to be done by now! Young pears (Concorde, Abbe Fetal, and Lady Petre) and apples (Liberty, Macon, Hudson’s Golden Gem, Ashmeads Kernel, and Pitmaston Pineapple) already have their hardware cloth and/or plastic collars protecting their bottom couple of feet of growth.
What about branches higher up, the ones the deer would find tasty. Thanks to fencing at both the north and south ends of my property, a couple of Deerchaser battery-powered repellants, two outdoor dogs, and vibes from me, deer rarely venture on site. But, as I discovered this past summer, just one deer on just one night can do a lot of damage to a young tree.
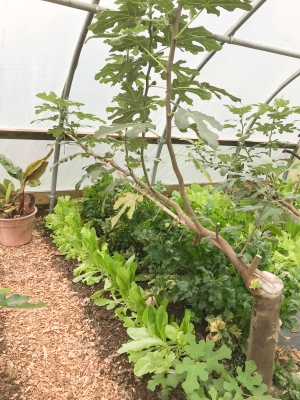
So this year I’m putting 5 foot high by 3 foot diameter cages of 2×4 welded wire fencing around my young apple trees. 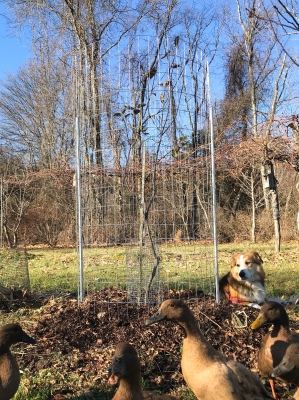 The pear trees, close to the house, don’t get bothered. The problem with such cages is that it’s a hassle to weed or prune within the cage — both very important for young trees. Two metal stakes, each a 5 feet length of EMT electrical conduit, woven into part of fencing on opposite sides allows me to slide the fence up and down to get inside a cage to work. These trees, which are replacing my very dwarf apple trees, are semi-dwarfs which can fend for themselves once they get above 5 feet. Then I’ll remove the cages.
Memorables, for Vegetables
And now, some notes for next season’s vegetable garden . . .
Reduce the number of pepper varieties to those that perform and taste best here: Sweet Italia,
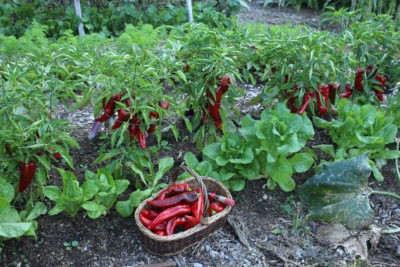
Italian Sweet peppers
Carmen, and Escamillo. And stake them right from the get go.
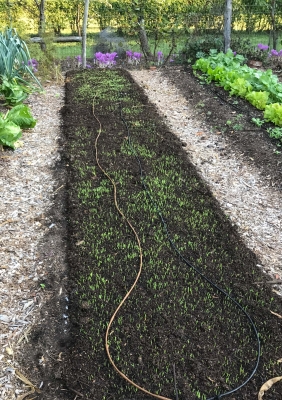
Plant a greater proportion of tight-necked onions, such as Patterson, New York Early, and Copra, to avoid bacterial diseases.
Plant less bok choy; no need to be inundated by them just because the space is available.
Keep an eye out for whiteflies and caterpillars on cabbage family plants; act sooner rather than later to keep them in check.
Plant more Shirofumi edemame; 30 feet of bed should be about right, they need a long, hot season.
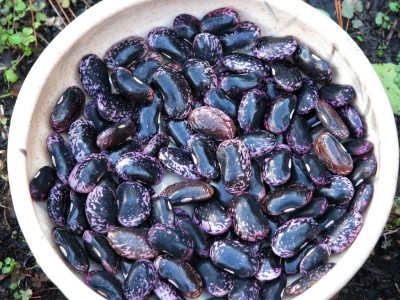
Try King of the Garden Limas again, but plant even earlier indoors.
Get Out!
Okay, time to get outside to work on my punch list before any snowfall limits the possibilities.


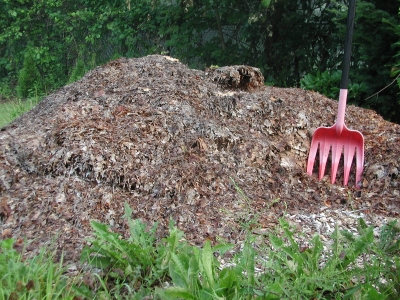
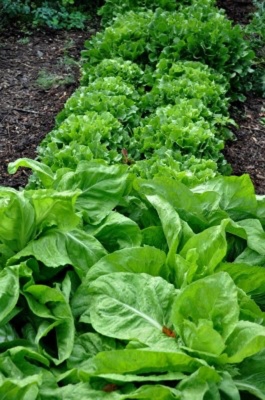


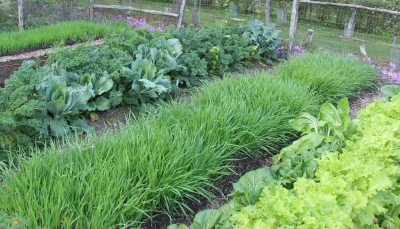
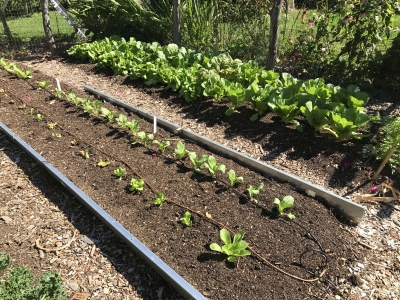
 A one to two inches deep layer smothers most weeds sprouting from seeds as well as provides nourishment for multiple waves of vegetable plants — for a whole year! (Also provides food and habitat for beneficial soil organisms, protects the surface from washing, and increases the soil’s ability to hold on to both air and moisture.)
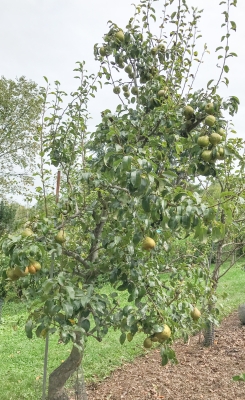
 Mealybugs look, unassumingly, like tiny tufts of white cotton, but beneath their benign exteriors are hungry insect. They injects their needle-like probiscis into stems, fruits, and leaves, and suck life from the plants, or at least, weaken the plants and make the fruits hardly edible.
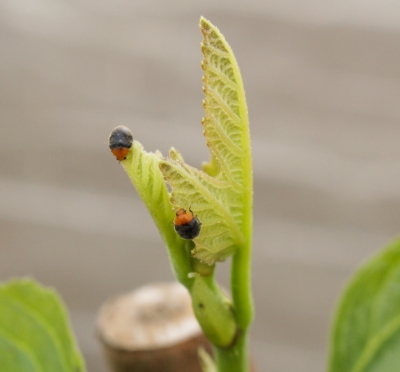
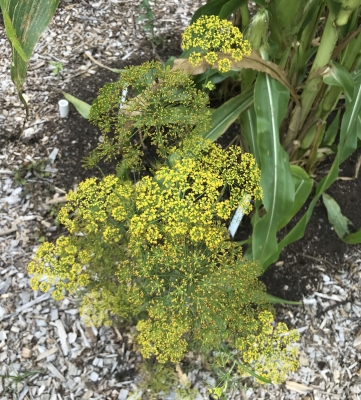
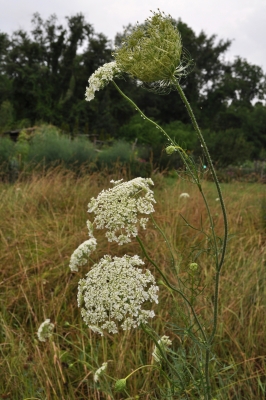 The Carrot Family Helps Out