SECRET BERRIES, CHERRIES FOR ALL, & WEEDS
Shad, Service, June: All The Same Berry
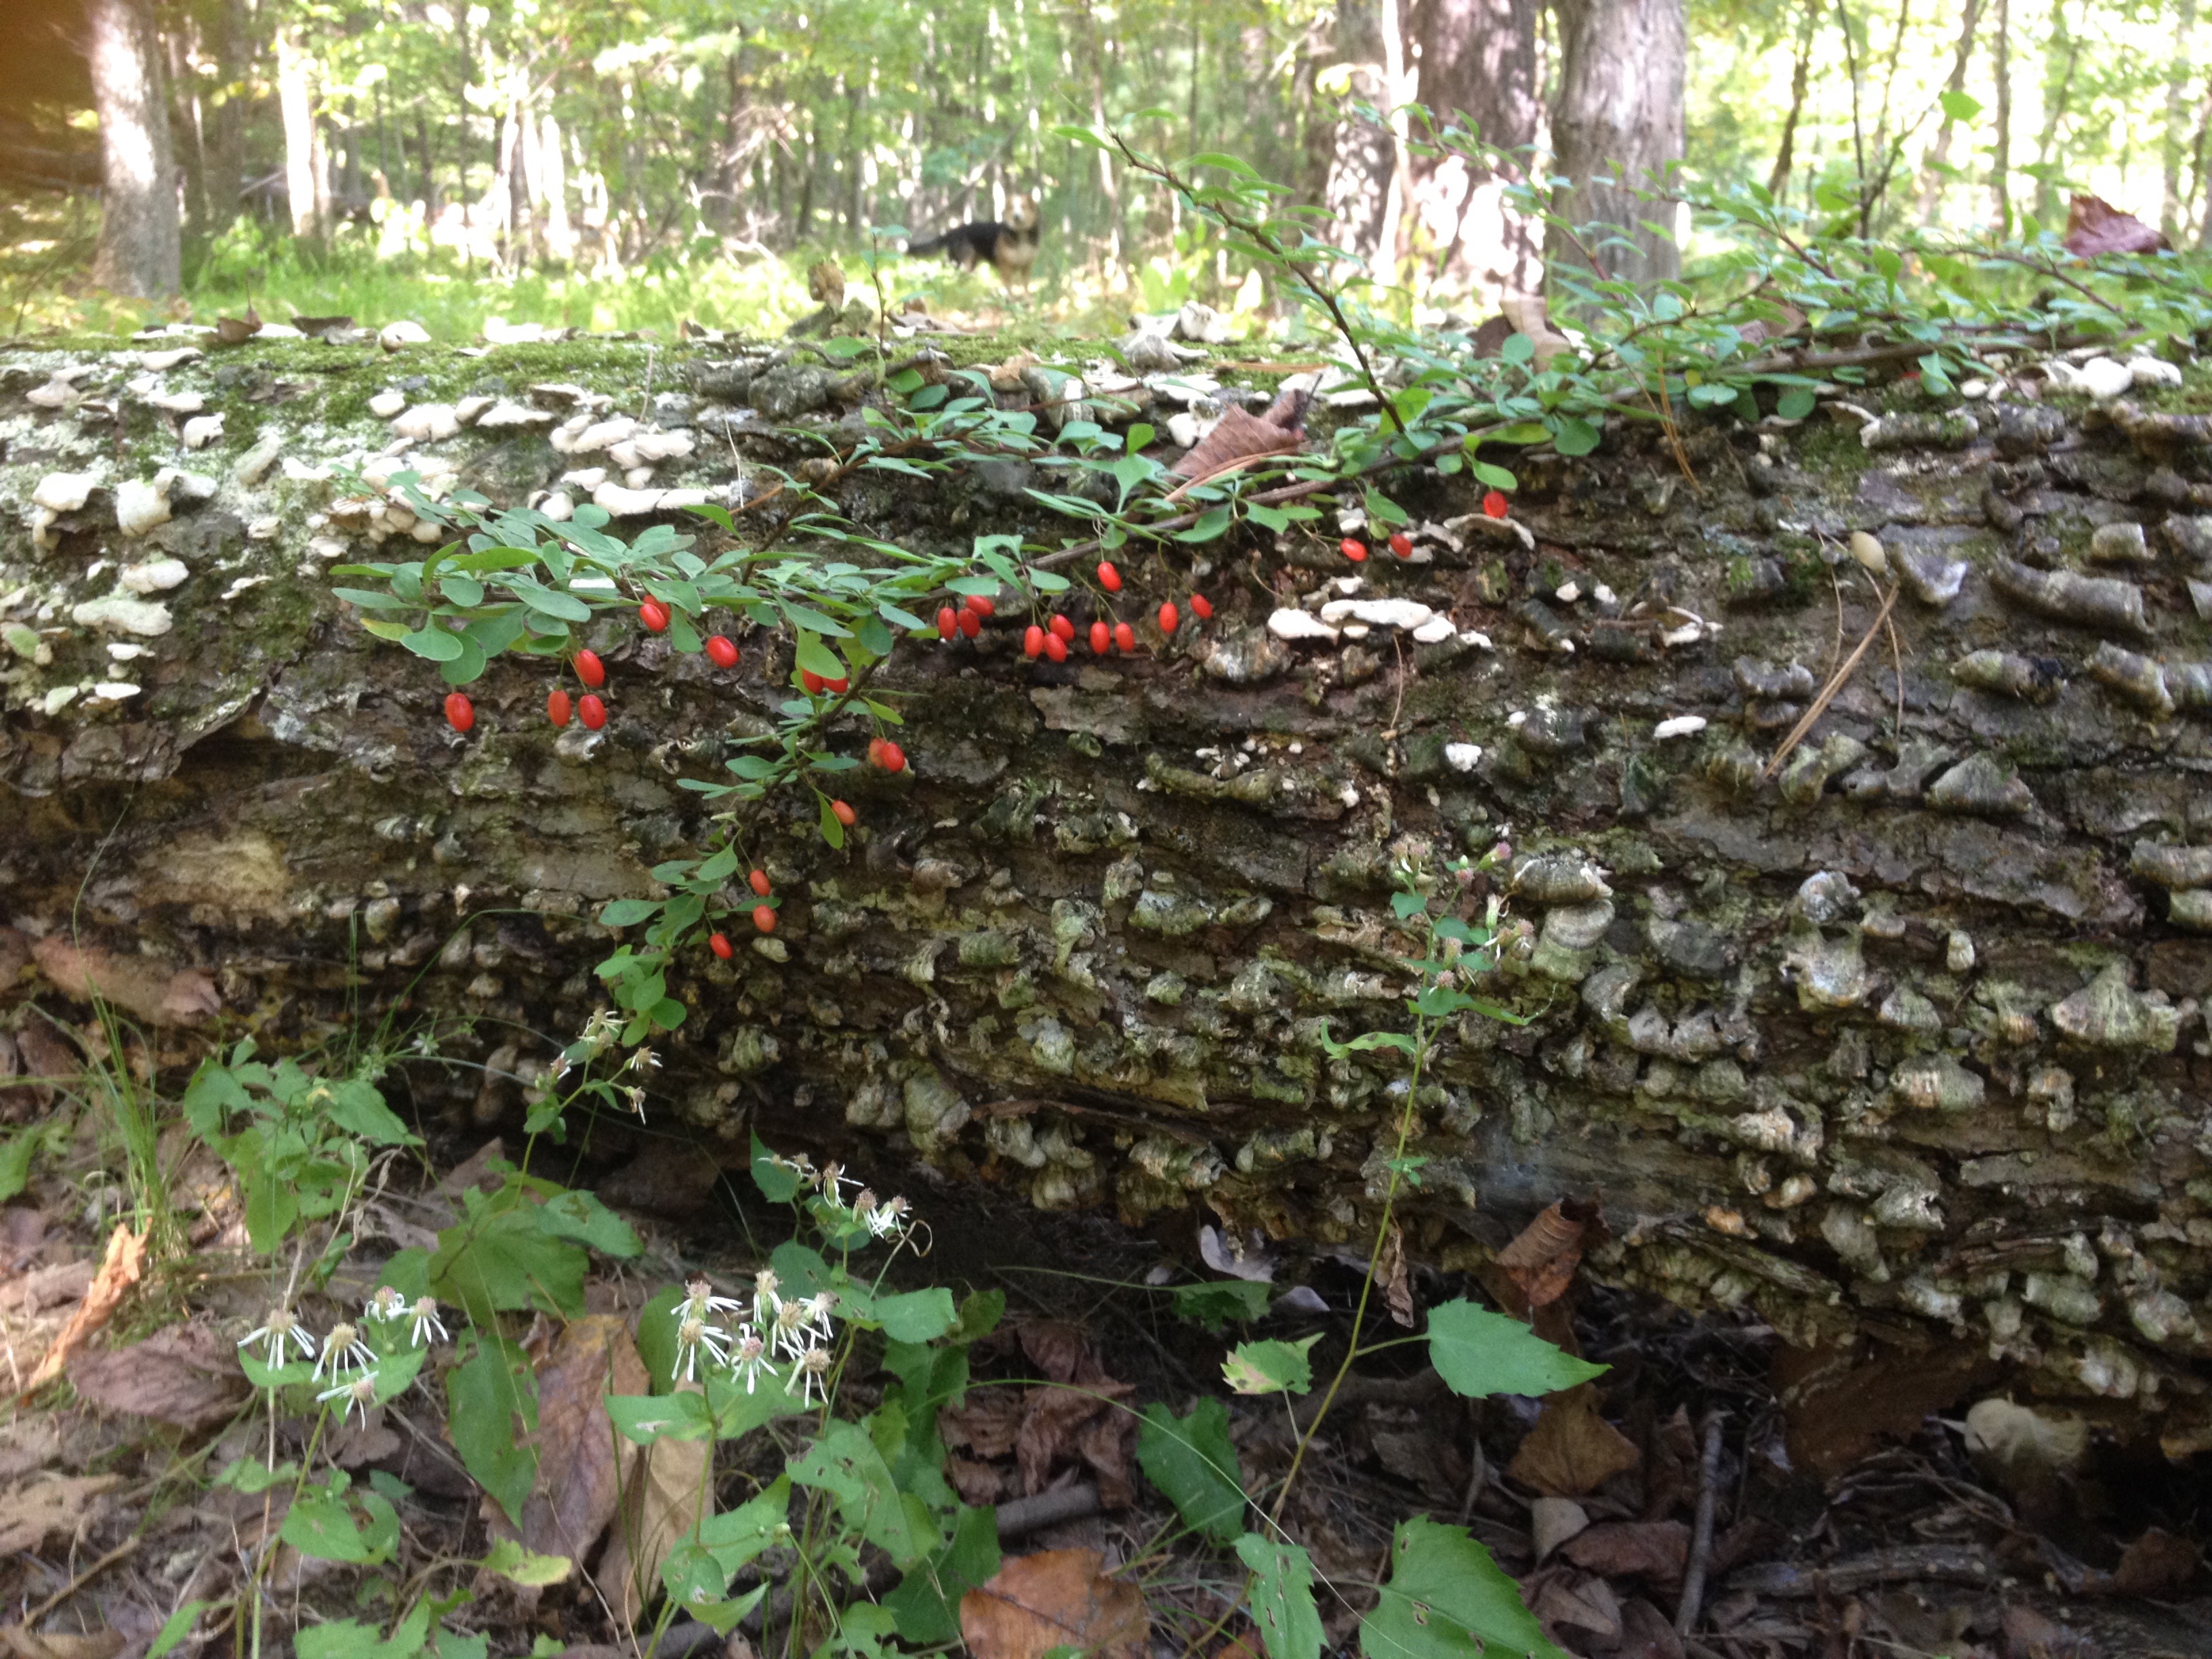
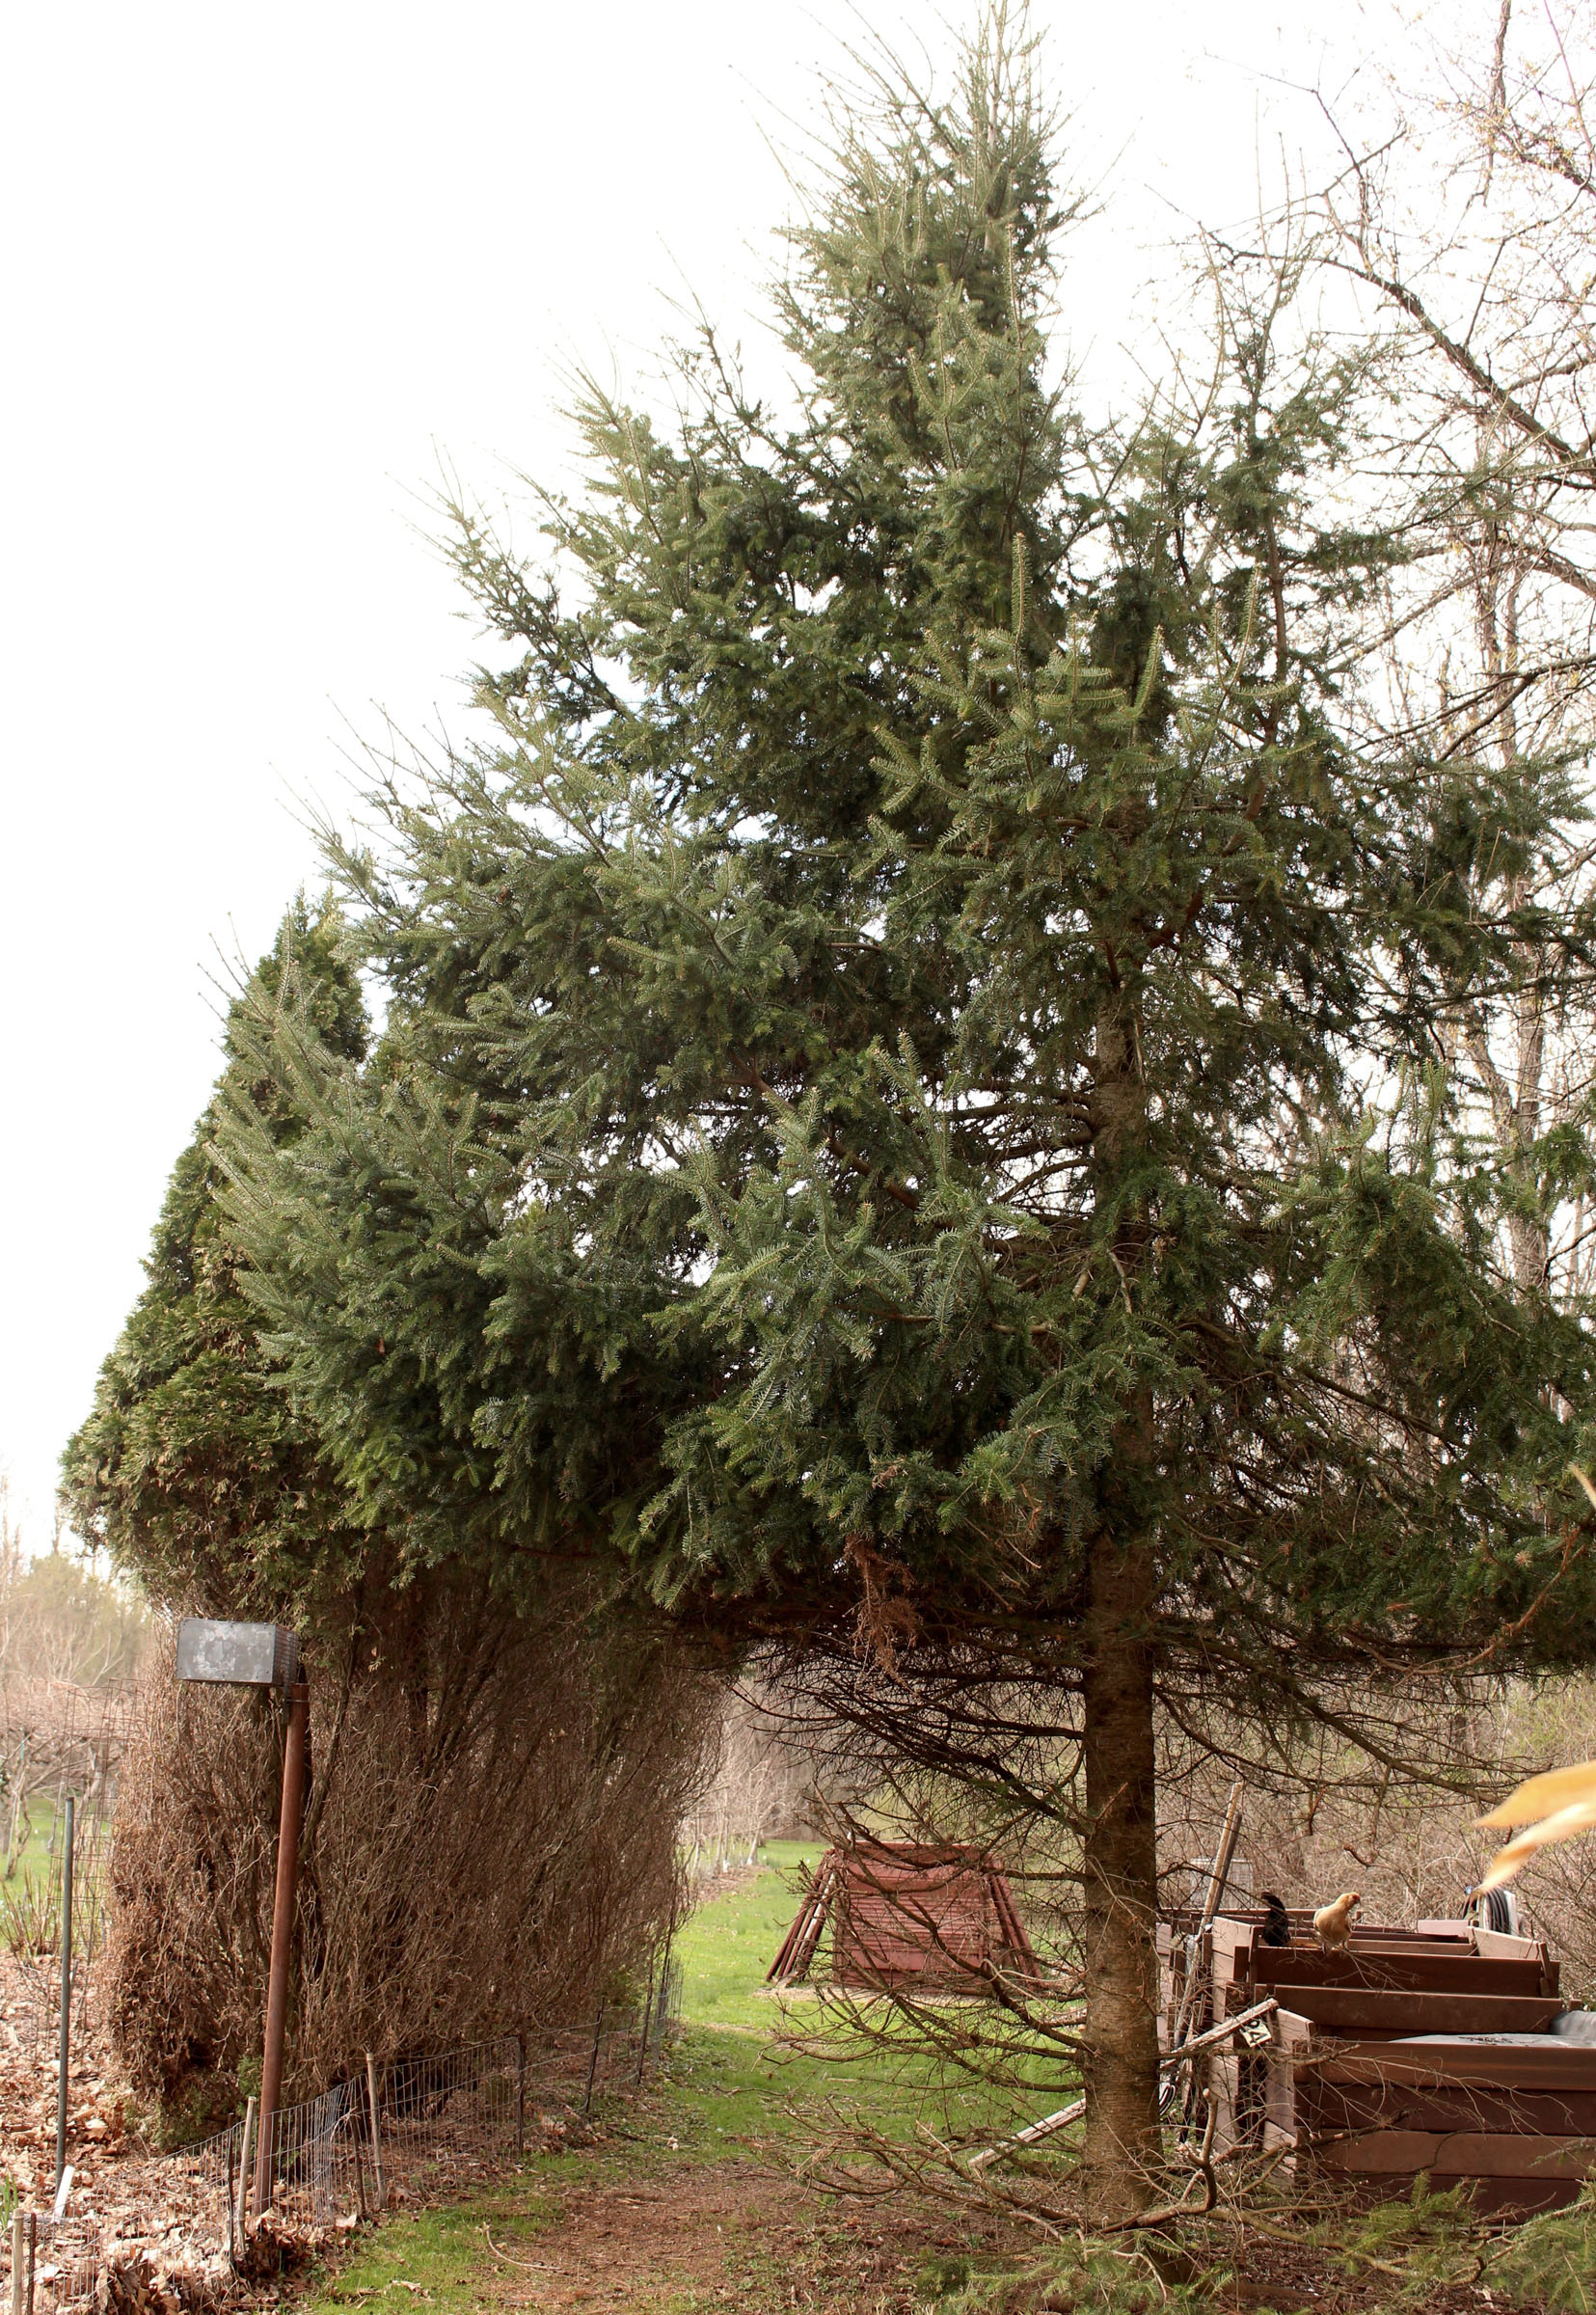
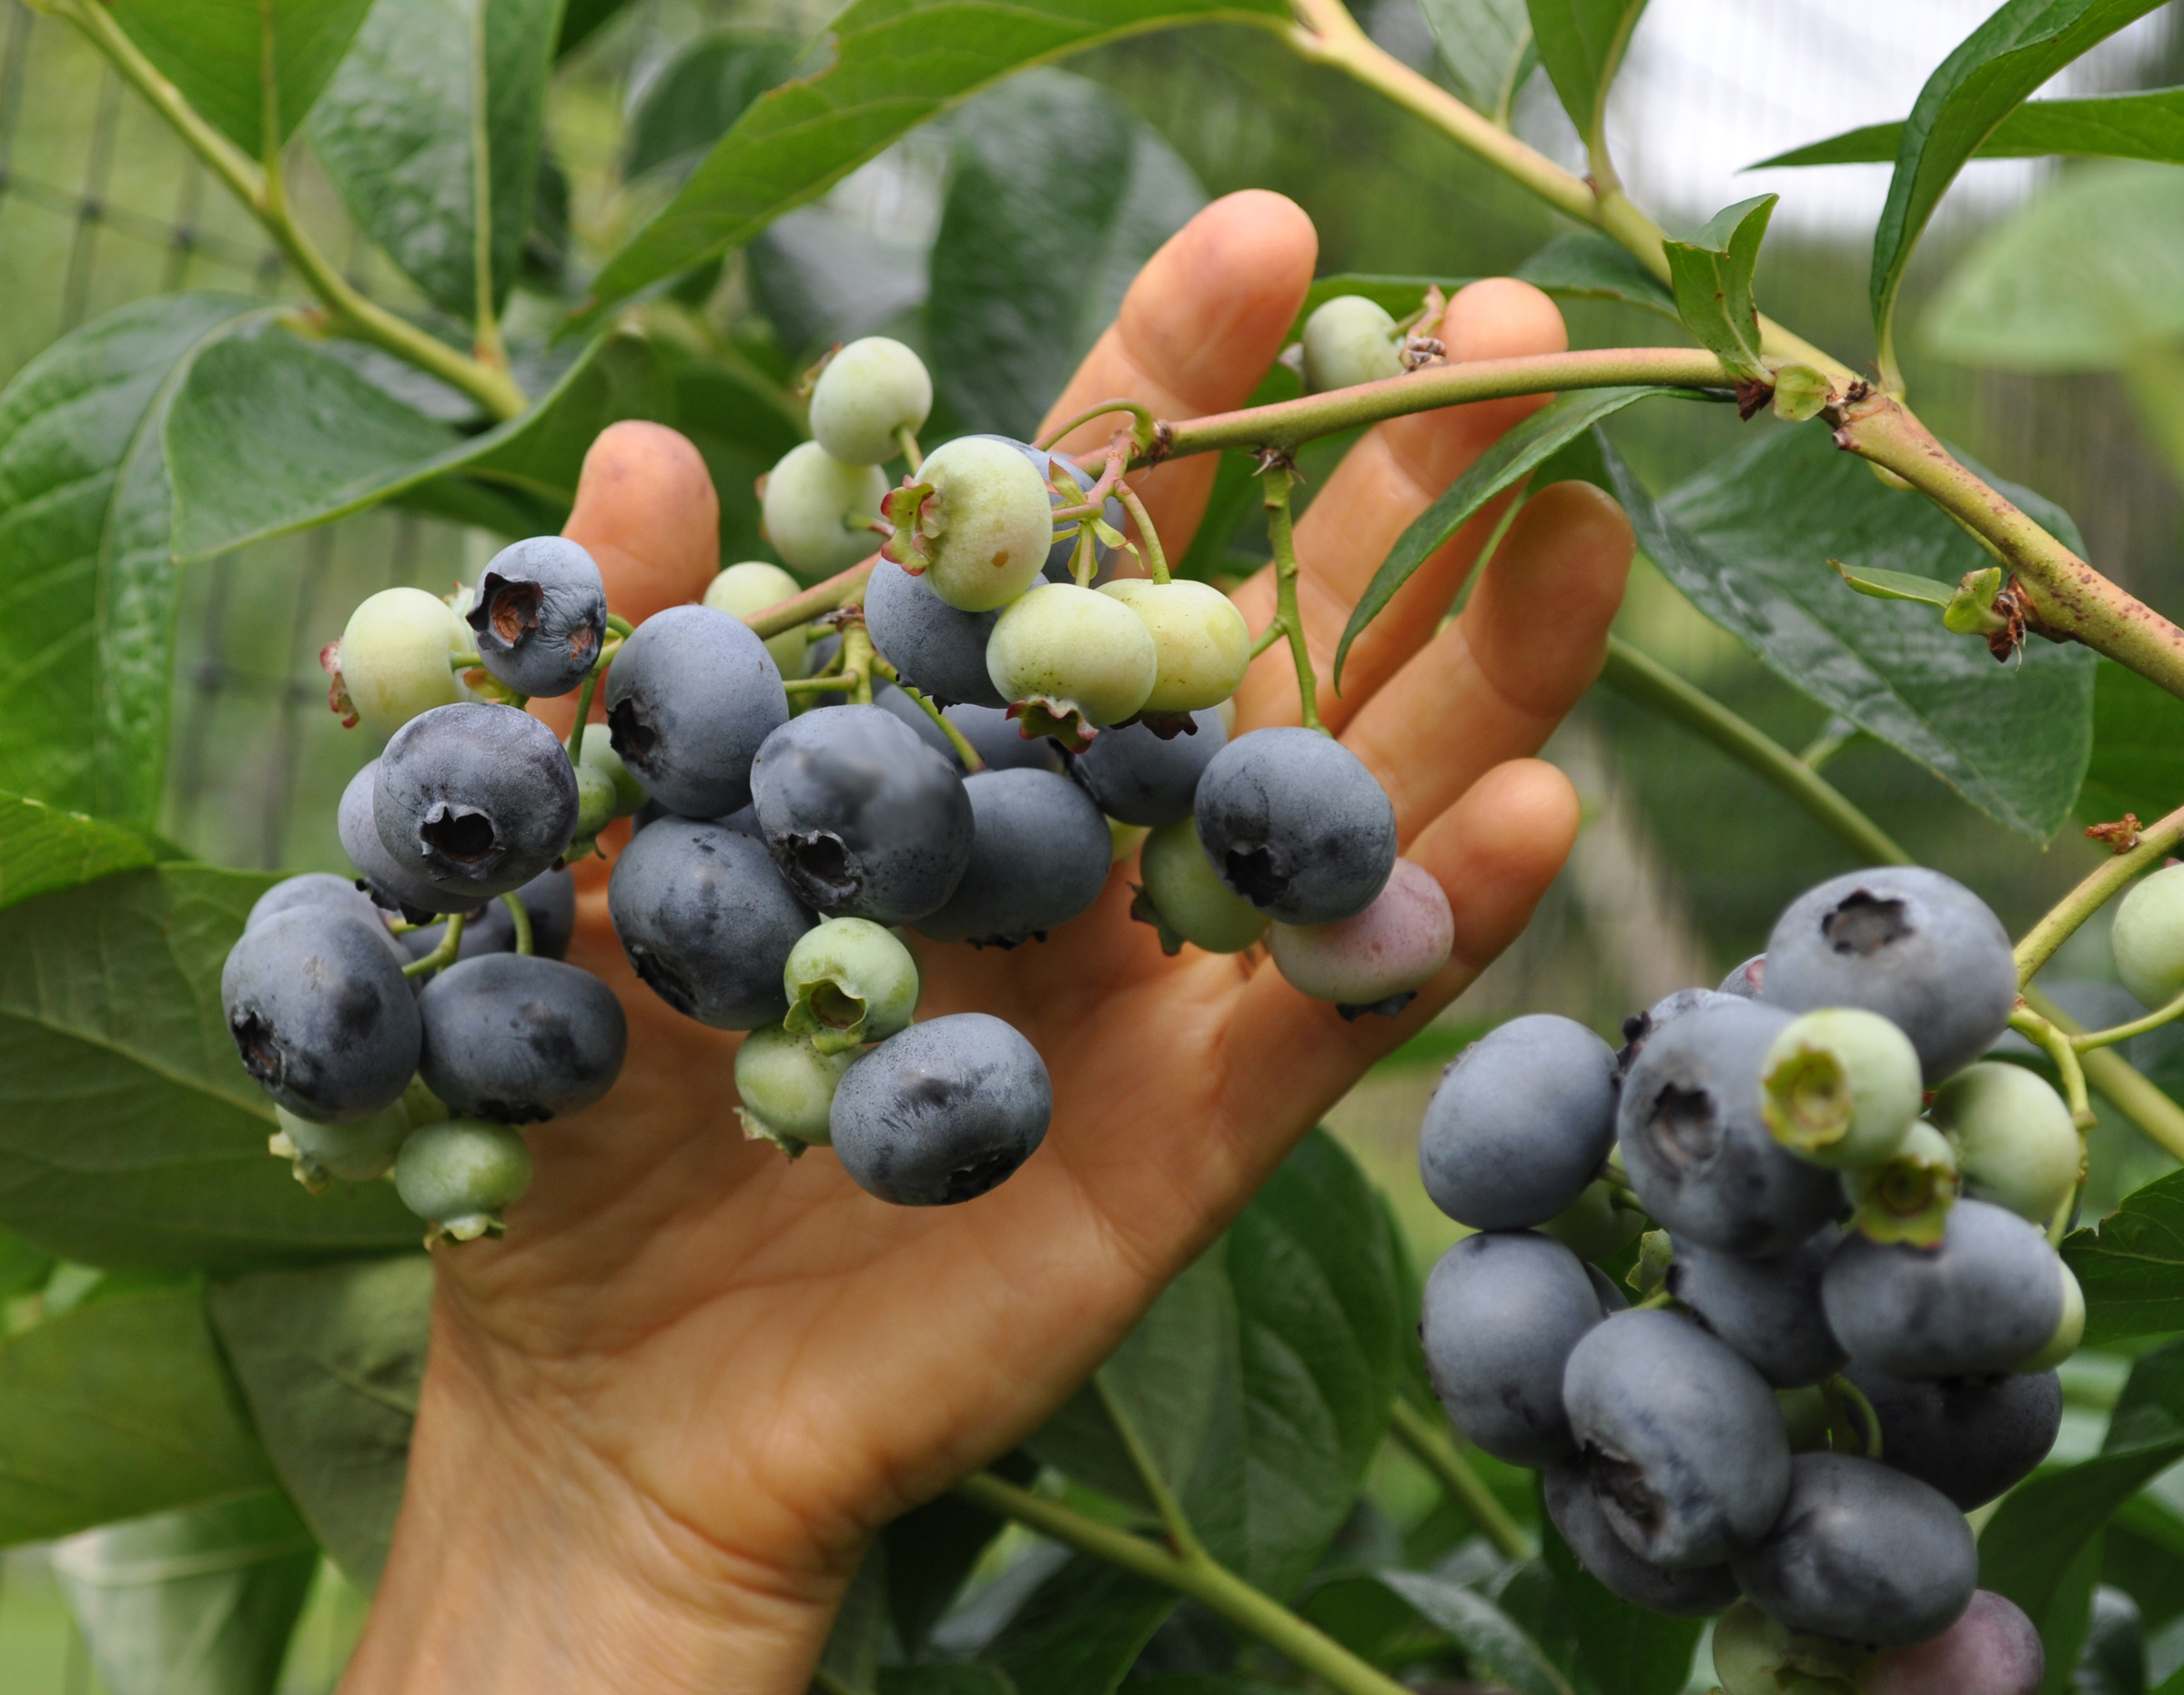
I’m not saying where my juneberries — now ripe — are, except to say that they are not here on my farmden. If you don’t know juneberries (Amelanchier spp.), you’ll wish you did. Imagine, if you will, a blueberry look-alike with the sweetness and richness of a sweet cherry along with a hint of almond. The plant is also known as shadbush, shadblow, serviceberry, and, in the case of one of the species, saskatoon.
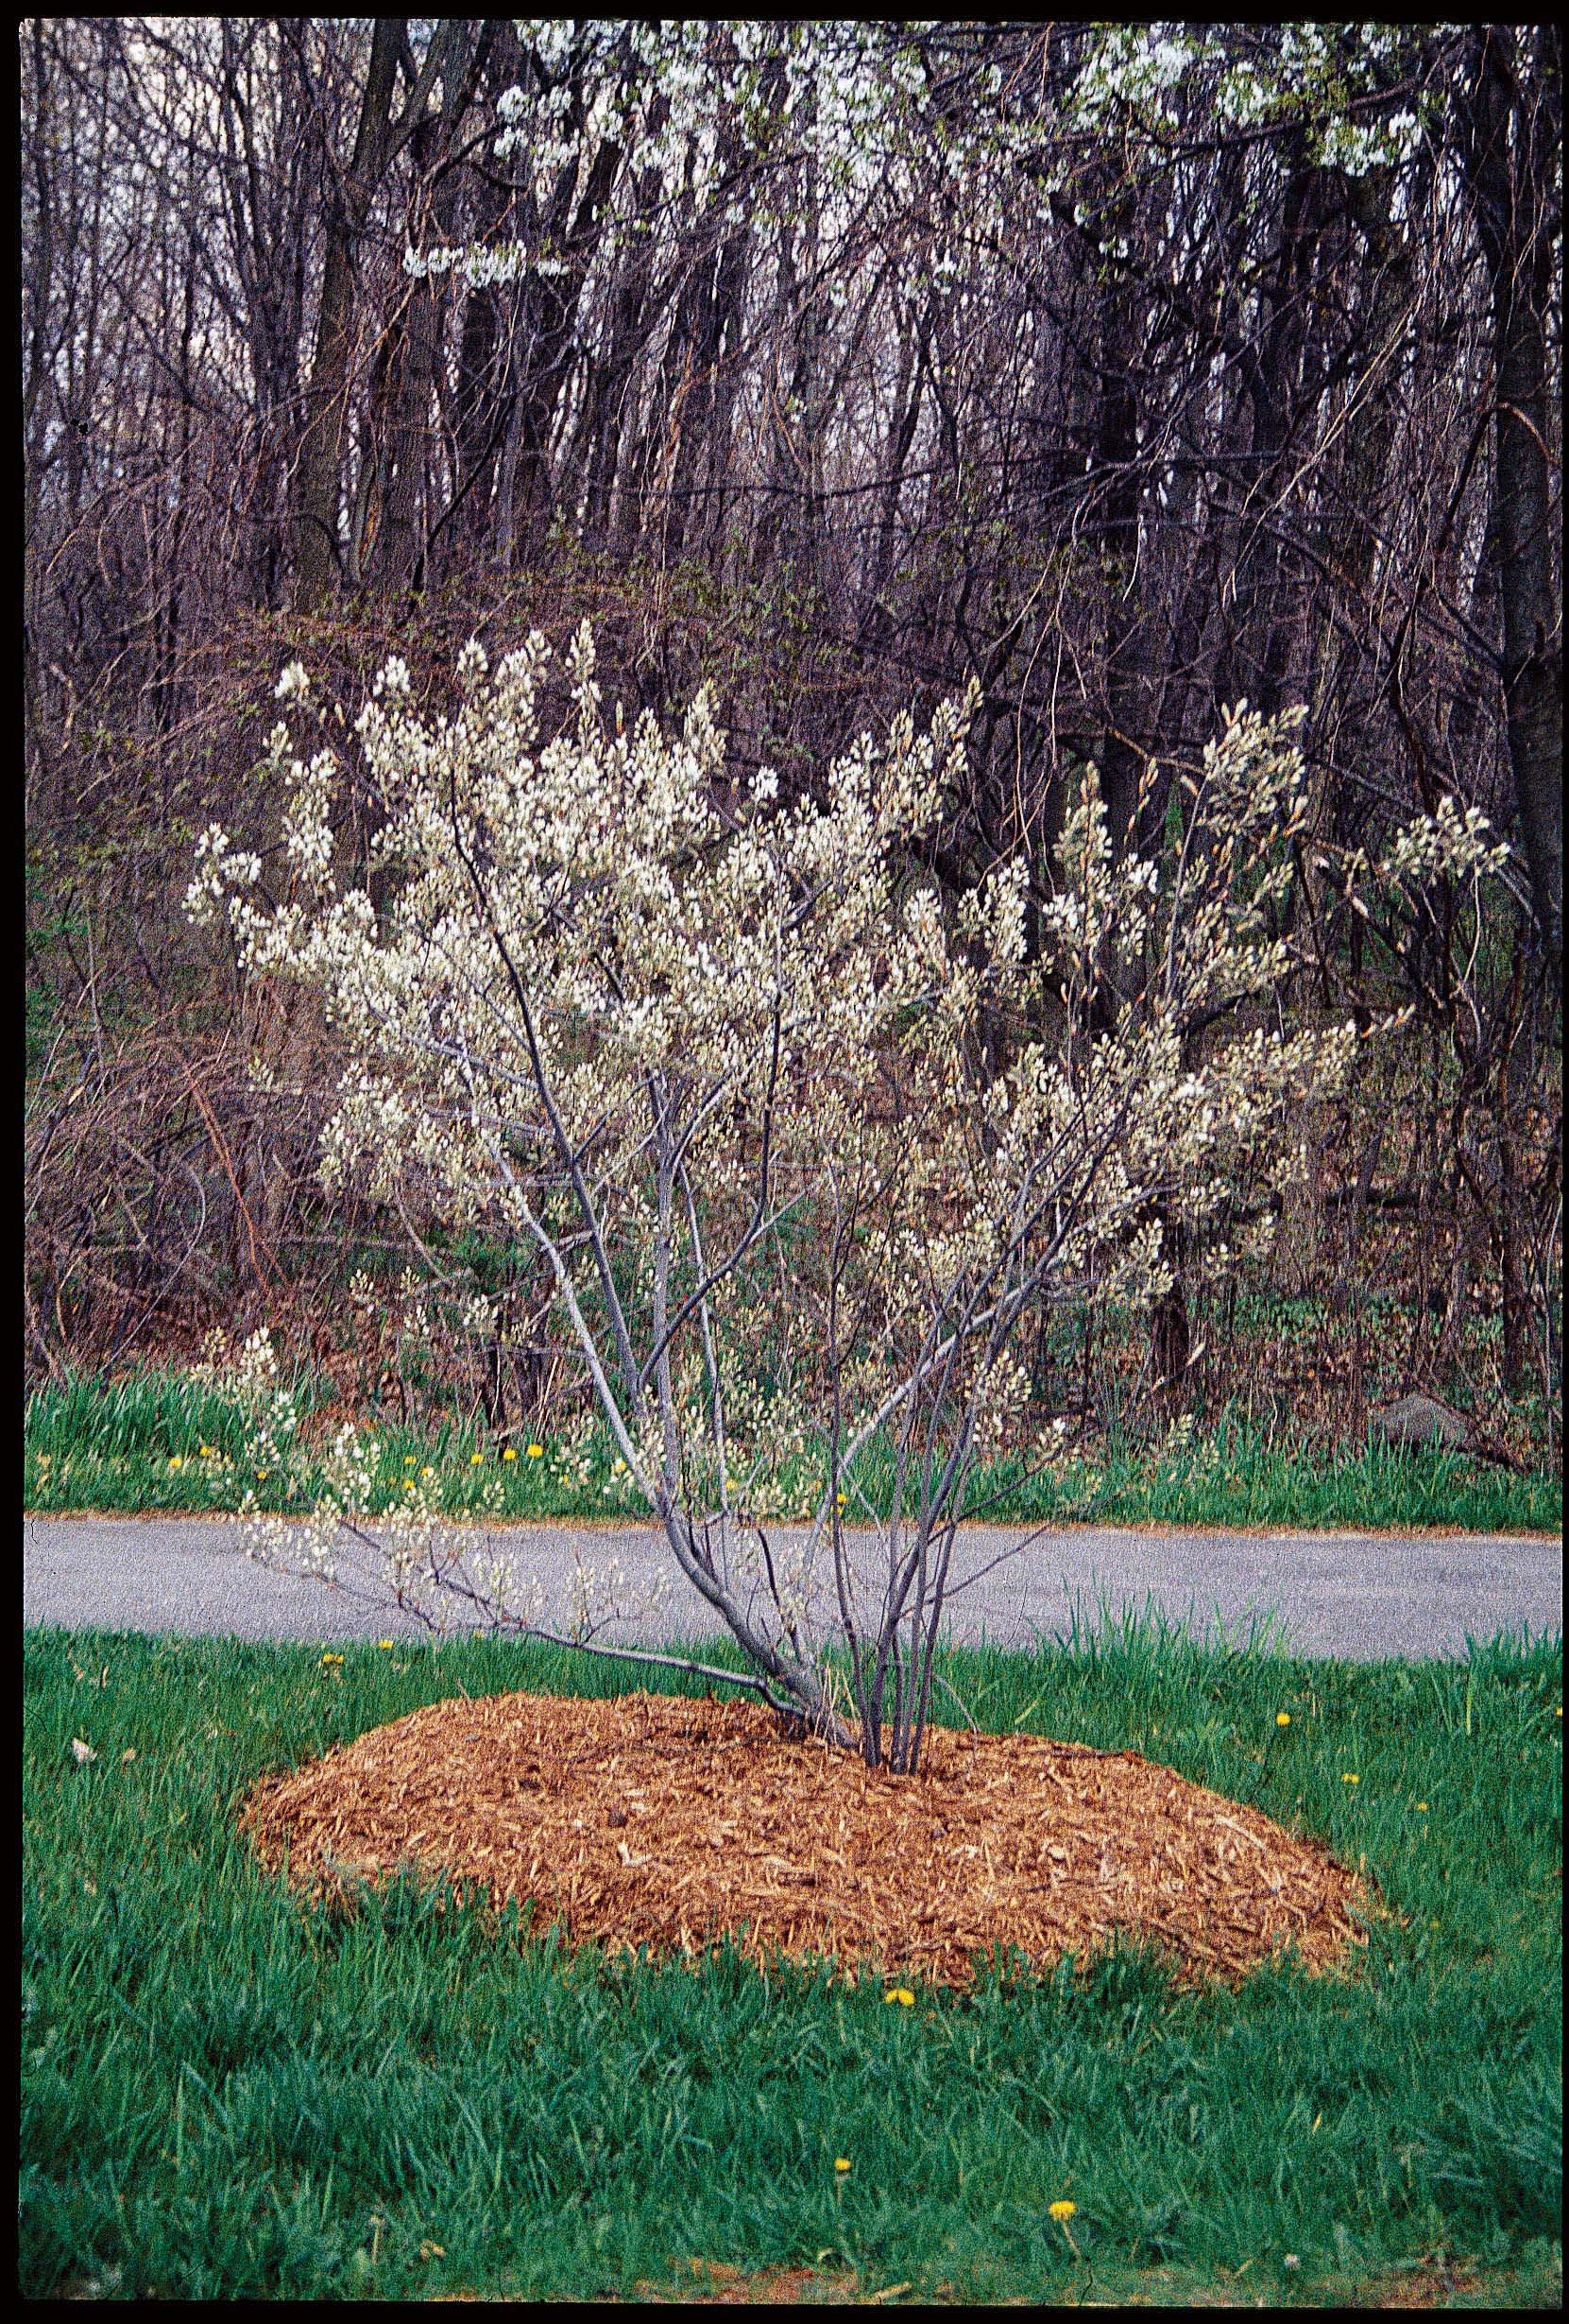
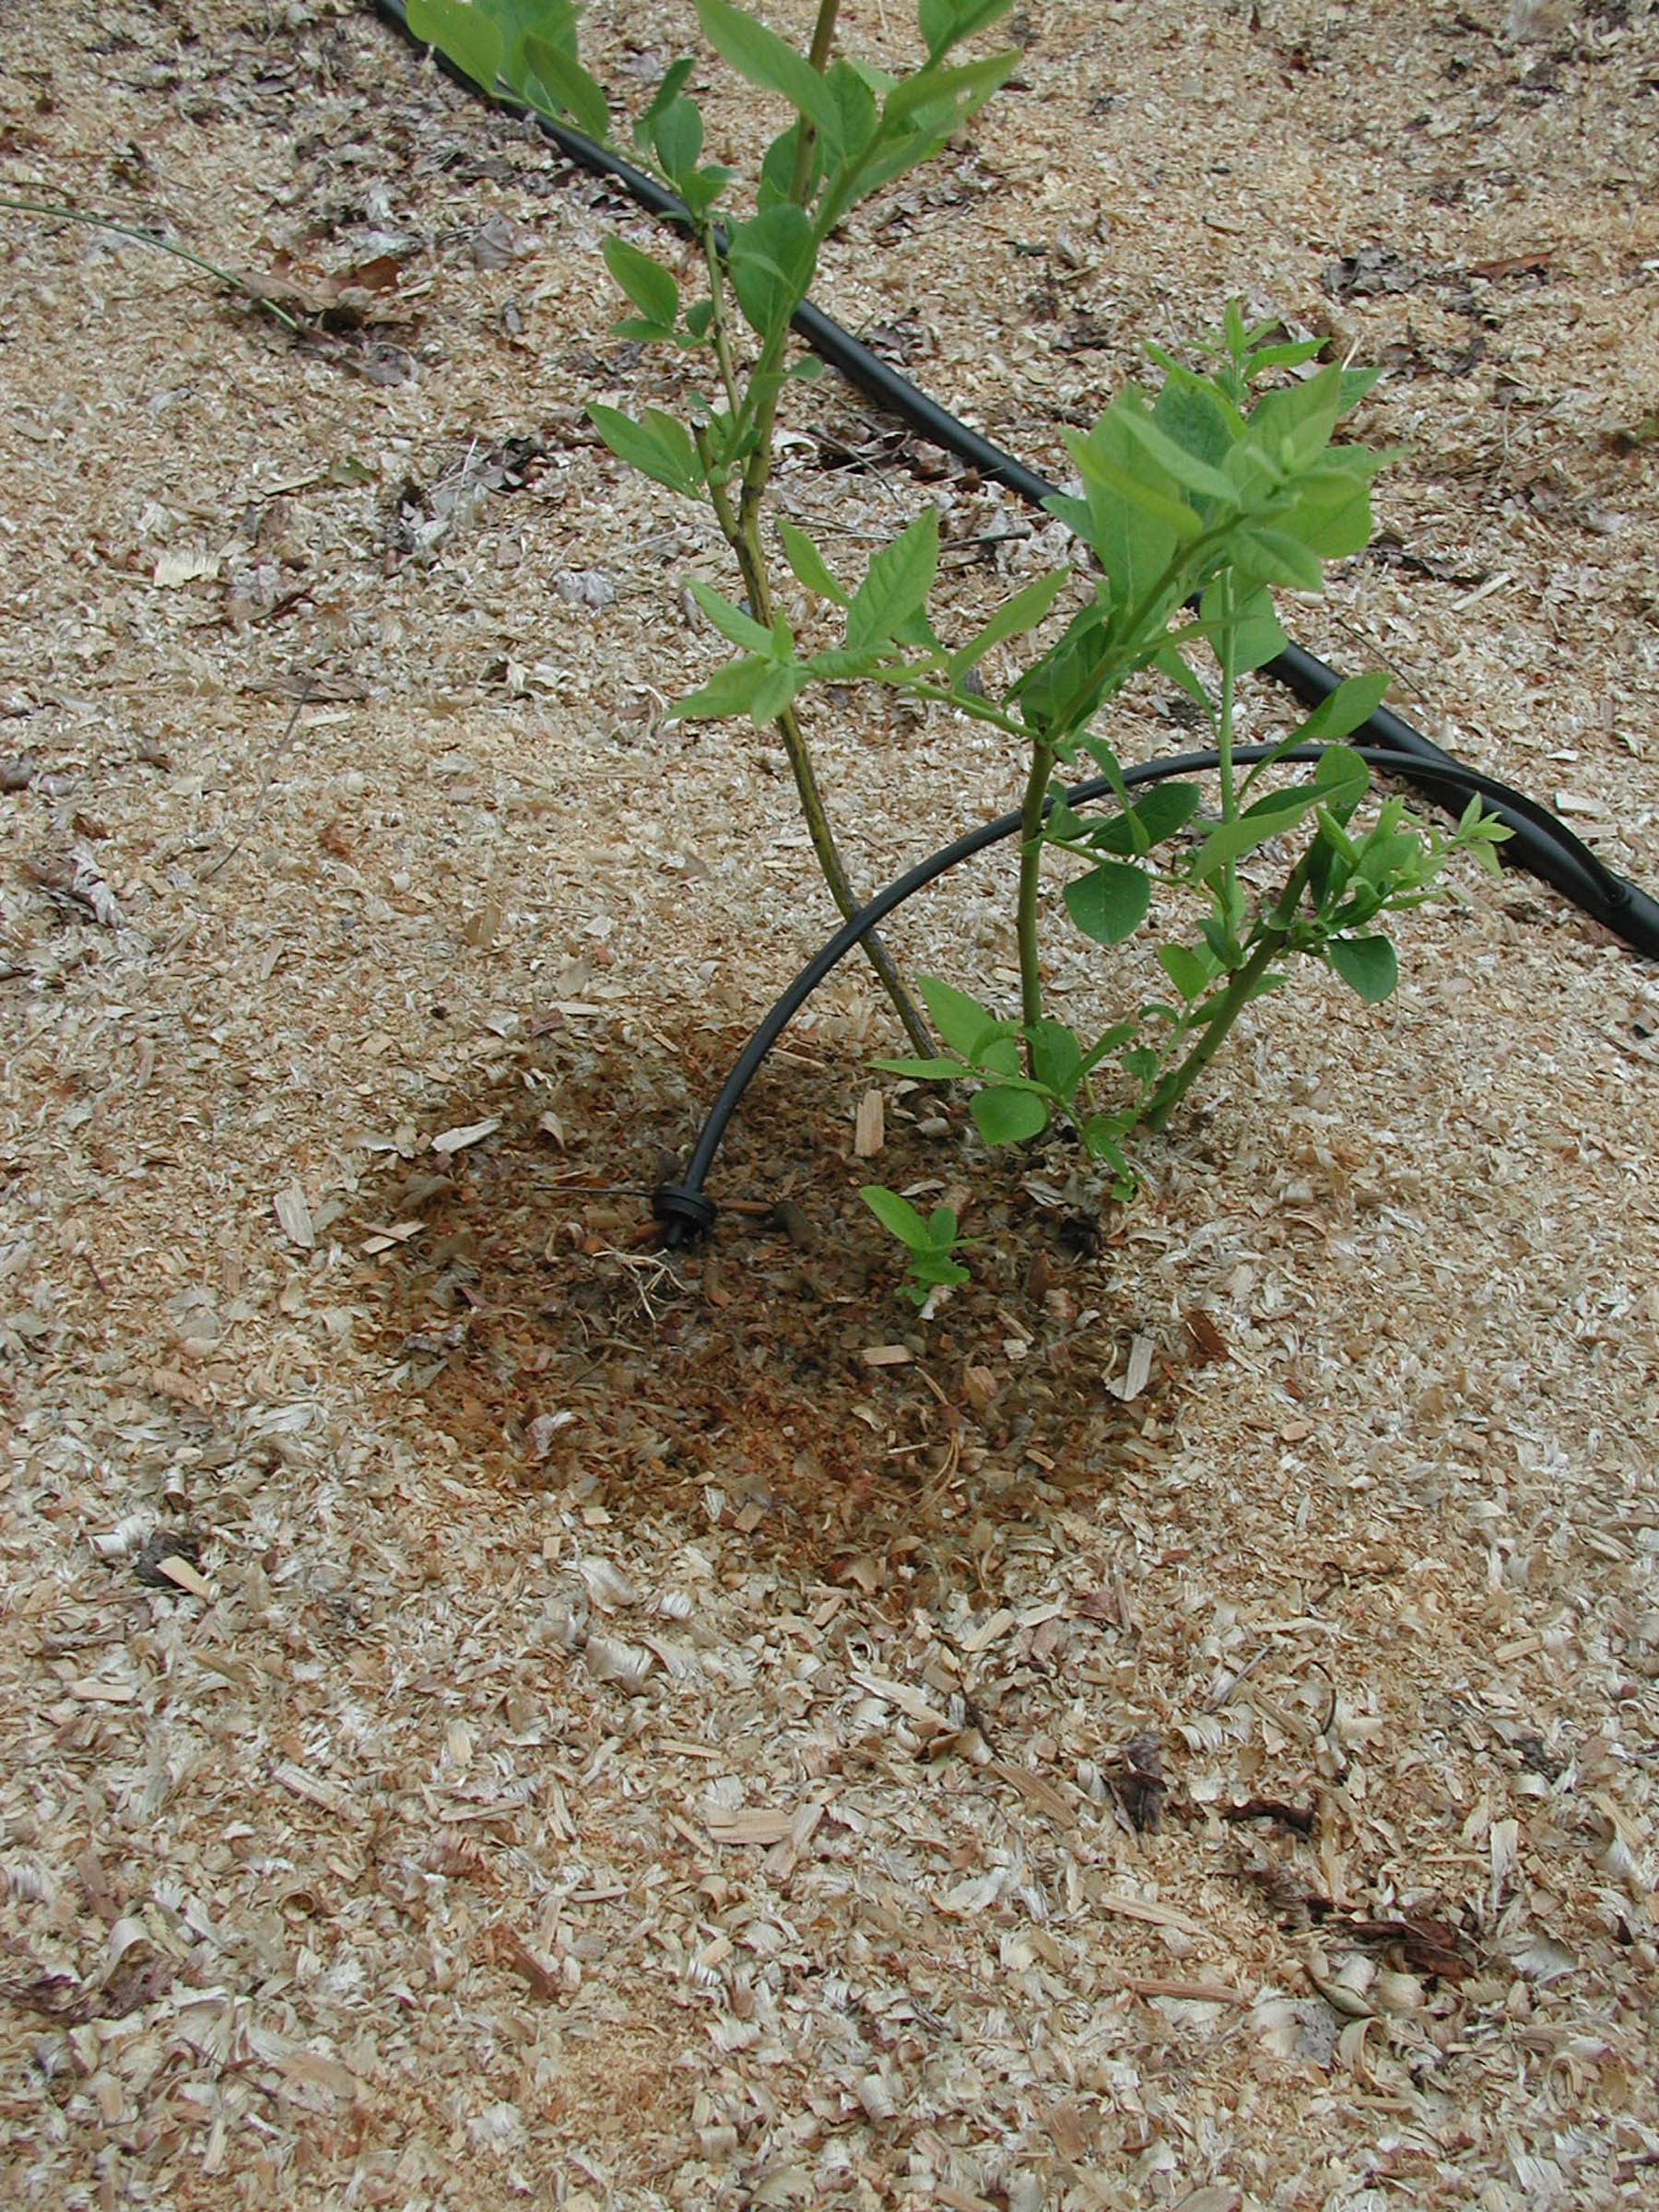
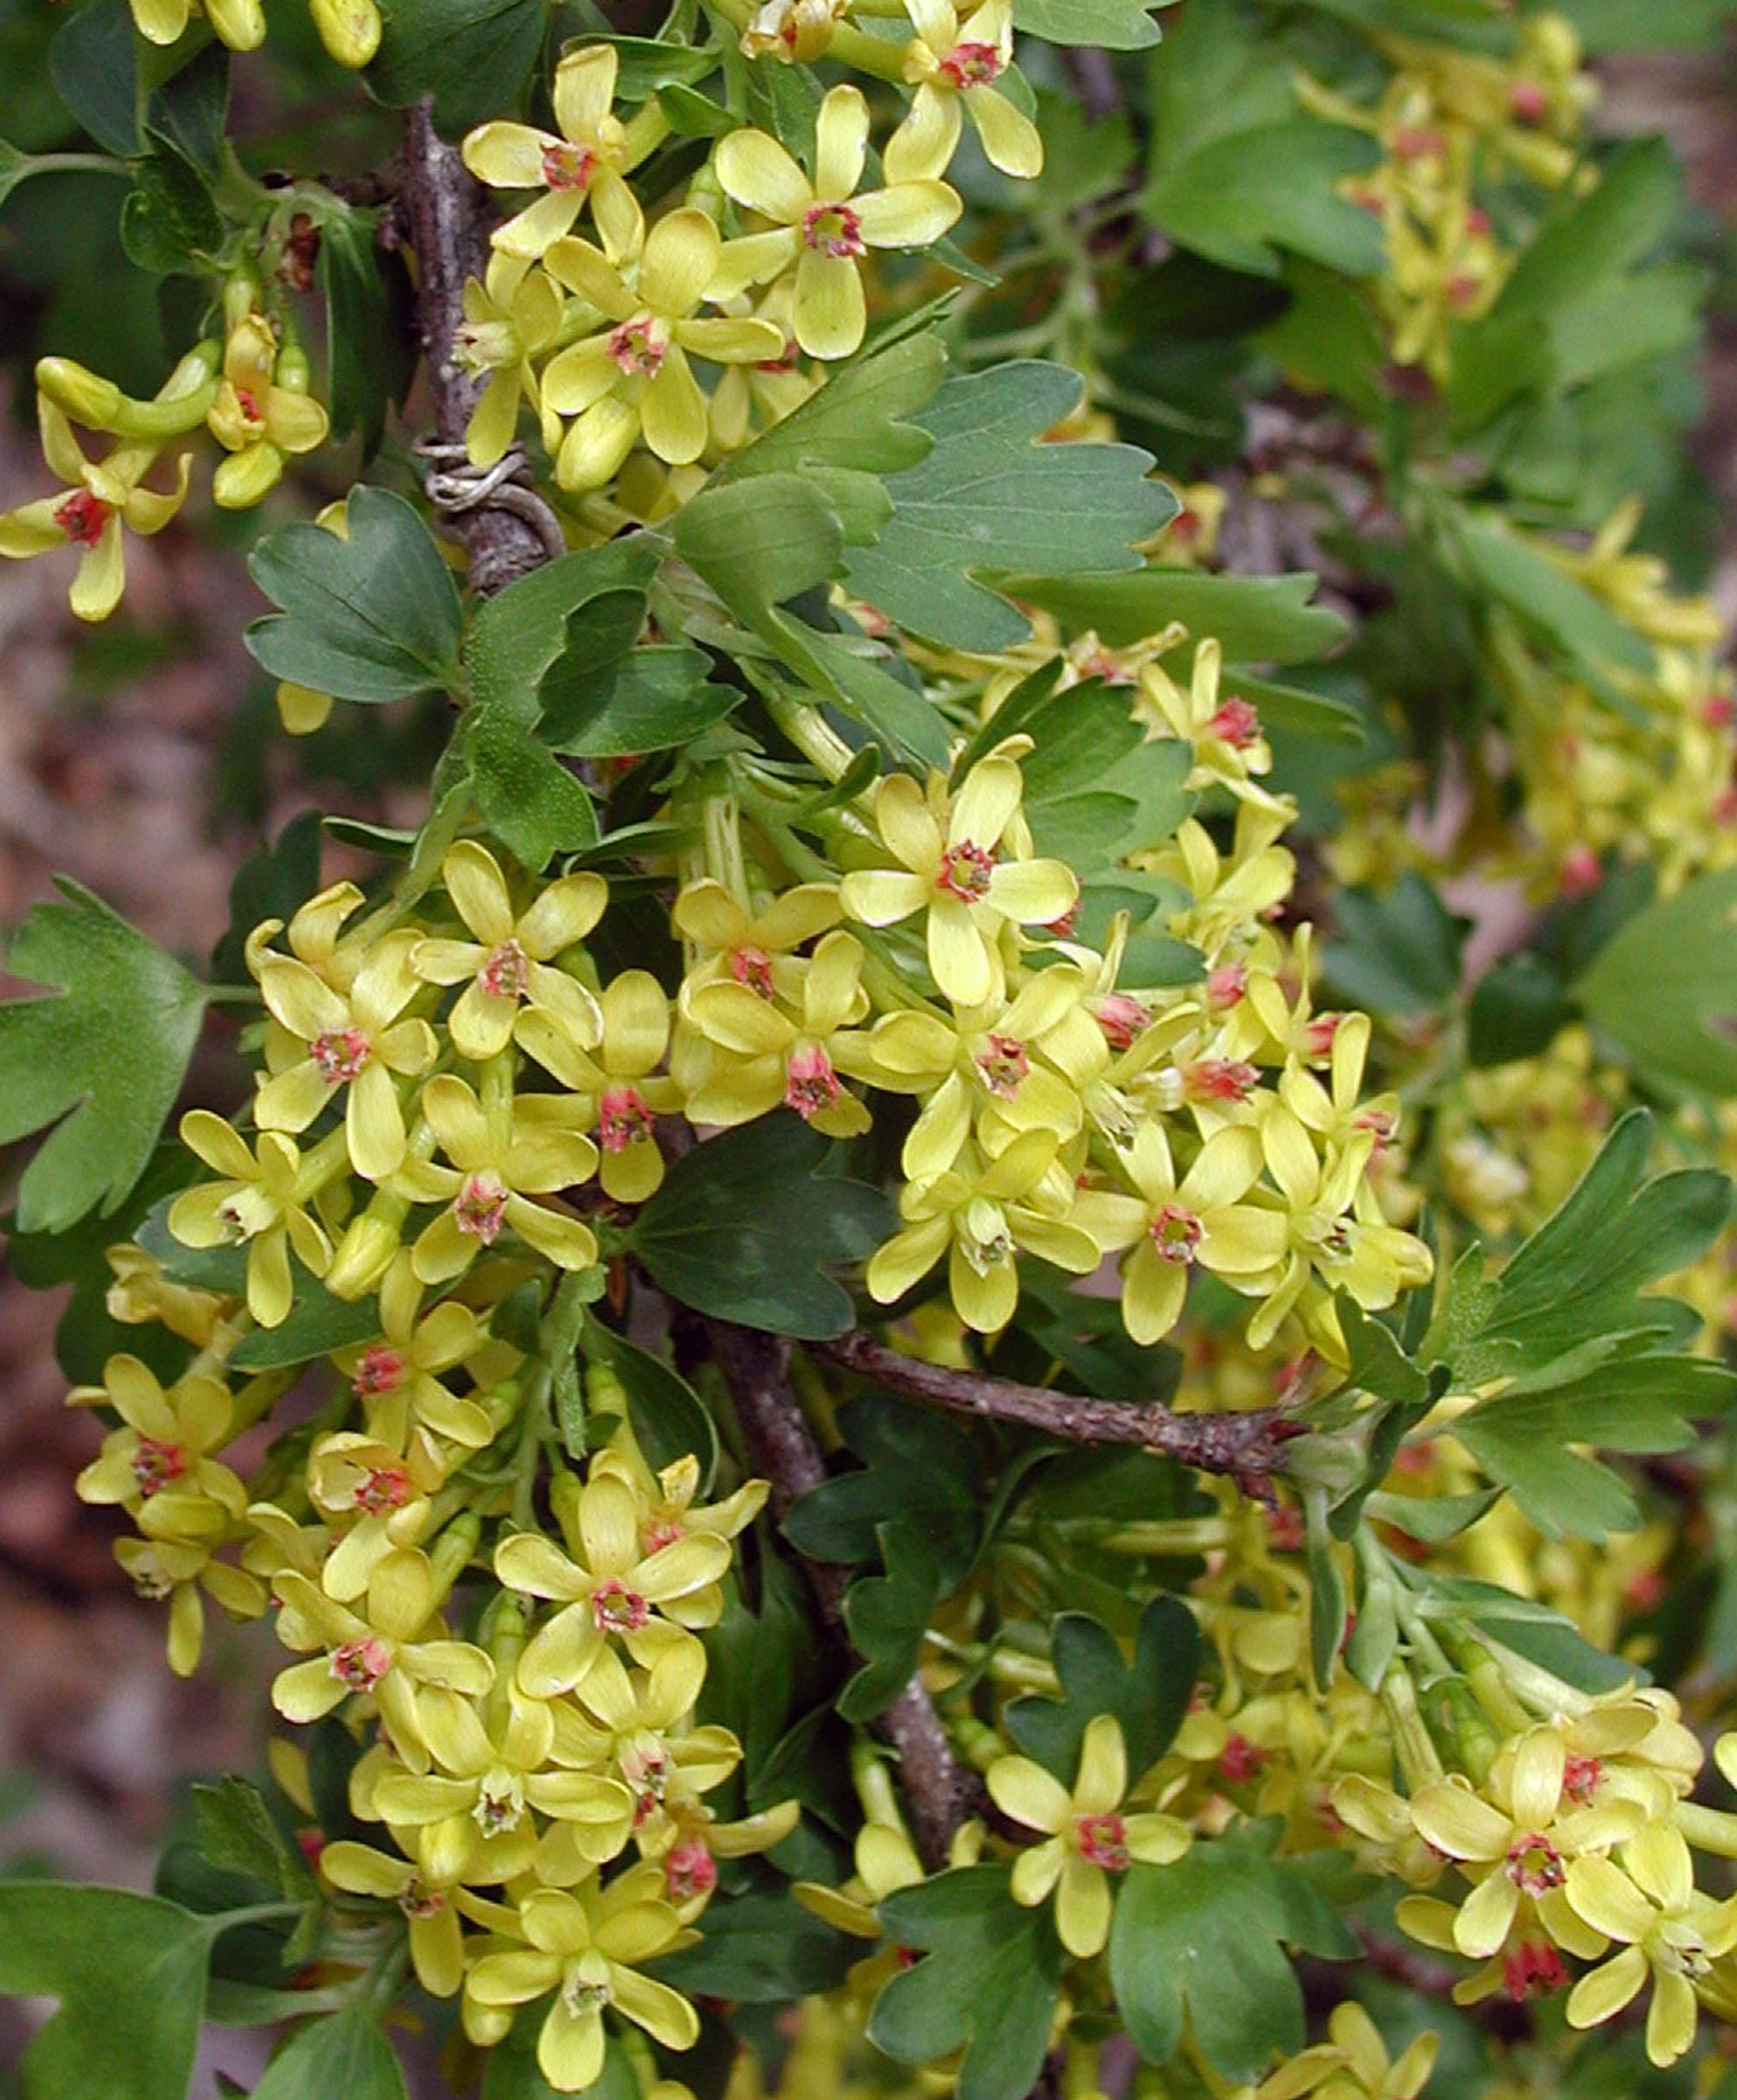
One bush of my “secret” juneberries, in bloom in April.
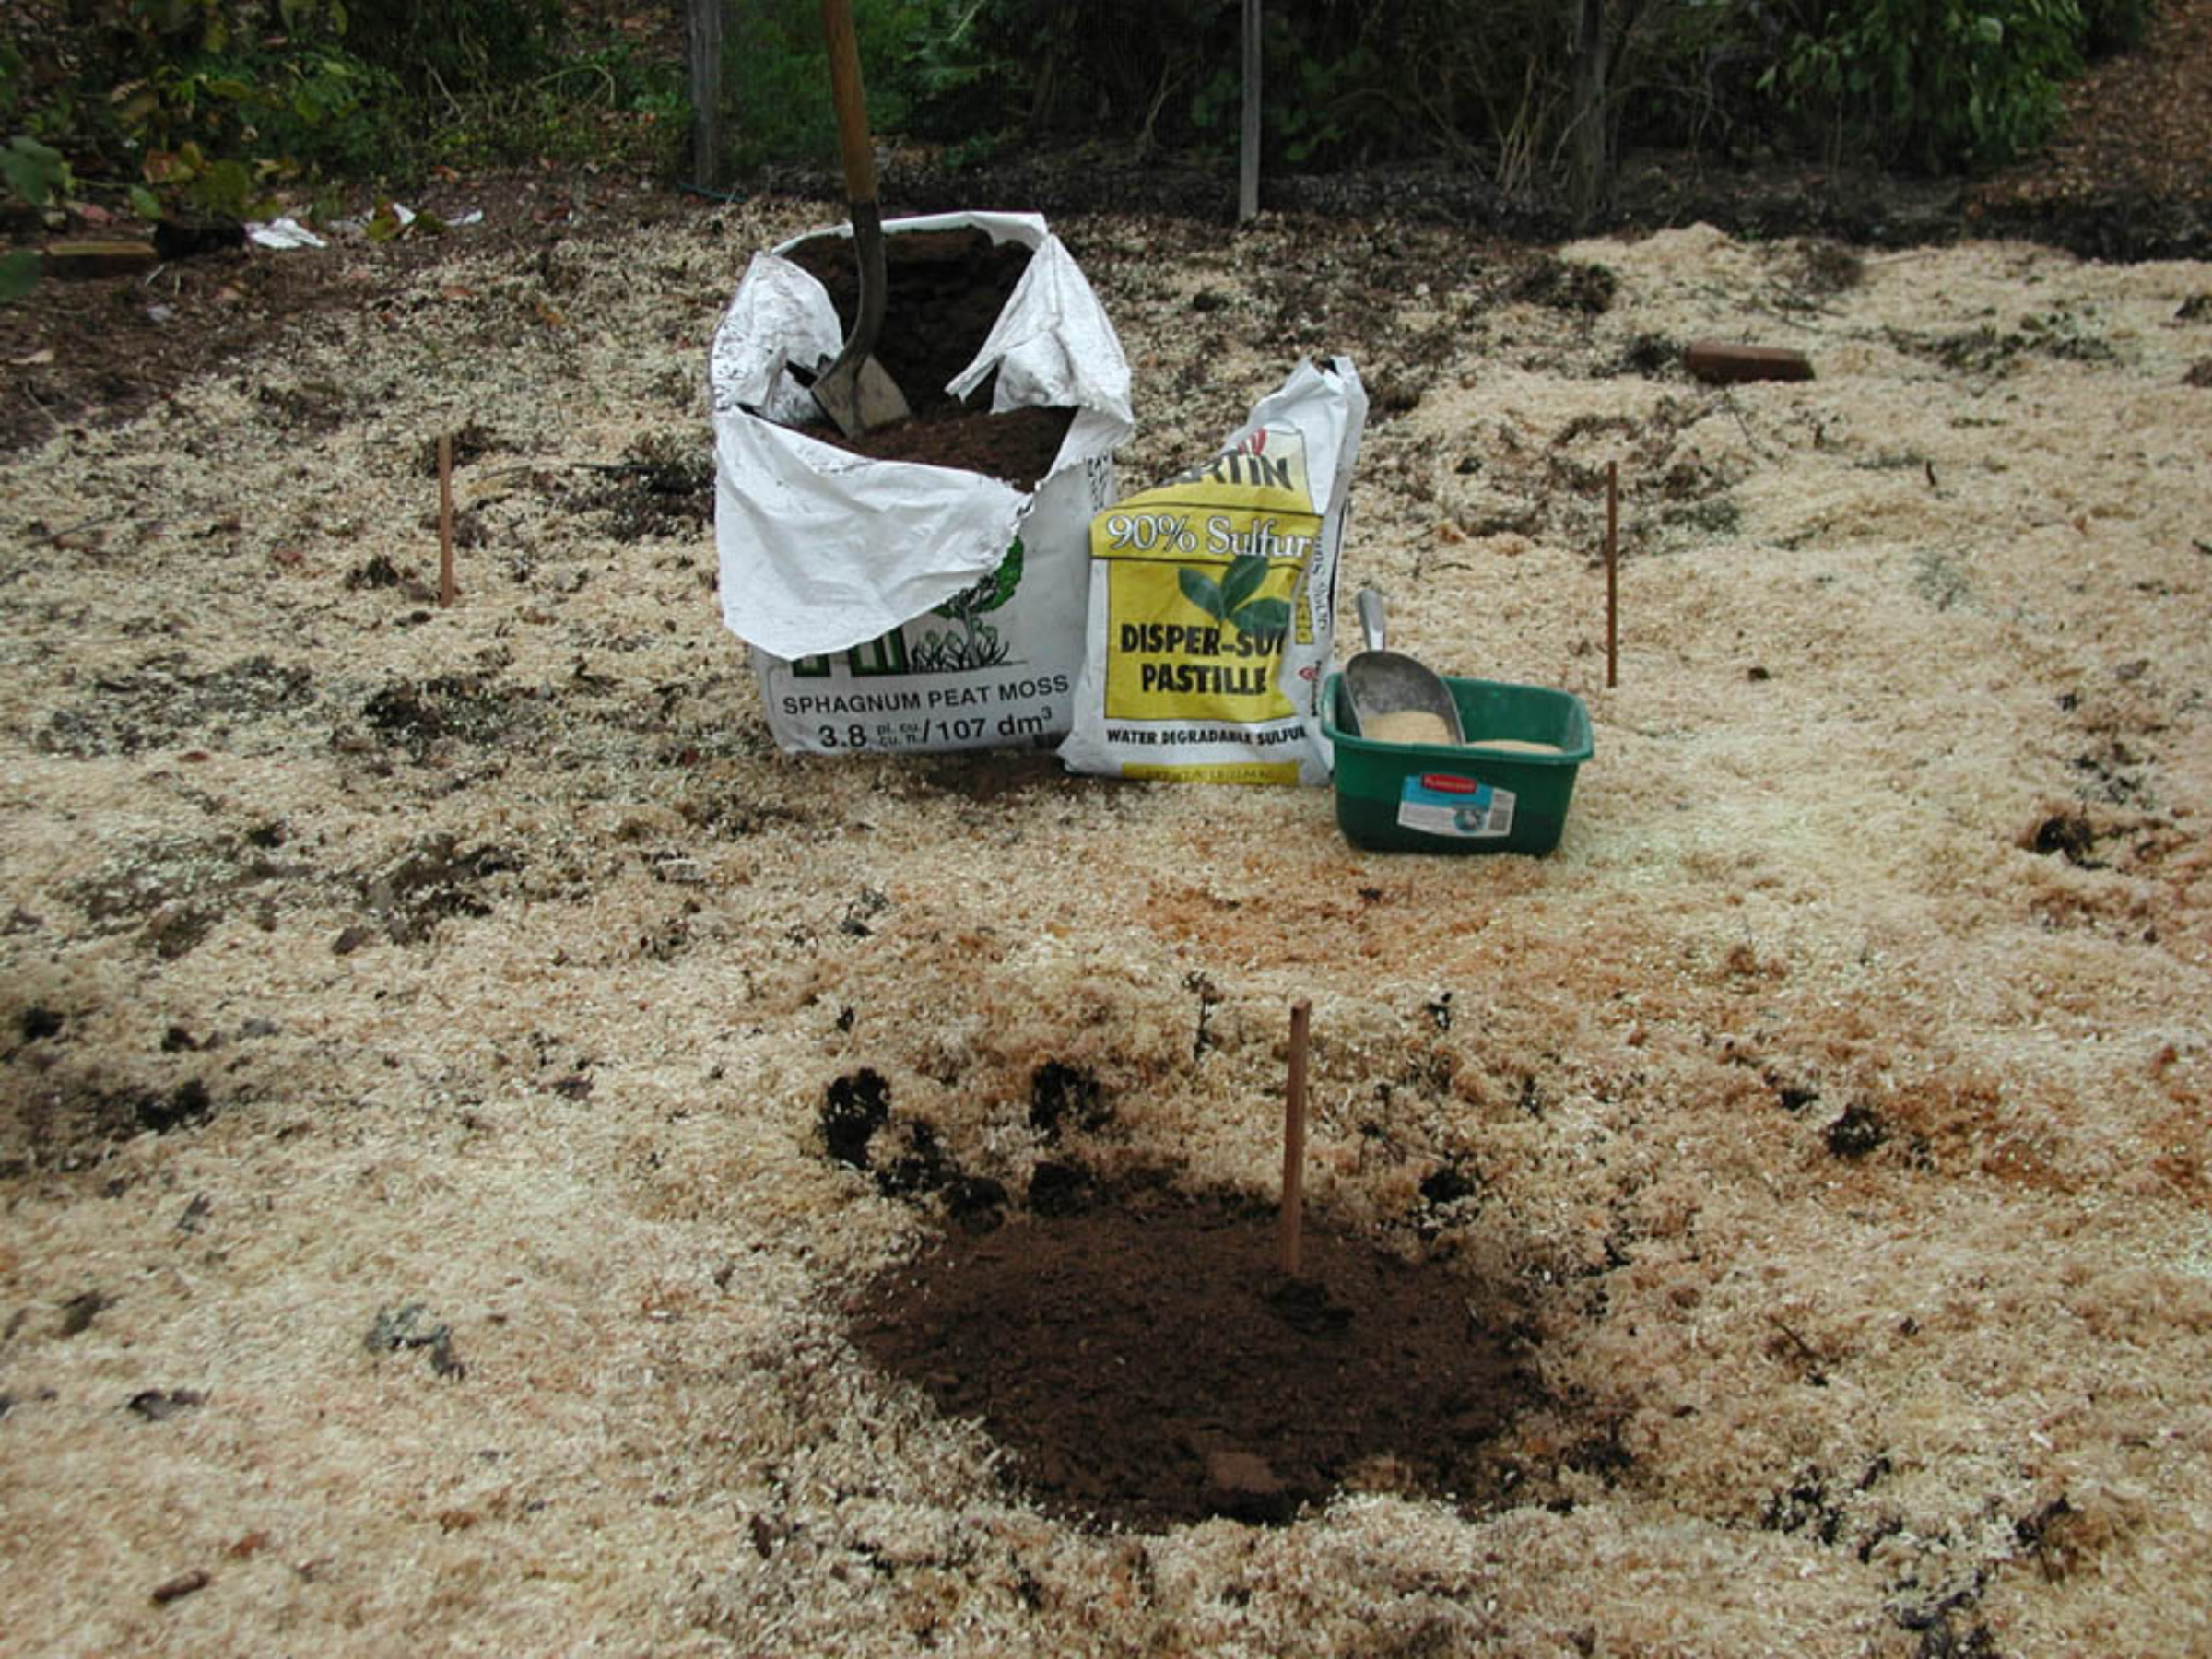
I’ve planted and grown juneberries, but no longer do so. In the 15 years during which I had 6 plants, I harvested only a handful of berries. Juneberries, although look-alikes for blueberries, are pome fruits, related to apple and sharing many of the same pest problems. Here, apple has many problems, including plum curculio, apple maggot, cedar-apple rust, and black rot.
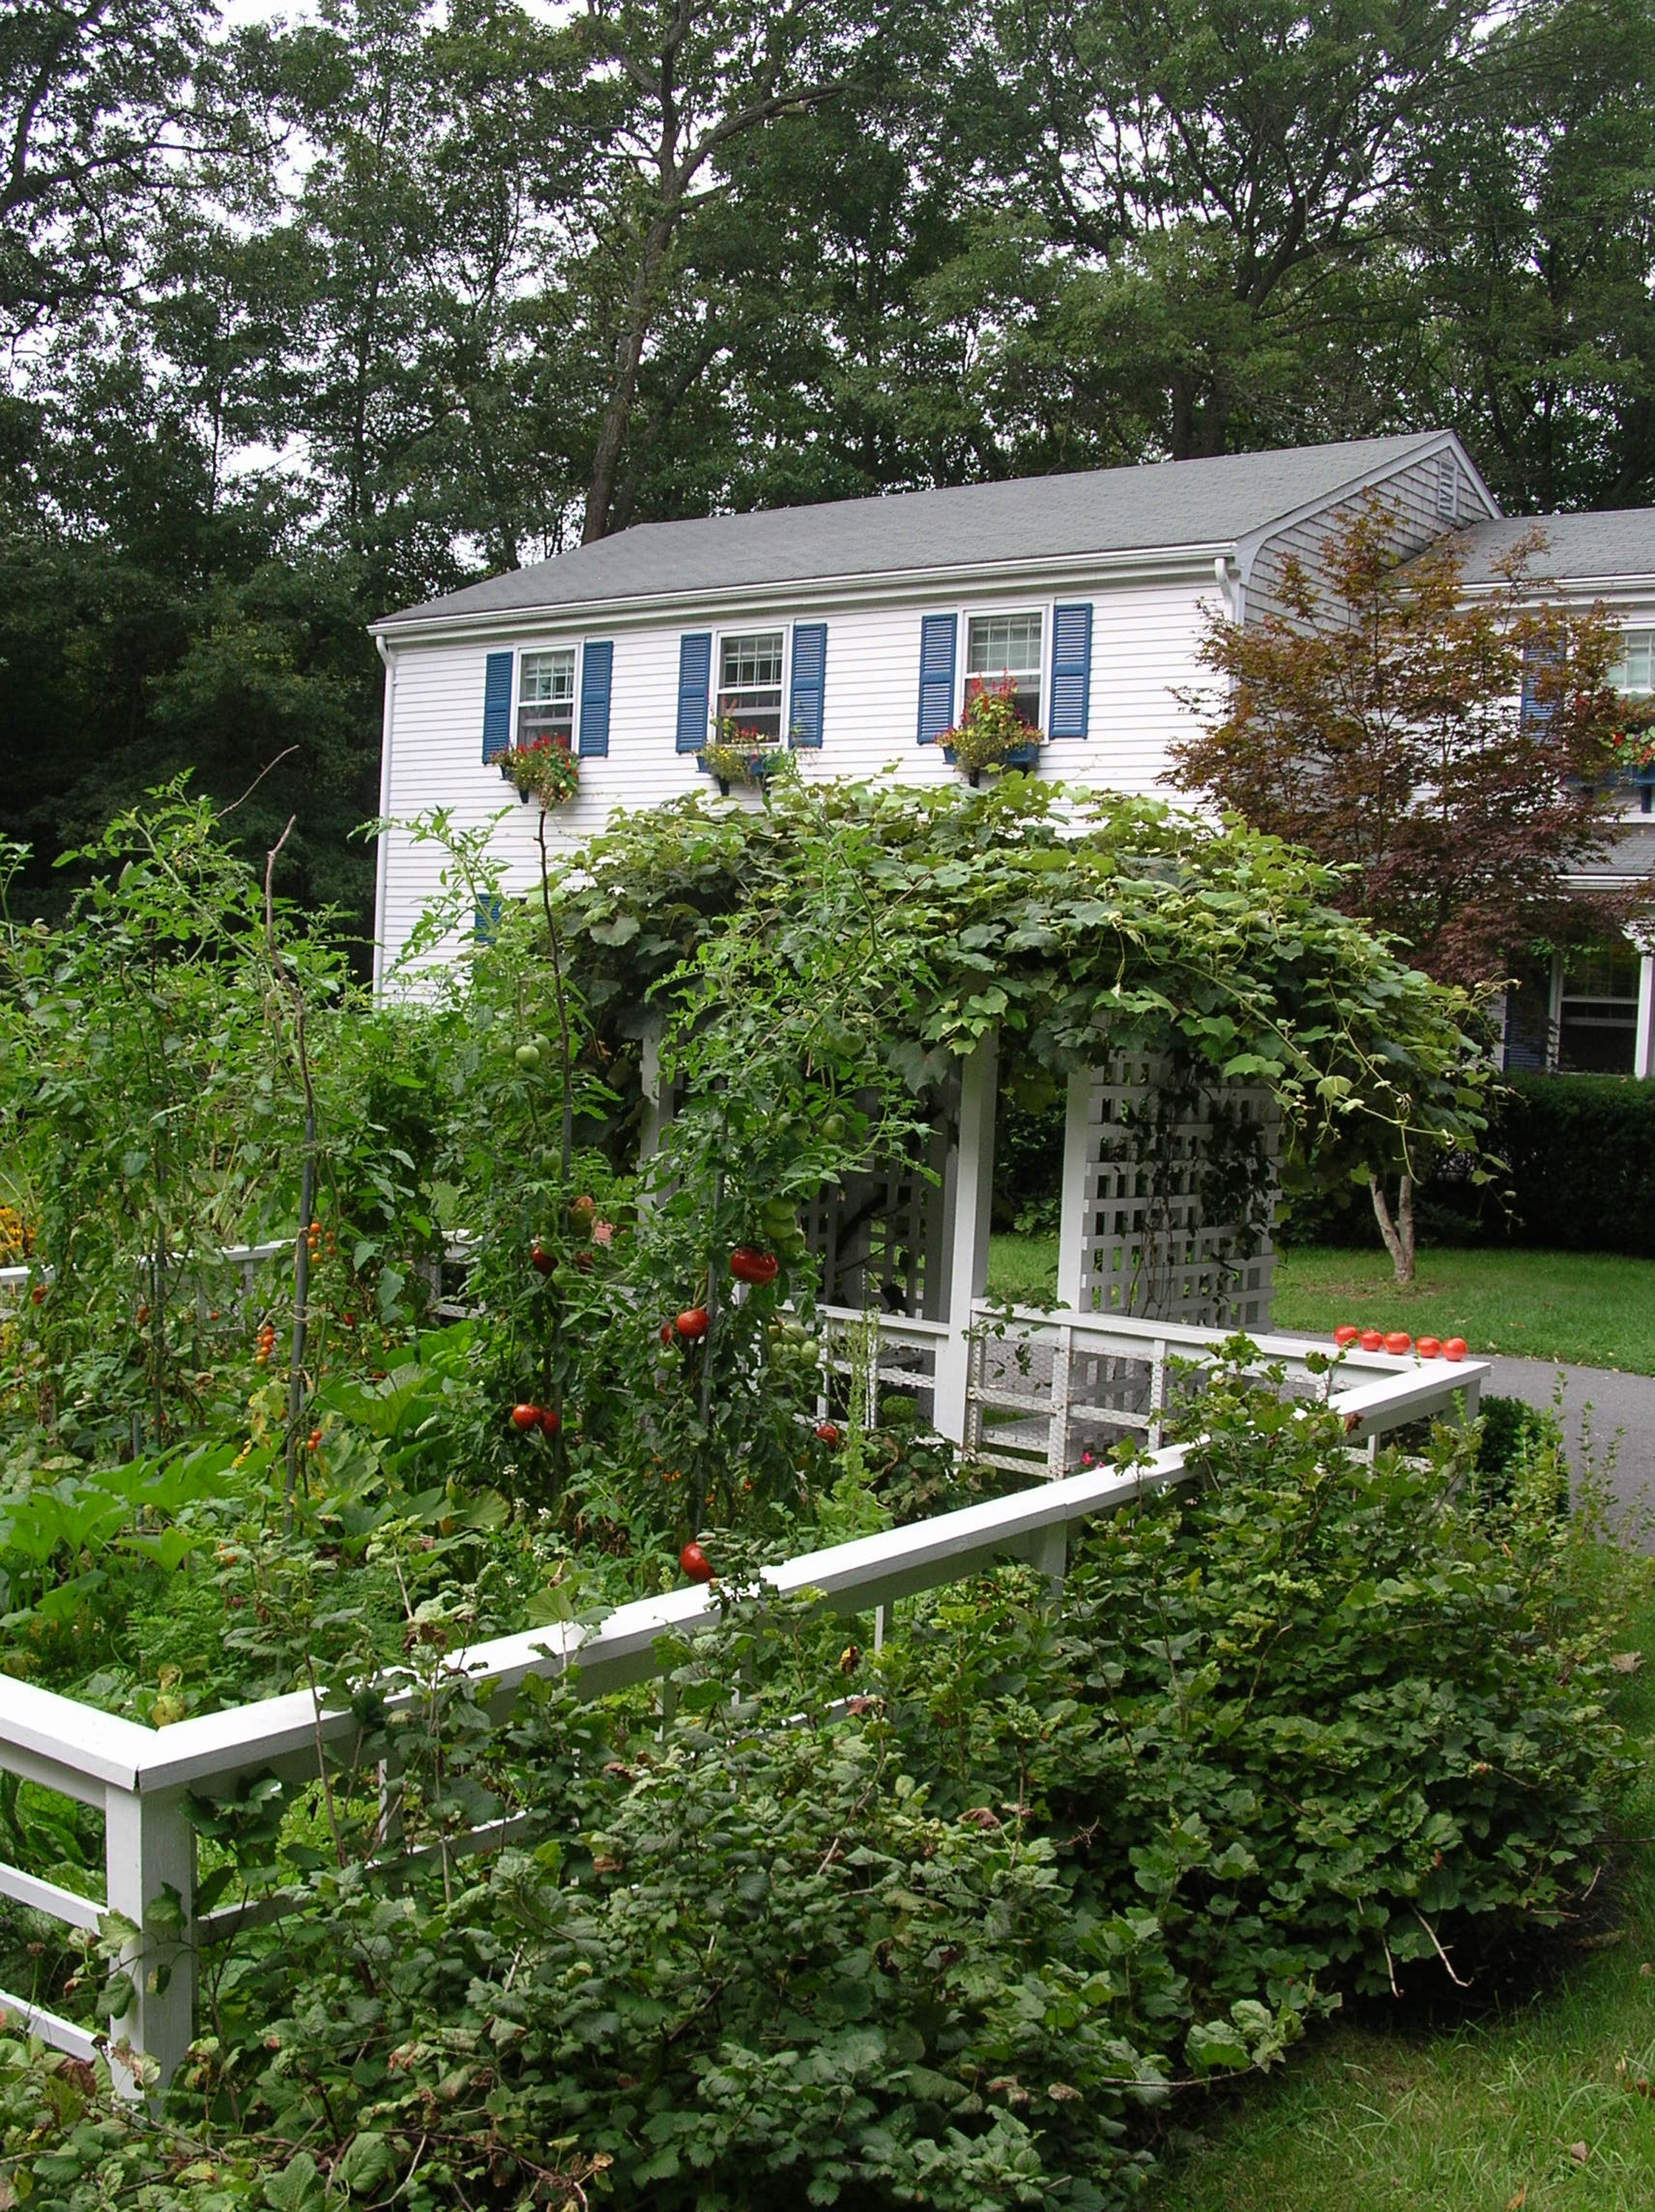
But other sites are more friendly to apple and especially to juneberry. Juneberry is commonly planted as an ornamental; I’ve seen it doing well with the sun beating down on a strip of soil between a vertical wall of concrete and a concrete sidewalk near the entrance to a shopping mall, with passing shoppers unaware of the tasty berries dangling from the branches. (“My” secret juneberries are closer than the nearest shopping mall. Here’s a hint: Mine are within 4 miles of my farmden.)

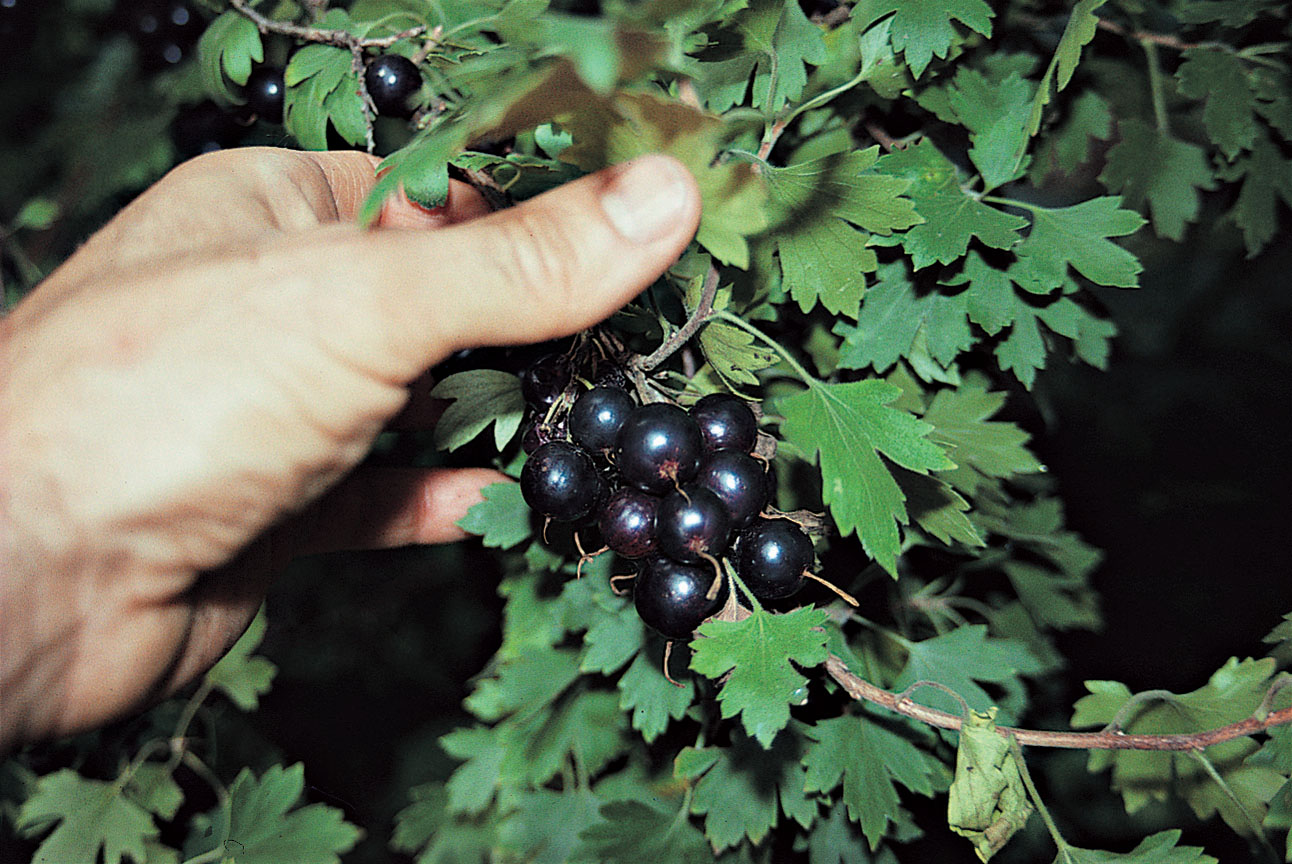
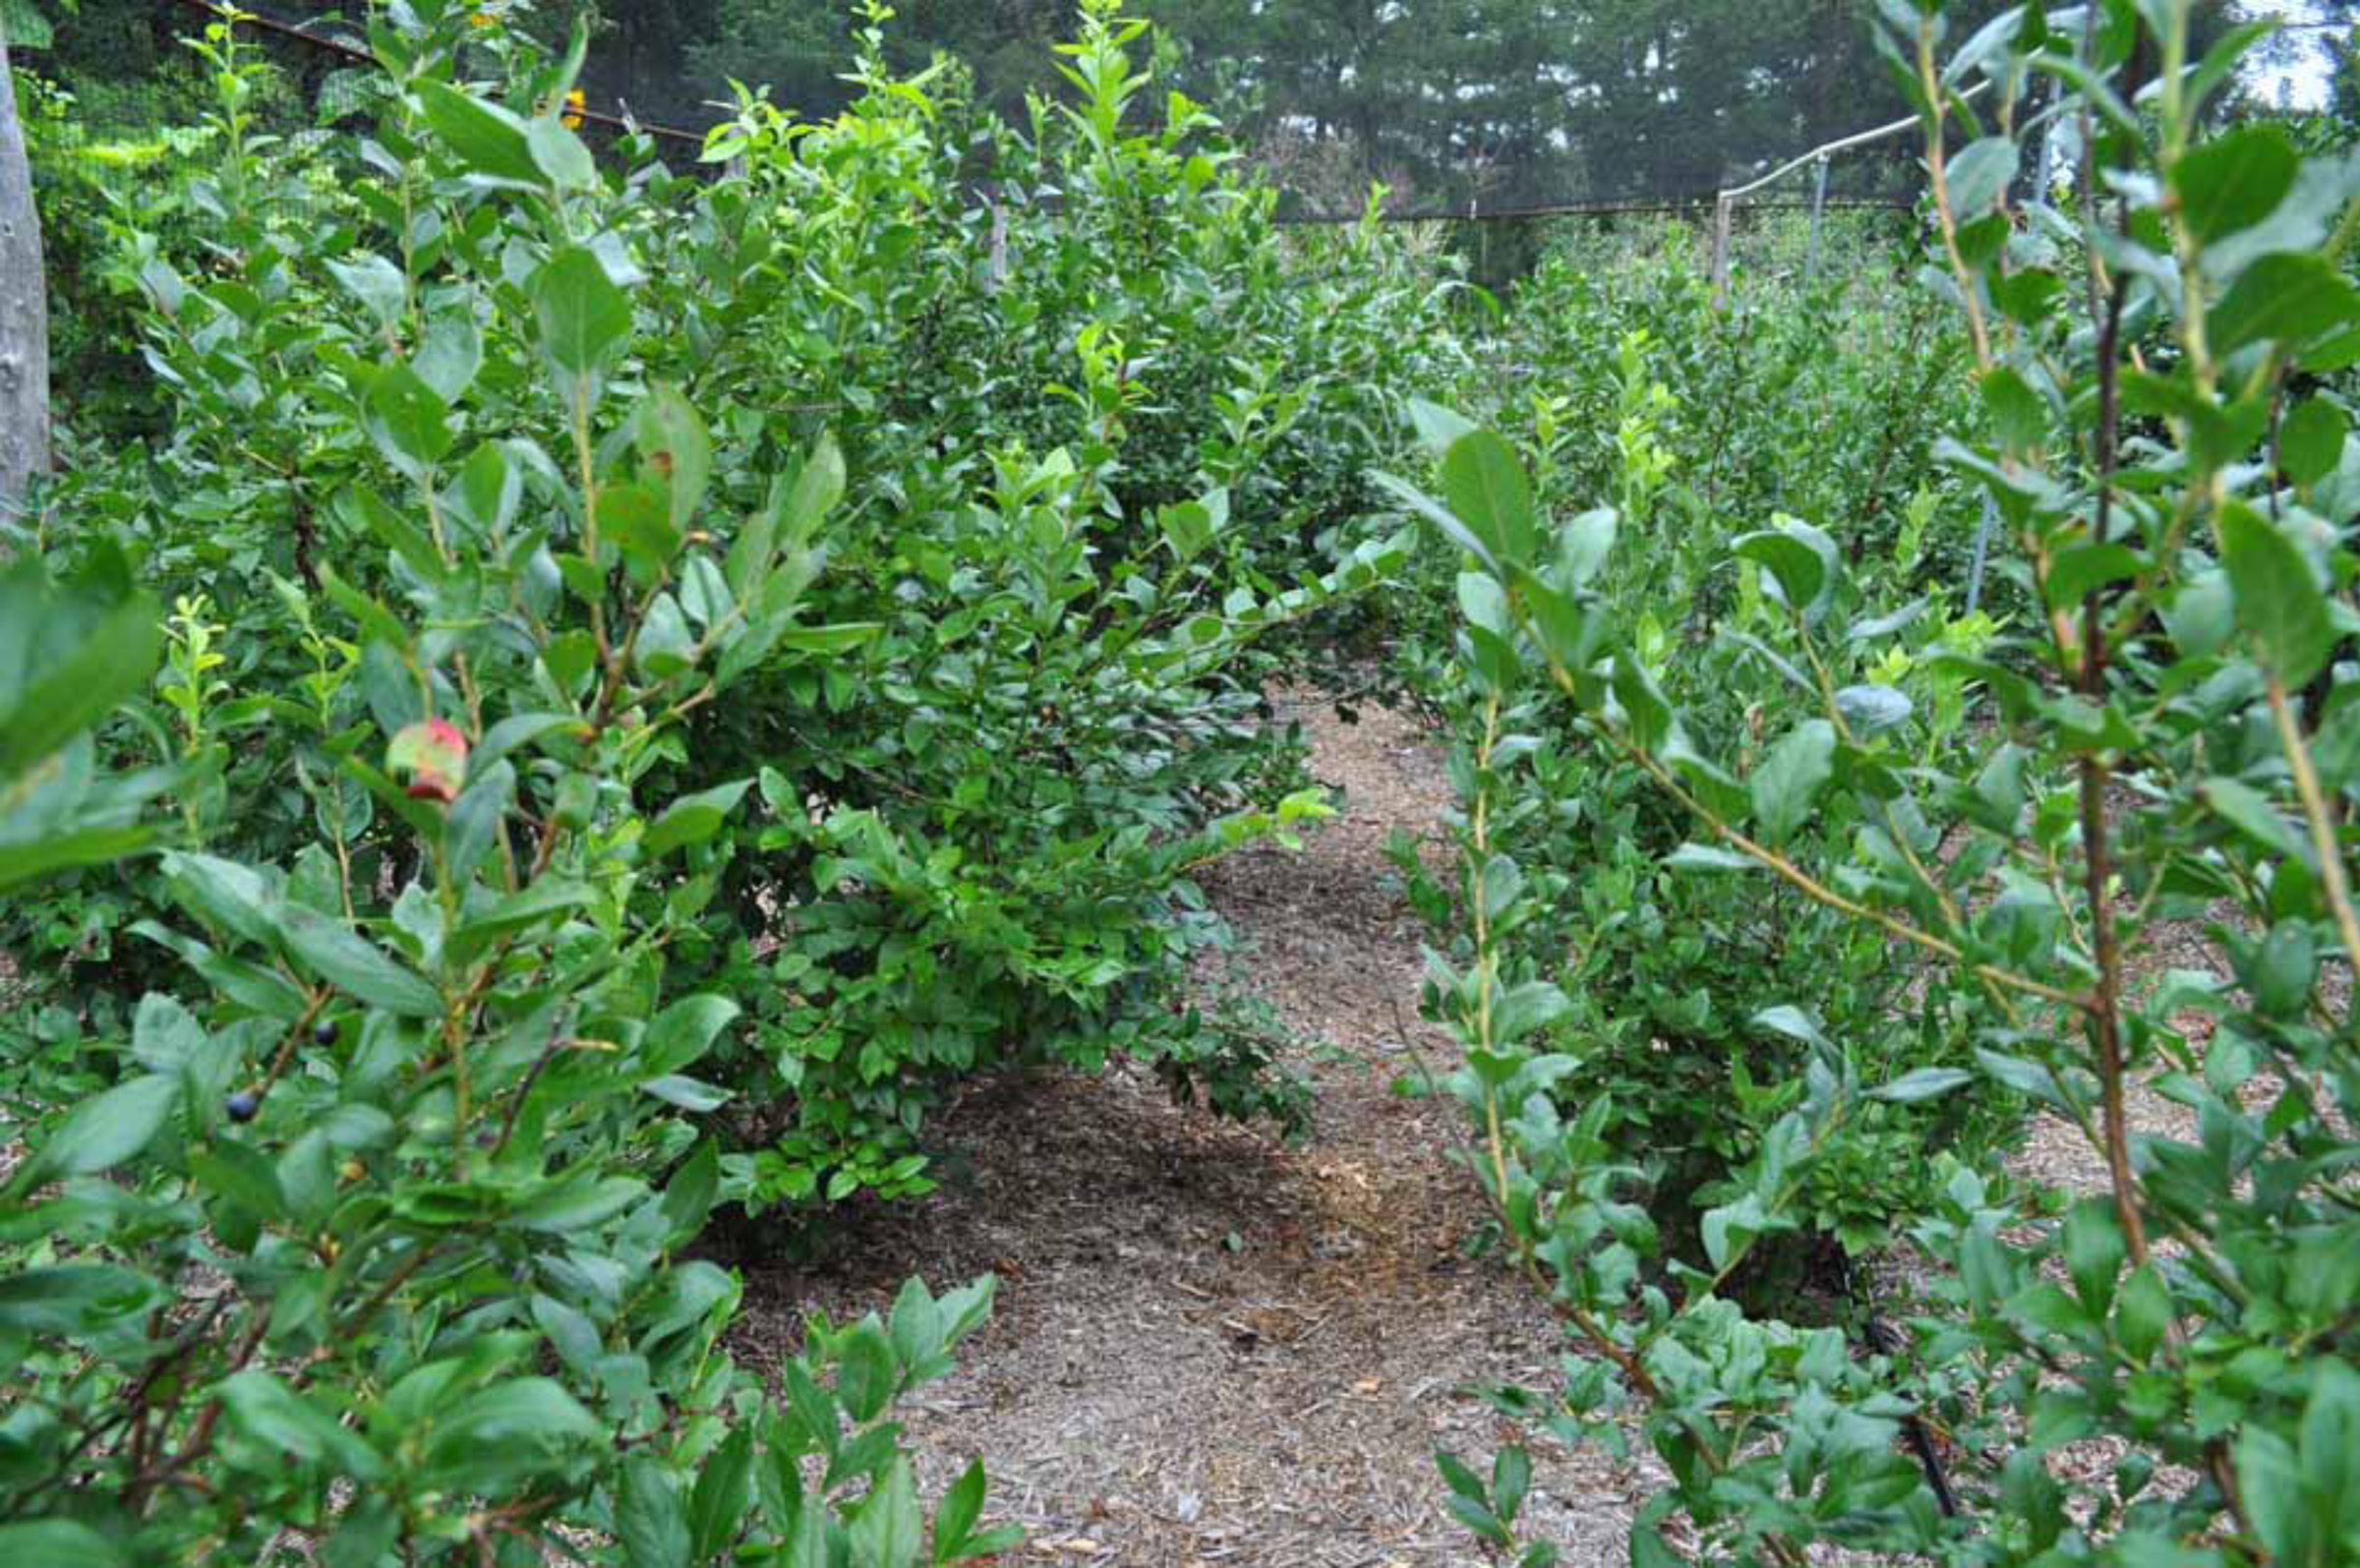
Part of the juneberry harvest.
Juneberry is also a native plant (in every state, in fact) that, in good years, is laden with fruit. Except, as I said, here on my farmden. It’s well worth planting on the chance that it will thrive. I should have given up on mine sooner.
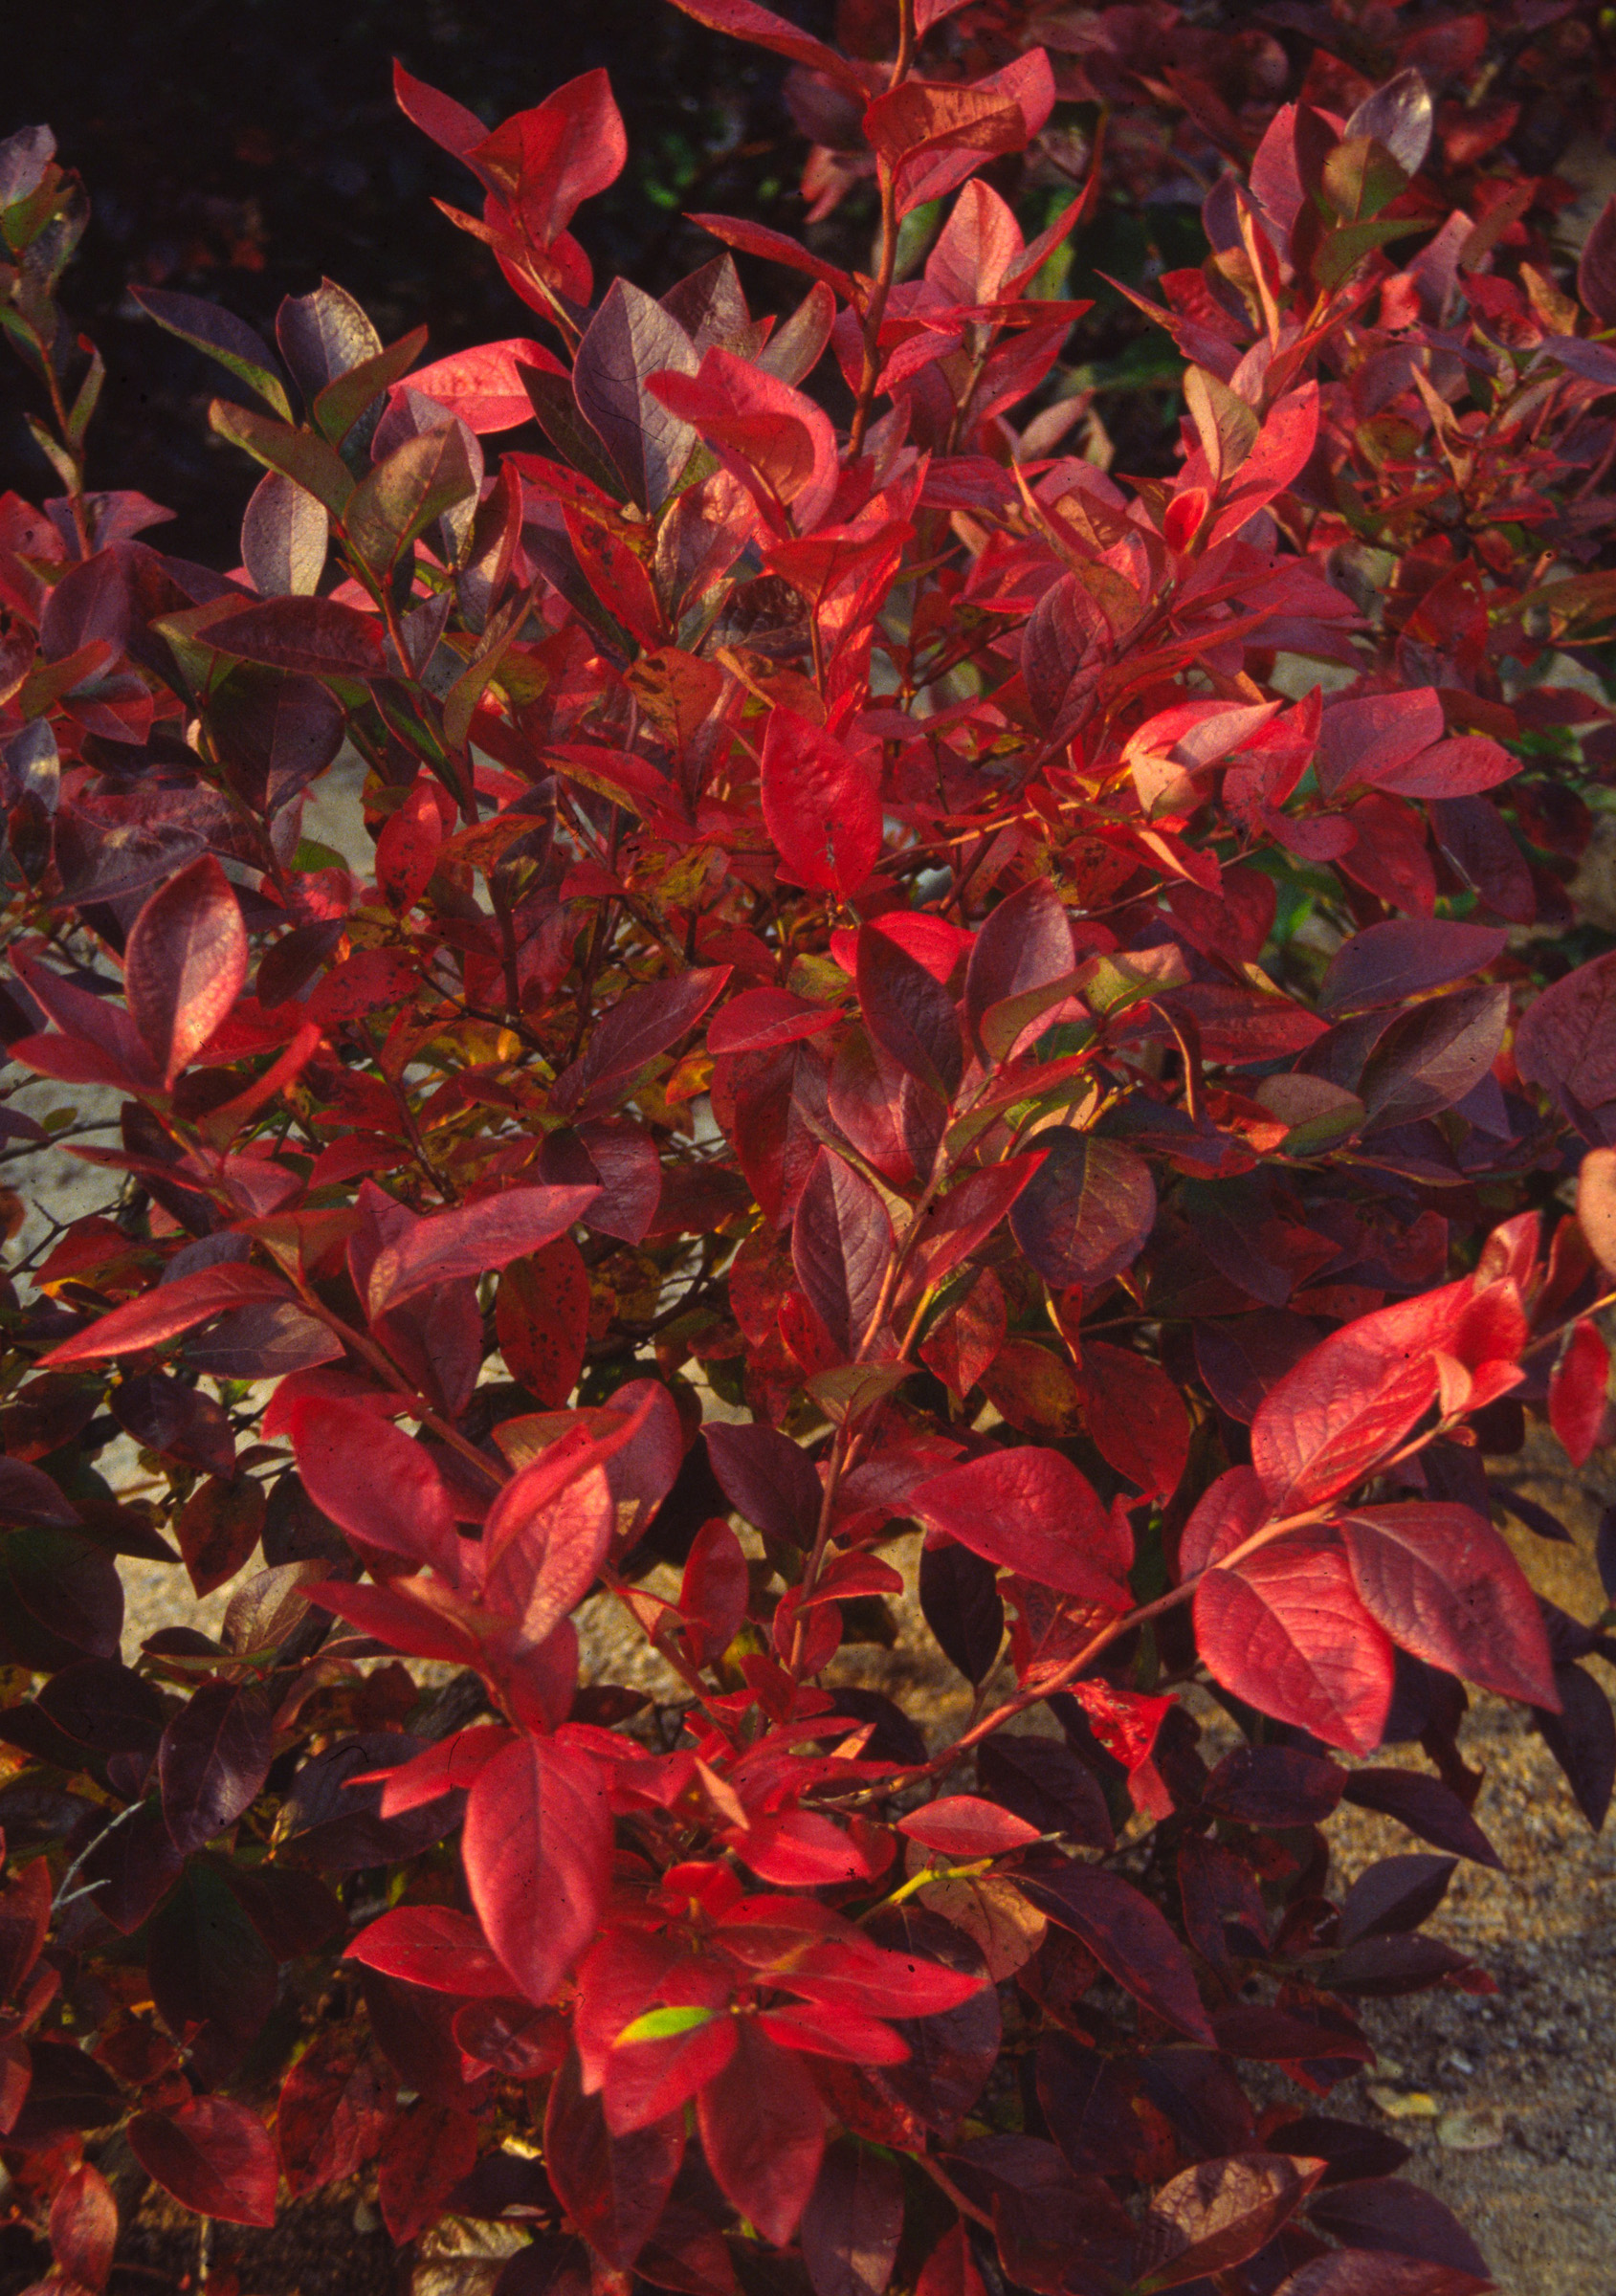
As an ornamental, juneberry is valued for it’s neat form in winter, that of a shrub or a small tree, for it’s white or pink blossoms, and, with a variety such as Autumn Blaze, for the crimson color its leaves turn in fall.
It would be nice to be able to just wander out my back door to pick juneberries, but I won’t complain. A 4-mile bike ride on an early summer morning isn’t too much to pay for the berries.
Nanking, The Easiest Cherry of All
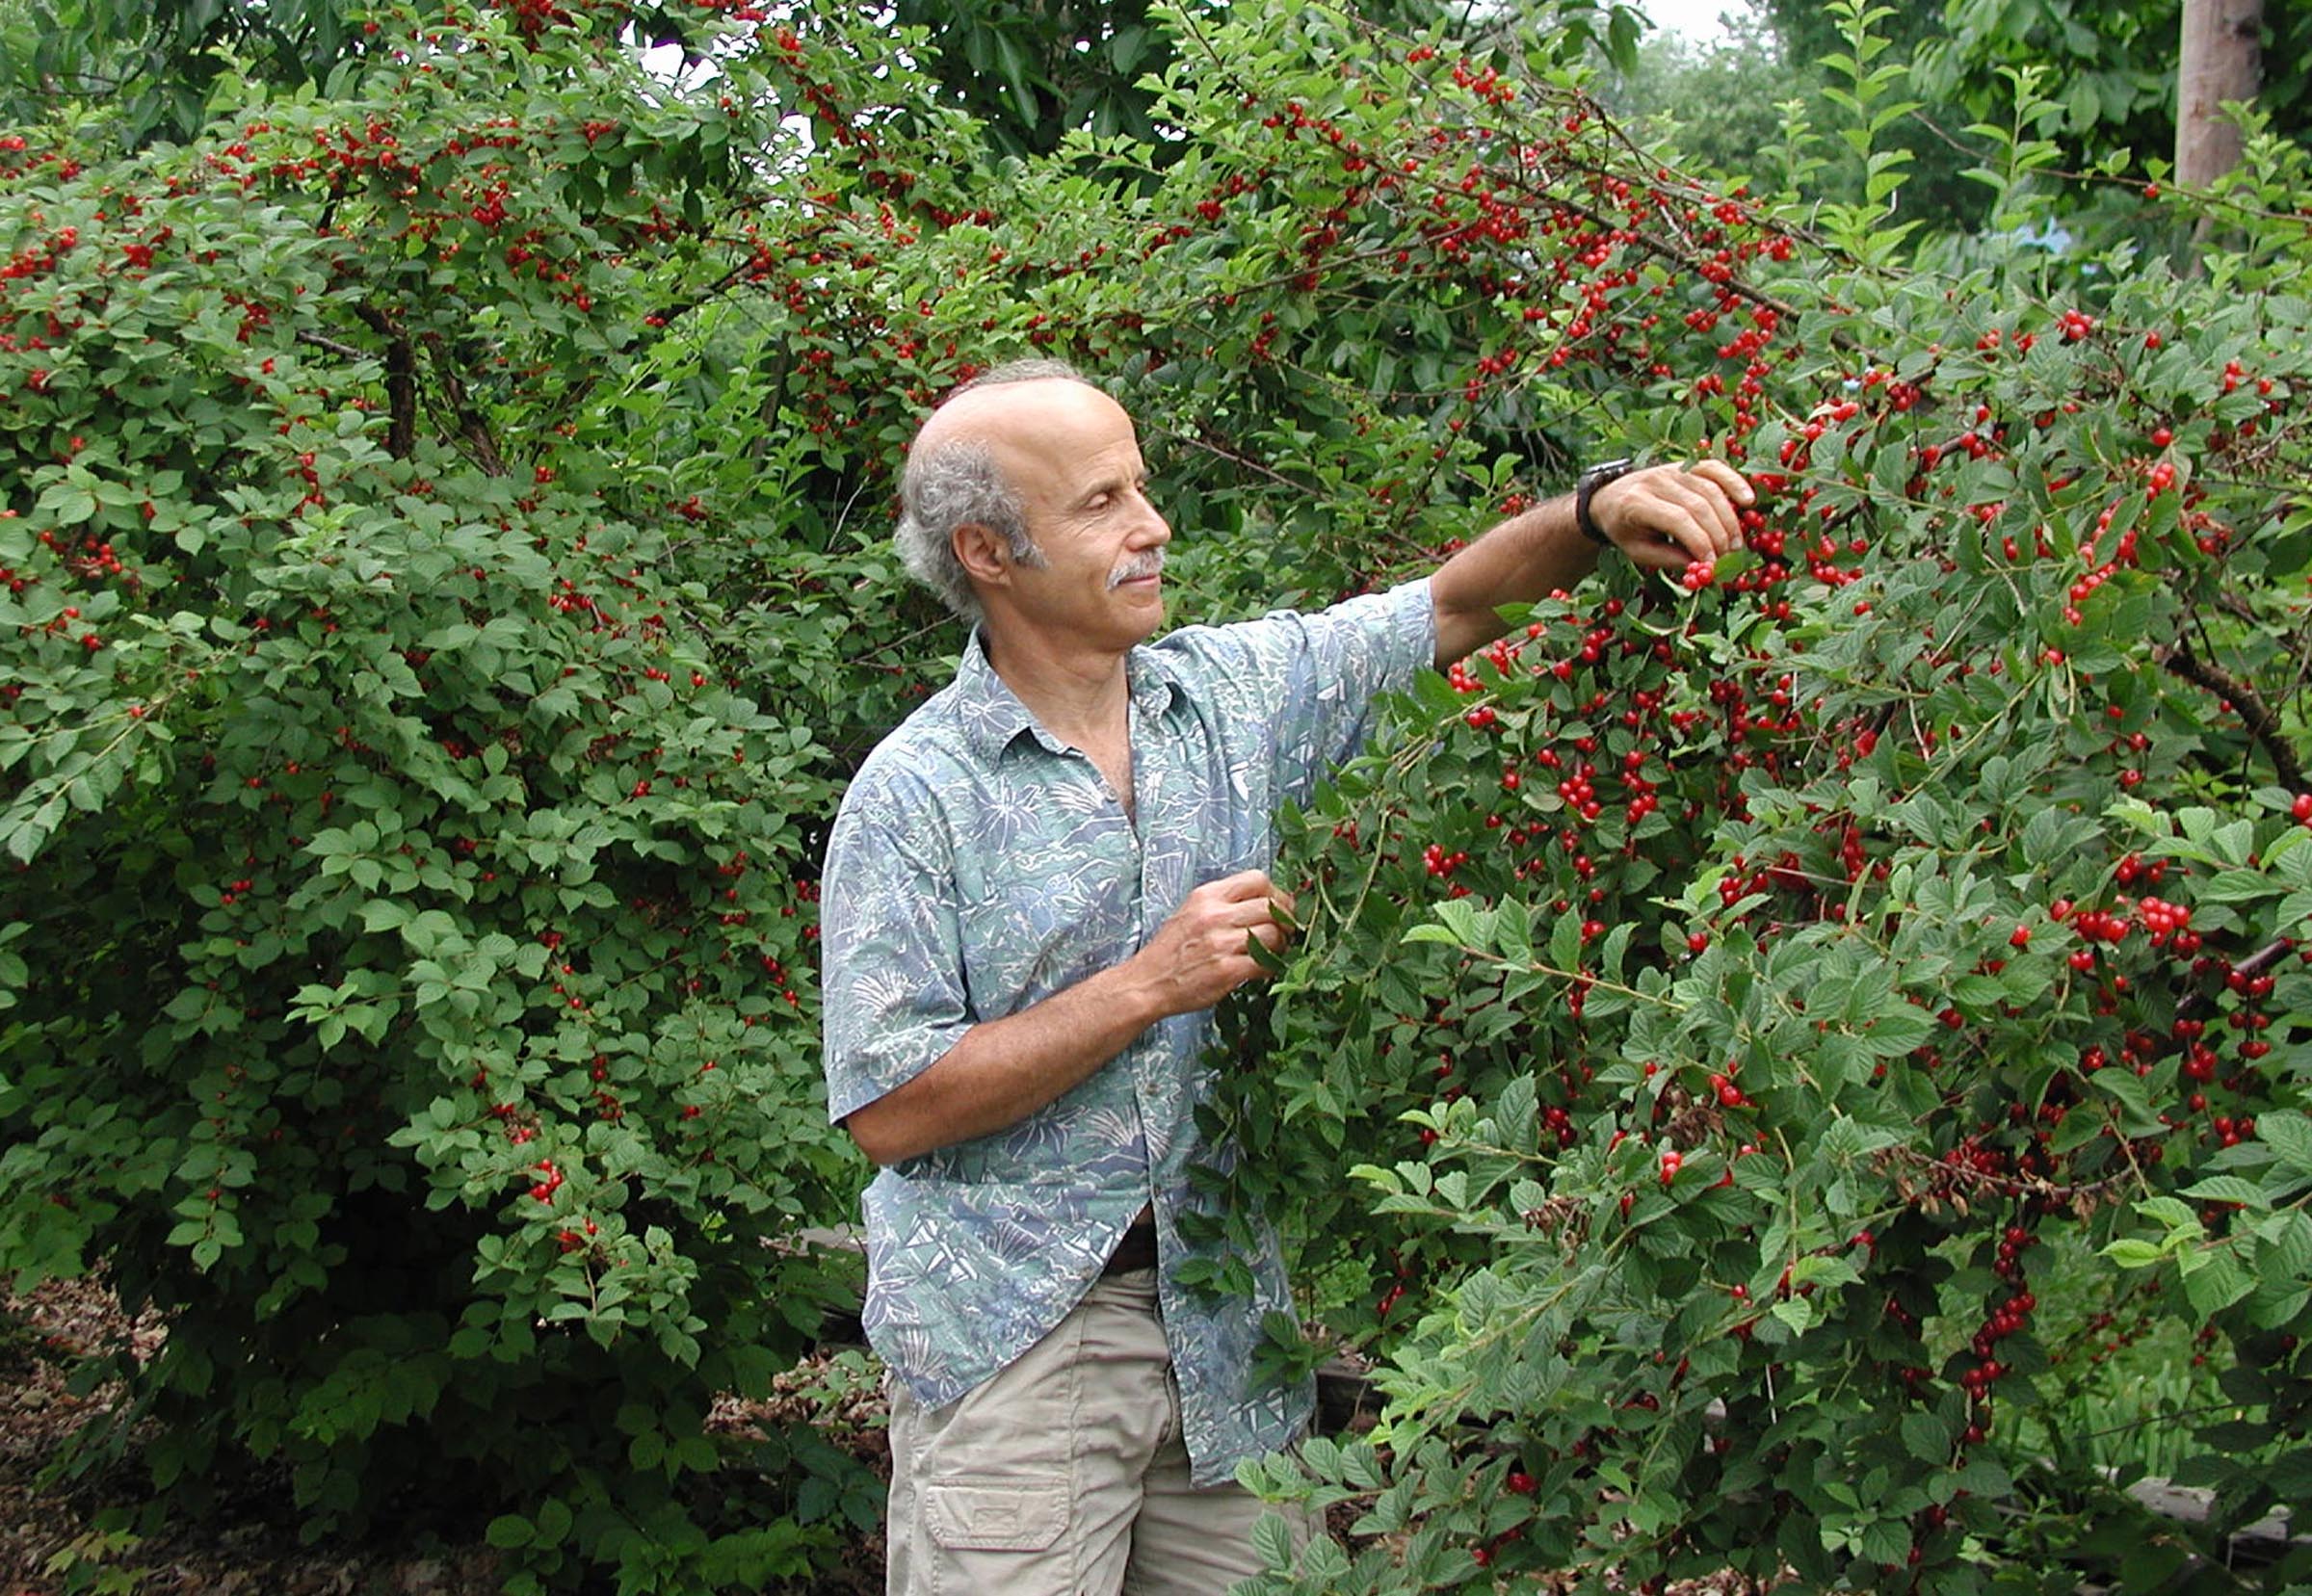
Right now, I can walk out my FRONT door to enjoy another now-ripe, uncommon fruit. Years ago, I had planted forsythia along my driveway. The yellow blossoms fairly glowed with heat in April, but after that the row of bushes was just a blob of greenery. Not unattractive, but not necessarily attractive either.
I ripped out the forsythia and planted instead a row of Nanking cherries (Prunus tomentosa), a species of cherry from Manchuria that first made it to American shores — to great enthusiasm — at the end of the 18th century. Gardeners were not sure whether to praise it more highly as an ornamental or as a fruiting plants. When my plants are awash in white blossoms, bicyclists have stopped and asked for the identity of the plants.
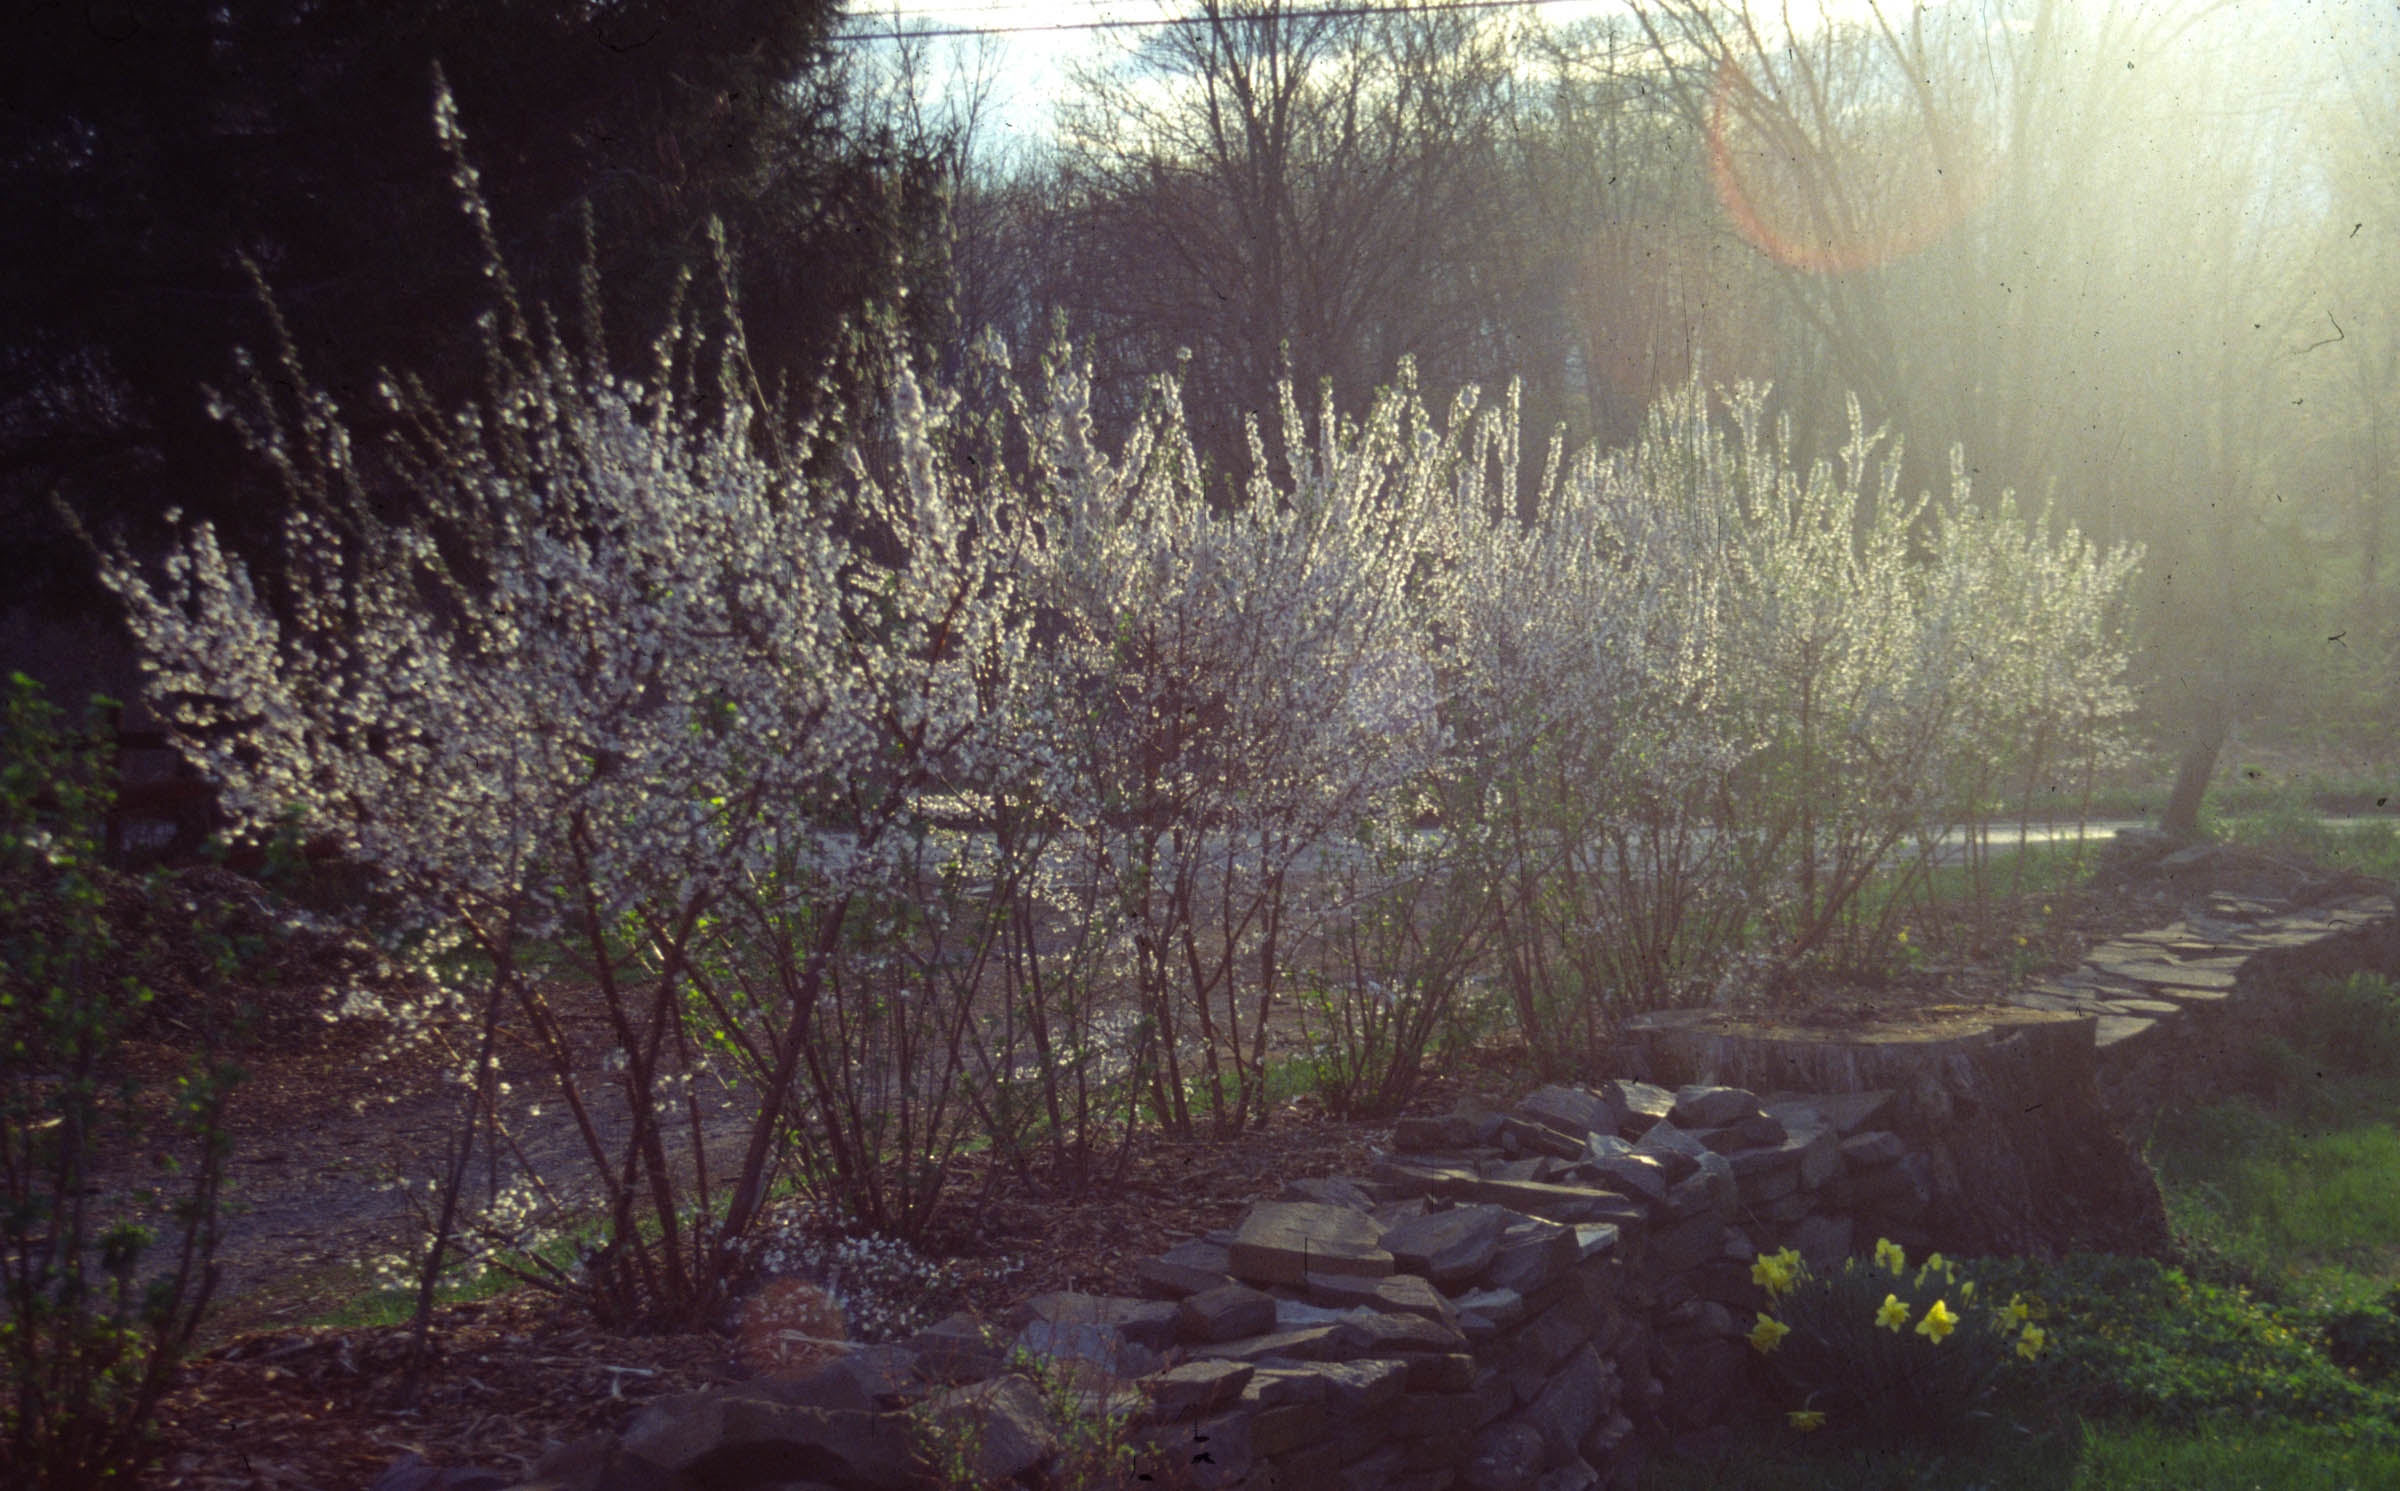
Nanking cherry in bloom in April
Nanking cherry blossoms at about the same time as forsythia but does not subsequently recede into obscurity. Right now the greenery is punctuated by bright red cherries, their small (1/2 inch or slightly larger) size offset by their abundance. Enough to almost hide the branches. Enough so that birds can eat them, chipmunks can eat them, my ducks can eat them, and still there’s more than enough for us humans. The flavor varies from bush to bush, but they’re all good, tasting somewhere on the spectrum between sweet and tart cherry.
Note the profusion of cherries!
In contrast to juneberry, which once joined Nanking cherry in that row along the driveway, Nanking cherries have no significant pest problems. Sometimes branches die back a little but overall production is rarely impacted. In its native haunts, the plants tolerate winter lows of minus 50 degrees F. and summer temperatures soaring to 110 degrees F.
Mostly I just graze the fruits as I walk up or down my driveway. Last year I harvested enough at once to juice by squeezing them through a strainer. Straight up, one of the most refreshing and delicious juices I’ve ever had.
Pretty Weeds, But They’ve Got to Go
Warm temperatures and abundant rainfall are giving weeds a heyday. The row of Nanking cherries has become home to two prominent weeds, both ornamental in their own right, but not enough to justify their crowded presence.

A sedate, cultivated variety of Japanese knotweed
Japanese knotweed (Fallopia japonica), sometimes called Mexican bamboo, has migrated from a solid stand across the road to the foot of the hedge. The arching stems, heart-shaped leaves, and foaming white flowers, the latter due at the end of summer, explain why the plant was introduced from Asia in the late 1800’s.
The plants are either male or female, and female plants rarely set seed, making me wonder how the plant got across the street.
The other weed, bindweed (Convulvulus arvensis), would be as welcome as its well-behaved cousin, morning glory, if, like morning glory, it was an annual, or at least a well-behaved perennial. The flowers look like pale morning glories. Beneath the ground is where bindweed shows its dark side. The perennial roots spread far far and wide, sending up new shoots likewise far and wide from the mother plant, and the plant seeds abundantly.
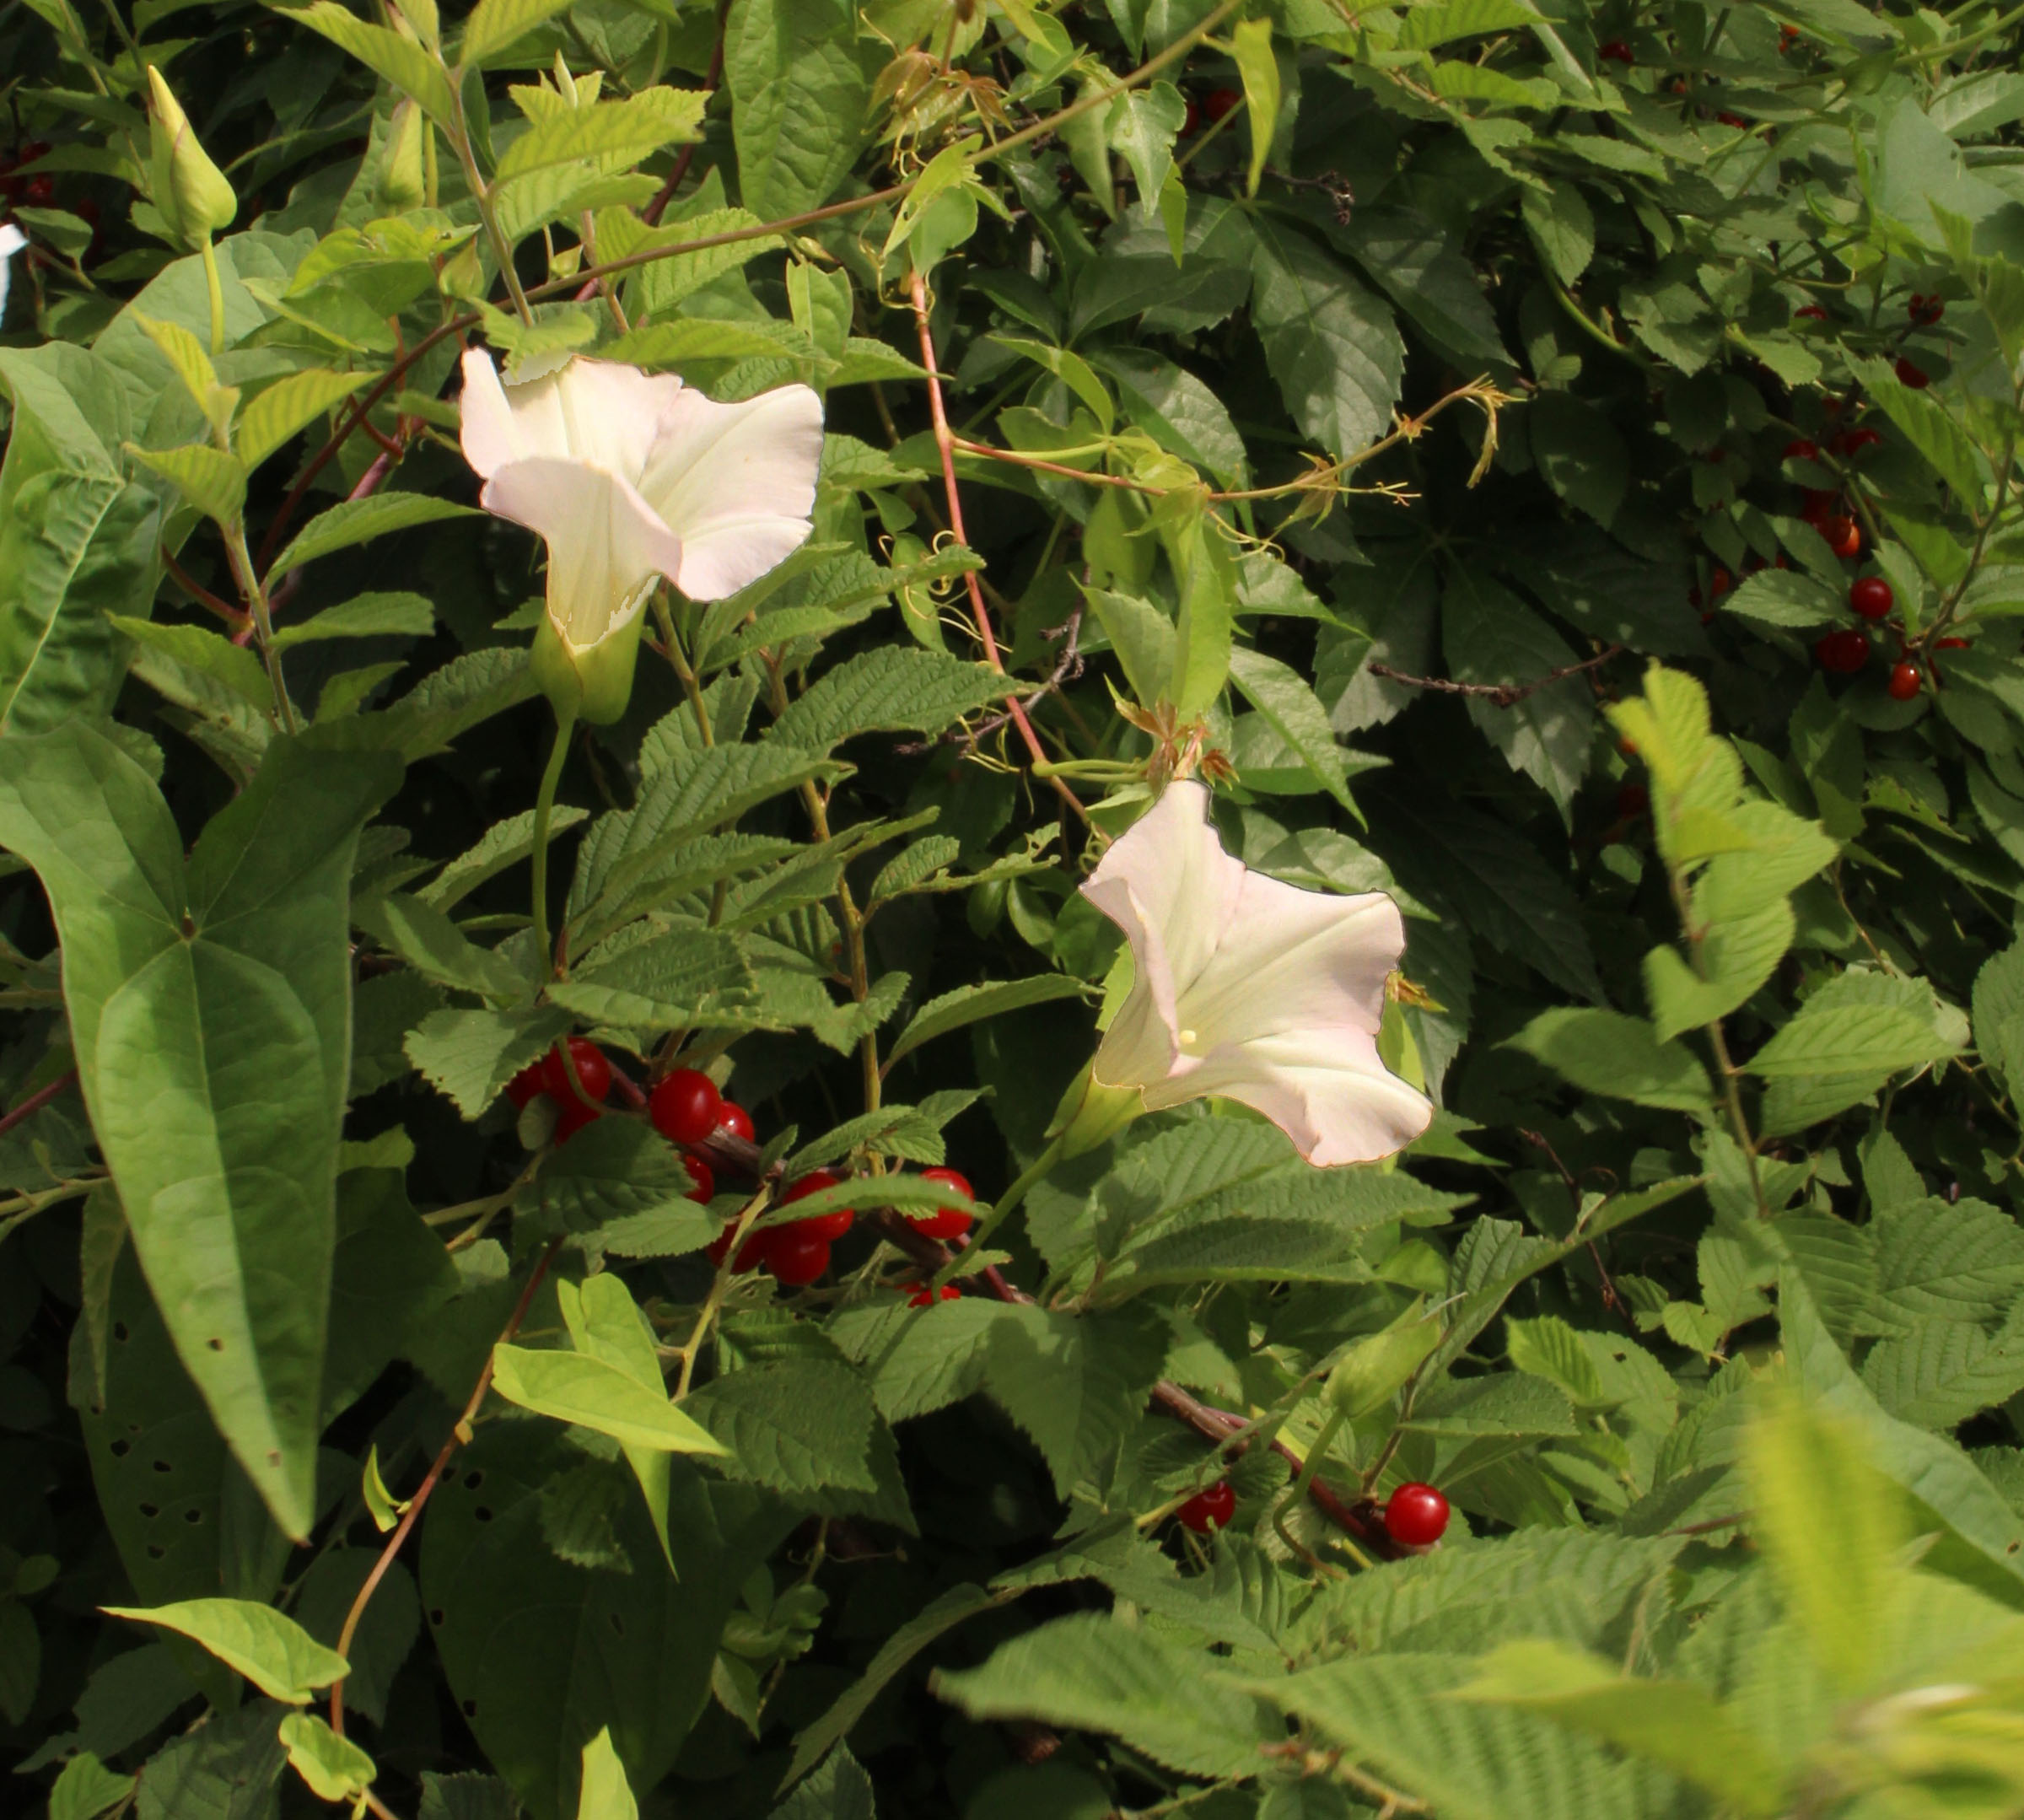
Bindweed flowers among Nanking cherries
Repeatedly cutting back or pulling either weed should eventually starve the roots of either plant, if not eliminating them at least keeping then from smothering the Nanking cherry bushes. That’s pretty much all the care the Nanking cherry hedge needs beyond some pruning every few years to encourage some young growth and keep the shrubs from growing too large.