VIRTUAL TRIP TO MEDITERRANEAN
Goodbye to Figs (For Now)
With yellowing leaves and dropping leaves, my greenhouse figs are looking sickly. But all is well in figdom. A common misconception is that figs are tropical trees. They’re not. They’re subtropical, generally tolerating cold down to near 20°F.. And their leaves are deciduous, naturally yellowing and dropping this time of year, just like maples, ashes, and other deciduous trees.
My greenhouse thermostat kicks on when the temperature inside drops to about 35°F. Daytime temperatures depend on sunlight; they might soar to 80° before awakening the exhaust fan on a sunny day in January, or hover around 35°F. on an overcast day that month. All of which is to say that the weather inside my greenhouse matches pretty well that of Barcelona and Rome, with hot dry summers and cool, moist winters. And figs grow very well in those Mediterranean climates. And go dormant.
I harvested my last good fig — from the variety ‘Rabbi Samuel’ — around the middle of this month. Can figophiles enjoy the fruits that late in the season in Barcelona and Rome, I wonder? Many apparently ripe fruits were still hanging from the stems after that date. With cool weather and/or less sunshine from shorter days, the fruits developed an overripe, off flavor. I can’t complain; harvest began in July and I picked enough to periodically have to dry the excess.
Next Year: Go Fig(ure)
I didn’t turn my back on my plants after harvesting my last fig. I jumped right into readying the plants for next year’s harvest.
The first step was hurrying the plants along into dormancy by actually pulling off all remaining leaves.
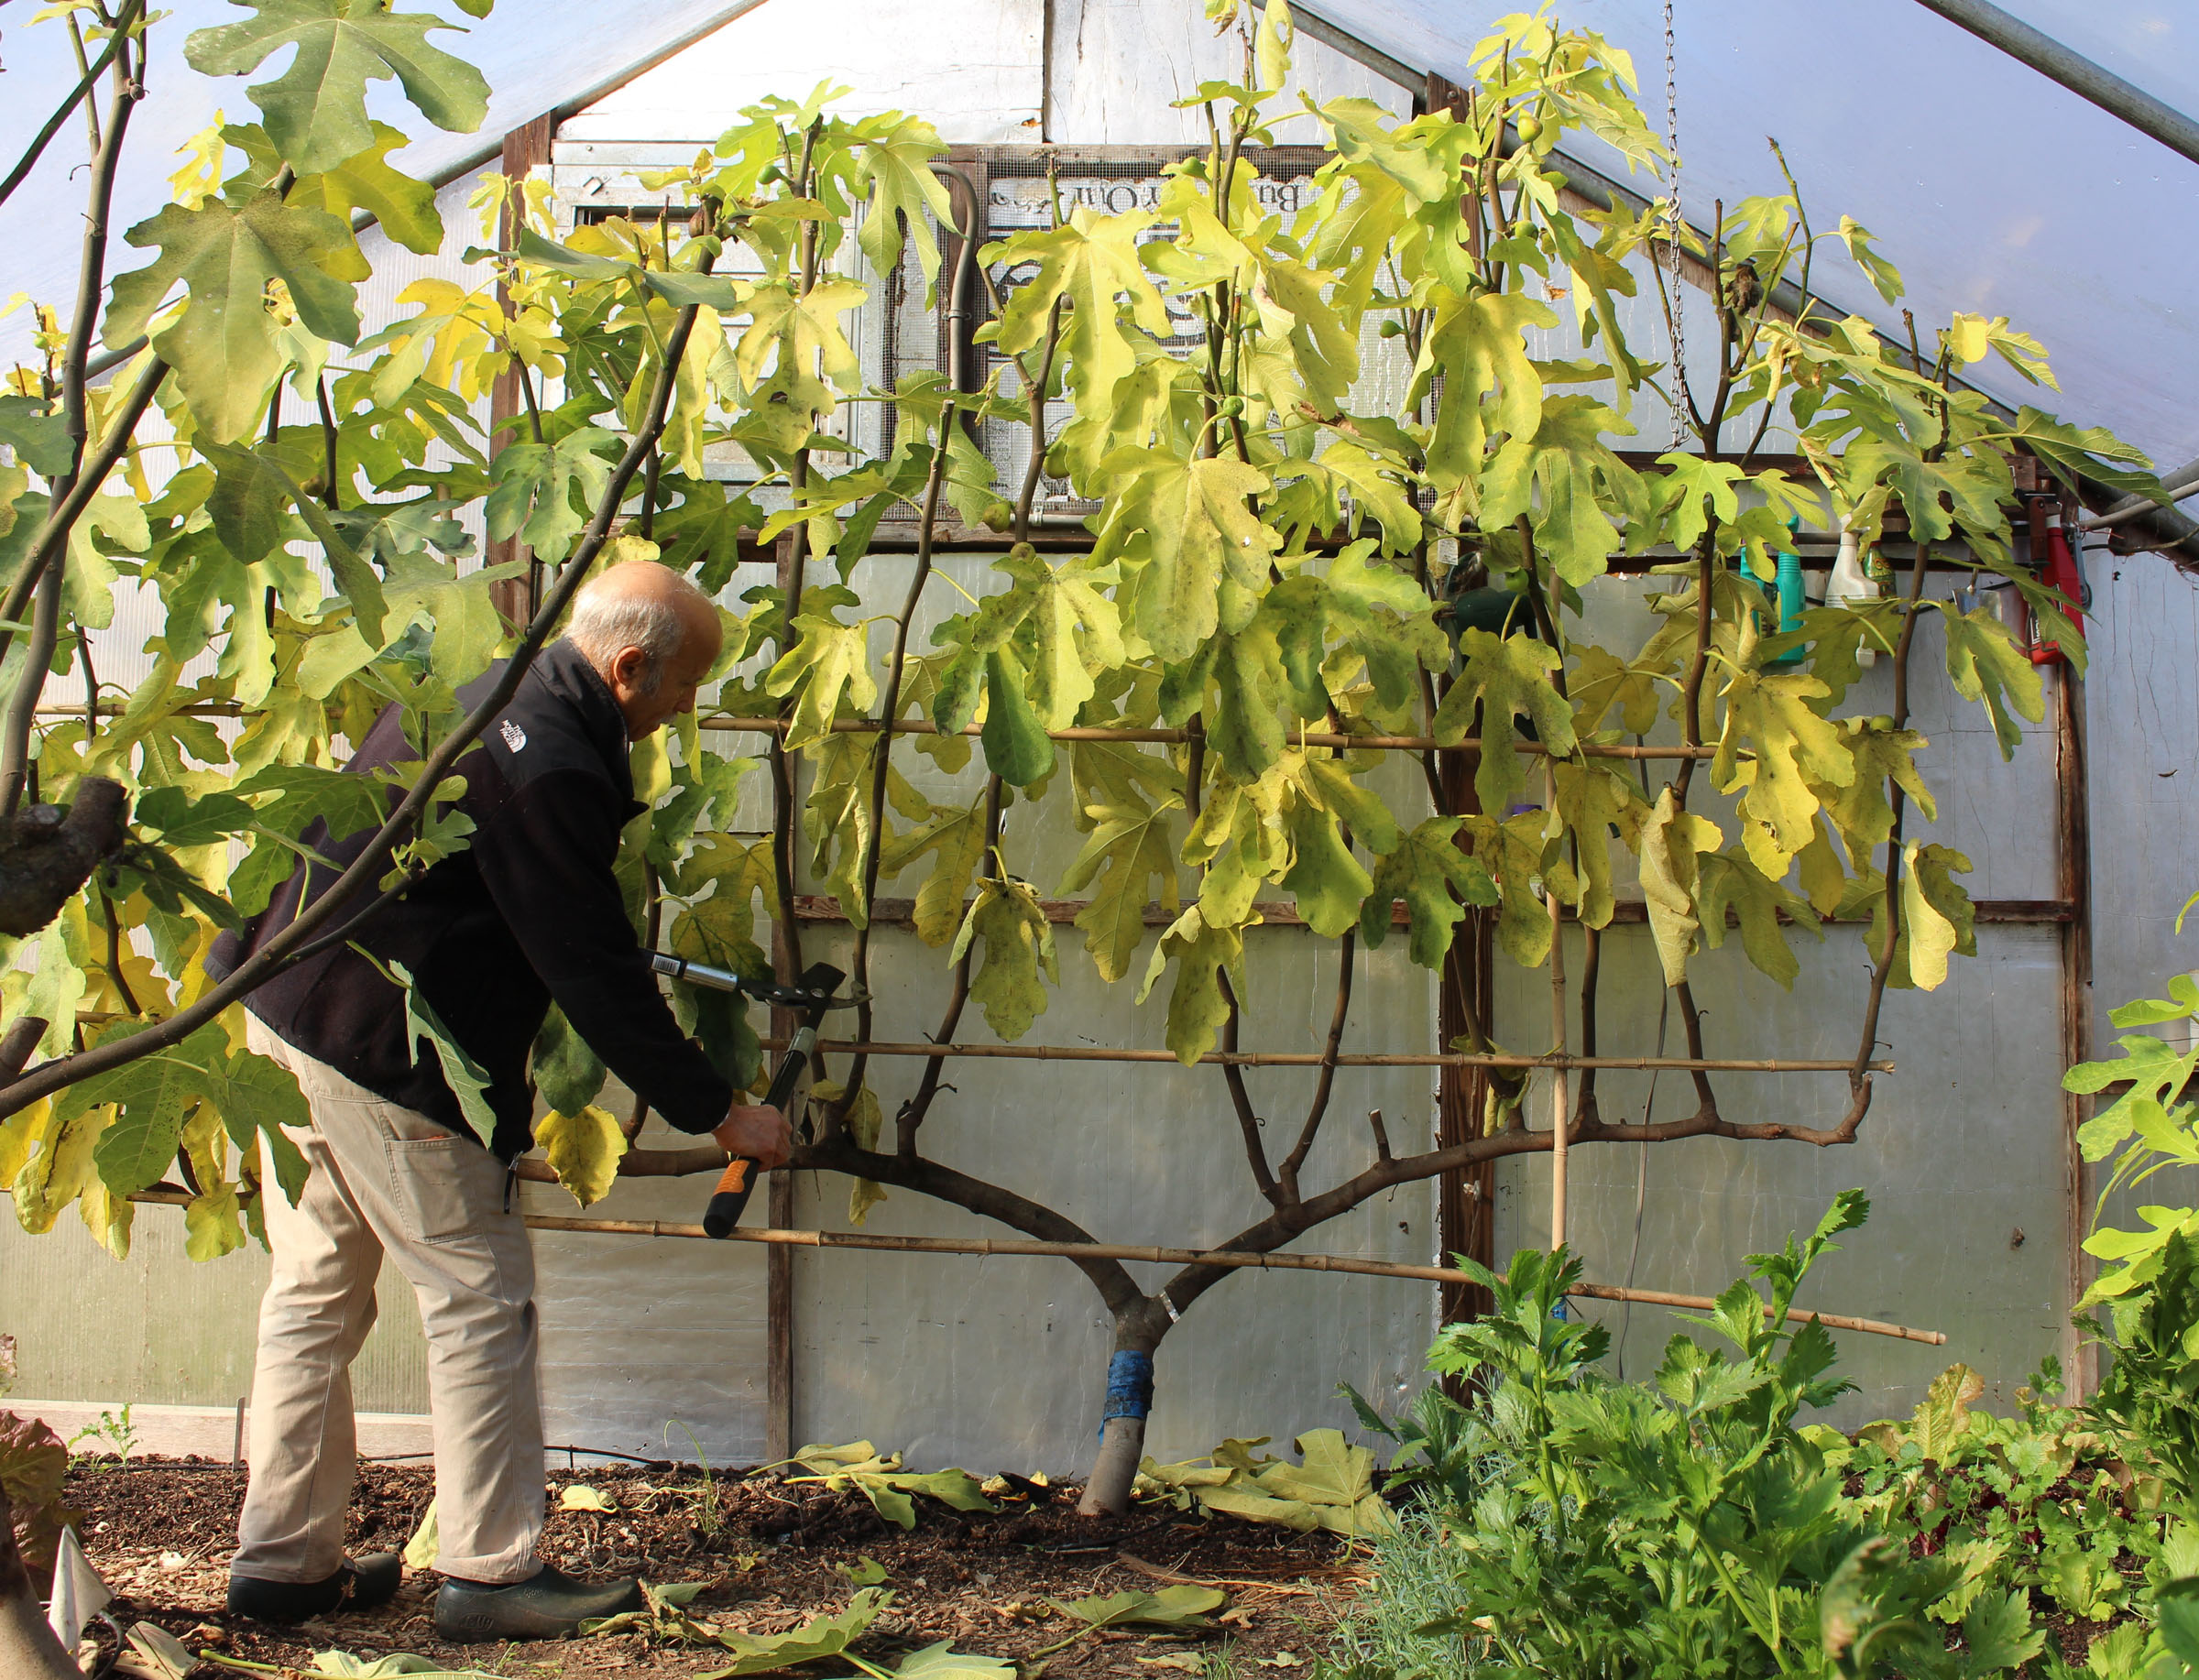 Next, pruning. Two of my varieties, Bethlehem Black and Brown Turkey, bear fruit only on new shoots of the current season. Unpruned, new shoots would originate further and further up and out from the trunk — a problem in the limited confines of my greenhouse. Severity of pruning needs to be balanced against when ripening begins. More severe pruning would be more dramatic in its effect, but delays ripening. (Which is why fig trees — their roots, at least — might survive outdoors here under mulch or snow, but when the plant dies back that close to the ground, new sprouts don’t have time to ripen their fruits the following season.)
Pruning these trees back to stubs between 3 and 4 feet from the ground keeps them to size and stimulates plenty of new shoots next spring on which fruit ripens from late summer on.
Rabbi Samuel and San Piero fig varieties ripen a July crop on one-year-old stems as well as a second crop, onward from September, on new shoots. So with these varieties, I pruned some stems severely and others enough to leave some year-old wood for the early crop.
Easiest was Rabbi Samuel because it’s trained as an espalier in the form of a T, with a permanent short trunk and two permanent arms emanating in opposite directions from atop the trunk.
Fruiting shoots grow vertically 6 to 12 inches apart from the arms. Today I cut every other fruiting shoot to a stub from which I’ll allow just one new, vertical shoot, for the September crop. I cut each of the other shoots down to about a foot long; they’ll bear the early crop and then, if fruiting stems are crowding each other, can be cut back right after the early harvest. If not crowded, I’ll allow one side shoot to grow on to bear the September crop.
It’s all simpler that it reads, and looks very tidy in the greenhouse now overcrowded with lettuce, celery, arugula, mâche, claytonia, parsley, and Swiss chard. All of which are staples of the Mediterranean vegetable garden in winter.
And More form the Mediterranean
Like figs, citrus also are subtropical plants. Depending on the kind of citrus fruit, they’ll tolerate winter cold into the ‘teens (kumquat) or just below freezing (lime). The plants neither grow as vigorously nor bear as heavily as do figs, so you don’t get much bang for your buck with a potted citrus without choosing carefully what to grow. I grow mine in pots: kumquat, because you can eat the whole fruit, sweet skin and tart flesh, wasting nothing; and, the newest addition to my citrus family (genus, actually), Meyer lemon.
 A squeeze of lemon goes a long way in flavoring a salad, livening a cup of tea, and adding pizazz to a cobbler. Growing my own lemons lets me make use also of a rind, for zest, that is free of pesticides.
Meyer lemon is an orange x lemon hybrid, so is somewhat sweeter than lemon. This variety roots readily from cuttings, so I could have an indoor orchard in short order if I wanted, and bears quickly. A recently-rooted 3-inch-high cutting has already flowered and set a fruit.
Citrus are evergreen and much prettier and more fragrant, when in bloom, than figs. Mine spend winter in sunny windows in a cool room rather than in the greenhouse.
Finally, Chill
A friend recently gave me a lawn chair. My plan is, on sunny winter days, to take my post-prandial siesta on that chair, basking in warm, winter light on the shores of the Mediterranean; that is, in my greenhouse. “…and fair Italia’s sunny shores, where the Mediterranean sea roars…”