Etymological Wanderings
Sure, I’ve been dropping seeds into mini-furrows in some seed flats, and prunings are starting to litter the ground outdoors. But there’s a lot of nongardening activity going on here. What better time to ponder etymology? (Etymology, not entomology, the latter of which is the study of insects; aphids, mealybugs and whiteflies, all of which will be crawling around soon enough.) What exactly do we mean when we talk about a “garden” or “gardening?”
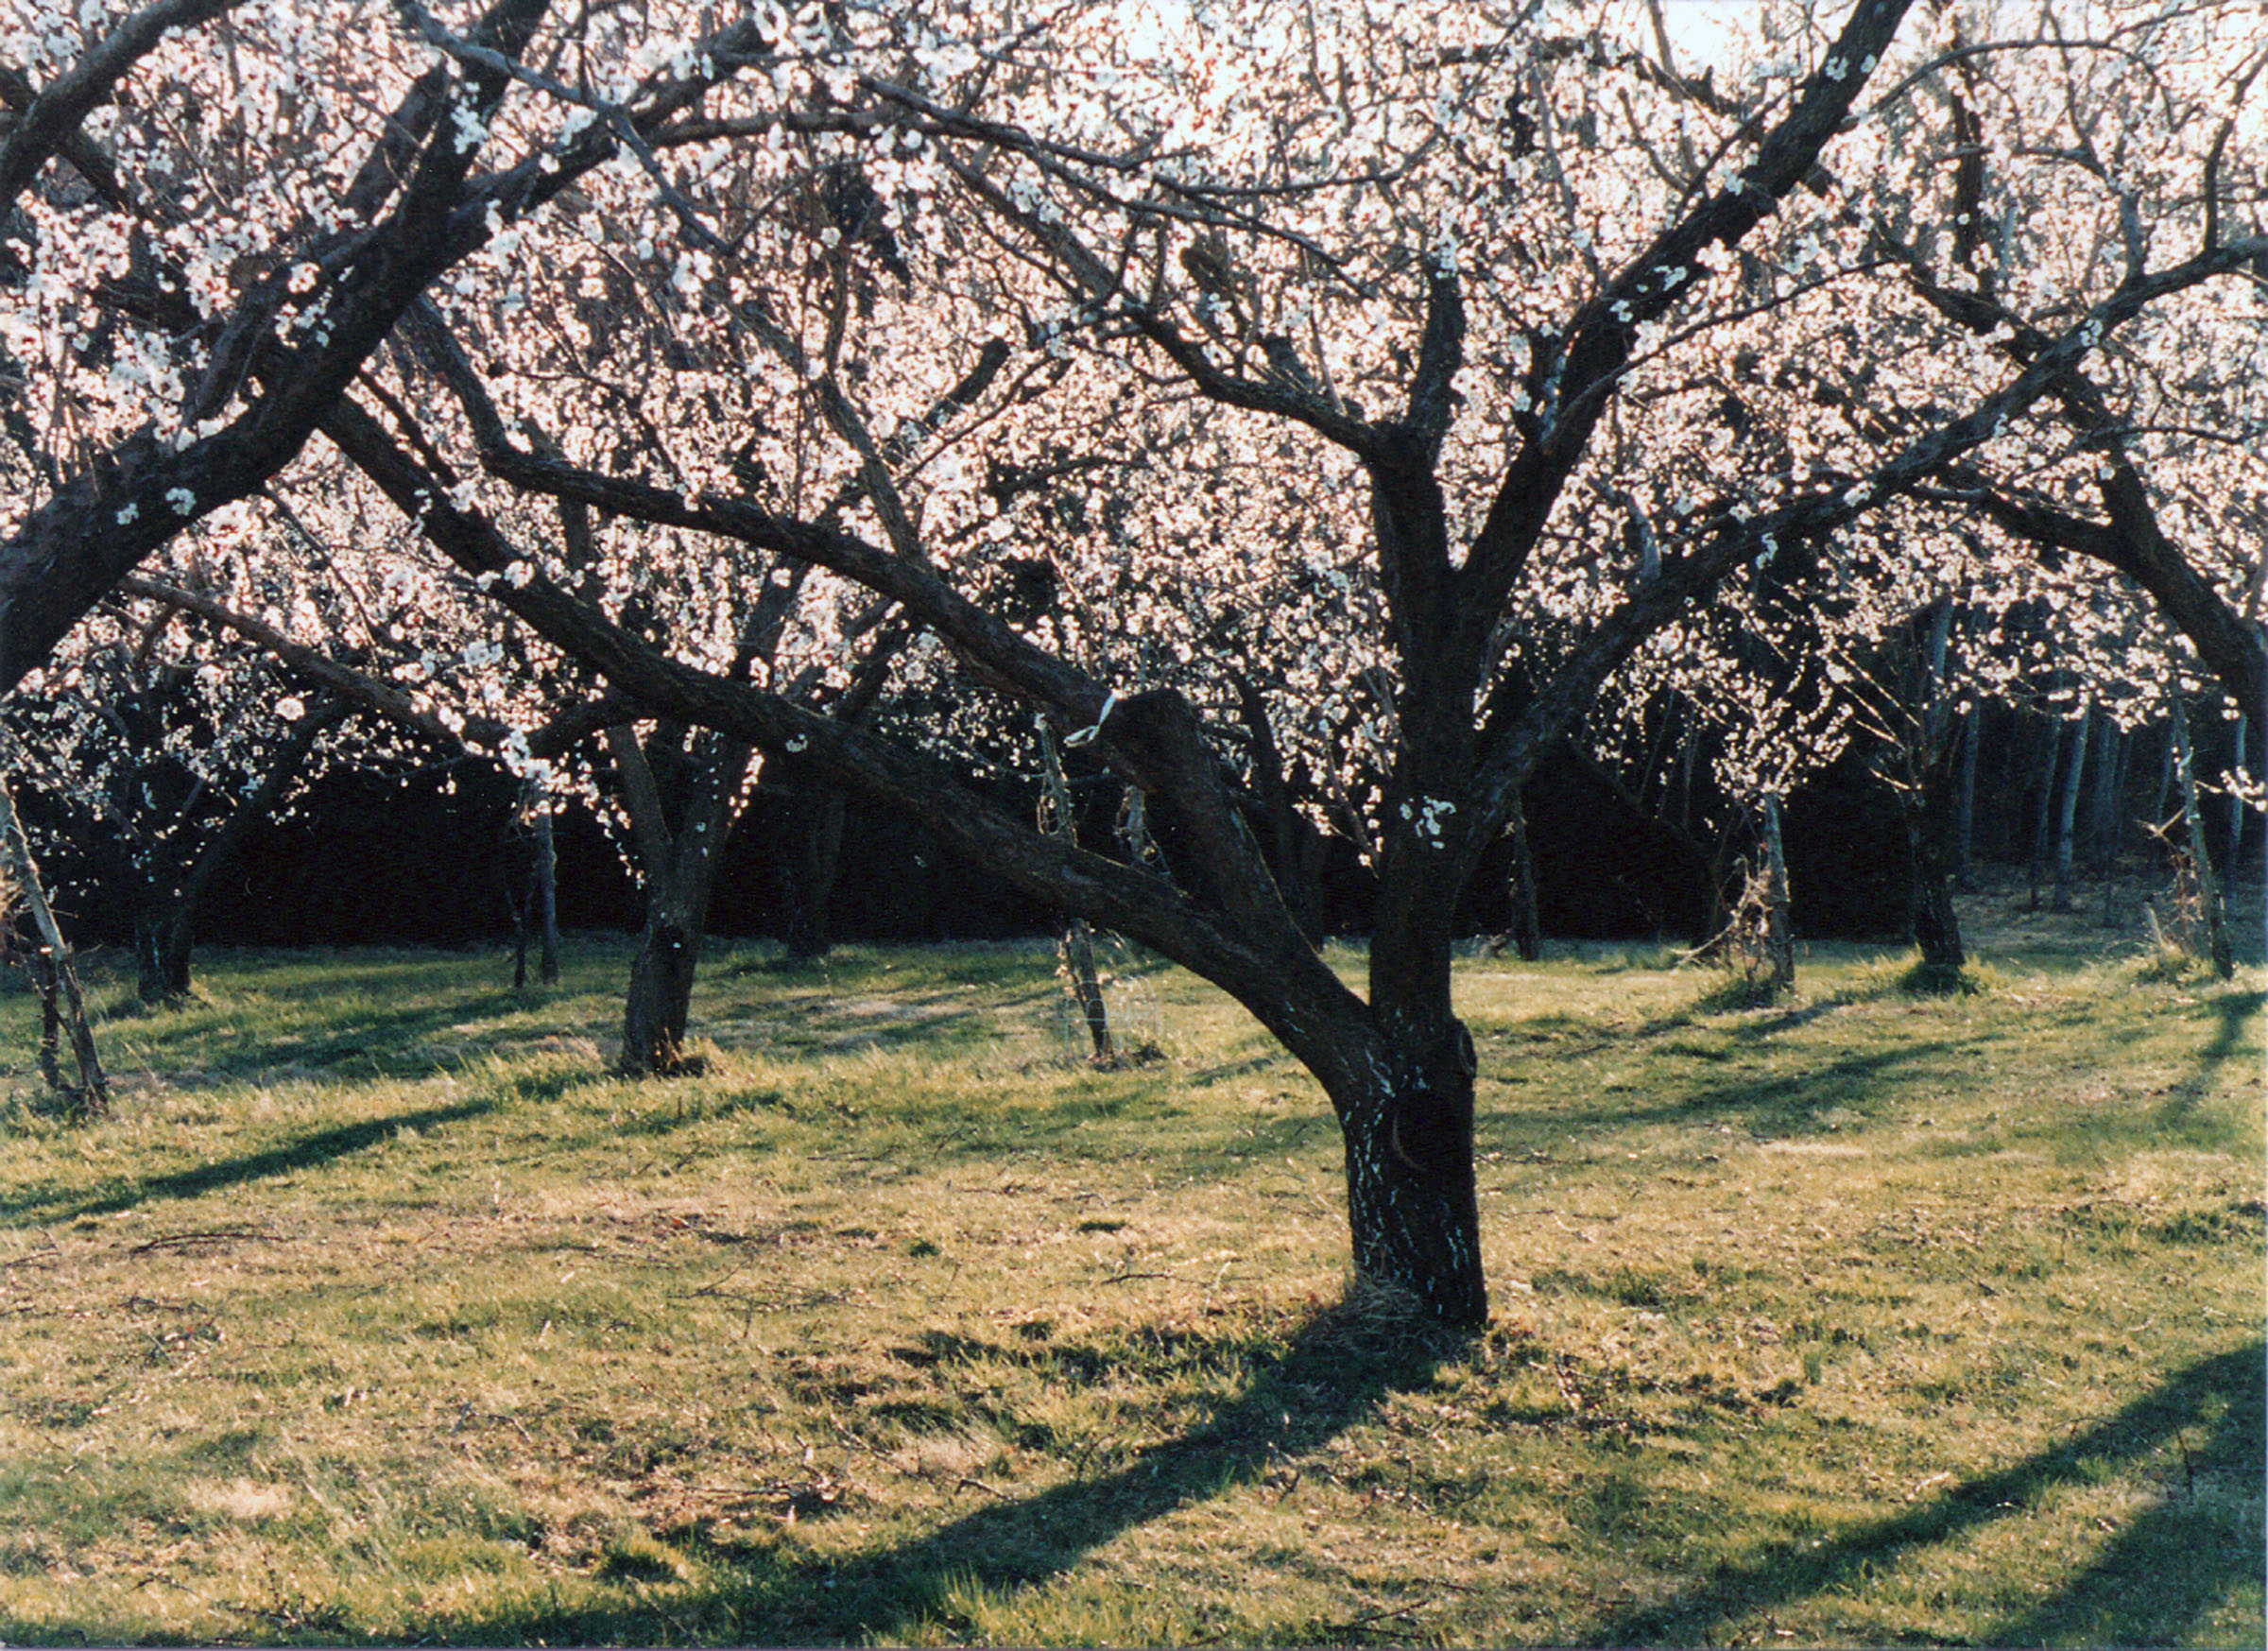
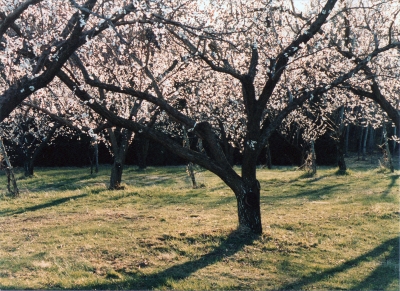
Garden(?) in Italy
The word “gardening” is pretty much synonymous with “horticulture,” which comes from the Latin hortus meaning a garden, and cultura, to culture. According to Webster, horticulture is the “art or science of cultivating fruits, flowers, and vegetables.” The word “horticulture” was given official recognition in The New World of English Words in 1678 by E. Phillips, although though the Latin form, horticultura, first appeared as the title of a treatise of 1631.
Horticulture, then, is about growing fruits, flowers, and vegetables; nothing is said about cultivating a field of cotton or wheat. These latter crops are in the ken of agronomy, from the Latin root ager meaning field. Once again quoting Webster, agronomy is the “science or art of crop production; the management of farm land.” Horticultural crops are more intensively cultivated than farm crops — and more apt to be threatened by neglect.
In fact, “gardening” and “horticulture” are not exactly synonymous. Horticulture is usually associated with growing plants for a livelihood, and is broken down into pomology (fruits), olericulture (vegetables), floriculture (flowers) and landscaping. Gardening usually implies something more homey and intimate.
Gardyne Styles
Over the centuries, the word “garden” has been penned in many spellings. A chronicler of the 13th century wrote “gardynes,” in the next century Chaucer wrote the word a bit differently: “Yif me a plante of thilke blessed tre And in my gardyn planted it shall be.” We see yet another spelling early in the sixteenth century: “My lord you have very good strawberries at your gardayne in Holberne.” Finally, by the time of Shakespeare, we have: “Ile fetch a turne about the Garden.” Here, “garden” at least, is spelt [sic] the moderne [sic] way.
The root of the word “garden” comes from the Old English geard, meaning fence, enclosure, or courtyard, and the Old Saxon gyrdan, meaning to enclose or gird.
Walled garden
These words are closely related to our modern words “yard,” “girth,” and “guard.” Medieval gardens were physically enclosed. My vegetable garden is too, but mostly as protection against rabbits that love my peas and beans, not against knights practicing their jousting or wild pigs roaming the fields. The medieval garden was against the house and protected by a high wall, or, perhaps a wattle fence.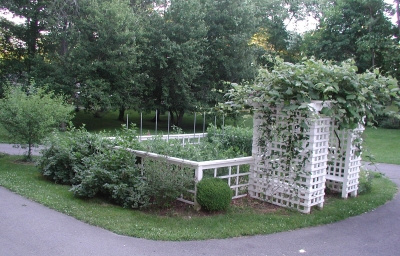
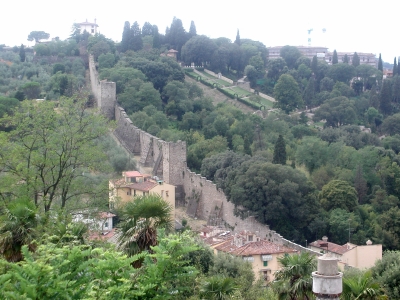
Over the centuries, “garden” and “gardening” have come to mean more than the fenced medieval garden. The archetypal Persian garden is dominated by refreshing pools or fountains of water. In the Italian garden, we find trees and shrubs, and stone stairways, balustrades, and porticos.
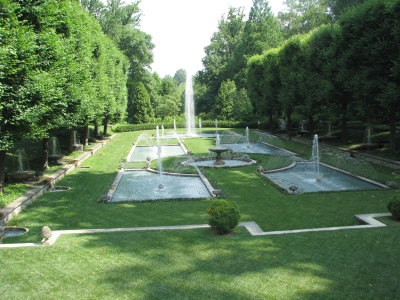
Classic Italian garden
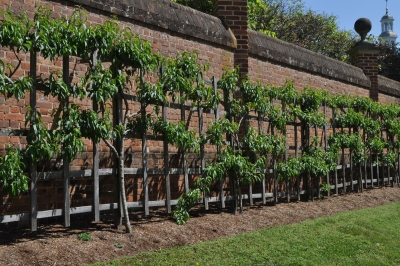
Grand parterres characterize the French style of gardening.

Parterres in French garden
About a hundred years ago, the increasingly grand style of gardening fell from favor as an Englishwoman, Gertrude Jekyll, came forward to laud and design gardens that emulated intimate, colorful, and informal cottage gardens. She wrote that the ” . . . first purpose of a garden is to give happiness and repose of mind, which is more often enjoyed in the contemplation of the homely border . . . than in any of the great gardens where the flowers lose their identity, and with it their hold on the human heart.”
And Today . . . ?
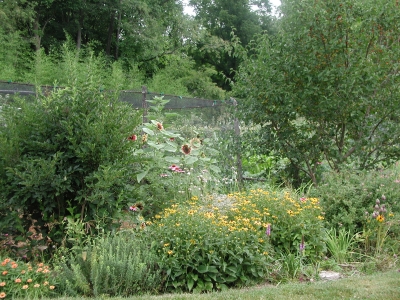
What does “garden” and “gardening” mean today? A few tomato and marigold plants, separated from the dwelling by an expanse of lawn? A woodland glen of ferns and bleeding hearts? More recently, “forest gardens” have incorporated edible plants in forest-ish settings.
A forest garden?
How about a knot garden of herbs within a white picket fence — in the medieval style, one might say?
The World Was My Garden, the title of the book by early 20th century plant explorer and botanist David Fairchild offers another perspective on “garden.” (I’ll change the “was” to “is,” though.) I’m not sure where my garden ends and whatever else grows within my property boundaries begins.
What’s the boundary of this garden?
I pick strawberries in my vegetable garden and grow Caucasian mountain spinach among my gooseberries. Grapevines clamber on the arbor over my terrace, and a stewartia tree, mountain laurels, and lowbush blueberries snuggle near the east side of my home.
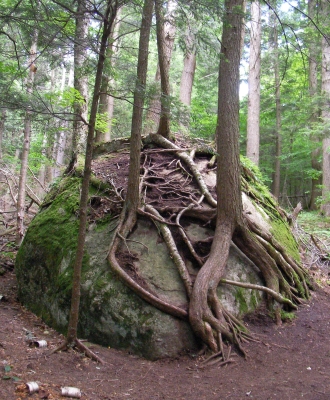
And why stop at property boundaries?
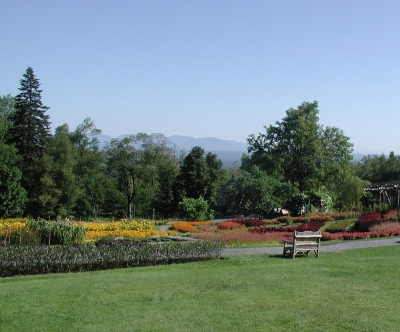
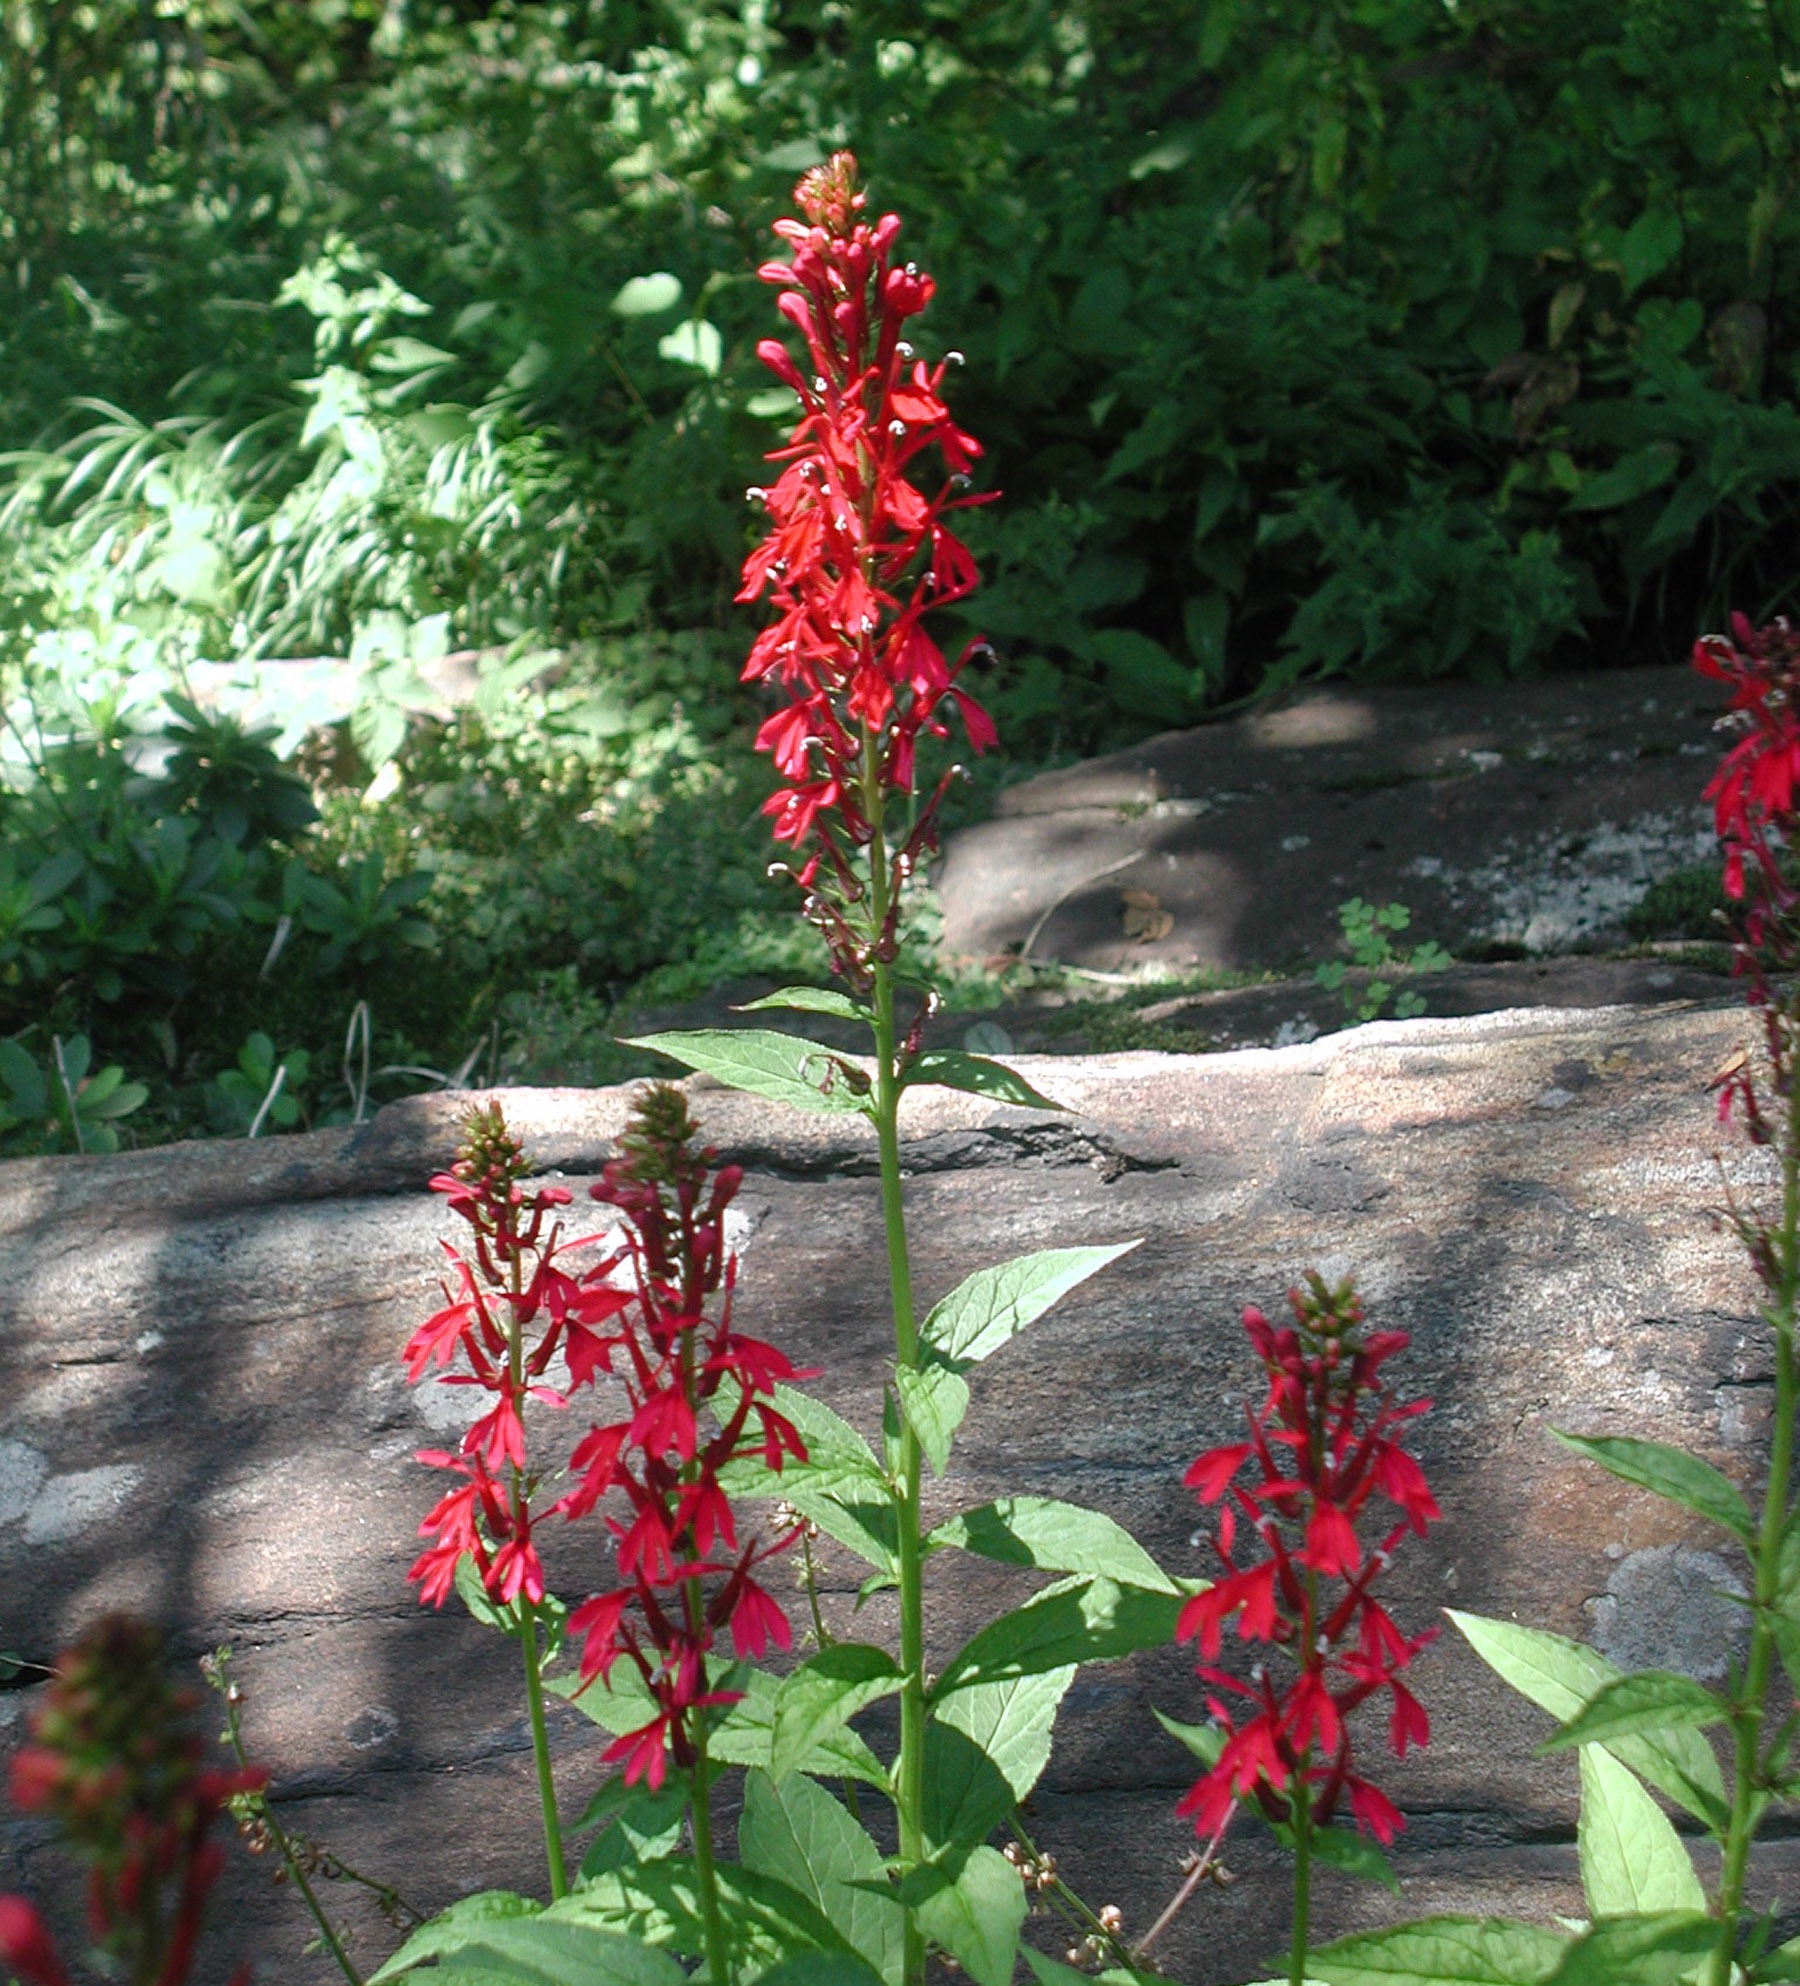
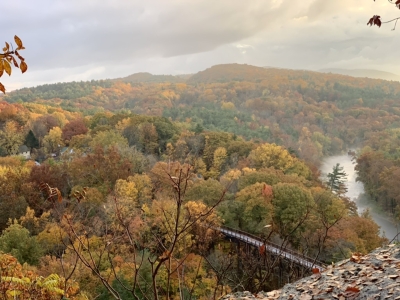
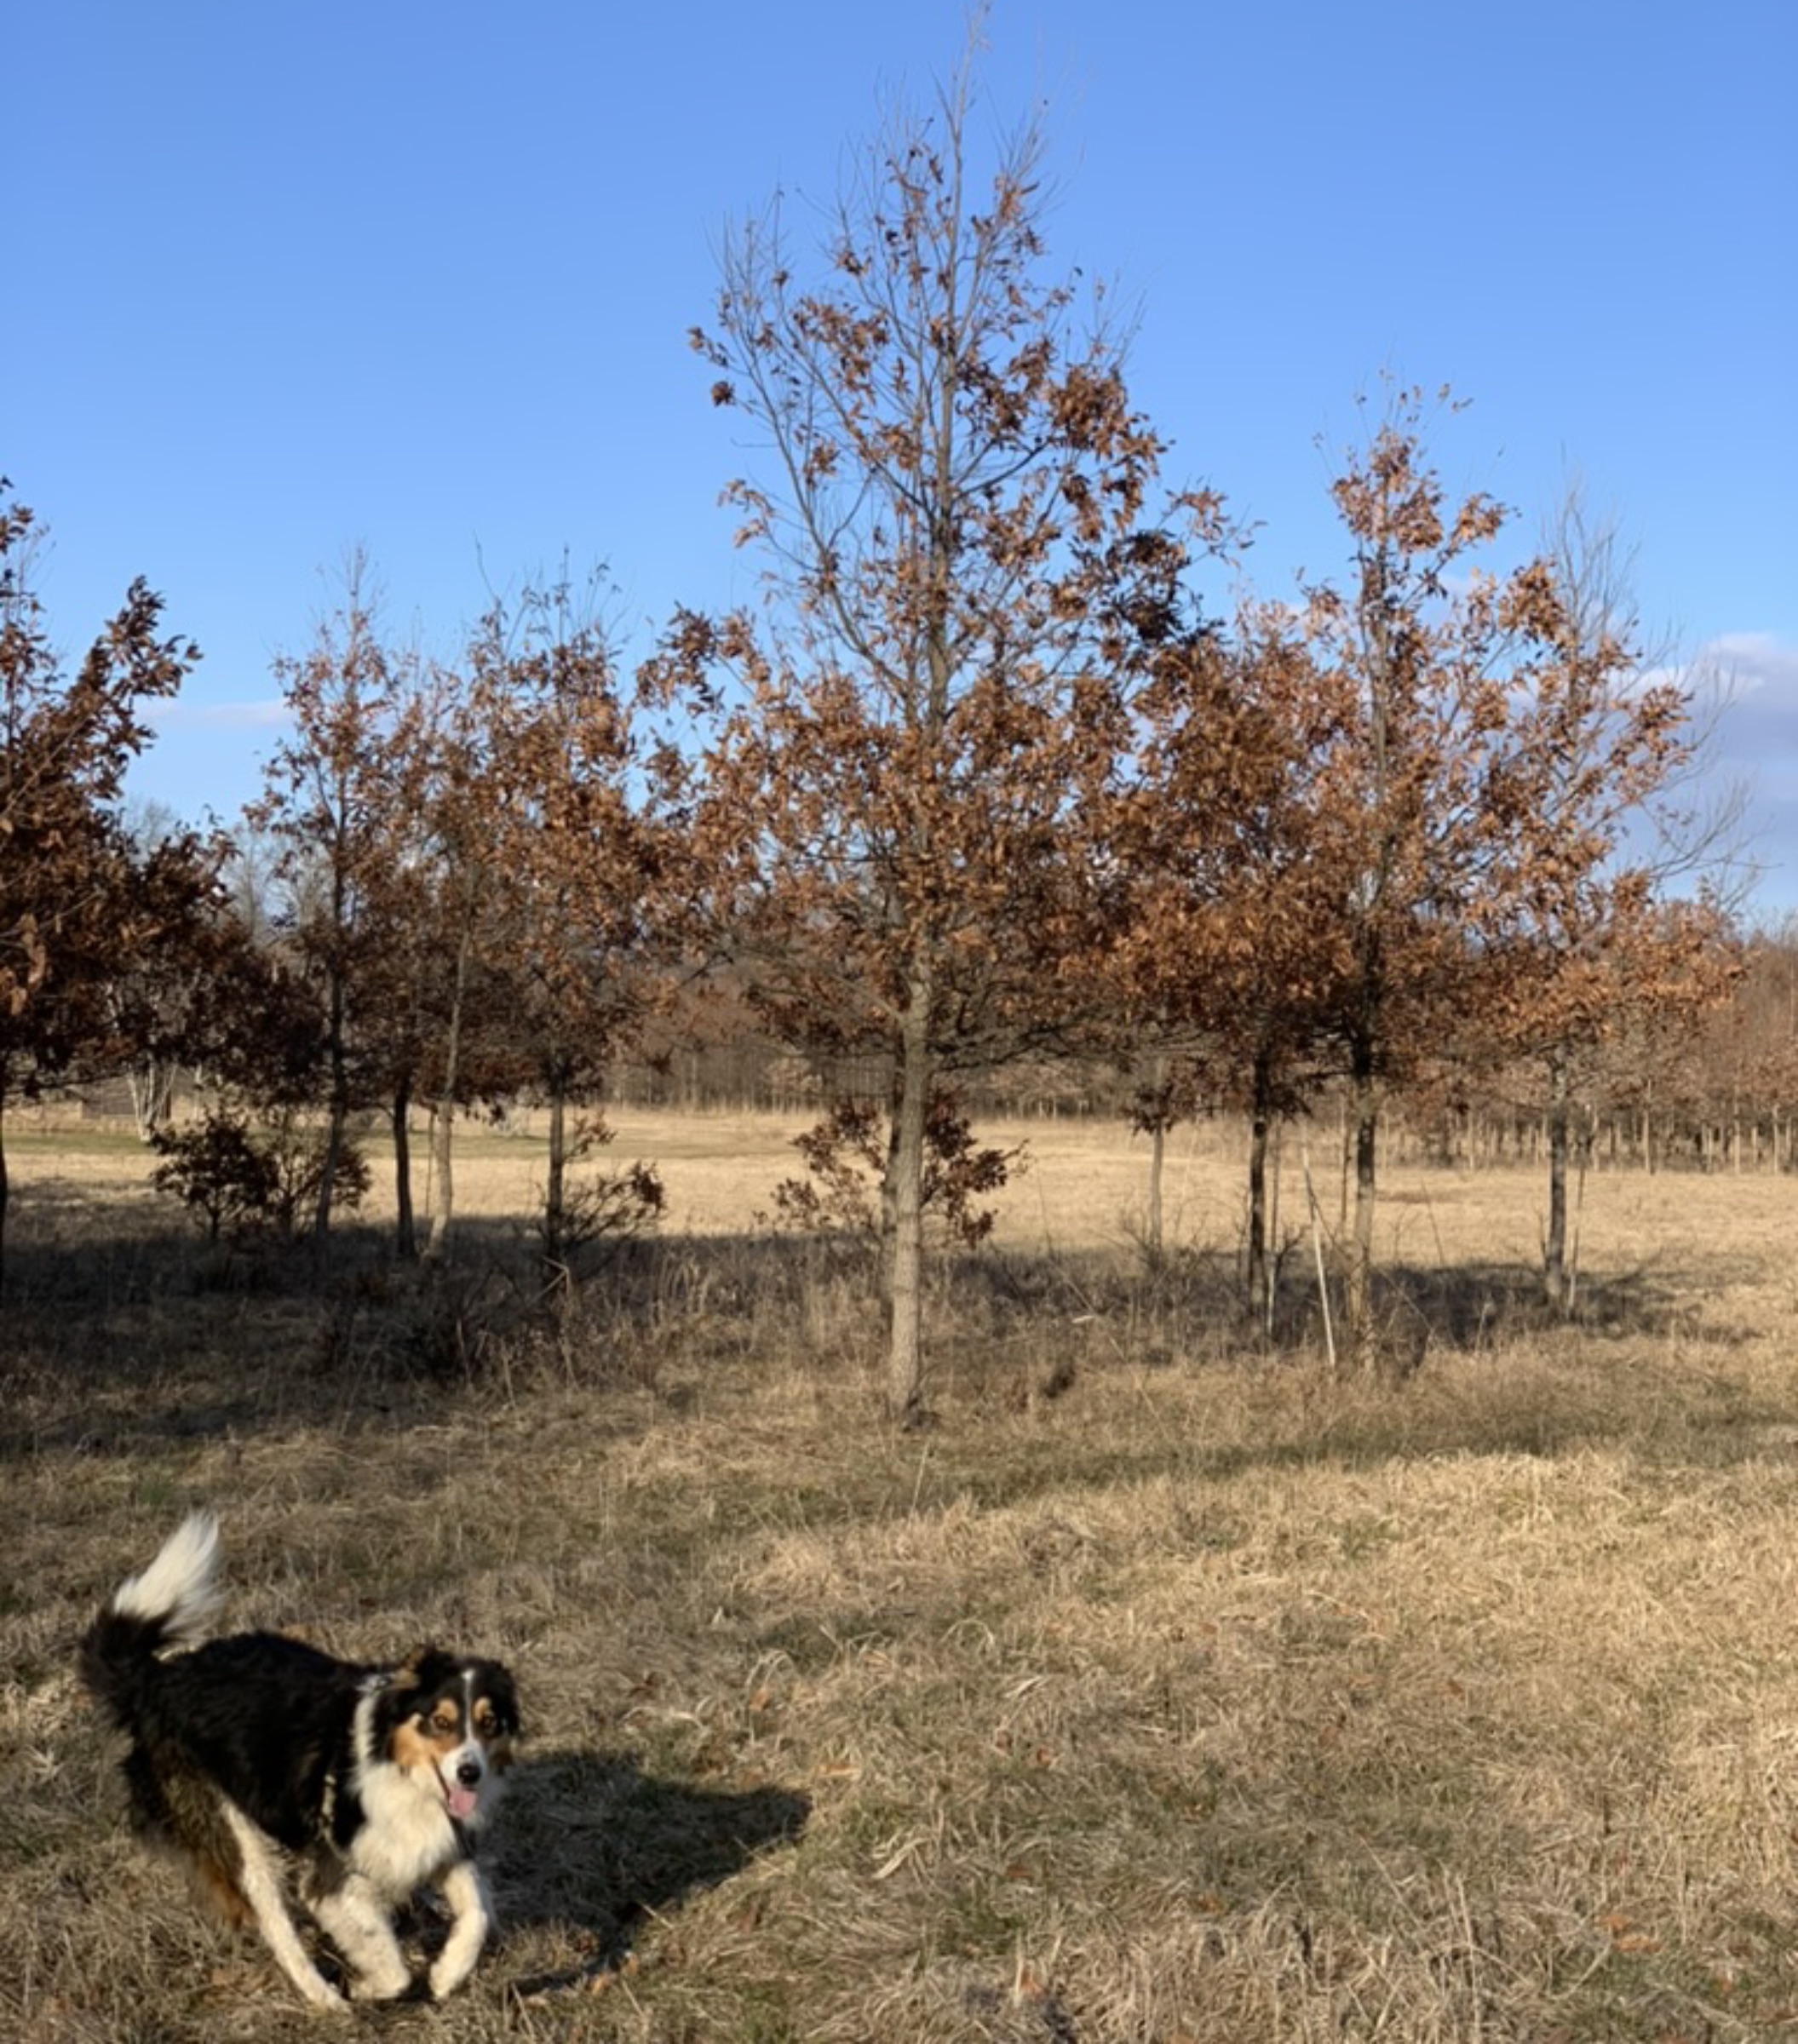
Mountains “in” this garden

Buildings as part of this garden, NYC HIghline
A row of eighty foot tall pine trees peer over the tops of my pear trees from the far end of my neighbor’s property two houses away to the north.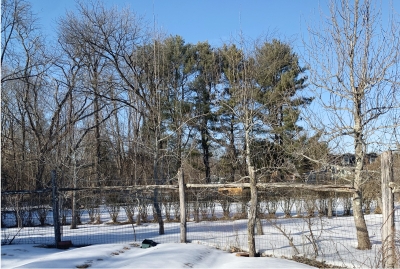 To the south my meadow ends at a sweep of another neighbor’s field, the more frequently mown grass of which undulate like waves in summer sunshine in contrast to the more upright asters, fleabanes, goldenrods, and monardas that stand upright among the grasses in my meadow.
Further extending the boundary are gardens revisited in my memory and those I have yet to see.
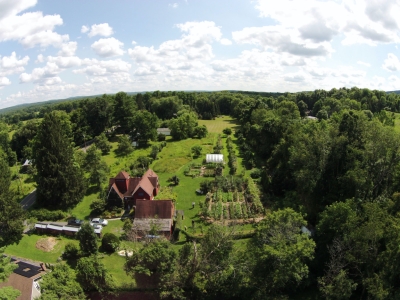
My boundless garden

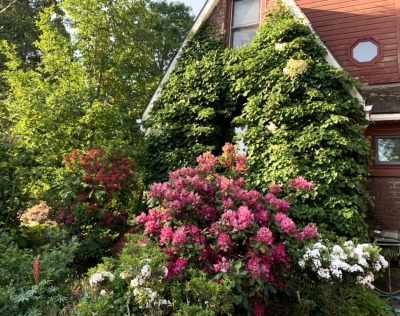


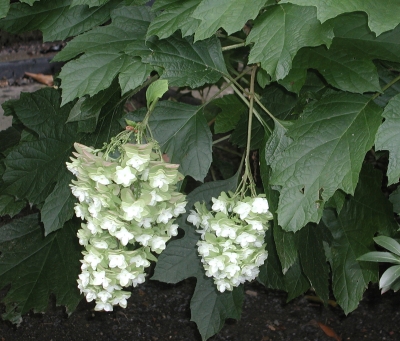
 Soon the stems will be draped in glossy, green leaves and, a little after that, white flowers that stand proud of the wall on short stalks and glow against their dark backdrop like a starry night.
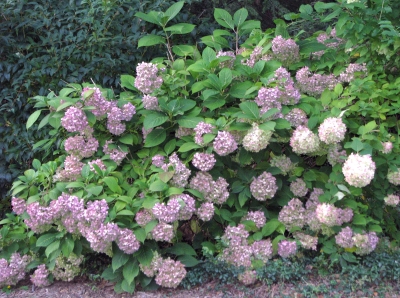
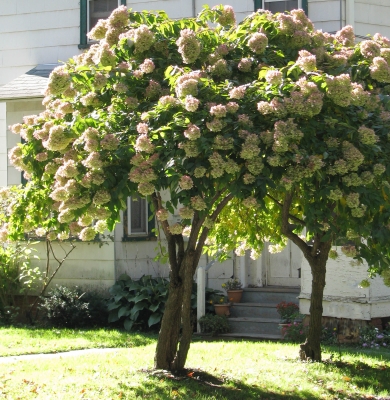 With that said, Panicle Hydrangea develops a permanent trunk or trunks, making it difficult to reach high into its dense head for pruning. No matter, because the plant flowers quite well with little or no pruning.