GARDENING “HANDWORK”
To Haul or Not to Haul
Hauling manure hardly seems to make sense these days, considering that lugging 500 pounds of horse manure gives plants about the same amount of food as a 50 pound bag of 10-10-10. And the latter for only about ten bucks!
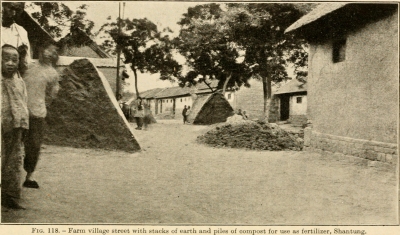
Human manure piles, China, 1900
But whereas 10-10-10 supplies only food (and only three of the sixteen needed nutrients at that), manure has other benefits: it aerates the soil; it helps soil capture and cling to water; and it renders nutrients already in the soil more available to plants. Nutrients from synthetic fertilizers are used up or washed out of the soil by the end of a season, yet benefits from each application of manure last for years. Even ingredients of a concentrated organic fertilizer have little benefit as far as soil aeration and water retention are concerned.
Manure is a traditional way of feeding plants, to the extent that applying synthetic (chemical) fertilizers once was referred to as a form of “manuring,” and certain plants grown specifically to improve the soil are called “green manures.”
When we talk of manure, though, we really mean animal excrement plus bedding. The bedding itself –- usually hay, straw, or wood shavings -– is itself responsible for some of the benefits of manure. The amount of nourishment manure supplies to a plant the first season depends on the ratio of bedding to excrement. More bedding means less nourishment to plants the first season, but greater residual effect for subsequent seasons. Unfortunately, bedding also can be a source of weed seeds.
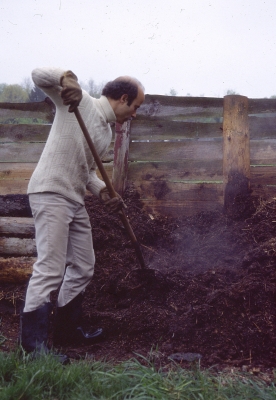
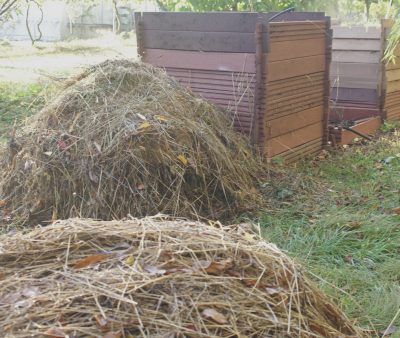
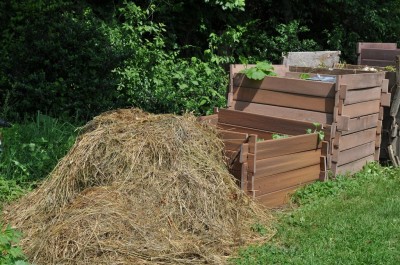
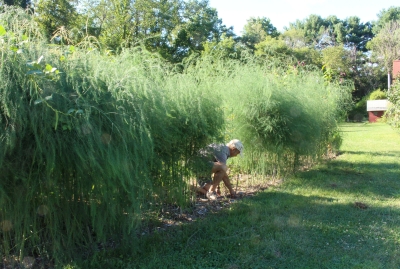
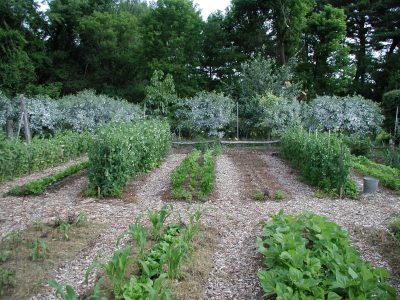
Long ago my compost piles were mostly manure
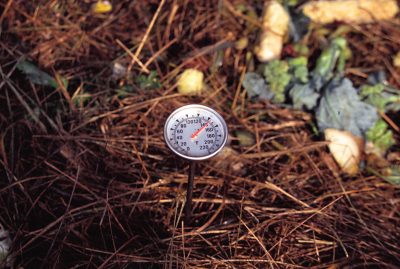
“Hot manures” are so called because they readily heat up when stacked in a pile. The heat comes from the burst of microbial activity stimulated by these manures’ relatively high concentrations of nitrogen and low concentrations of water. Horse and poultry manures are “hot;” cow and pig manures are “cold.”
How to Handle It, Generally
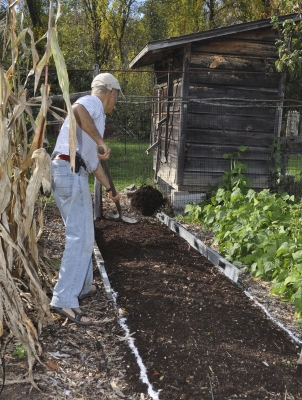
Okay, so you have manure in hand, or rather in pitchfork (a five-tined pitchfork is my preference for manure handling). What next?
Most gardeners dig it into the soil immediately. If the manure is well rotted -– meaning bits of hay, etc. no longer are recognizable –- planting can proceed as soon as the soil is smoothed.
If the manure is relatively raw, wait at least 2 weeks for things to settle down, microbially speaking, before planting. Especially if this raw manure has a high proportion of bedding, a much longer wait is needed before planting. Microbial decomposition of that extra carbon-rich bedding requires nitrogen which, if in sufficient amounts are not in the associated manure, must come from soil reserves. Microbes are more adept at getting at that nitrogen than are plants, so plants are starved — at least until the extra carbon is digested (and the carbon/nitrogen ratio in the ground is about 20/1). One advantage to digging manure into the garden in autumn is that it avoids any delay in planting in spring.
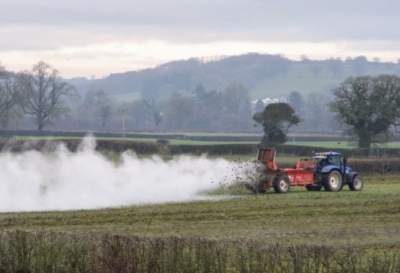
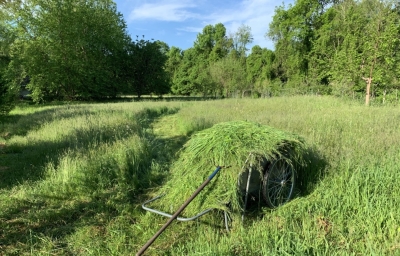
Spreading manure on a farm
In lieu of digging, just lay manure on top of the ground as mulch. This is fine if the manure is rotted, but nitrogen volatilizes from fresh manure exposed to sun and wind. The nitrogen loss is wasteful, but may be worth the sacrifice considering the benefits of the mulch. And the nitrogen starvation mentioned previously doesn’t occur because decomposition is very slow, at the interface of the mulch and the soil.
And More Specifically
I have access to more horse manure than I could ever possibly want, and the way I usually handle the manure is to compost it before putting it on or in the soil. In a compost pile, manure is mixed with other ingredients (garden residues, vegetable scraps, leaves, soil, etc.), so the result is a better-balanced fertilizer. Also, the heat of composting kills most weed seeds present in either the excrement or the bedding.
The amount of manure to add to soil depends on whether the manure is rotted or fresh, and what kind of animal provided the manure. You can add too much manure to soil: I once had a chicken farming neighbor who killed his asparagus bed by blanketing it under 6 inches of chicken manure (very hot stuff!). Twenty-five to 50 pounds per hundred square feet is about the right amount.
(Manure is the only bulky, beneficial source of organic nitrogen. Some other sources are kitchen scraps, young plants, cultivated and wild — as in “weeds” — and especially, legumes.)
The word “manure” comes from the old French word manoevrer, meaning “to cultivate by hand” (in turn from the Latin words for “hand” and “work”). All this manure handling is a lot of physical work, but isn’t exercise another benefit of gardening?
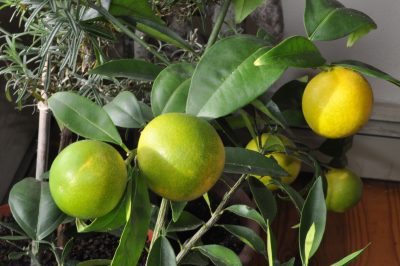
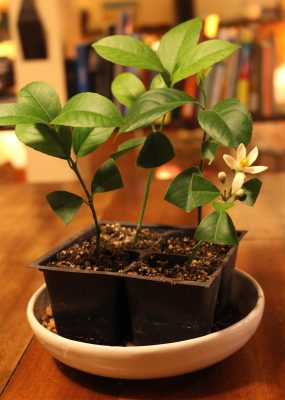
Plant Sale in Progress (mostly fruits, many uncommon, and uncommonly delicious ones)
A reminder: my plant sale, online with live pickup, is in progress for another few days. To view the plant list, to order, to pay, and — VERY IMPORTANT — to schedule a pickup time (May 29-31 and June 2), go to https://leesannualplantsale.squarespace.com

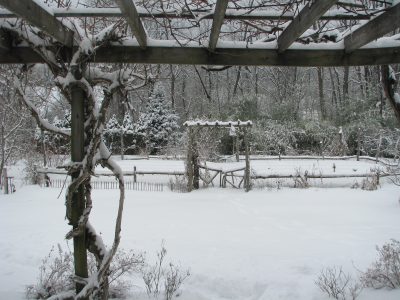
 Both kinds of plants are probably cold-hardy to about zero degrees Fahrenheit, but here winter temperatures, except last winter, typically drop to about minus 20 decrees Fahrenheit. That snowy blanket provides extra protection that the plants might need — especially after last Saturday’s unseasonal low of minus 8 degrees.
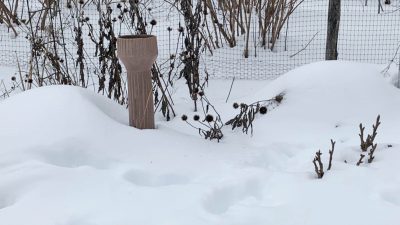

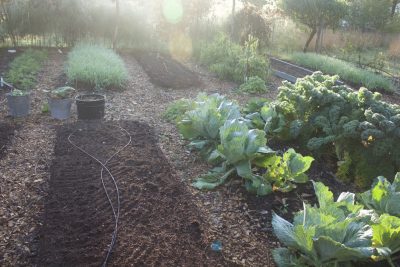

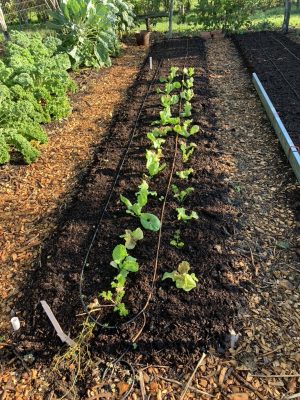
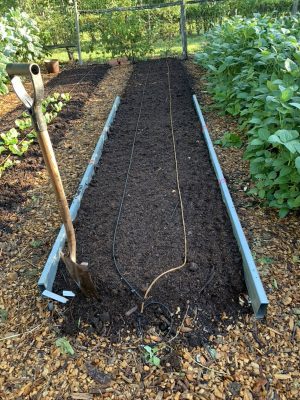


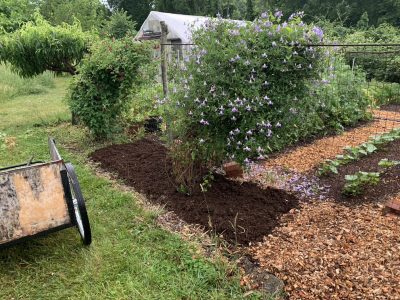
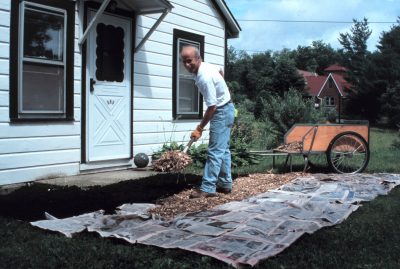
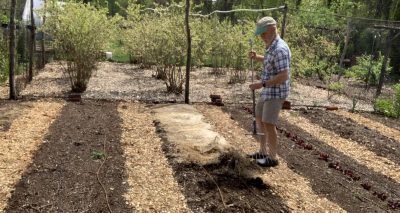
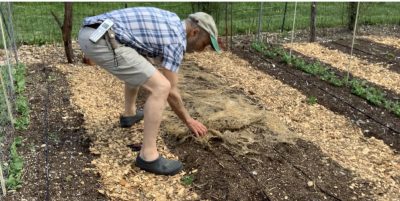
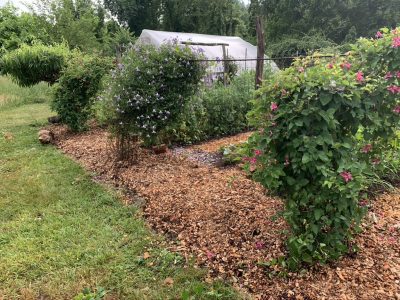 The compost will nourish the asparagus . . . and the weeds, most of which I hope will be sufficiently young or weakened to not push up through the compost and the wood chips to light.
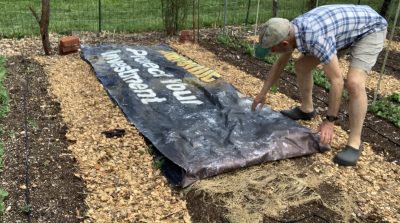
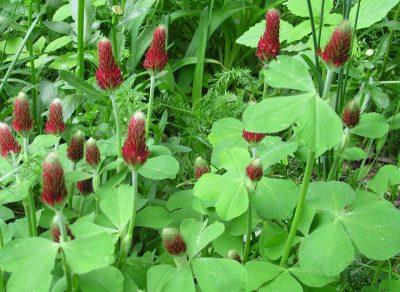
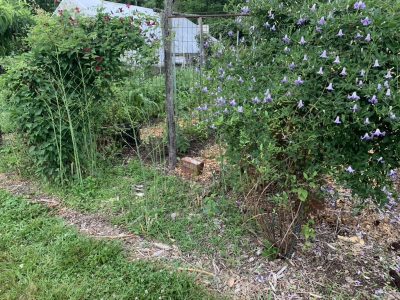
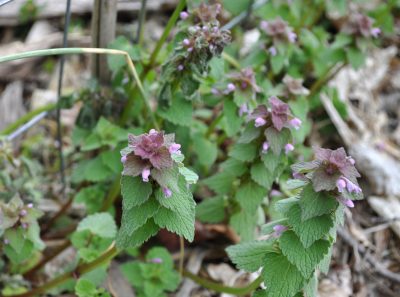 Yes, I know the plant is pretty, provides early nectar for pollinators, and is edible. But its out of place in my vegetable beds. The tarp does it in.
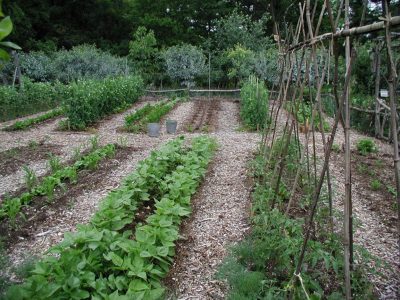
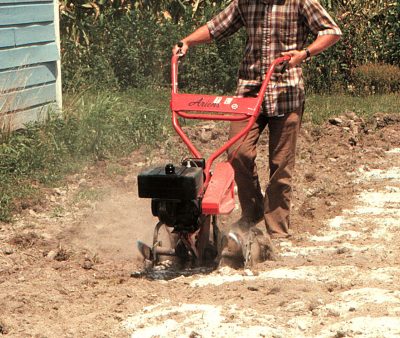 Wait two weeks for Mother Nature to work her magic decomposing some of that existing vegetation. Or, rather, part of her magic. After two weeks, dig up the ground again, this time adding some compost or fertilizer. You could dispense with the compost or fertilizer this season if whatever was growing there before digging looked vibrant. Better not to go out to a store these days if you don’t have to anyway. Wait another two weeks, and when you’re ready to plant, use a garden rake to tickle the surface of the ground and crumble it.