First Step, Identification
A few years ago I went to a nearby permaculture convergence. (Actually a “permaculture conference; those people have the best terms for what they do). I’ve grown plants in what I learned was a permie way for many decades, so I’ve been accused of being a permaculturalist. I was even invited to do a presentation and host a farmden tour for the convergence.
While there, I had the opportunity to attend a lecture by someone who has been billed as the diva of dirt, or, at least, of compost tea, specifically aerated compost tea (ACT), Dr. Elaine Ingham. You’ve never heard of ACT!? It became the hot, new thing years ago, perhaps still is, as an alleged cure for poor soil and plant pests. I’d been skeptical and thought that hearing and speaking to Dr. Ingham in person could entice me into the fold.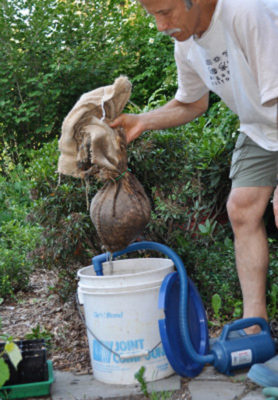
Dr. Ingham showed myriad images of fungi, nematodes, and other creatures that you might find in compost piles and teas. We saw many “bad guys” that lurk in poorly aerated composts and teas. The “bad guys” are bad, she asserted, because they release toxins into the soil and puff away valuable nitrogen, sulfur, and phosphorus in various forms as gases.
Dr. Ingham suggested monitoring our compost piles and tea happenings by purchasing a microscope and, with the help of her workshops, identifying resident microorganisms. Hmmm; interesting, but is it really necessary for a green thumb?
While the panoply of microorganisms discussed was impressive, I contend that even a well-aerated compost pile or tea is bound to have some poorly aerated pockets. It’s not a “bad guys” vs. “good guys” situation, but a question of generally favoring an excess of “good guys.” Also, once compost is spread on the ground, the large surface area presented is going to tip the balance even more in favor of aerobic conditions.
To identify what organisms are in a compost pile, you have to get them out of the pile and onto a microscope slide. Easy. Just soak some compost in water and strain it. Or use a compost teabag. But wait! Is that really the spectrum of microorganisms that call that compost home? Not necessarily. What are staring up at you from that microscope slide are creatures that can be leached most readily into water. What you see also might depend on how long you steeped the teabag and who can squeeze out into the water through whatever size holes are offered by the strainer or the teabag.
Will Compost Microbes be Happy Far from their Compost Home? More fundamentally, I question basic assumptions underlying the use of compost tea. Even if you have beneficial organisms in hand (figuratively) and sprinkle them on the ground, they’re bound to expire unless the environment is suitable. Microorganisms in the tea might have enjoyed life within the dark, moist innards of a compost pile; the soil environment ain’t nothin’ like home for them.
Spraying ACT or any compost tea on plant leaves should likewise have little or no effect on plant diseases; again, conditions on a leaf surface aren’t conducive to their survival. In the evolutionary scheme of things, why would a microorganism that thrives in the dark, moist, nutrient-rich innards of a compost pile survive on the sunny, dry, nutrient-poor surface of a plant leaf, let alone provide any benefits?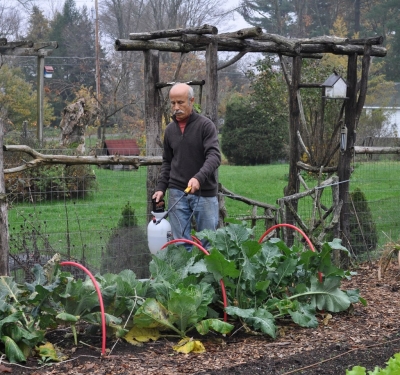
Over the last few decades, people have spritzed plants and sprinkled soils with compost tea, looking for effects such as improved soil structure or drainage or increased plant resistance to pests. Independent well-designed, vetted studies do not generally support claims made for compost tea.
True, there are some studies that show some benefits. I contend that if you spray just about anything on a plant leaf and have enough plants in the study along with sufficiently detailed measurements, some statistically significant effect might be noted. But every statistically significant effect isn’t also biologically significant. And looking over a number of studies, some few show a benefit from compost tea, many demonstrate no effect, and for a number of them, the effect of compost tea is detrimental.
Soluble nutrients do leach out of a compost teabag into water. The resulting compost tea, then, becomes a liquid feed for plants, effective either poured on the ground or even sprayed on leaves. So there can be some benefit from compost tea, a nutrient effect, not a microbial one.
Bulk is Good
Except in special situations, soil environments naturally host microorganisms that thrive best in them. A similar situation exists with earthworms. Years ago, perhaps still, advertisements in the back pages of gardening magazines would offer earthworms for sale. The reasoning went that good soils are teeming with earthworms, so purchasing and importing these creatures to you garden will make your soil better. Not true. The earthworms will die out if conditions and food are not to their liking. The same goes for microorganisms.
(An example of an exception to what I wrote in the previous paragraph is a study that was done in Puerto Rico back in 1950. THE USDA was trying, with little success to introduce a more useful, but non-native pine, to the island territory. Mycorrhizae are fungal symbionts that infect practically all plants; the fungus gets some foods manufactured by the plant in return for moving more nutrients and water to the plant for improved growth. The appropriate fungal symbiont was lacking in Puerto Rican soils. After inoculating plants with an appropriate fungus, the inoculated, introduced pines grew six times more than their introduced brethren that had not been inoculated.)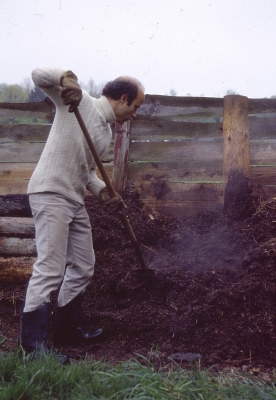
Except in rare situations, as in the example above, earthworms, microorganisms, and other creatures generally inhabit environments most congenial to their flourishing. Perhaps not enough of them, and what they really need is food to give their populations a boost, and food means some form of organic material. That is, bulky organic materials, such as compost, manure, leaves, and straw.
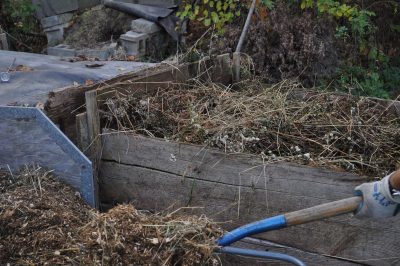
Good gardening comes form using a pitchfork, not an elixir. Does anybody still make and use compost tea?

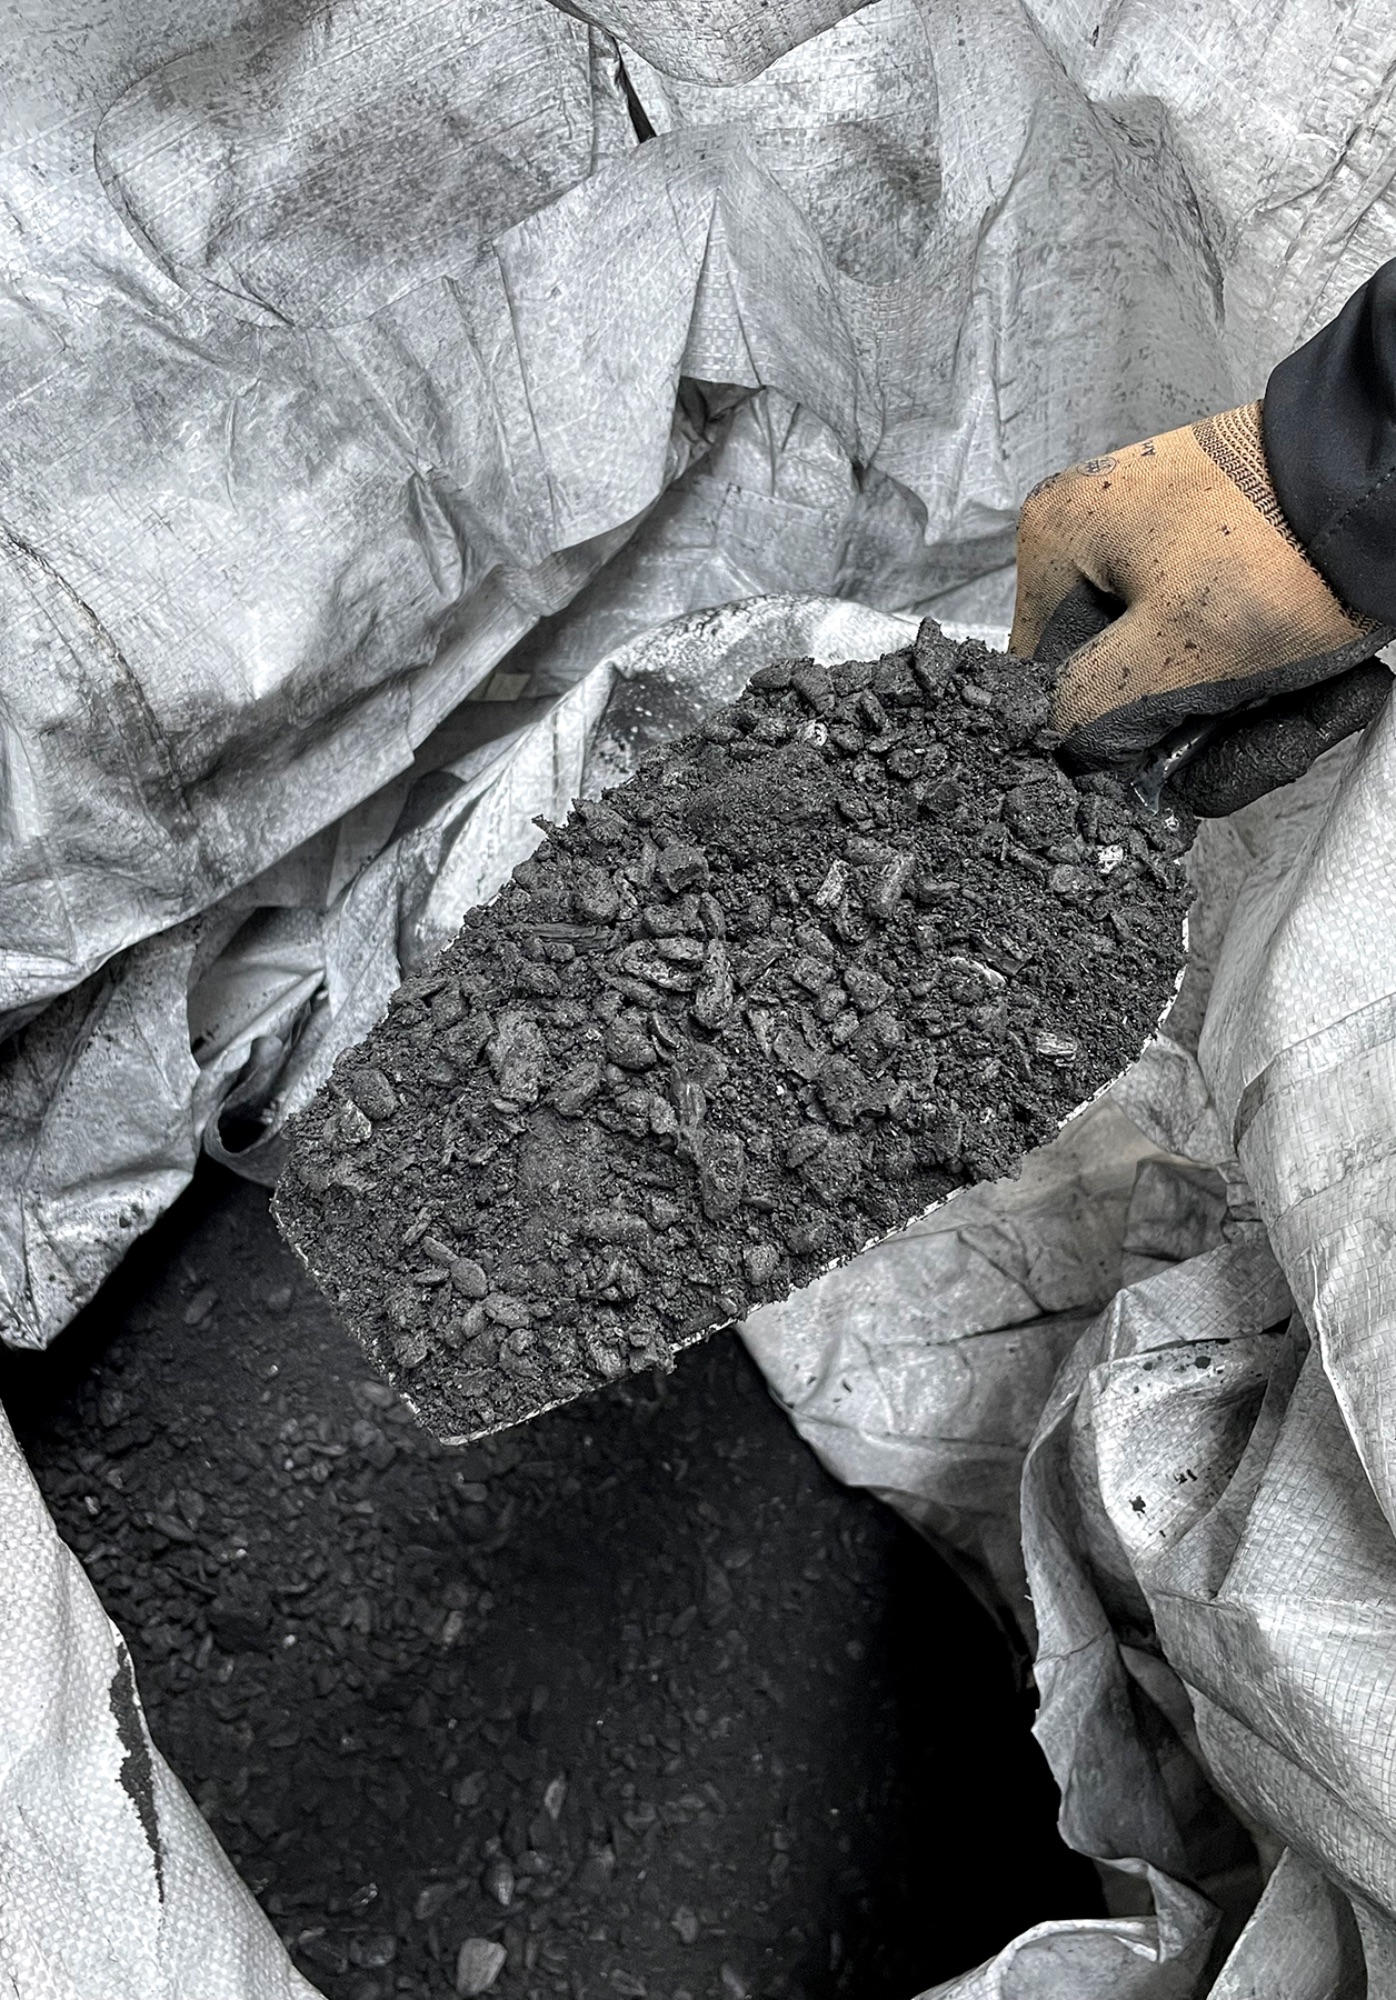
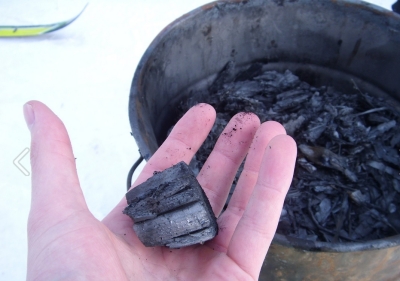 Rather than releasing the carbon in wood or other material into the atmosphere as carbon dioxide by burning it or allowing it to decompose, the carbon in biochar remains locked up. Less carbon dioxide in the atmosphere means less global warming.
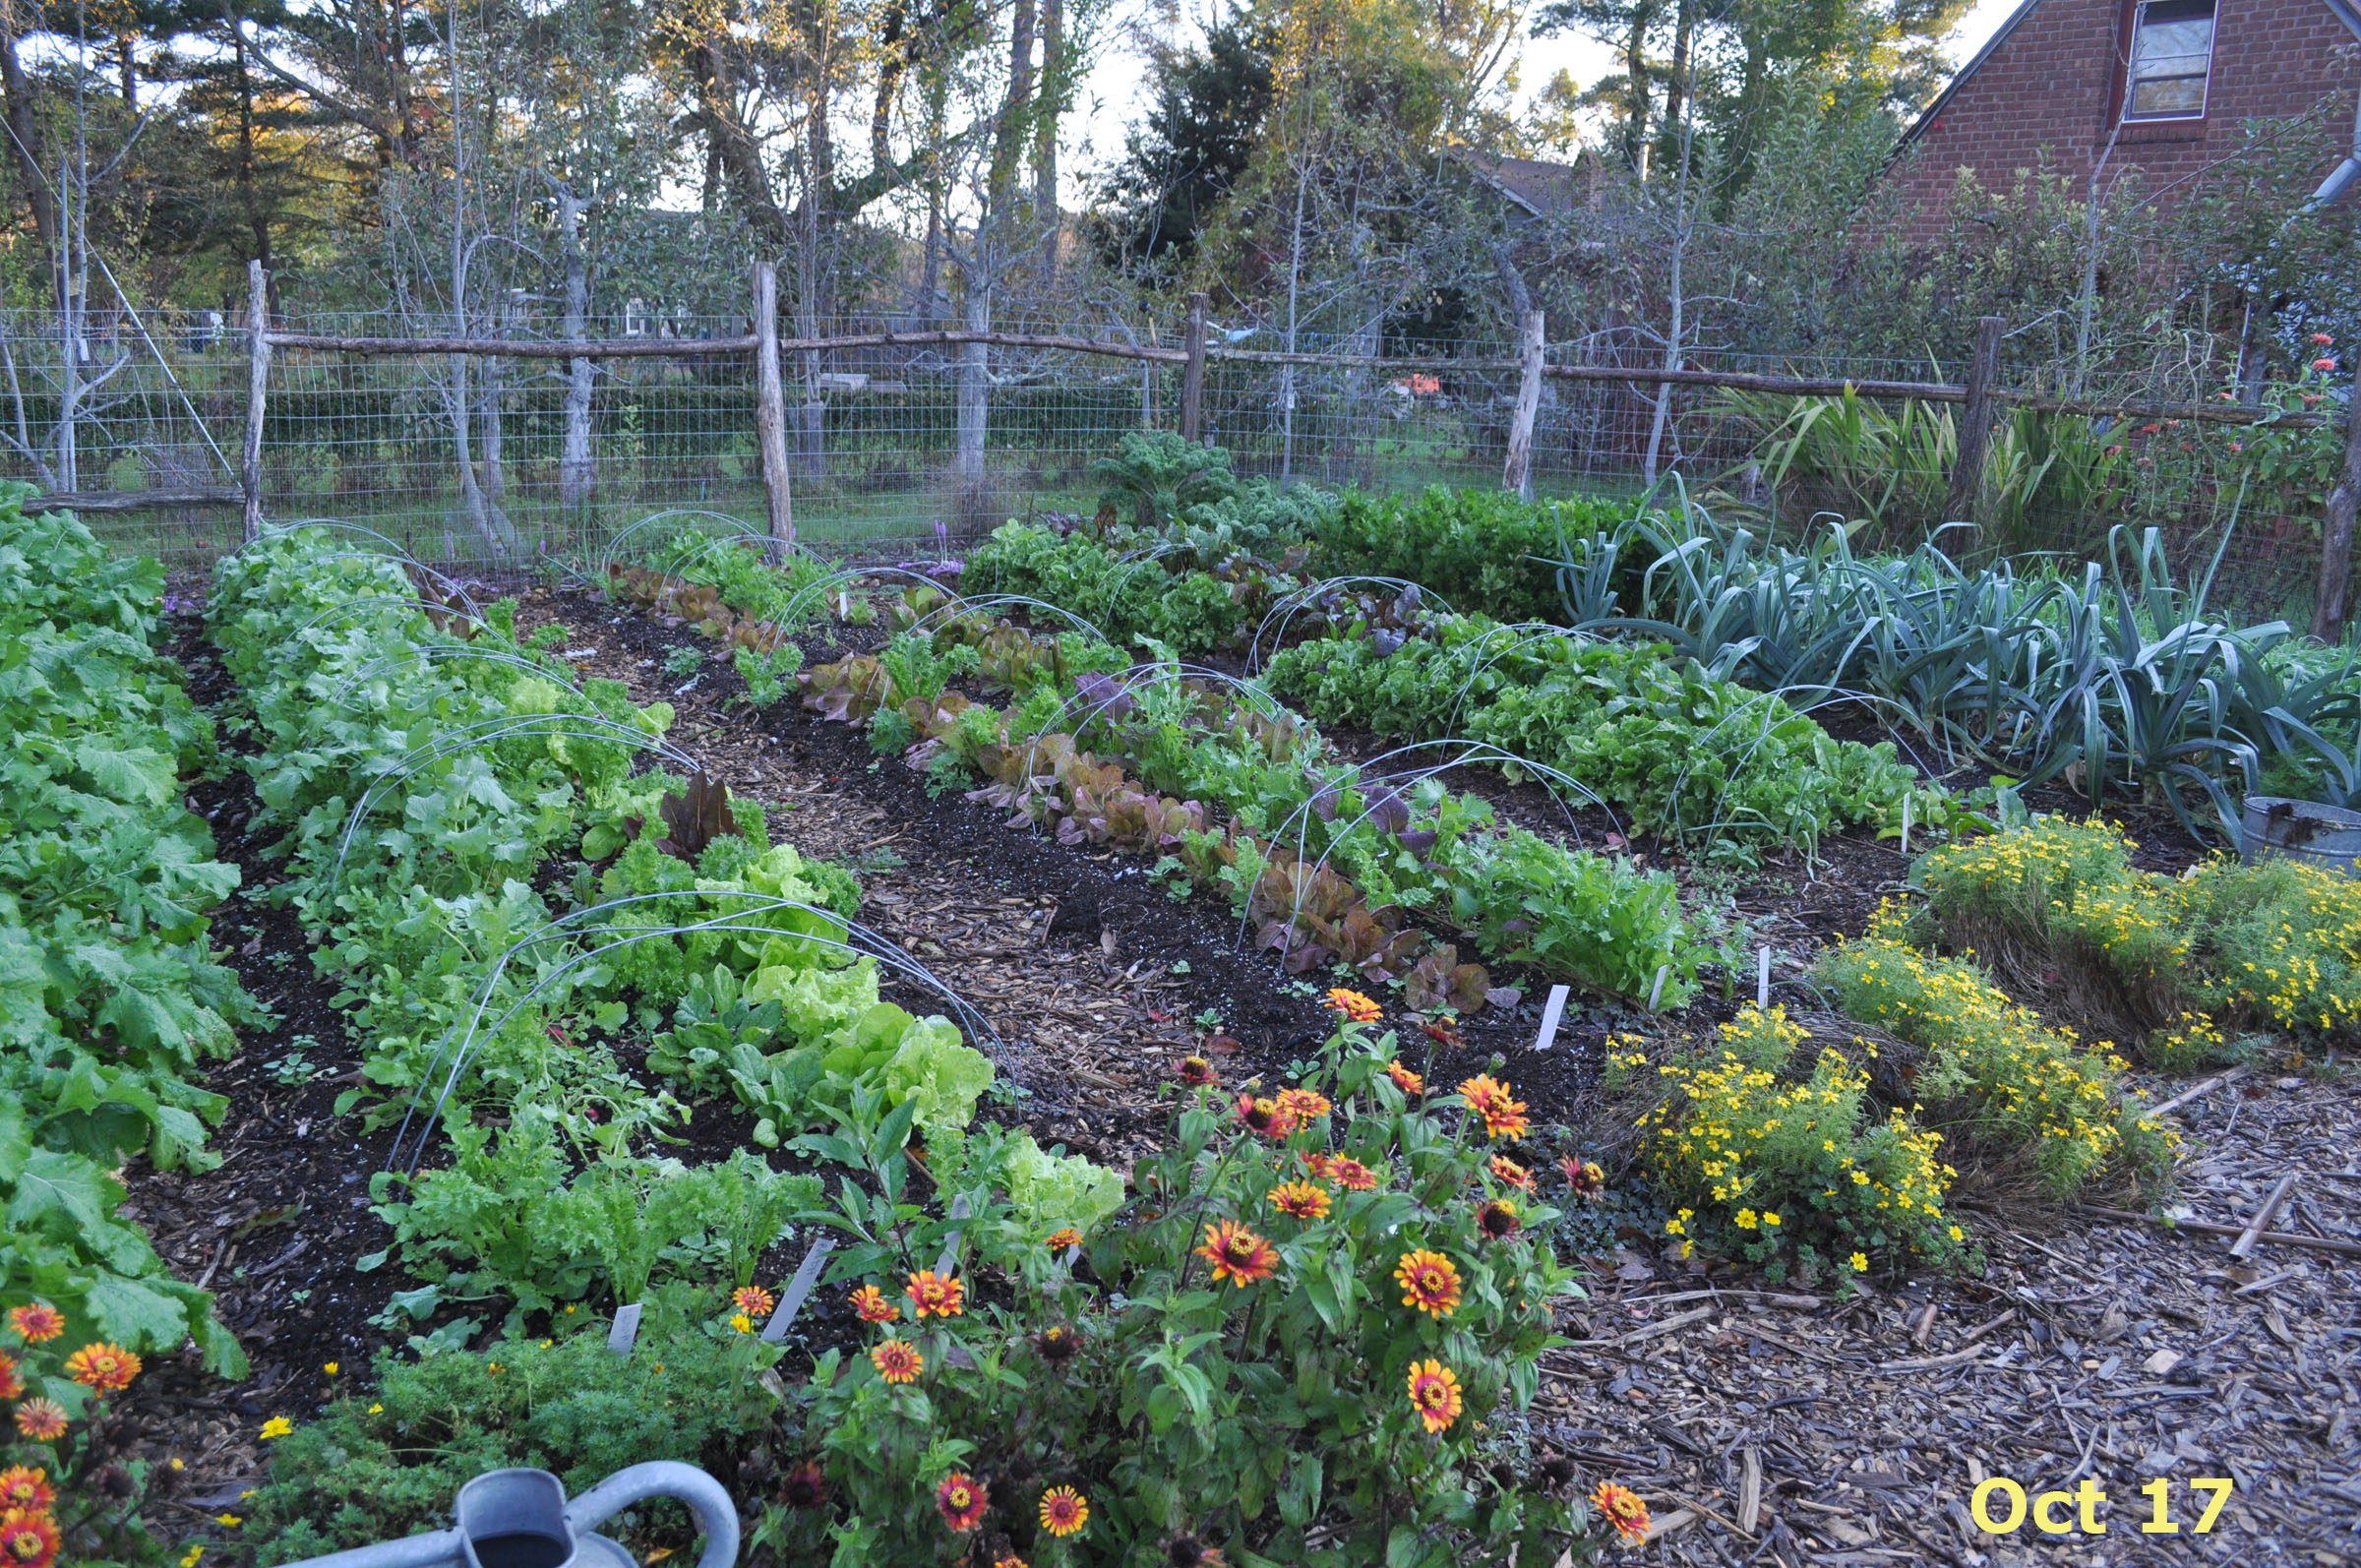
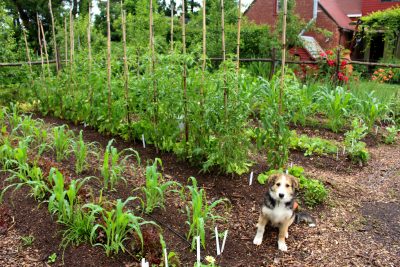
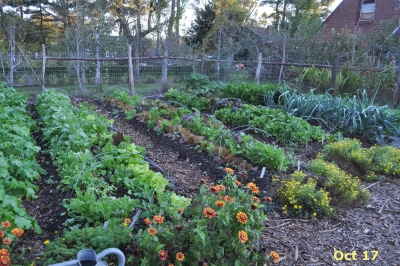 Recently, as I opened and walked through the gate into my vegetable garden, I thought, hmmm, things are looking pretty spiffy in the garden. Even a seasoned gardener friend remarked, “There’s so much green!” And that green is not from weeds, but from neat rows of napa cabbages, large heads of lettuce in various shapes and shades of green, and dark green rows of arugula and mustard. Leafy tops of Watermelon radishes (the name from the look of the sliced roots, not any affinity in flavor) and sweet Hakurei turnips perched above swelling roots.
 The naturally excellent soil here is weed heaven. Seems if I turn my back for a day, these interlopers, which stand waiting from outposts in field and woods, jump forward in among my cultivated plants. Quackgrass moves stealthily in from garden edges, pushing its pointy runners underground. Thistles pop up from lateral root and seeds.

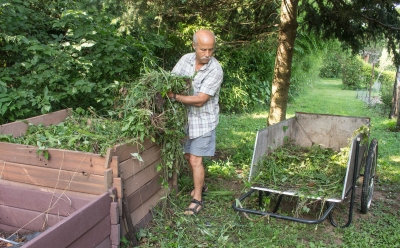
 The older the plant material, the richer it is in carbon. Nitrogen-rich materials include young, green plant parts, such as tomato stalks, vegetable waste from the kitchen, and grass clippings, as well as manures.