BREWING UP BATCH OF POTTING SOIL
Prime Ingredients for Any Potting Mix
Many years, my gardening season begins on my garage floor. That’s where I mix the potting soil that will nourish seedlings for the upcoming season’s garden and replace worn out soil around the roots of houseplants. Why do I make potting soil? Why does one bake bread?
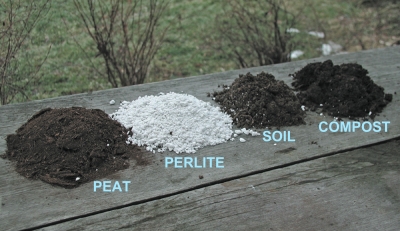
There is no magic to making potting soil. When I first began gardening, I combed through book after book for direction, and ended up with a mind-boggling number of recipes. The air cleared when I realized what was needed in a potting soil, and what ingredients could fulfill these needs. A good potting soil needs to be able to hold plants up, to drain well but also be able to hold water, and to be able to feed plants. The key ingredients in my potting mix are: garden soil for fertility and bulk; perlite for drainage; and a mix of peat moss and compost for water retention.
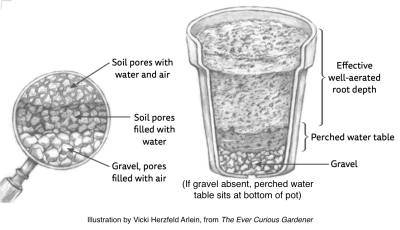
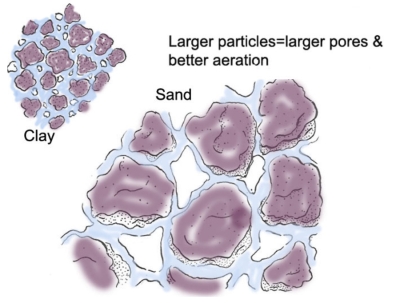
Why not just dig up some good garden soil? Because a flower pot or whatever container a plant is growing in unavoidably creates “perched water table” at its bottom. Garden soil, even good garden soil, is so dense that it will wick too much water up from that perched water table. Waterlogging is apt to result, and waterlogged soil lacks air, which roots need in order to function. (More about perched water tables and lots of other stuff about soil, propagation, plant stresses, and more can be found in my book The Ever Curious Gardener: Using a Little Natural Science for a Much Better Garden.)
Coarse mineral aggregates — perlite, in my mix — make potting soils less dense, so water percolates more readily into the mix, through it, and out the bottom of the container. Other aggregates include vermiculite, sand, and calcined montmorillonite clay (aka kitty litter). I chose perlite because vermiculite breaks down with time and can contain asbestos. Sand is heavy, although this can be an effective counterbalance for top heavy cactii.
The peat moss and compost in my mix are organic materials that slurp up water like a sponge; plants can draw on this “water bank” between waterings. One peat to avoid is “peat humus,” a peat that is so decomposed that it has little water-holding capacity. Organic materials also buffers soil against drastic pH changes and cling to nutrients which are slowly re-released to plant roots. Otherwise these nutrients run out through the bottom of seedling flats and flower pots.
Peat is relatively devoid of nutrients but the compost provides a rich smorgasbord of nutrients. And I can brew it myself. Just letting piles of autumn leaves decompose for a couple of years produces “leaf mold,” which has roughly the same properties as compost.
Potting soils made with garden soil and compost might need to be pasteurized to eliminate pests especially weeds. Too much heat should be avoided, however, because toxins which injure plants will form and beneficial organisms will be eliminated. When I am going to pasteurize, I do so only to the garden soil in the mix; my composts get to above 150°F all on their own.
To pasteurize potting soil, put it in a baking pan, bury a potato in it, and bake it in a medium oven. When the potato is baked, the soil is ready. Pasteurization is not absolutely necessary; I pasteurize to kill weed seeds.
What You Buy Isn’t . . .
Go out and buy a potting mix and, in all likelihood, that mix will be devoid of any real garden soil. You can mix up a so-called “soil-less” potting mix by sieving together equal volumes of peat moss and perlite. Since the mix has no garden soil or compost to supply nutrients, add 1/2 cup of dolomitic limestone, 2 tablespoons of bone meal, and 1/2 cup of soybean meal to each bushel of final mix. This mix has enough fertility for about a month and a half of growth without additional fertilizer.
I favor traditional potting mixes, which contain real garden soil. Real soil adds a certain amount of bulk to the mix, as well as a slew of nutrients and microorganisms. Real soil provides buffering capacity, which allows for some wiggle room in soil acidity.
The Magic Happens
I wrote early on, “There is no magic to making potting soil.” I could toy with ratios and make a potting mix from perlite plus compost, perlite plus compost plus garden soil, even straight compost, depending on the texture of the compost.
Going forward, I’m going to experiment with coir and/or PitMoss, both possible substitutes for peat moss, the harvest of which is environmentally questionable.
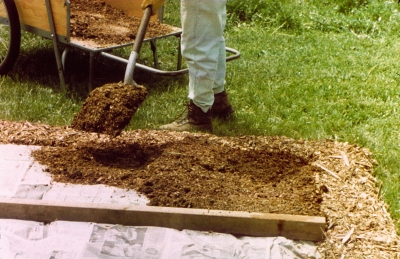
For my first batch of potting mix for this season, I’ll stick with my usual recipe. Step one is to give the garage floor a clean sweep. 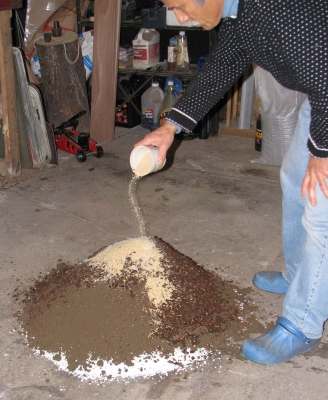 Then I pile up on the floor two gallons each of garden soil, peat moss, perlite, and compost. On top of the mound I sprinkle a cup of lime (except if I’ve sprinkled limestone on the compost piles as I build them), a half cup soybean, perhaps some kelp flakes.
This is a mixed bag of ingredients, but I reason that plants, just as humans, benefit from a varied diet. I slide my garden shovel underneath the pile and turn it over, working around the perimeter, until the whole mass is thoroughly mixed. 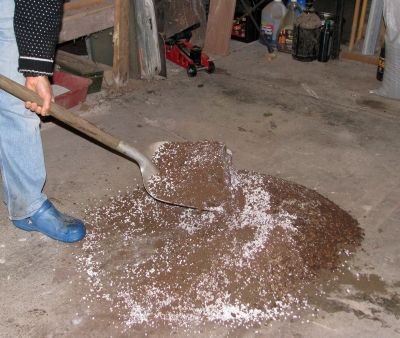 I moisten it slightly if it seems dry. When all mixed, the potting soil gets rubbed through a 1/2″ sieve, 1/4” if it’s going to be home for seedlings.
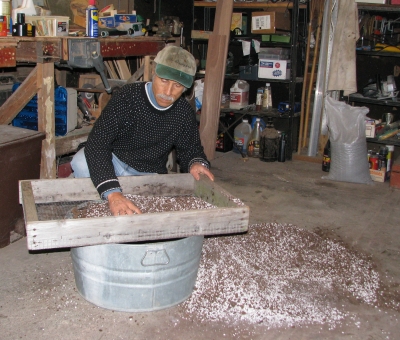
I end by clicking click my heels together three times and reciting a few incantations to complete this brew that has worked its magic on my seedlings, houseplants, and potted fruits each season.

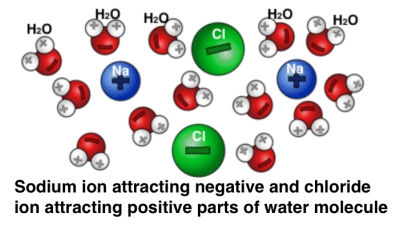 What happens when water enters the picture? A water molecule, because of its shape has a slightly imbalanced charge distribution. The negatively charged side of the water molecule gets attracted to the sodium ion of table salt, and the positively charged side of the water molecule gets attracted to the chloride ion.
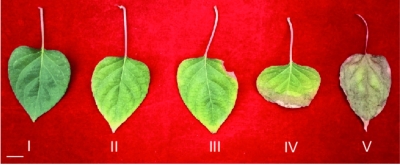
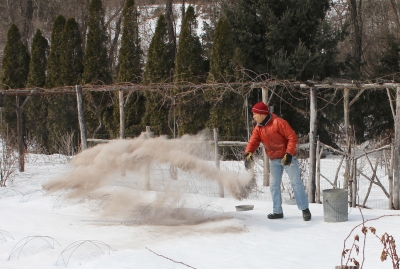 My favorite treatment for icy conditions here at home is spreading wood ash. Effectiveness comes from the dark color absorbing sunlight to speed melting, a slight grittiness increasing traction, and its salt content. Of course, access to wood ash means you or an ash-rich friend burns wood for heat.
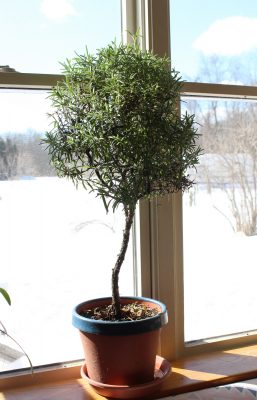
 Remember the song lyrics: “House built on a weak foundation will not stand, no, no”? Well, the same goes for plants. (Plant with a weak root system will not be healthy, no, no.) Fertilization in the fall, rather than in winter, spring, or summer, promotes strong root systems in plants.
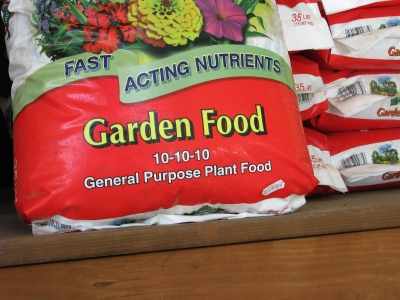 The two major forms of soluble nitrogen that plants can “eat” are nitrate nitrogen and ammonium nitrogen. Nitrate nitrogen will wash right through the soil; ammonium nitrogen, because it has a positive charge, can be grabbed and held onto negatively charged soil particles. Therefore, if you’re going to purchase a chemical fertilizer to apply in the fall, always buy a type that is high in ammonium nitrogen. The forms of nitrogen in a fertilizer bag are spelled out right on its label.
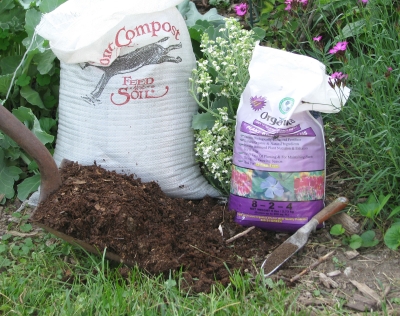
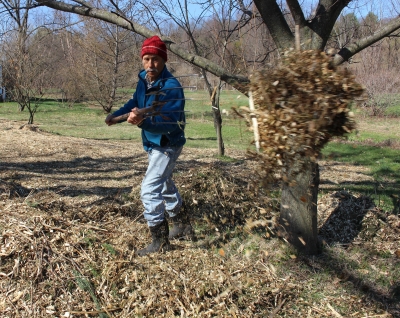


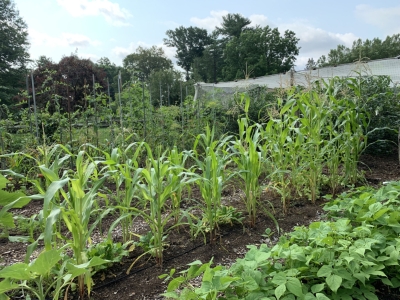
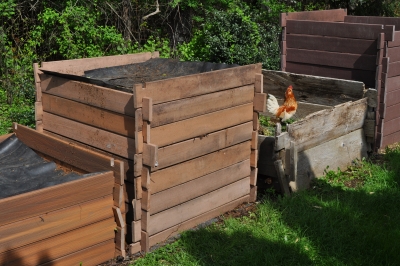 I like to think of my compost pile as a pet (really, many pets, the population of which changes over time as the compost ripens) that needs, as do our ducks, dogs and cat, food, water, and air. Today I’ll feeding my pet — my compost pet — corn stalks, lettuce plants that have gone to seed, rotten tomatoes and peppers, and other garden refuse. Plenty of organic materials are available to feed compost piles this time of year.
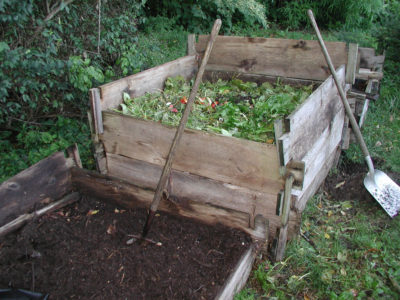 Joseph Jenkins, in his excellent (and fun-to-read) book, The Humanure Handbook, quotes research showing complete destruction of human pathogens in humanure composts that reach 145°F for one hour, 122°F for one day, or 109° F for one week. The same should be true for plant pathogens and pests. For decades, I’ve tossed everything and anything into my compost piles and never noticed any carry over of pest or disease problems.
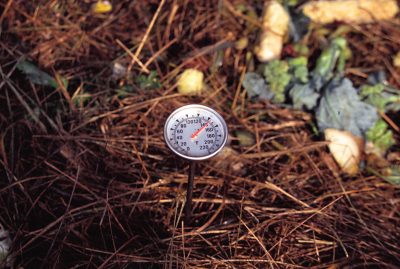 This time of year, my compost piles dial the heat up to around 140°F, and hold that temperature for a couple of weeks, or more, before slowly cooling down.
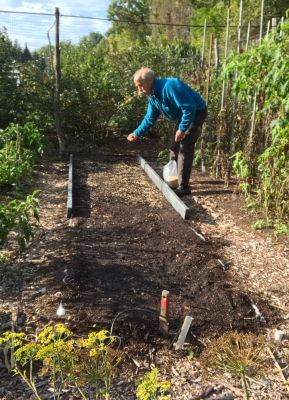
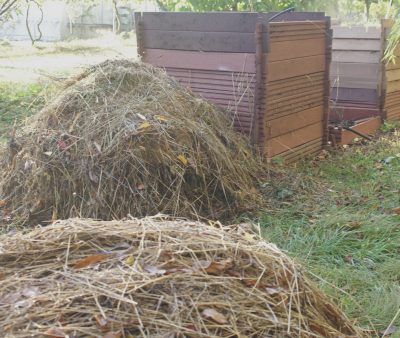 Also on the menu is some horse manure from a nearby stable, which I like mostly for the wood shavings that provide bedding for the horses. The manure itself furnishes nitrogen, which compost pets need for a balanced diet — 20 parts carbon to 1 part nitrogen but no need to be overly exacting because it all balances out in the finished compost. Lacking manure, soybean meal is another nitrogen-rich feed, as are grass clippings and kitchen waste.
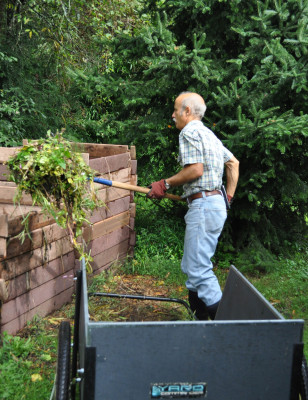 Feeding a variety of compost foods provides a smorgasbord of macro- and micronutrients to the composting organisms and, hence, to my plants. Every few inches I also sprinkle on some soil, to help absorb nutrients and odors, and some ground limestone, to lower acidity of our naturally increasingly acidic soils, and to improve the texture of the finished compost.
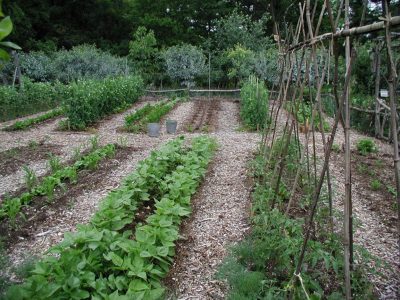
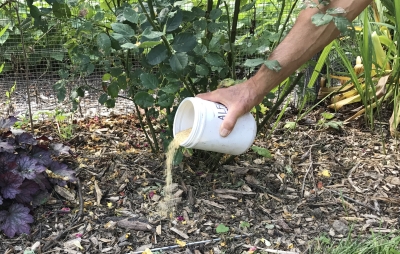
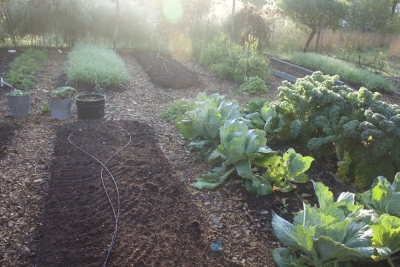
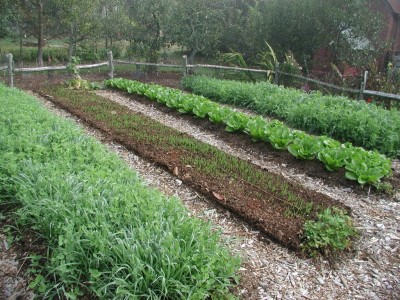
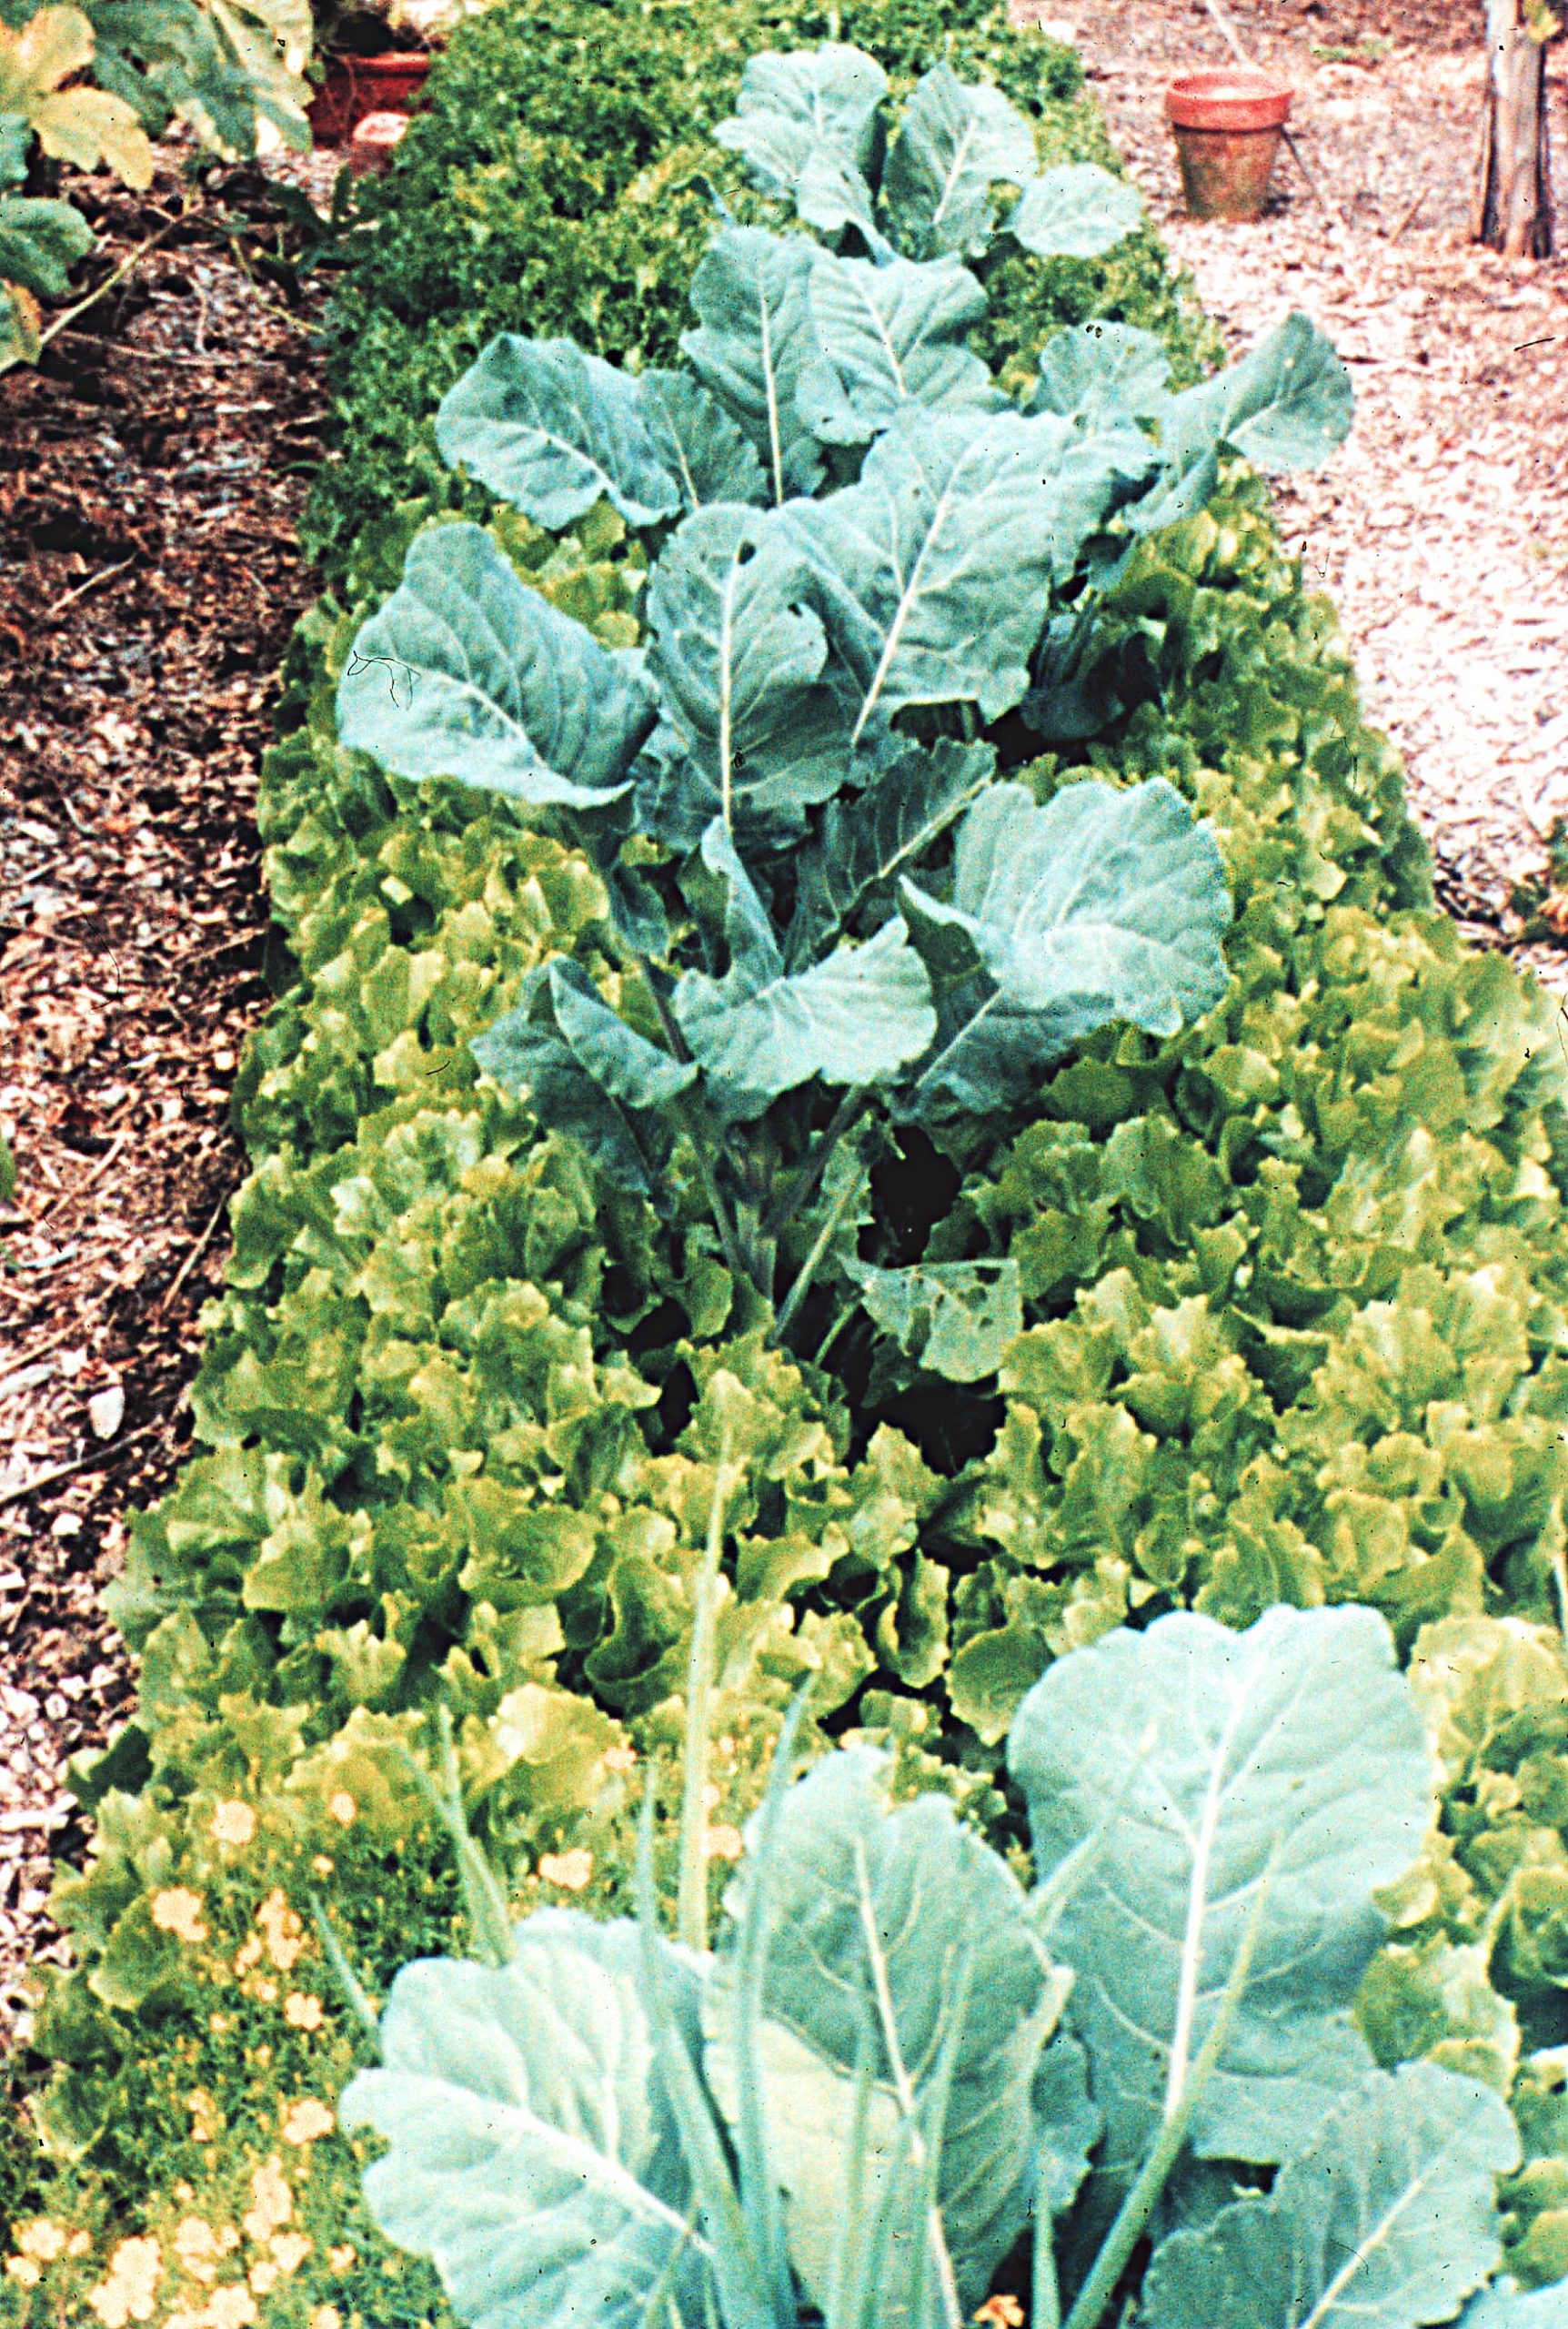
 It was too late to plant a late vegetable crop in the bed I just cleared of old corn stalks, so I blanketed that bed an inch deep in compost. The same goes for a bed in which grew an early planting of zucchini.
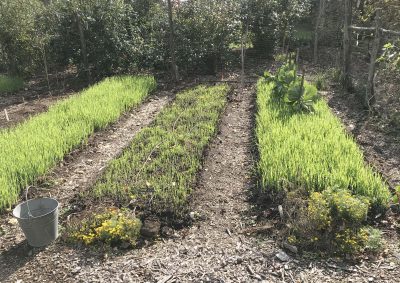
 All this prompted one reader, Peter, to comment with some specific questions that might also be of interest to some of you. I will now try to answer them.
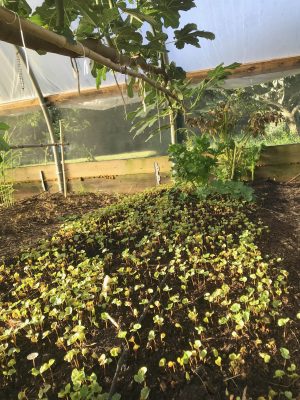
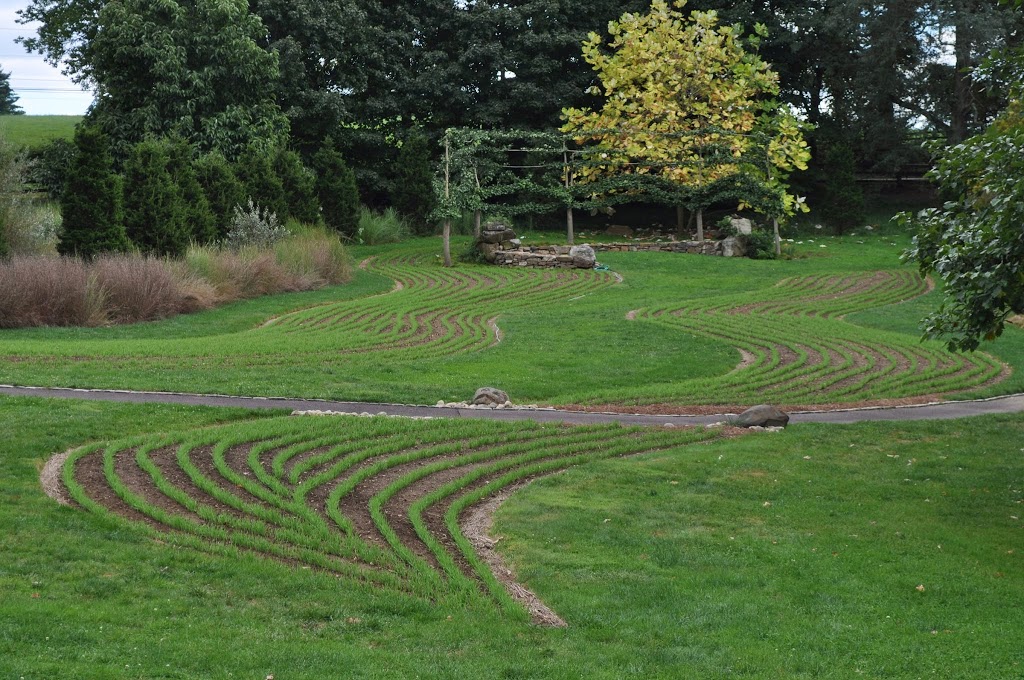
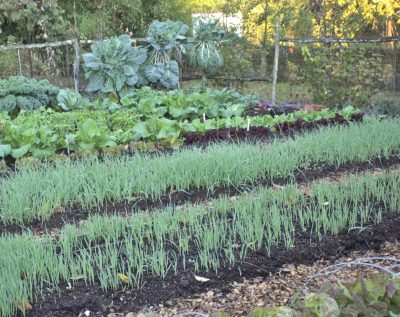
 The most obvious benefit of a cover crop is the protection it affords the soil from wind and rain, either of which can carry away the most fertile surface layer. Also protection from temperature extremes. Another benefit is that cover crops can suppress weeds. Less obvious is cover crop plants’ ability to grab onto and bring back up to the surface layers nutrients that rain might otherwise wash beyond roots into the groundwater.
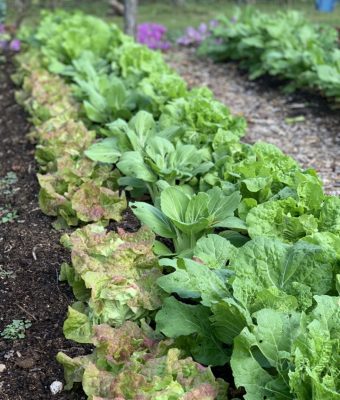
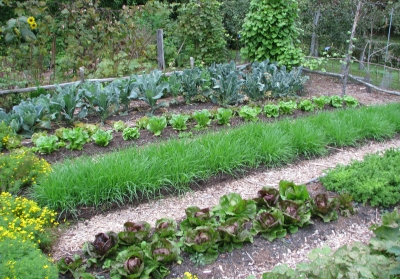
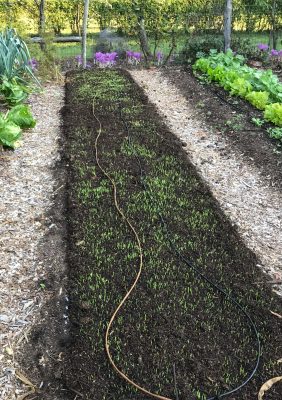
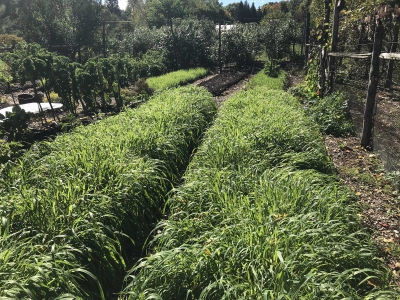
 In another bed, tomatoes are doing fine, but are not as vigorous as they should be as compared with another bed of tomatoes in that garden.
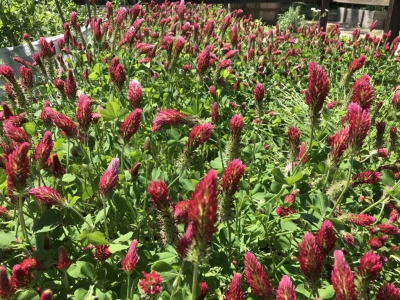
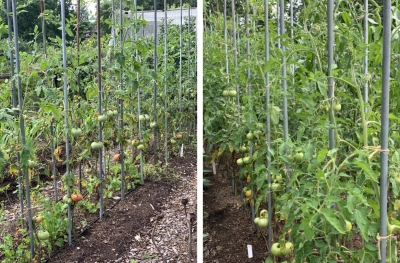 My notes indicate that both beds received their annual blanket of compost, just like all the other beds. Last fall, when the compost was applied, I also sowed cover crops in those beds. Rather than my usual oats cover crop, which winter-kills so integrates well with my no-till system, I sowed crimson clover along with the oats. Why crimson clover? Because it’s pretty when it blooms in spring.
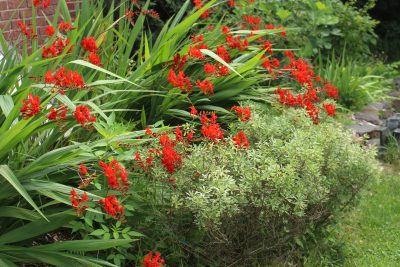