
To Shred or Not To Shred, That is the Question
Organic Matters
My friend Margaret Roach (https://awaytogarden.com) is a top-notch gardener but not much of a tool maven. She recently said she considers me, and I quote, “the master of all tools and the king of compost” when she asked for my thoughts on compost shredders. (I blushed, but perhaps she was just softening me up for questioning. In fact, her tractor is better than mine.)
Of course I have thoughts about compost shredders.

Climb with me into my time machine and let’s travel back to the early 1970s, to Madison, Wisconsin, where you’ll find me working in my first garden. Like any good organic gardener, early on I appreciated the many benefits of organic materials in the garden, an appreciation bolstered by my having recently began my studies as a graduate student in soil science.
I was hauling all the organic materials I could lay hands on into my 700 square foot vegetable garden. From near where I parked on the agriculture part of campus I could load up large plastic garbage cans with chicken or horse manure for my compost piles.
Also for my compost piles, and for mulch, was tall grass mowed by road crews along a major roadway, easily scooped up with my pitchfork and packed into those garbage pails. Nowadays, gathering such mowings would be difficult because the flail mowers now used chop everything up rather than lay down the long stalks of yesteryears’ sickle bar mowers. Gathering roadside mowings may also now be illegal. And, in retrospect, those mowings were (and still are) probably contaminated with lead and other heavy metals from nearby traffic.
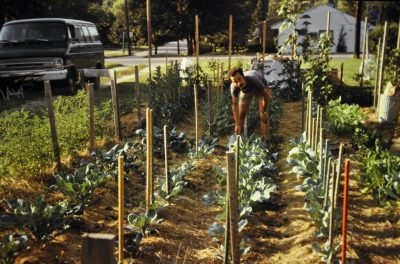
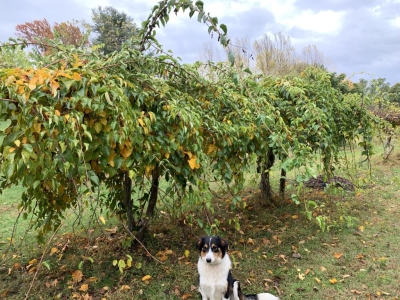
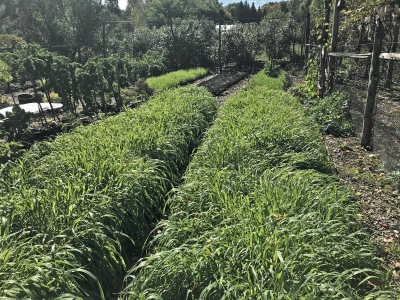
Garden, Madison, 1970s
Anyway, I now have my own one acre field which I scythe and brush hog for mulch and feeding compost piles.
Bulk and Speed
But I digress . . . Margaret was asking about compost shredders.
One benefit of organic materials in gardening is their bulk; they are mostly carbon, hydrogen, and oxygen, which, over time, ends up as carbon dioxide and water. That decomposition is a good thing because it represents the feeding of soil life and, as decomposition proceeds, plant nutrients are slowly released into the soil.
A downside of all that bulk is that it takes up a lot of space. The decomposition rate is influenced by the materials’ ratios of carbon to nitrogen, inhibitors such as lignin, and particle size. A given volume of smaller particles has greater surface area, accessible to being nibbled away by microbes, than does that same volume of larger particles. Like perhaps many beginning gardeners, I was in a rush to have better soil than the sticky clay I was dealing with.
Enter garden shredders. I headed down to the local Sears Roebuck and Company and purchased a new, gasoline-powered shredder. Back in the garden, I set it up and in little time was reducing large volumes of leaves to smaller volumes of shreds.
That activity probably lasted about 20 minutes before two thoughts entered my head. First, one reason I was gardening was because it was — or could be — good for the environment. I could grow vegetables more sustainably that most farmers of the day, and the vegetables would not have to be transported to me. Shredding seemed, then, a waste of energy. Second, the chugging of the engine didn’t seem to jive with a bucolic activity such as gardening. Fortunately, the shredder could be returned; I packed it up and got my money back. (Unless powered by solar, wind, or some other renewable energy source, and electric shredder also spews carbon dioxide et al. It just does so elsewhere.)
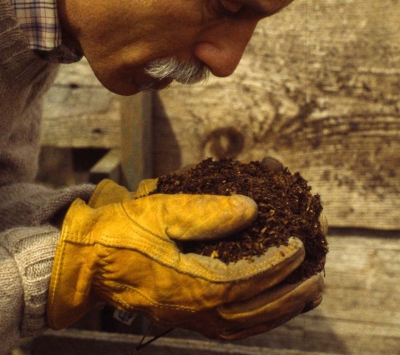
And anyway, there’s no particular need, generally, to speed up the composting process. If you need some finished compost immediately because of poor planning or a beginning garden, there are plenty of places where you can purchase good quality compost. Build a couple or more piles of your own, manage them well, and you’ll have “black gold” always ready in due time.
Solar Enters the Picture
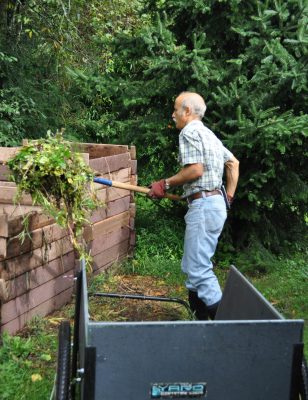
I do still occasionally use a compost shredder — but it’s very quiet and it’s solar powered.

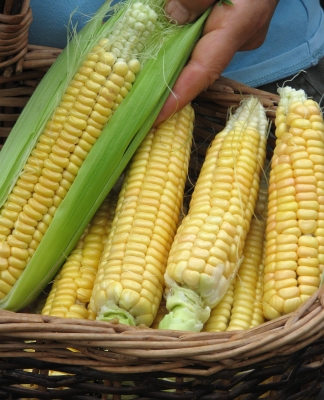
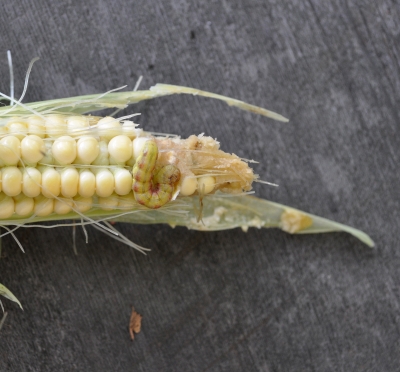
Also very inexpensive because it’s nothing more than a machete. If I’m piling very rough material such as corn or kale stalks, or very airy material such as old tomato or pepper plants, or large fruits such as overgrown zucchinis onto my compost pile, I’ll chop them with a machete as I add them. (It’s also therapeutic: If everyone spent some time chopping their compost ingredients, as needed, with a machete, the world would perhaps be a more peaceful place.)
The bottom line is that there’s no reason that you must shred any material for composting. That is, unless it’s absolutely necessary to speed things up or reduce their volume. Is it really necessary? Usually not.
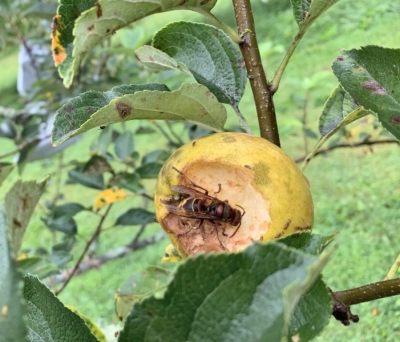
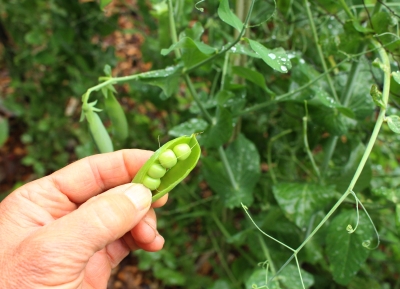 It just so happens that the most flavorful fruit and vegetable varieties are ones that have been around a long time. Yields may not be heavy, but these varieties are rich in flavor. (And perhaps nutrients. Anyway,
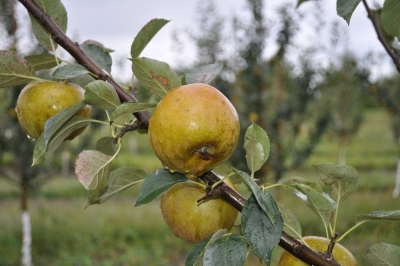

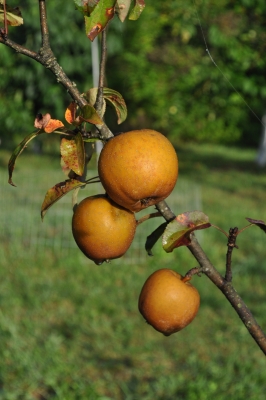


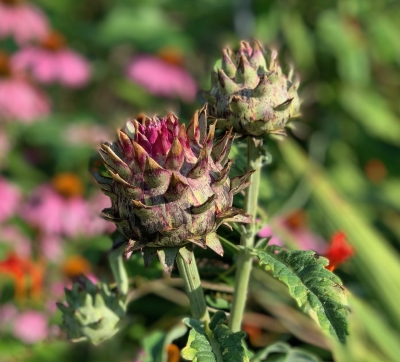
 The flavor hints of artichoke, a close relative. None the less, for me the flavor was awful and the stalks were tough. (Cardoon is usually covered to blanche them a few weeks before harvest. Blanching did not make mine more edible.)
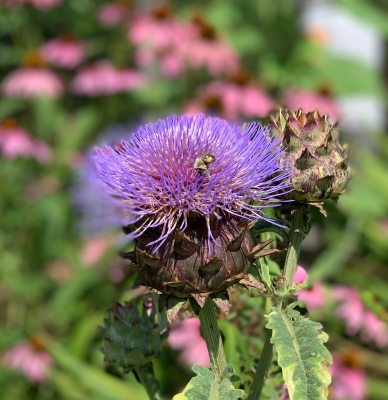

 Occasional, light sprinklings of soil add bulk to the finished mix. Occasional, sprinklings of ground limestone keep planted ground, final stop for the compost, in the right pH range.
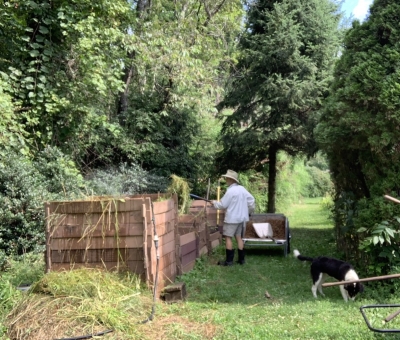
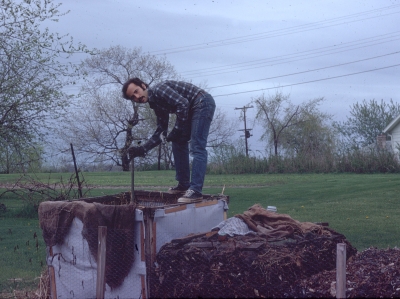 The next bins weren’t bins but just carefully stacked layers of ingredients, mostly horse manure, hay, and garden and kitchen gleanings. And then there was my three-sided bin made of slabwood.
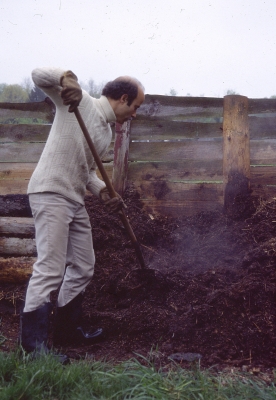
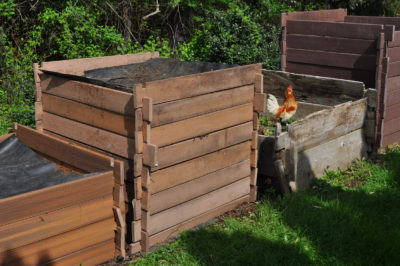
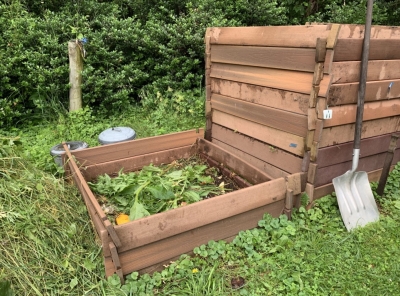
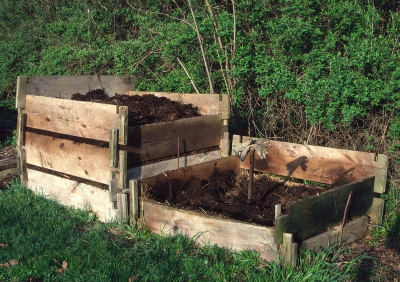 Which brings me to my current bin which, now, after many years of use, I consider nearly perfect. Instead of hemlock boards, these bins are made from “composite lumber.” Manufactured mostly from recycled materials, such as scrap wood, sawdust, and old plastic bags, composite lumber is used for decking so should last a long, long time.
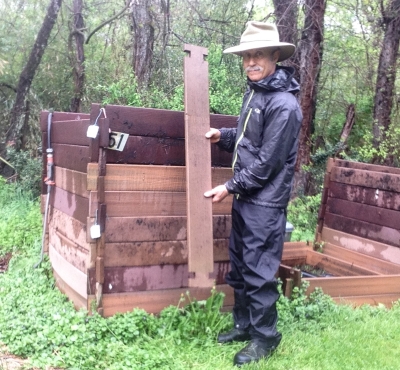 When finished, I ripped one board of the bin full length down its center to provide two bottom boards so that the bottom edges of all 4 sides of the bin would sit right against on the ground.
 Before setting up a bin, I lay 1/2” hardware cloth on the ground to help keep at bay rodents that might try to crawl in from below.
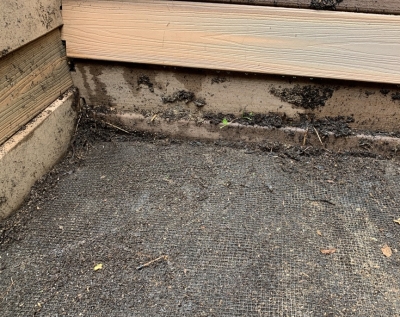 With the Lincoln-log style design, the bin need be only as high as the material within while the pile is being built, and then “unbuilt” gradually as I removed the finished compost.
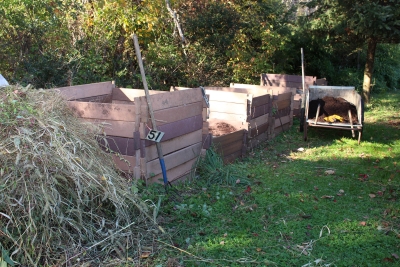
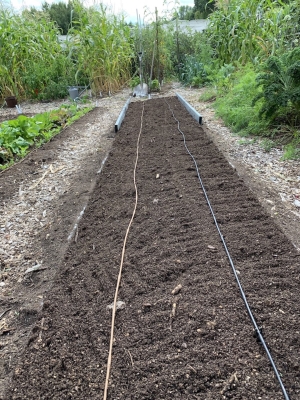
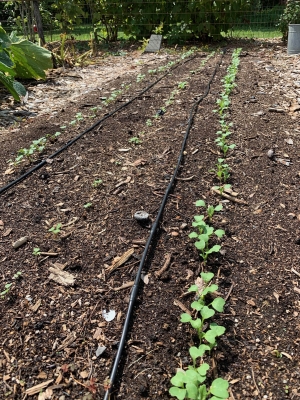
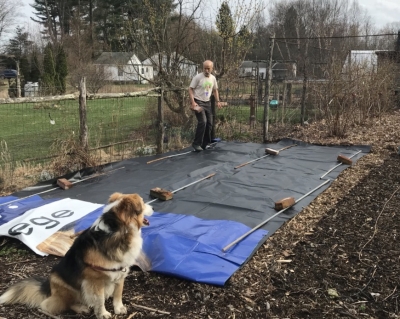 Actually, that insidious blackness covering my beds is black vinyl. But that’s beside the point. Its purpose, like the black plastic against which I’ve railed, is to kill weeds. Not that my garden has many weeds. But this time of year, in some beds, a few more sprout than I’d like to see.
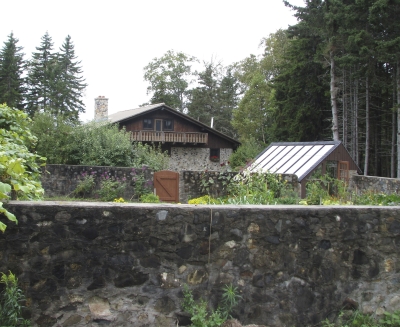 I had just dug my first garden which had a clay soil that turned rock hard as it dried, so I was especially awed, inspired, and admittedly jealous of the soft, crumbly ground in Scott’s garden. What a surprise when someone who had worked with Scott for a long period told me how tough and lean his soil had been when he started the garden. A number of giant compost piles were testimonial to what it takes to improve a soil.
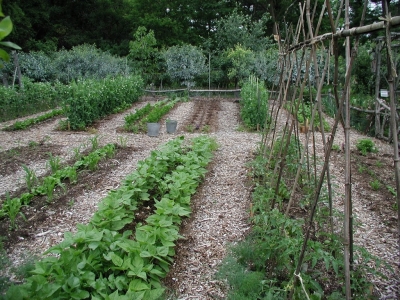
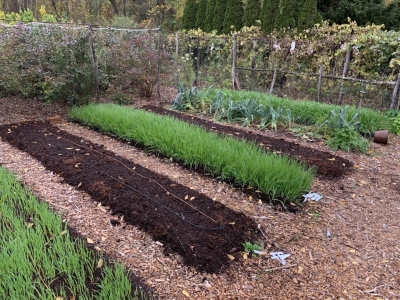
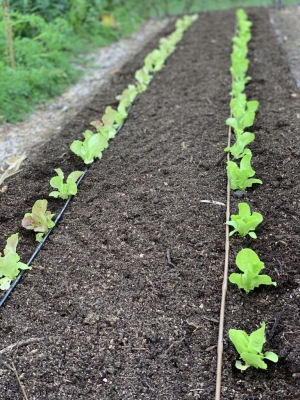
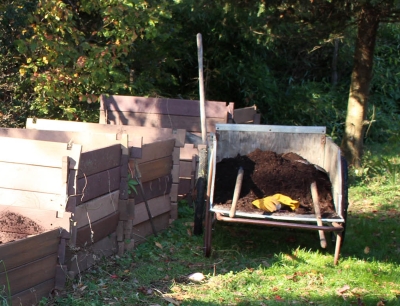 The soil in my permanent vegetable beds is never turned over with a rototiller or garden fork; instead, every year a layer of compost an inch or so deep is lathered atop each bed, and no one ever sets foot in a bed. That inch of compost snuffs out small weeds, protects the soil surface from washing away, and provides food myriad beneficial microbes (and, in turn, for the vegetable plants).
 Recent additions to that pile were an old soil pile from a local horse farm and soil from a hole I was digging to create a small duck pond. The latter was poorly aerated subsoil.