A Farmdener, That’s Me
A New Word is Introduced
I’d like to introduce the words farmden and farmdener into the English language. I wonder if there are any other farmdeners out there.
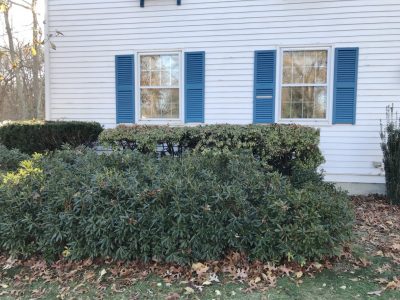
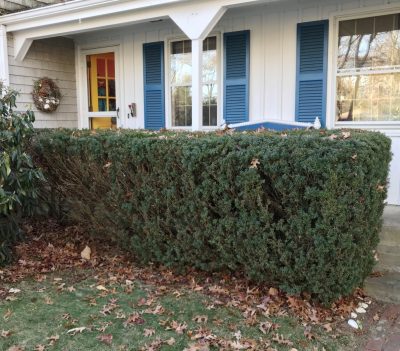
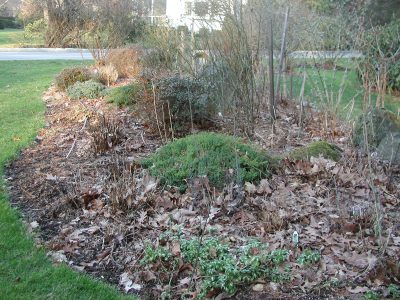
What is a farmden? It’s more than a garden, less than a farm. That’s my definition, but it also could be described as a site with more plants and/or land than one person can care for sanely. A gardener and garden gone wild, out of control.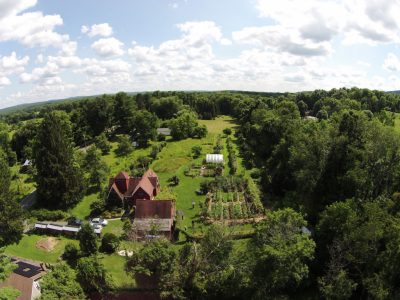
You might sense that I speak from personal experience. I am. My garden started innocently enough: A 30 by 40 foot patch of vegetables, a few apple trees, some flowers, and lawn. That was decades years ago, and in the intervening period, the lawn has grown smaller, the vegetable garden has doubled in size, and the fruit plantings have gone over the top.
Originally, I had less than acreage – 72 hundredths of an acre to be exact. But over the course of 15 years, I did manage to put my fingers onto almost every square foot of that non-acre. Squeezed into that area were 40 varieties of gooseberries, a dozen varieties of apples, a half dozen varieties of grapes, red currants, white currants, black currants, raspberries, mulberries: you get the picture. All that, in addition to my vegetables, flowers, and some shrubbery. But I was still not a farmdener, and my property was not a farmden.
Evolution of My Farmden
The transition from garden to farmden occurred with the purchase of a fertile acre-and-a-half field bordering the south boundary of my property.
With that purchase, I expanded my plantings, rationalizing that because I write about gardening (for magazines, for Associated Press, and for this blog) and host workshops here, I should test and grow a lot of what I write and talk about. So instead of 2 hardy kiwifruit vines such as any normal gardener might grow, I planted 20 vines of a few species and varieties. Instead of 2 pawpaw trees, à la normal gardener, I planted 20 pawpaw trees of few varieties.

Pawpaws, blackcurrants, and hardy kiwis
And how about another dozen apple trees? And chestnuts, filberts, pine nuts (Pinus koreansis is hardy here in New York’s Hudson Valley). Again, you get the picture.
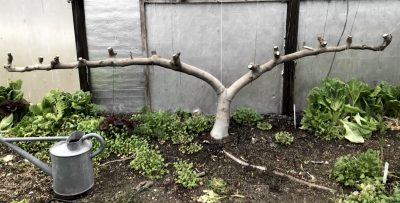
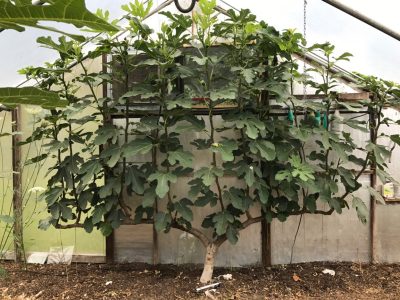
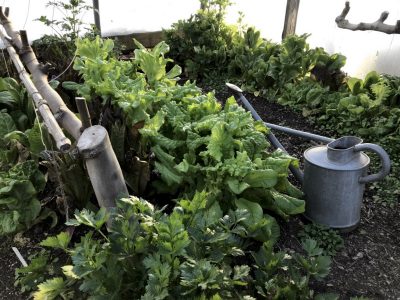
But no, I wasn’t finished. There was always one more plant needing a home, one more piece of ground hungry for a plant. Why not create another vegetable garden; after all, I had just gotten married, and that made another mouth to feed. Why buy vegetables when you have enough land to grow them?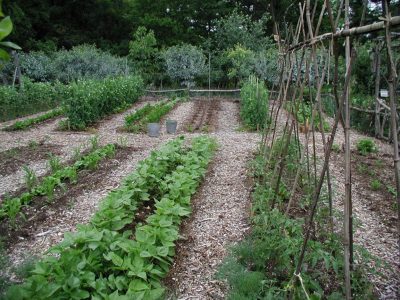 And what about winter? A greenhouse full of salad and cooking greens solved that problem, in addition to providing figs in summer and early and late season cucumbers.
I like crown imperial (Fritillaria imperialis) flowers and learned the quirks of propagating them – pack pieces of bulb scales in moist potting soil and subject them to a few months of warm temperatures, then a few weeks of cool temperatures, pot up, plant out. Soon I had not a crown imperial or two such as you might find in most gardens, but dozens of them, and more still coming on.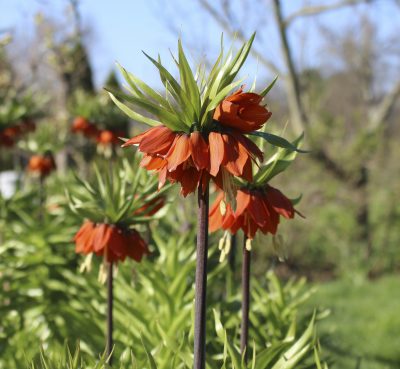
You might imagine that, despite my plantings, my lawn still grew bigger with that increased acreage. Not so. Most of the acre and a half, except what was devoted to new plantings, became a hayfield that I mowed and helped feed my compost pile. A bit of rationality prompted me to graduate from scything to a small farm tractor for brush hogging that field. (Tennis elbow, the result of excessive scything, also helped with that decision. But I still use the scythe, a high quality Austrian style scythe, to mow parts of the field.)
Present and Future
What I now had – and have – is a farmden. And I am a farmdener. A farmden is not something from which you can earn a living, although I have sold some excess pawpaws, American persimmons, and hardy kiwifruits, mostly for test marketing in my efforts to see whether these fruits are worth promoting for small farms. (They are; flavor sells.)
And my farmden is a great venue for workshops, as long as I point out that participants should pay attention to my plants, not the number of them, because my property is obviously the handiwork of a crazed gardener (or a sane farmdener?). “Don’t try this at home,” I tell participants right off the bat.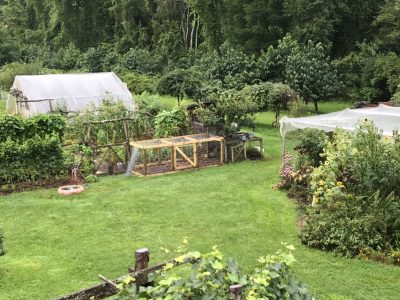
I do occasionally still garden. Right next to my terrace is a bed with tree peonies, potentiillas, clove currants, and Signet marigolds, all well-contained by the bricks of the terrace on one side and a low, moss-covered hypertufa wall on the other side. The bed is close to the house and the bed is small. Yesterday I noticed weeds starting to overstep their limit in the bed. I crouched down, started at one side of the bed, and gave it a thorough weeding, literally getting my hands on every square inch of soil. It was fun and it was quick.
Most of my time, though, is spent farmdening. It’s very satisfying, even if it does get crazy sometimes, and it yields a cornucopia of very tasty and healthful fruits and vegetables, many of them planted with an eye to beauty as well as function.
I have vowed not to plant anything more in the hayfield, in large part because it’s so pretty, the soft violet hue from midsummer’s monarda flowers grading over into a golden glow from late summer’s goldenrods. I also promised my daughter, when she was young and enthralled with Laura Ingalls Wilder, that we would leave most of the field as “prairie.” (Now over 30 years old, my daughter no longer yearns for prairies, but I’m keeping my promise.)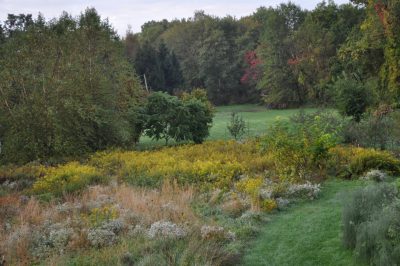
I have taken some of the edge off the transition from gardening to farmdening with some help here on the farmden from an occasional helper. Still, I am planning to keep the “den” in farmden.
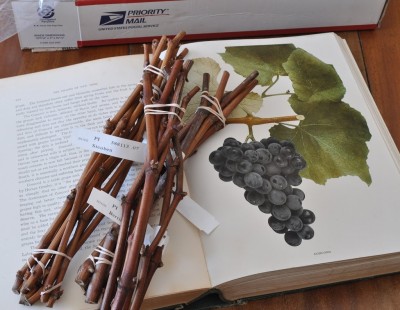
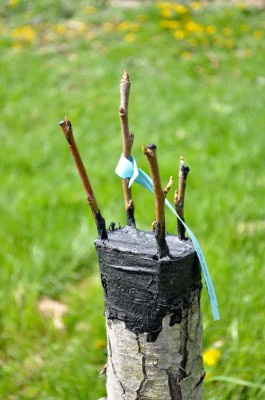 Grape sticks got plunged into the ground where they grew their own roots, shoots, and everything else. Apples aren’t so amenable to growing their own roots.


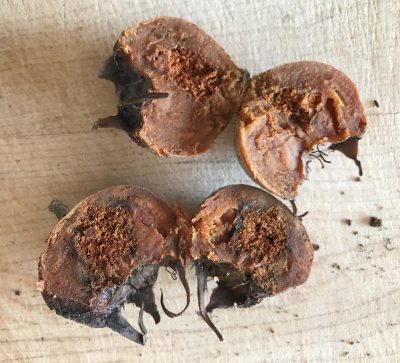
 Usually the plant is pest-free but a few years ago something, perhaps a fungus, perhaps an insect, started attacking it, leaving the flesh dry and crumbly. I have yet to identify the culprit so that appropriate action can be taken.