
AH-CHOO!
A Dark Cloud Hovers
The end of May and early June is such a glorious time of year in the garden, with plants thoroughly leafed out yet still showing the exuberance of spring growth. (Those of you to the north of me, Zone 5 in New York’s Hudson Valley: your time will come. Y’all to the south: enjoy your camellias, southern magnolias, muscadine grapes, figs, and . . . all the plants I wish I could grow this far north.)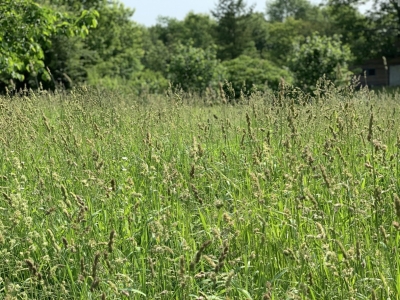 Yet even on the clearest, sunny day — and especially on that kind of day — a dark cloud hangs overhead. Hay fever, literally from hay that is, grasses; and nonliterally, from tree pollen.
Every year the small white blossoms opening on multiflora roses signal that a sneeze season is on. That’s why this late spring allergy season is sometimes called “rose fever.” Rose is not the culprit; is just an easy to note phenological indicator of the progress of the season. Each plant awakens and starts its growth cycle in spring in response to a set accumulation of warm weather. Multiflora rose sends out a signal that the culprits are at work.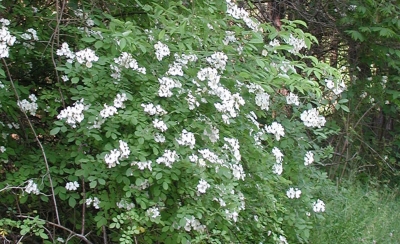 Multiflora rose puts on its show to attract pollinators, such as bees, which transfer pollen from one plant to the next. Hay fever is from airborne pollen blown about by wind, so the flowers of these allergen plants have no need to attract insect pollinators. The non-showy culprits this time of year are grasses and oaks.
As with many other plant-related events, climate change is also leaving its mark on allergy seasons. Here in the northeast, the effect has been for the season to start earlier with a more intense peak. You would think that my multiflora rose indicator plants would keep apace with climate changes but my records, dating back for decades, indicates otherwise. (Daylength, which doesn’t change from year to year, is also sometimes a driver of plant or animal development through the season, and it can interact with temperature.)
No matter: I didn’t have to see a blooming multiflora rose the other day to know that my hay fever season was in full swing.
And the Culprits Are . . .
To at least make this allergy season more interesting, I thought I would look more closely at nearby flora and try to identify the specific culprit or culprits.
I can start by looking no further than the grassy meadow which comes to an abrupt stop at the close shorn lawn only about fifty feet to the south of my home.
With their small, nonshowy flowers, grass species are generally not easily identified. But I can narrow the field, figuratively, by species that are common in the Northeast and that I see now blooming in the meadow. The lineup, then, includes Kentucky bluegrass (Poa pratensis), sweet vernal grass (Anthoxanthum odoratum), and orchard grass (Dactylis glomerata).
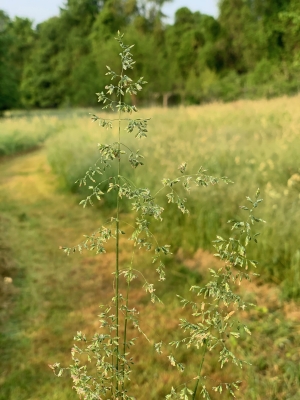
Kentucky bluegrass
Sweet vernal grass

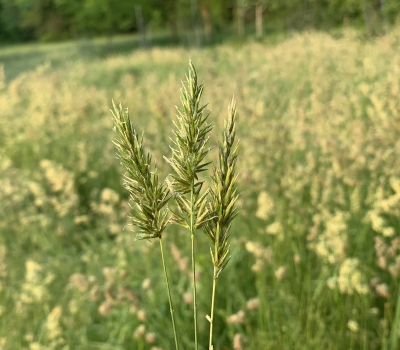
Orchard grass
According to the 1937 USDA Yearbook of Agriculture, most grasses bloom “most abundantly in early morning,” with a secondary flowering period for many of them in the afternoon. The bloom period might be delayed and prolonged in cloudy weather.
Although rain washes pollen out of the air, thunderstorms are another story. Thunderstorms are usually accompanied by winds, which lifts and blows pollen about, and the electrical charges induced by lightning throw add yet another layer of discomfort to the mix.
I just went out to the meadow to jiggle some seedheads of the culpable grasses. The pollen is heavy enough to travel only a few feet, even in a breeze.
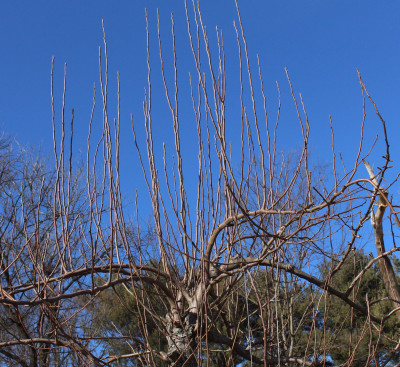
Tree pollen is lighter than grass pollen and launches from greater heights. So I’m adding oak to the lineup. The two oaks most common around here are red oak (Quercus rubra) and pin oak (Q. palustris), with red oak, because of its bloom time being most culpable.
So there you have it: 3 grasses and an oak. They’re all nice plants, attractive and decorative. And, in the case of sweet vernal grass, also fragrant. If only they . . . or if only I . . .
I have my eye out for the flowering of catalpa trees and mountain laurel shrubs this time of year. Flowering of either of these plants are a signal that that relief is in sight that my hay fever season is over for the year. Again, these plants aren’t spilling any magical anti-hay fever concoctions into the air; they are merely phenological indicators of what’s happening with other, less conspicuous, flora and fauna.

Plaintain, not a sneeze-inducer
DRIP WORKSHOP
See www.leereich.com/workshops for information about the upcoming drip irrigation workshop on June 30th.

 A plant only benefits under these conditions, of course, if it also has enough water at its roots. To that effect, yesterday, in celebration of the second clear, sunny day, I turned on and checked out the drip irrigation system that provides that water to my vegetable plants and blueberry bushes. (With mulches and choice of appropriate plants, all other plants are on their own.)
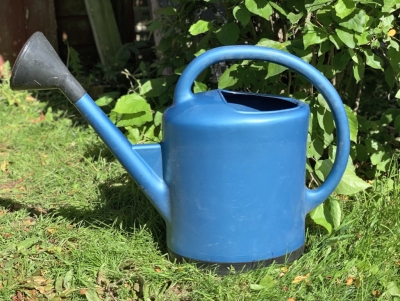
 Especially for watering seed flats and small seedlings, a rose needs to be gentle enough to release water sufficiently fast without washing soil around or crushing small plants.
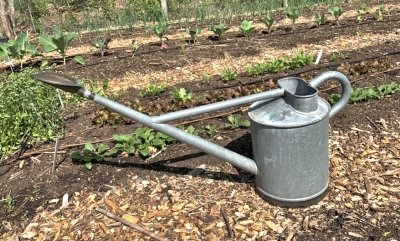
 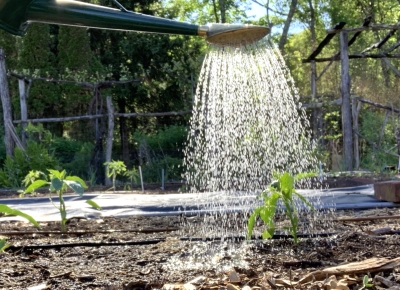 Some debris is bound to find its way into any watering can and thence to the rose, which needs to be removable and easily cleared. Watch out for thin, plastic roses, which are bound to crack after a few cleanings.
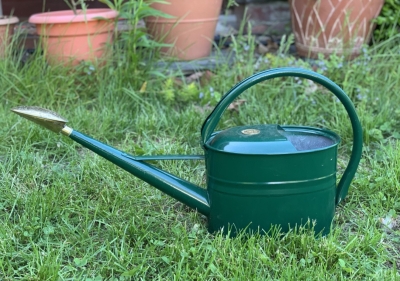

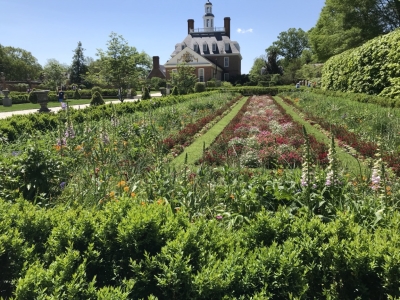
 Flowering meads of herbs, flowers, and grasses blanketed the ground beneath most of the orchards, providing — probably unknown back in colonial days — forage for beneficial insects to help protect crop plants.
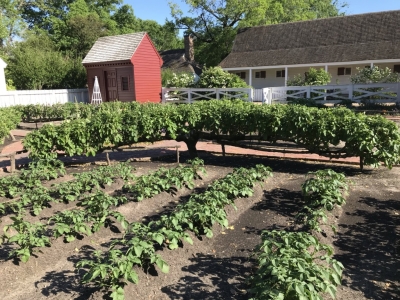
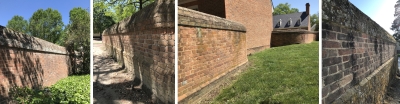 My own home is brick; even a few four-foot-high walls around my vegetable garden and in other areas would improve the general appearance — and provide, warmer microclimates for cold-tender plants or early harvests. Not that the rustic locust fencing and arbors enclosing my vegetable garden look unsightly . . . but I’d like some brick walls.
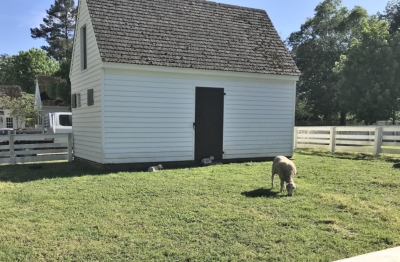
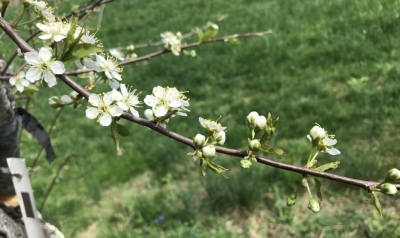
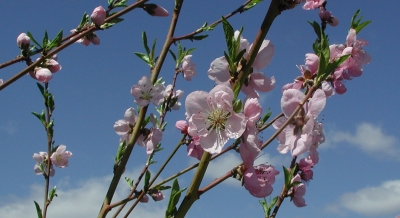 I mentioned flower buds, so these plants I’m pruning are mature, bearing plants. The objectives and, hence, pruning of a young tree are another ball game. As is renovative pruning, which is the pruning of long-neglected trees.


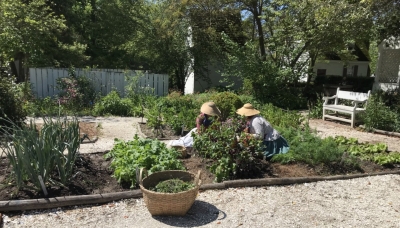
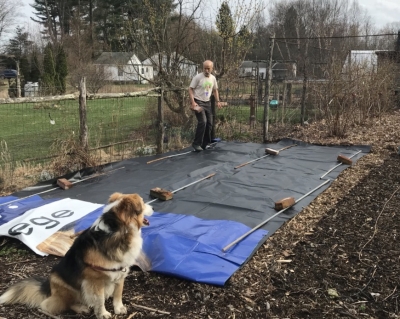 Actually, that insidious blackness covering my beds is black vinyl. But that’s beside the point. Its purpose, like the black plastic against which I’ve railed, is to kill weeds. Not that my garden has many weeds. But this time of year, in some beds, a few more sprout than I’d like to see.
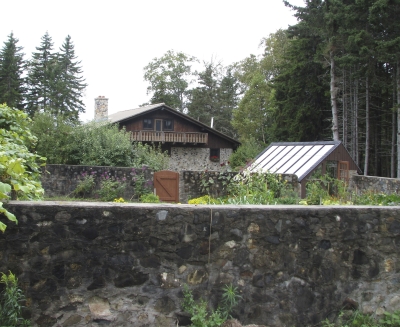 I had just dug my first garden which had a clay soil that turned rock hard as it dried, so I was especially awed, inspired, and admittedly jealous of the soft, crumbly ground in Scott’s garden. What a surprise when someone who had worked with Scott for a long period told me how tough and lean his soil had been when he started the garden. A number of giant compost piles were testimonial to what it takes to improve a soil.
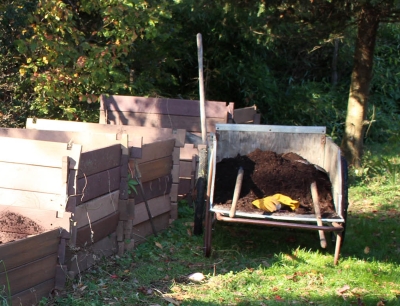 The soil in my permanent vegetable beds is never turned over with a rototiller or garden fork; instead, every year a layer of compost an inch or so deep is lathered atop each bed, and no one ever sets foot in a bed. That inch of compost snuffs out small weeds, protects the soil surface from washing away, and provides food myriad beneficial microbes (and, in turn, for the vegetable plants).
 Recent additions to that pile were an old soil pile from a local horse farm and soil from a hole I was digging to create a small duck pond. The latter was poorly aerated subsoil.
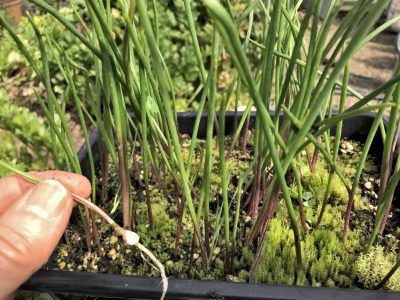 “Knowing what a bulb really is makes it easier to understand how they can multiply so prolifically that their flowering suffers, and how to get them to multiply for our benefit. Dig up a tulip or daffodil and slice it through the middle from the tip to the base. What you see is a series of fleshy scales, which are modified leaves, attached at their bases to a basal plate, off of which grow roots—just like an onion (but, in the case of daffodil, poisonous!). The scales store food for the bulb while it is dormant.
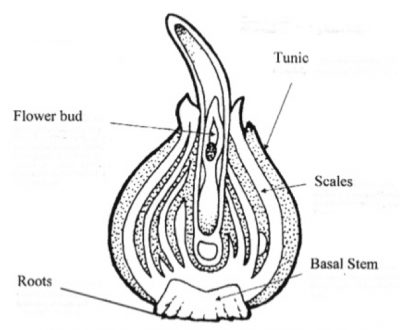 Look at where the leaves meet the stems of a tomato vine, a maple tree—any plant, in fact—and you will notice that a bud develops just above that meeting point. Buds likewise develop in a bulb where each fleshy scale meets the stem, which is that bottom plate. On a tomato vine, buds can grow to become shoots; on a bulb, buds can grow to become small bulbs, called bulblets. In time, a bulblet graduates to become a full-fledged bulb that is large enough to flower.”
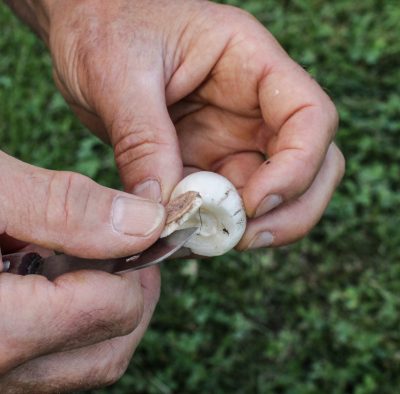 Another way is to score the bottom plate with a knife into 6 pie shaped wedges, making each score cut deep enough to hit that growing point.
 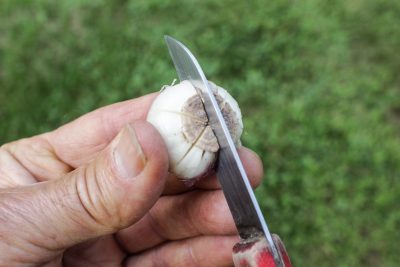 After scoring or scooping, set the bulb in a warm place in dry sand or soil for planting outdoors in a nursery bed in autumn.
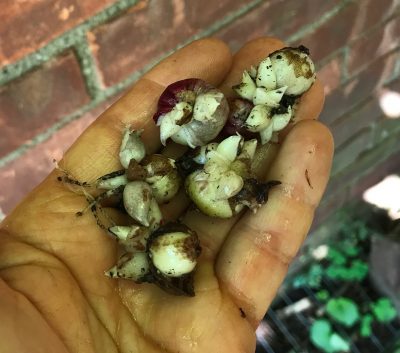 After a year, as many as 60 bulblets might be sprouting from the base of each scooped or scored bulb. Each bulblet does take 4 or 5 years to reach flowering size, but no matter. To quote an old Chinese saying: ‘The longest journey begins with the first step.’”