Green Thumb Not Necessary
Every day, for some time now, my strawberry bed has yielded about five cups, or almost 2 pounds of strawberries daily. And that from a bed only ten feet long and three feet wide, with a double row of plants set a foot apart in the row.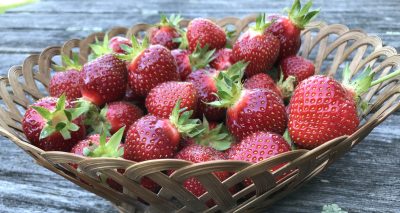
Good yield from a strawberry bed has nothing to do with green thumbs. I just did what’s required to keep the plants happy and healthy. To whit . . .
I planted the bed last spring to replace my five-year-old bed. About five years is about how long it takes for a strawberry bed to peter out due to inroads of weeds and diseases, including some viruses whose symptoms are not all that evident.
To keep my new plants removed from any problems lurking in the old soil, I located the new bed in a different place from the old one. Further forestalling problems, plants came not from a generous neighbor and not from my old bed, but from a nursery selling “certified disease-free” plants.
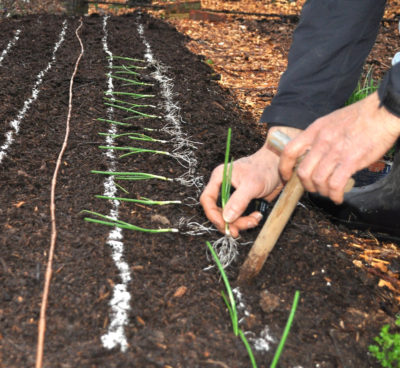
I chose to grow them in a “spaced plant” system (which does not involve getting plants high, ha, ha) but allows each plant a square foot of space. Throughout the growing season, I clipped off any runners and daughter plants attempting to establish themselves and crowd into the mother plant’s space.
Other growing systems allow for runners, which makes for more economical planting of a bed but reduced initial yield. Given free rein, though, new plants eventually become the worst weed in any strawberry bed; they must be dealt with in some way.
Did I mention that the new bed, like the old one, was in the vegetable garden, where the soil is rich in nutrients and organic matter, with plants’ thirst quenched daily via drip irrigation?
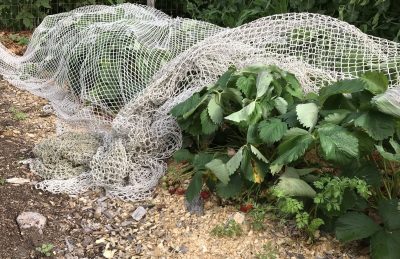
In late December, when the ground had frozen about an inch deep, plants were snuggled beneath mulch as protection from winter cold. Straw, pine needles, wood shavings — any loose organic material will do.
Come spring, just as soon as plants began to awaken, I pulled back new growth beneath the mulch and tucked it under the plants’ leaves. I also trimmed off any dead leaves. The new job for the mulch was then to keep the soil moist and the soon-to-form ripening berries clean of soil.
That’s it, for all those berries, fresh picked every morning. Every morning for a little while longer, that is. I planted a “junebearing” variety of strawberry, Earliglow, known for earliness and good flavor, but bearing only for a few weeks in June. Other varieties, so called “everbearing” and ”day neutral” varieties, bear repeatedly through the season.
 Once Earliglow stops bearing for the season, the bed will need renovation and, through the season, its runners pinched off weekly to keep each plant “spacey.”
Better Berries
You might wonder: Why such a relatively small planting of strawberries, and why only junebearers? This admission may be sacrilege: I’m not a big fan of strawberries. I like the fruit well enough, but mostly because they are the first fresh fruit of the season.
(One other fruit does beat out strawberries as the first fruit of the season. They are honey berries, a kind of edible honeysuckle. Their flavor, thus far, has not impressed me. Breeding and cultivating honeyberries is in its infancy. They’re perhaps where apple was 2000 years ago, and the future might bring more flavorful ones.)
Back to strawberries . . . another of their deficiencies, in my view, is that you have to crawl for the fruit. And, as mentioned previously, although technically perennial, beds should replanted in a new location every 5 years or so.
The Best Berries
The fresh strawberries came on the scene on the tails of last year’s frozen blueberries, one of my favorite fruits. Perfect. (The loss of frozen blueberries is softened by the freshness of the strawberries.)
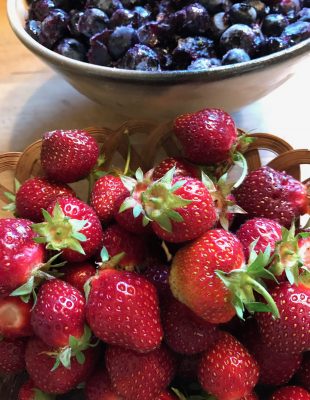
Last frozen blueberries, fresh picked strawberries
And just as the fresh strawberries fade out for the season, fresh blueberries will begin yielding this season’s bounty. Also, at the same time, black currants and red currants. And then black raspberries, and then . . . and on and on.
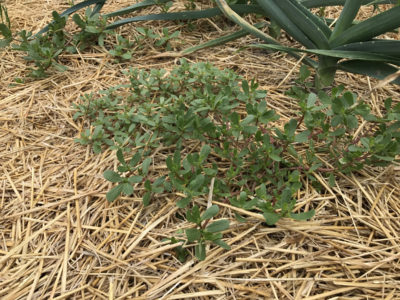
All You Need To Know About Blueberries
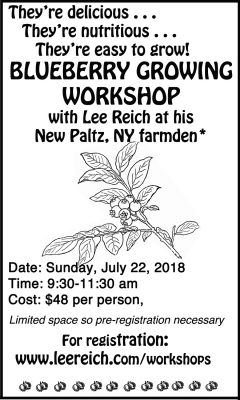
Interested in growing your own blueberries? It’s easy, if you meet their basic needs, all of which, including varieties, harvest, and other pressing questions about growing blueberries, will be covered at my upcoming BLUEBERRY GROWING WORKSHOP. The workshop will take place on my New Paltz farmden on July 22, 2018 from 9:30-11:30am, at a cost of $48. Registration is a must. For more information and registration, go to www.leereich.com/workshops.


 Hot, dry weather in August drives Kentucky bluegrass, a C3 grass, into dormancy. Not so for crabgrass, a C4 plant, which remains happily green.
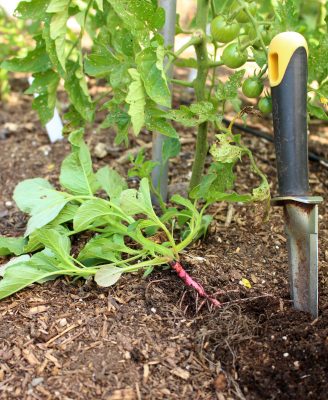
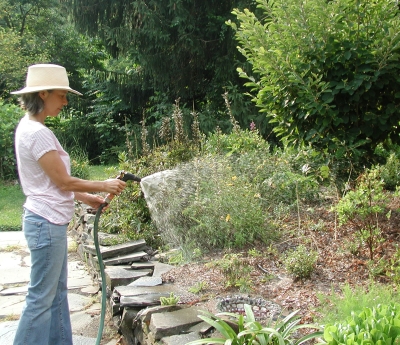 Usually, about an hour, once a week, is what it takes. (That’s a long time to stand still holding a hose.) Unless it rains. Then less might be needed.
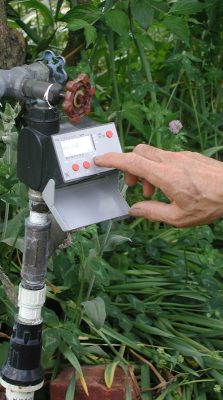
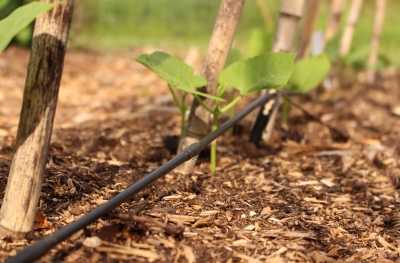 My drip system is on a timer, and the time needed to apply this amount depends on the rate of flow from each emitter as well as the spacing of emitters.