APRIL SHOWERS BRING . . . NO!
Don’t Go With the Gut
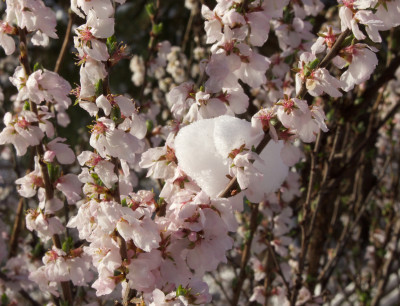
“April showers bring May flowers.” Where? Not here. I had many years of gardening under my belt before I realized the falsity of that little ditty. Yes, it happens to be raining as I write these words at the end of April. But generally, April is dry, and todays’s rain amounted to a mere quarter-inch.
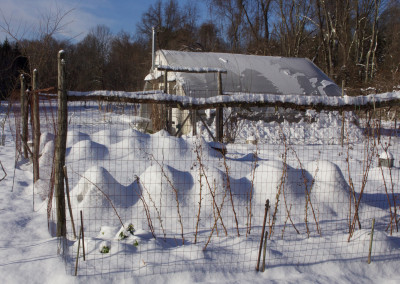
For years, I would sow radishes, lettuce, arugula, and other early, cool season vegetables in April, and figure “April showers” would take care of watering needs. Which they did not. With frosts still likely around here, April was too early to get the drip irrigation going. So watering vegetable beds requires tedious lugging of hoses, making sure, as I pull on them, not to knock over plants or mess up carefully formed beds.
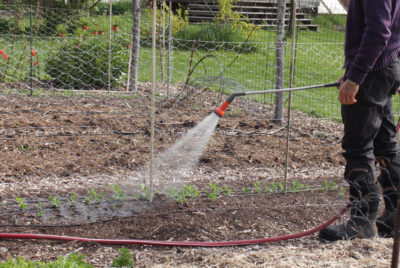 Hand watering also required patience. A light sprinkling of the ground does nothing but wet the surface fraction of an inch. If you care to know, the amount of water needed to wet a soil about 6 inches deep is 3/4 of a gallon per square foot or, equivalently, a one-inch depth of water. And said water needs to be applied slowly enough to percolate into the ground rather than running off elsewhere.
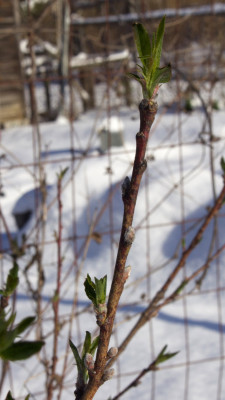
Fortunately, with cool temperatures and plant growth only just beginning, much of the moisture from previous months’ rain and snow still sits in the soil. The surface often looks dry while moisture is sufficient below. So all that’s needed is to keep the soil moist from the surface to a depth where the ground is still moist.
Measure
Eyes or the gut are not reliable indicators of when to water. Sometimes I’ll just poke my finger into the ground to assess moisture level. But does it really feel wet, or does the soil feel cool because it’s April?
All that’s needed are your hands for the more accurate “feel method” of soil moisture determination. For this method, you need to know your soil’s texture; that is, is the soil a sand, a loam, or a clay? Crumbling it, feeling its slickness, and attempting to form it into a ball or a ribbon gives some indication, depending on the texture, of moisture content (see http://www.ext.colostate.edu/sam/moisture.pdf for details).
All sorts of high-tech soil moisture measuring devices are available: electrical resistance blocks, tensiometer, time domain reflectometer, neutron probe, and more, all beyond the wallet and accuracy required by of most gardeners.
On the other hand, inexpensive soil moisture meters are readily available. What they lack in accuracy they make up for in convenience. Sliding the thin, metal rod into the ground gives a pretty good, qualitative measure of moisture anywhere from just below the surface to the length of the rod, which, depending on the device, is 8 to 12” inches long.
Watering is an important key to success in gardening, and for $10 to $50, these relatively moisture meters are well worth the money. The more expensive, previously mentioned monitors can be left in the ground. The inexpensive meters must be removed and their probes cleaned after each measurement.
Indoor, April Showers Bring . . . Yes!
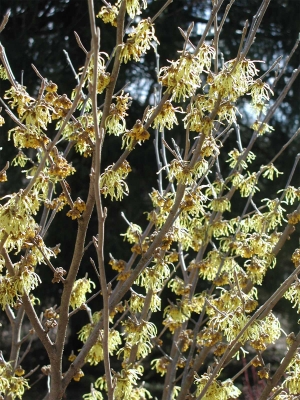
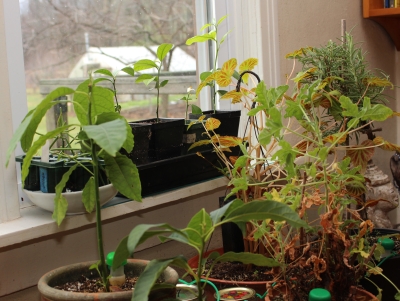
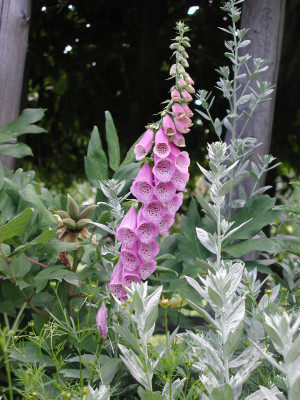
Even if April showers do not bring May flowers, April — the month — does bring a few May flowers, but mostly flowers in June and beyond. That’s because April is the month when I sow many flowers for transplanting out into the garden after warm weather settles in. On the slate for this year are Lemon Gem marigold, sunflowers of all stripes, chamomile, moonflower, morning glory . . . (Where am I going to plant all these flowers? Spring’s got a hold on me.)
Tussler Was Correct After All
The ditty “April showers bring May flowers” really does have some truth to it — if you’re in the UK, where the ditty originated. There, the northward moving jet stream picks up more and more moisture as it travels across the Atlantic Ocean; the result is rain by the time the winds reach the UK. (On this side of the “pond,” the jet stream, traveling across land, has picked up relatively little moisture.)
So Thomas Tusser, who allegedly penned “Sweet April showers / Do spring May flowers” in the 16th century (in A Hundred Good Points of Husbandry), was not wrong, for Great Britain. Here, we have to water in April. But not too much.


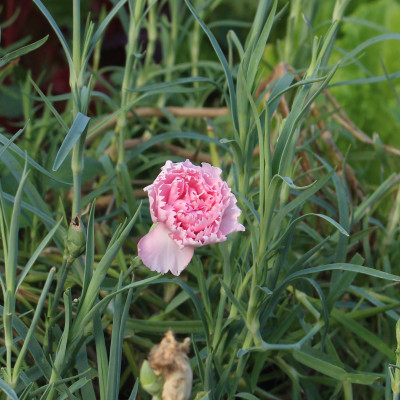 Carnations are among flowers, along with baby’s-breath, lilies, snapdragons, and most orchids, whose ethylene production ramps up as senescence begins. These flowers also are very sensitive to the effects of ethylene, which speeds aging, which generates more ethylene, which further speeds aging, which . . .

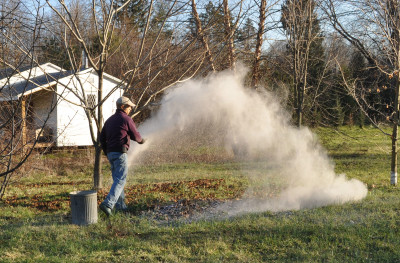 Wood ash is both a waste product and a resource, depending on how much you have and how much space you have to spread it. As a resource, it’s high in potassium, an essential nutrient for plants, and contains other essential elements. Wood ash decreases the acidity of soils which, around here, mostly increases naturally over time.