
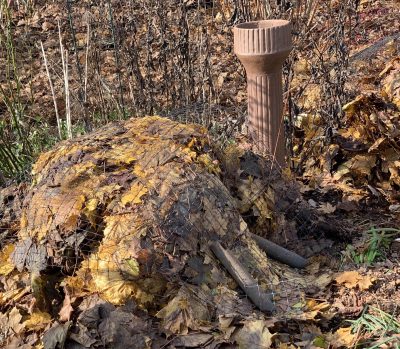
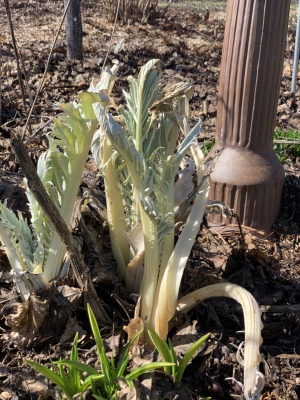
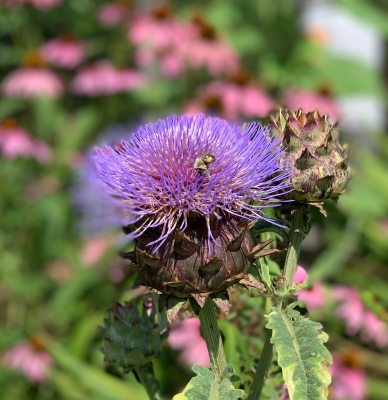
MARKING SPRING’S ONWARD MARCH
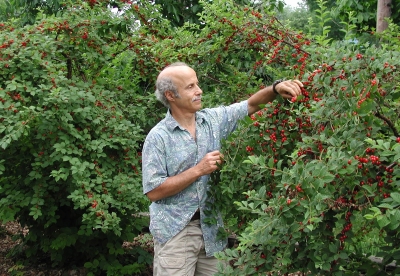
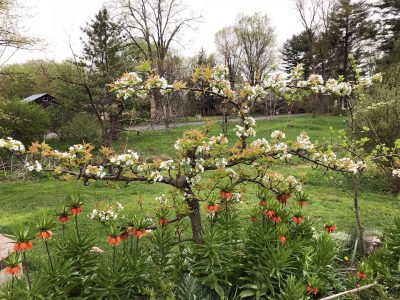
It’s spring, a time when a man’s thoughts turn to . . . flowers, of course. (At least this man’s thoughts, some of them, do.) Sure, I’ve been reveling in the colorful progression of blossoms beginning, this year, with cornelian cherry and hellebore on about the first day of spring, and moving on to forsythia, plum, Asian pear, flowering quince, European pear, cherry, and — probably by the time you read this — apple followed by shipova. All this is the flamboyance of spring.
This year, I’ve also been admiring a few of the more subtle flowers of spring.
MAPLE BEAUTIES, AND OTHERS
Some of the maples are now in bloom. Sugar maples (Acer saccharum) is perhaps the prettiest and most useful of the maples. Unfortunately, it’s also the least tolerant of compacted or wet soils, or a warming climate. The beauty of sugar maples lies not just in the leaves’ autumn show of color or the majestic form of an older tree.
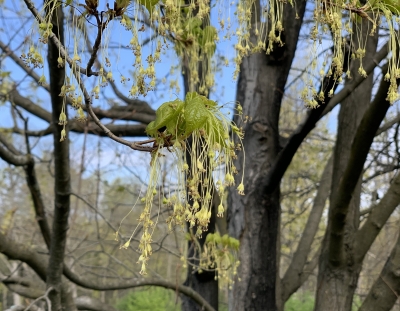
Acer, sugar maple flowers, closest
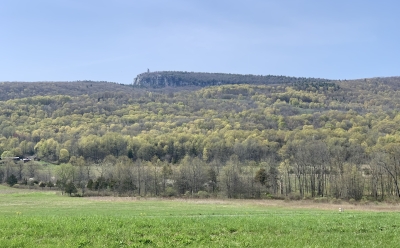
Check out sugar maple’s flowers. They dangle like pale green wisps of lace from the branches, subtly attractive in their own right viewed up close and especially so in the forest. As a prominent species in the Shawangunk Mountains here in New York’s Hudson Valley, en masse the trees suffuse the view of the mountainside from afar with a welcoming softness.
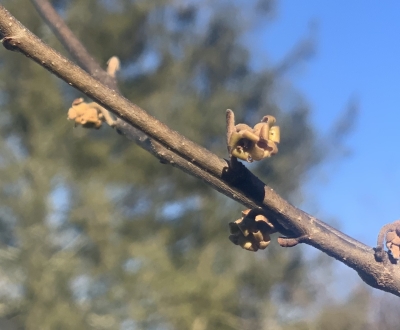
Red maple I(Acer rubrum) is another very attractive — and very variable — maple. The showiness of its blossoms relies on color, a deep, deep red. The blossoms arrive very early, and what I’m seeing is the aftermath of the blooms, clusters of red seeds, their wings spread as if ready to fly, which they soon will.
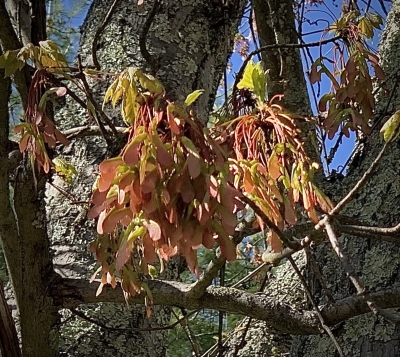
Acer, red maple seeds
Not nearly as appealing, in many ways, as a tree, but even more cosmopolitan in its environmental tolerance, is silver maple (A. saccharinum). Flowers are blah. The tree tends to drop branches. No autumn color to speak of, either. It is fast-growing, though. As expected, the roots are equally fast growing and shallow. I once lived in a house in front of which grew two giant silver maples. One day, while investigating a clogged water line in the crawlspace, I came upon what looked like a thick, half-buried leg of an elephant. It was one of the silver maple’s roots.
The last —unfortunately too common — maple around here whose flowers or fruits I’ve been noticing is Norway maple (A. platinoides). This species was once widely planted as an ornamental but is now frowned upon because it casts a lugubrious shade beneath which grass or, in the woods, many wildflowers have difficulty growing. It’s an invasive plant that can displace sugar maple in wild settings. In autumn, leaves hang on for a long time, long enough to look forlorn after being burned by a freeze or, barring that freeze, for occasional leaves to begin turning a sickly yellow before naturally dropping.
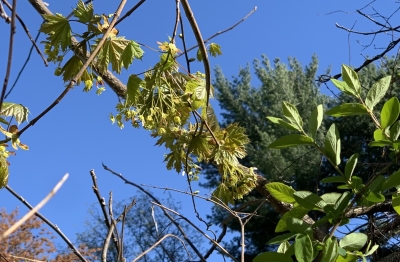
Norway maple flowers
Norway maple’s flowers, viewed up close, are surprisingly attractive, something like those of sugar maple as clusters of them hang downward on stalks, something like a chandelier. But with none of the grace of sugar maple’s long flower stalks.
PHENOLOGY
I believe I have earned the title of “phenologist.” No, I haven’t been measuring skulls to assess character, which is the realm of phrenology. Phenology, which I have been practicing, is the study of climate as reflected in the natural cycles of plants and animals.
For the past 30 plus years, I have recorded the dates on which various plants have blossomed or ripened their fruits. My interest has been horticultural: In spring, plants blossom after experiencing a certain accumulation of warm temperatures; fruit ripening reflects, to a lesser degree, further accumulation of warmth. The amount of warmth needed to bring on those flowers or ripen fruits varies with the kind of plant, sometimes even with the variety of plant.
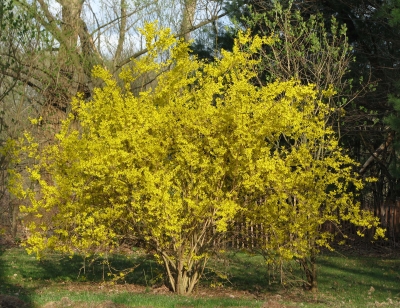
Forsythia in bloom
Depending on late winter and spring weather, blossoming dates for various plants can vary quite a bit. Microclimate also plays a role, so I’ve tried to always note blossoming on the same plant from year to year. This year, forsythia bloomed about April 9th, which is pretty early as compared with previous years although in 2010 it bloomed on April 1st and that was topped by 2012’s bloom on March 20th. Contrast that with 1984, when it bloomed on April 25th! On average, bloom dates have crept earlier and earlier over the years, a reflection of global warming.
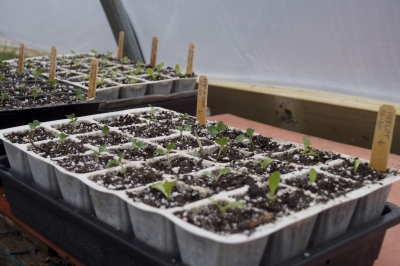
In the garden, seeds and seedlings shouldn’t be sown or transplanted until the soil has warmed sufficiently, which likewise reflects that accumulation of warmth. Some seeds or seedlings require more warmth before they can grow (or survive) than do others. Knitting all these phenomena together, I plant, for example, lettuce seeds when forsythias blossom, broccoli transplants when pears blossom, and sweet corn when honeysuckles blossom.

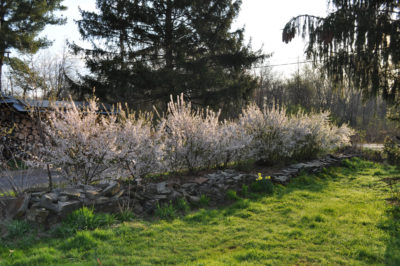
Pears in bloom
These sunny days and balmy temperatures are heavenly – except that they’re also coaxing earlier blossoms from my fruit trees, blossoms that could get burned by subsequent frosty nights. The earlier these trees bloom, the more chance for those blossoms to get burnt on a subsequent frosty night.
The historical average date of the last killing frost around here is about the middle of May. Even warming trends might accommodate a frosty night or two that can wipe out a whole season’s harvest of apples or peaches, the first of which is about to bloom and the second of which has bloomed.
Still, it’s a glorious time of year, with no small contribution from the maples.
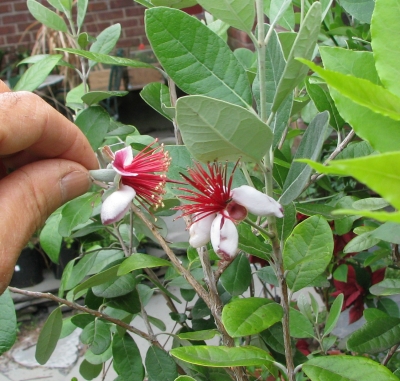

 I’m also attracted to loquat for its several unique features. It’s a distant relative of apple, pear, and plum, yet it flowers in autumn and the fruits ripen in spring or early summer. The leaves, large, leathery, and dark green are ornamental enough for some gardeners in equable climates to grow this plant strictly as an ornamental.
 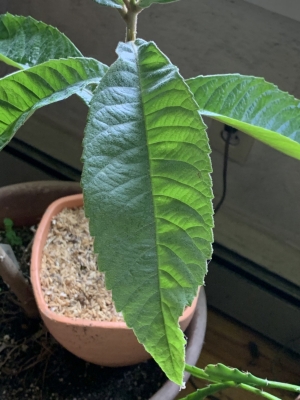 An attractive potted plant would do well to boost the eye appeal of my ragged collection of potted plants hugging sunny windows in winter.


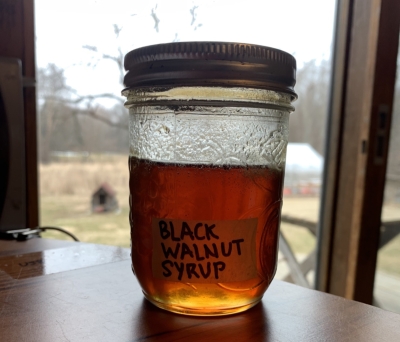
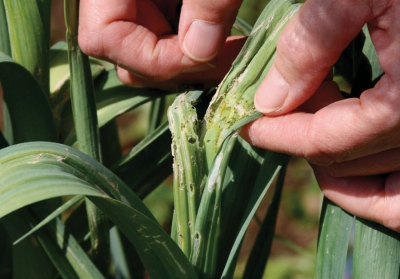
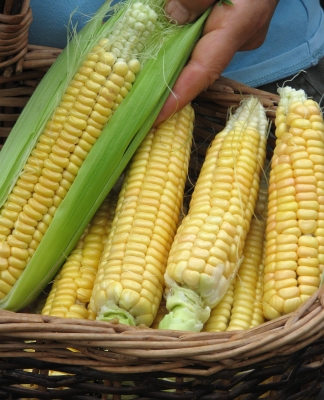 The most serious pest problem last year, most serious because it affected one of my favorite vegetables, was a disease that devastated my later plantings of corn. Looking at the symptoms —


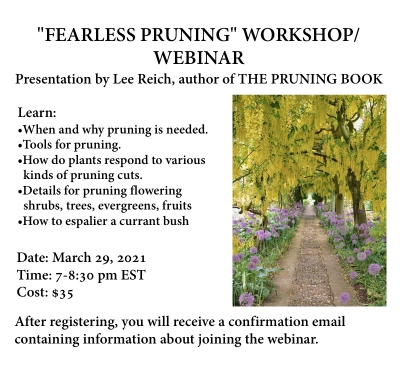
 Topics will include: