THE WEATHER, AND BLACKCAPS
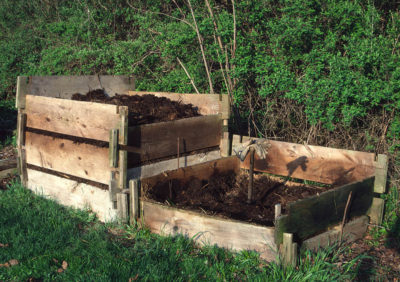
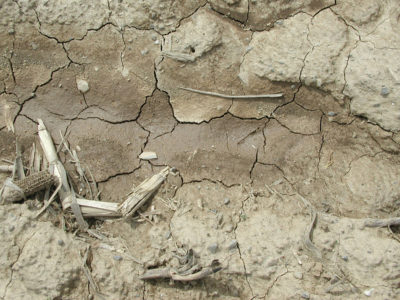
Dry Soil
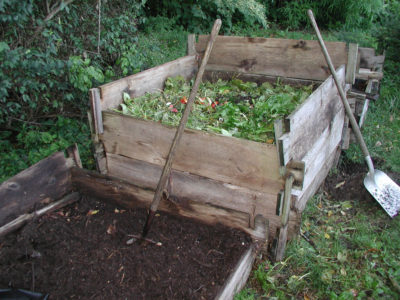
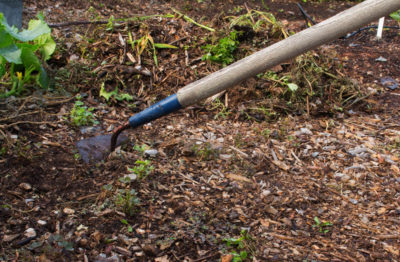
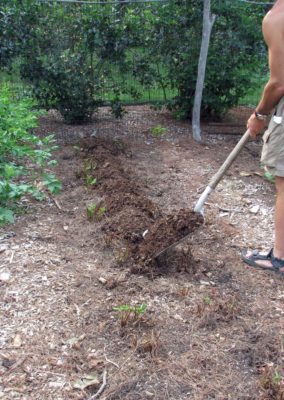
Digging a hole to bury an animal last week gave me new respect for the plant world. Each shovelful brought up dusty, light brown soil, even to a depth of more than two feet. That’s expected, since it hasn’t rained more than 1/4 of an inch here for the past five weeks.
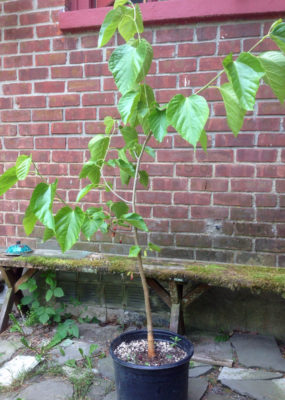
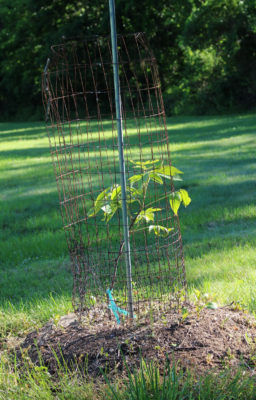
With their leaves flagging in midday, trees and shrubs don’t exactly look spry. Still, they are alive, even some spring-planted trees and shrubs which have had little time to spread their roots deep and wide.
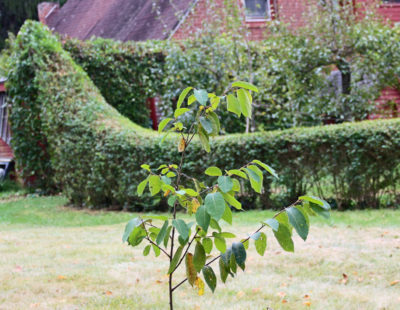
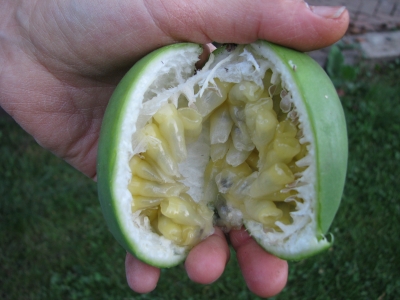
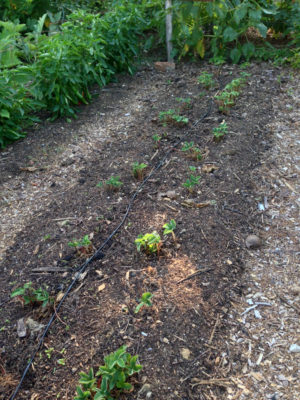
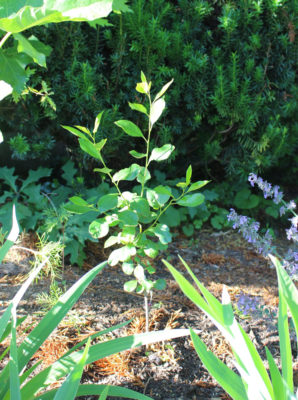
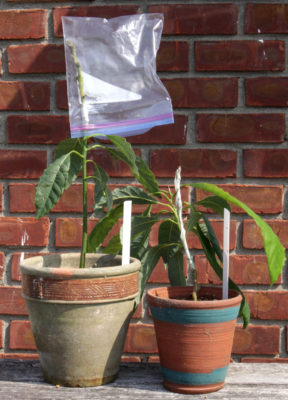
Thirsty, young Asian persimmon
Appearance of a soil can be deceiving. There’s some water lurking within those pores, water held tightly by capillary attraction. After heavy rains or irrigation, all soil pores get filled with water, a situation as bad for plants, if it lasts too long, as dry soil. Plant roots need air as well as moisture; air gets sucked in once gravity drains water from the largest soil pores.
From then on, capillary attraction is what holds moisture in the ground — a pleasant situation for plants because the roots can tap into the more loosely held capillary water while they breathe freely. I prepare for possible droughts when planting by digging relatively small planting holes, which minimizes the amount of ground loosened up, in turn, among other benefits, preserving capillary networks in the soil. (Mulching and watering, right after planting, also helps.)
Eventually, more and more of the loosely held capillary moisture gets sucked out of the ground by plants and evaporation. At some point, there’s still moisture in the soil, but what’s left is in the smallest pores and right against soil particles. It’s tightly held capillary moisture, water that plants can’t access. They wilt. When moisture levels drop to what’s known as the “permanent wilting point,” plants die.
We’re not there yet and now, toward the end of the season, woody plants do have a Plan B: They can just drop their leaves, reducing moisture loss from stems and roots, and segue into winter on stored energy and moisture. To a point.
Cold Air
If it’s not one thing, weather-wise, it’s another. On September 26th, I woke to find parts of the lawn hoary with frost. I’m not complaining. Frost should be expected, on average, around that date around here. Except that I’ve been spoiled for the last few years by much later frosts, frosts, so late that I pulled out old tomato plants because chilly weather drained tomatoes of their flavor rather than frosty weather killing the plants.
Also, no complaints because the September 26th brought only a light frost; temperatures just hit 32°F. and the hoariness was spotty, here and there. A light frost is a good thing this time of year. It signals plants to get ready for even colder weather. In preparing for cold, cell walls strengthen and permeability of cells to water is actively altered. Even subtropical plants like peppers and tomatoes toughen up, with some chilly preparation, so that they can now tolerate temperatures that drop even a few degrees below freezing.
Tender vegetables, frost or no frost, on the wane, have left the door open to vegetables that enjoy the cool weather of autumn. Most of the garden now presents a verdant sight of beds lush with lettuce, Chinese cabbages, winter radishes, endive, turnips, cabbages, arugula, mustard greens, carrot tops, and leeks, all ready for harvest, at my leisure, over the next few weeks.
Fall Black Raspberries
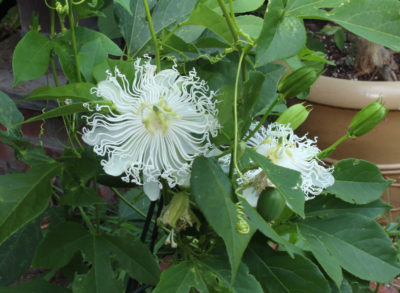
Segueing over to the fruit world, I’m still harvesting the last of the blackcaps (black raspberries) of the season. Blackcaps? Anyone familiar with this fruit, abundant in the wild and often cultivated, knows that they ripen in midsummer.
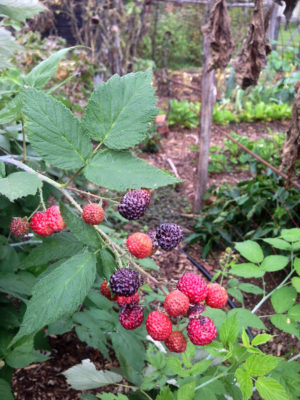
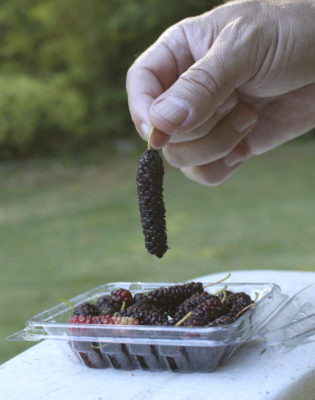
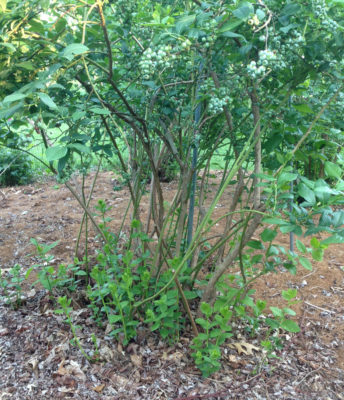
Niwot blackcap, now ripe
Last year I planted two new varieties of blackcap, Niwot and Ohio’s Treasure. With most blackcaps, canes just grow their first year, then fruit their second year. (During the second year, new canes are also growing, to fruit the following year, so a planting bears fruit every year.) Niwot and Ohio’s Treasure bear fruit at the end of the canes’ first year of growth, in late summer and autumn. Those same canes — I think — then continue bearing the following year, in summer, just like most blackcaps.
I haven’t yet decided whether Ohio’s Treasure or Niwot offer the better berry, but it’s nice to be harvesting fresh berries this late in the season.


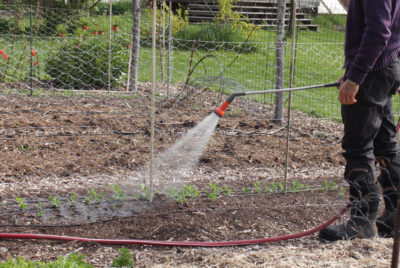 Hand watering also required patience. A light sprinkling of the ground does nothing but wet the surface fraction of an inch. If you care to know, the amount of water needed to wet a soil about 6 inches deep is 3/4 of a gallon per square foot or, equivalently, a one-inch depth of water. And said water needs to be applied slowly enough to percolate into the ground rather than running off elsewhere.
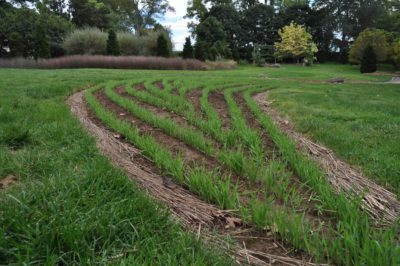
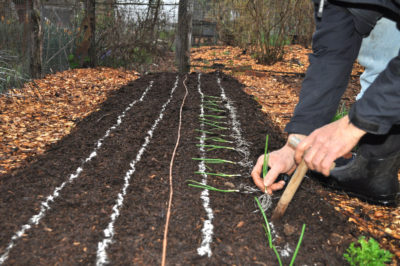 With yesterday’s 75 degree temperatures, urges to plant were satisfied — for that day, at least — by my poking holes into the ground into which I dropped onion plants sown indoors on February 1st. Three-hundred of them in a 20 foot long by 36 inch wide bed. (This was later than the April 21st onion planting date specified in my book, but the weather was cold so I forgot to look at my book.)