Fruit Tree Pruning
The Why, and the Easiest
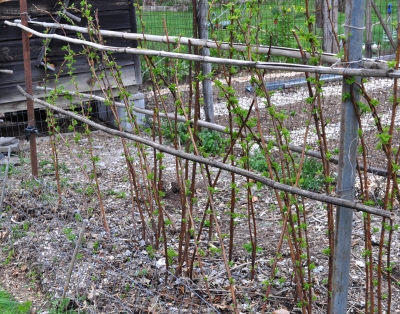
Following last week’s missive about pruning fruiting shrubs, I now move on to pruning my fruiting trees. Again, this is “dormant pruning.” Yes, even though the trees’ flower buds are about to burst or have already done so, their response will still, for a while longer, be that to dormant pruning.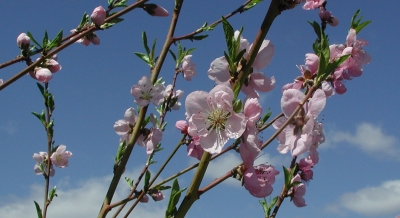 I mentioned flower buds, so these plants I’m pruning are mature, bearing plants. The objectives and, hence, pruning of a young tree are another ball game. As is renovative pruning, which is the pruning of long-neglected trees.
Most fruit trees need to be pruned (correctly) every year. Annual pruning keeps these trees healthy and keeps fruit within reach. This pruning also promotes year after year of good harvests (some fruit trees gravitate toward alternating years of feast and famine) and — most important — makes for the most luscious fruits.
With that said, as I’ve pointed out previously, a number of fruit trees can get by with little or no pruning, nothing more than thinning out congested branches, cutting back diseased branches to healthy wood, and removing root sprouts.
Among these easiest to prune fruit trees are persimmon, pawpaw, juneberry, jujube, quince, and medlar. (These are some of the uncommonly delectable fruits covered in my book Uncommon Fruits for Every Garden.) Trees such as juneberry and medlar are quite ornamental, so I also lop off or back wayward branches on these trees to keep them looking pretty.
Fruits Borne on New Shoots and/or 1-Year-Stems
The most straightforward approach to pruning those fruit trees that absolutely benefit from annual (correct) pruning is by grouping them according to their fruit-bearing habits.
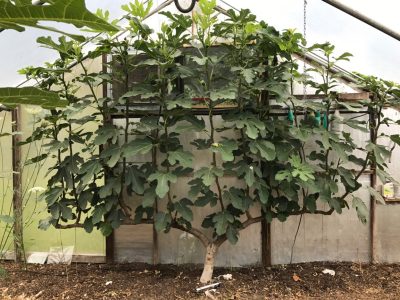
Figs, for instance, are unique in being able to bear fruits on new, growing shoots.

Figlets on new growth
So the way to prune a fig tree — with caveats — is to lop back branches, which promotes new, fruit-bearing shoots. But not too, too far or the fruit will take too long to begin ripening. I prune branches of my potted or greenhouse Brown Turkey fig trees only as far back as their permanent trunks of a couple of feet or more in length.
Also, not necessarily all the stems should be pruned back on figs, because some varieties also — or only — bear fruit on one-year-old stems. My San Piero fig, for instance. I typically leave some one-year-old stems to bear an early crop, and drastically shorten others for the crop on new, growing shoots, which begins ripening later.
Peach and nectarine trees also bear on one-year-old stems, so are also pruned rather drastically. I shorten some branches to promote new shoot growth for next year’s harvest. I also remove some branches completely to prevent congestion, allowing branches to bask in sunlight, and breezes to dance among them. When finished, you should be able to throw a cat (figuratively) through the branches without touching them.
Fruits Borne on 1-Year + Older Stems
Fruit trees that bear their fruits on one-year-old as well as on older wood are the next grouping, and include plum, apricot, sweet, and tart cherry. The clusters of flower buds on branches of these trees are known as spurs. (Be careful not to put too much general meaning in “spur” because the word parades under a number of guises in the world of gardening.)
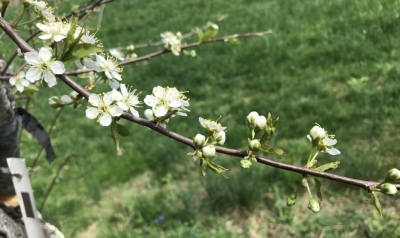
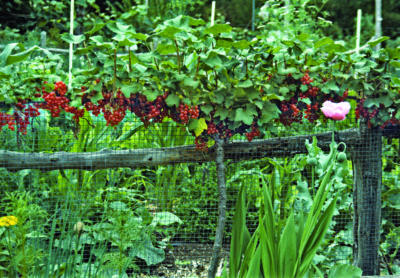
Clusters (spurs) of blossoms on plum
Pruning fruit trees removes some flower buds and potential fruits, which is all for the good because it lets the plant funnel more of its flavor-producing energy into fewer fruits so that those that remain are tastier and larger. Cherries, each of whose small fruits demand little energy, benefit the least of these fruits from such pruning so are the least pruned of the fruits in this category.
Apricot gets the most pruning in this group because its fruit spurs are borne on branches up to 3-years-old. That leaves plums, which get a moderate amount of pruning.
And Even Older Fruit-Bearing Stems
Apples and pears, the final grouping, are the most common tree fruits. Their individual branches each continue to bear flowers and fruits for many years.

Pear spur
Look at an older apple or pear branch and along it you see small, branching stems an inch or less long. These stem clusters are called — and I warned you — “spurs.”
Because their spurs live and bear for a decade or more, apple and pear trees require the least pruning of the fruit trees mentioned.
Then again, spurs do age, eventually becoming overcrowded and decrepit. So I thin out and shorten old spurs so that each has sufficient space and is periodically invigorated with stubby, new growth.

Thinning apple spurs
Exuberant, vertical shoots, known as watersprouts, often pop up on apple or pear branches. Mostly, they are unwanted because they’re not very fruitful and, left alone, will shade other parts of the tree. I cut these off right to their bases.
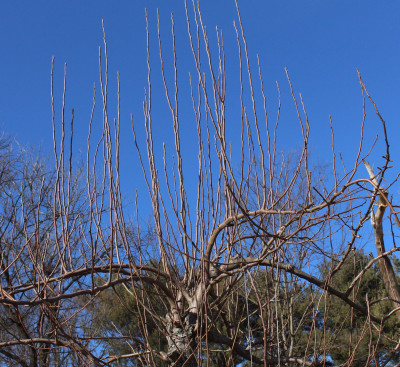
Pear watersprouts
Even better is to grab hold of watersprouts when you first notice them growing and rip them off with a quick downward pull. “When noticed,” in contrast to all the pruning I just wrote about, is not during the dormant season.


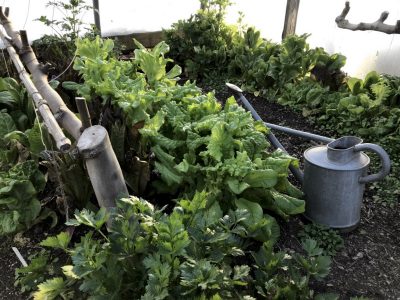
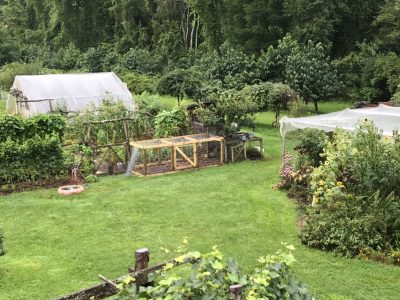
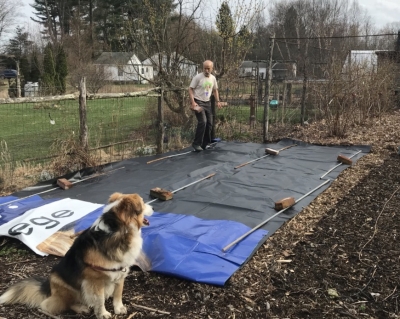 Actually, that insidious blackness covering my beds is black vinyl. But that’s beside the point. Its purpose, like the black plastic against which I’ve railed, is to kill weeds. Not that my garden has many weeds. But this time of year, in some beds, a few more sprout than I’d like to see.
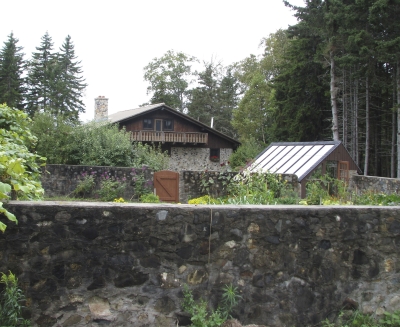 I had just dug my first garden which had a clay soil that turned rock hard as it dried, so I was especially awed, inspired, and admittedly jealous of the soft, crumbly ground in Scott’s garden. What a surprise when someone who had worked with Scott for a long period told me how tough and lean his soil had been when he started the garden. A number of giant compost piles were testimonial to what it takes to improve a soil.
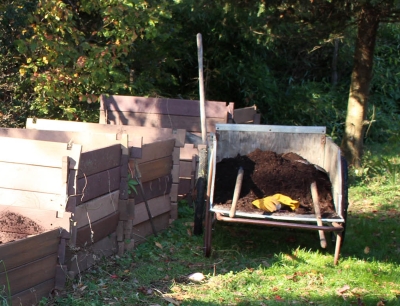 The soil in my permanent vegetable beds is never turned over with a rototiller or garden fork; instead, every year a layer of compost an inch or so deep is lathered atop each bed, and no one ever sets foot in a bed. That inch of compost snuffs out small weeds, protects the soil surface from washing away, and provides food myriad beneficial microbes (and, in turn, for the vegetable plants).
 Recent additions to that pile were an old soil pile from a local horse farm and soil from a hole I was digging to create a small duck pond. The latter was poorly aerated subsoil.
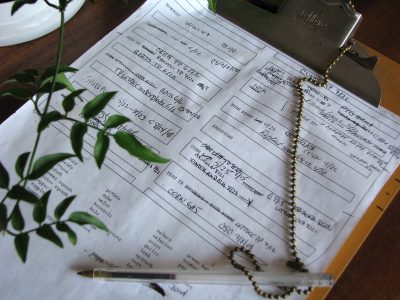 In practice, I mostly pay attention to rotation of plants most susceptible to diseases, which are cabbage and its kin (all in the Brassicaceae), cucumber and its kin (Cucurbitaceae), tomato and its kin (Solanaceae), beans and peas (Fabaceae), and corn (sweet or pop, in the Gramineae).
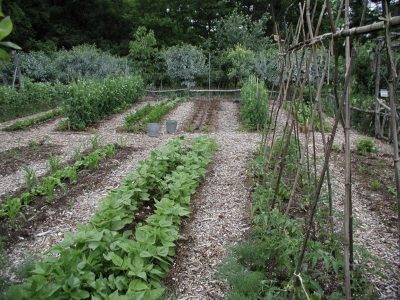 Root, leafy, and fruiting vegetables have somewhat different nutrient needs, so in the ideal garden these crops are rotated to make best use of soil nutrients.
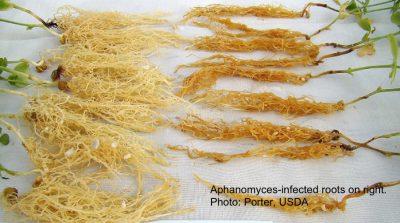
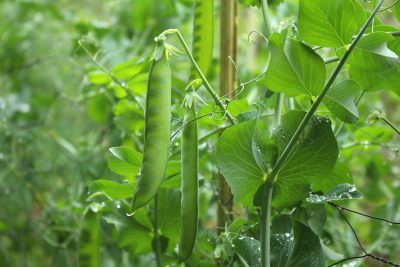 A few years ago they stopped bearing well, collapsing with yellowing foliage not long after they bore their first pods.
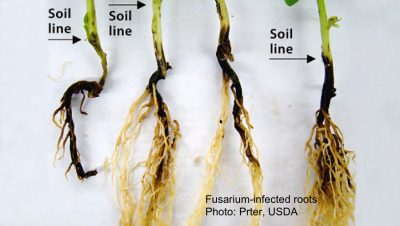 Plants infected by aphanomyces have fewer branch roots and what roots there are lack the plump, white appearance of healthy roots.
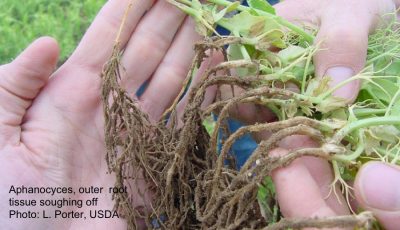
 My tea is nothing more than the liquid strained from compost soaked in water, then applied with a watering can at the base of the pea plants.
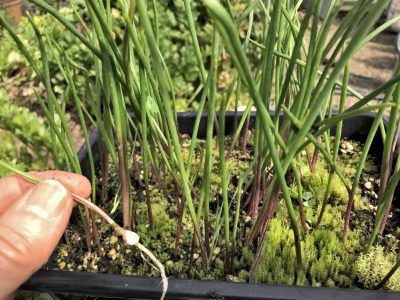 “Knowing what a bulb really is makes it easier to understand how they can multiply so prolifically that their flowering suffers, and how to get them to multiply for our benefit. Dig up a tulip or daffodil and slice it through the middle from the tip to the base. What you see is a series of fleshy scales, which are modified leaves, attached at their bases to a basal plate, off of which grow roots—just like an onion (but, in the case of daffodil, poisonous!). The scales store food for the bulb while it is dormant.
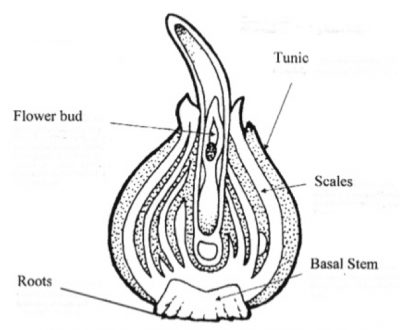 Look at where the leaves meet the stems of a tomato vine, a maple tree—any plant, in fact—and you will notice that a bud develops just above that meeting point. Buds likewise develop in a bulb where each fleshy scale meets the stem, which is that bottom plate. On a tomato vine, buds can grow to become shoots; on a bulb, buds can grow to become small bulbs, called bulblets. In time, a bulblet graduates to become a full-fledged bulb that is large enough to flower.”
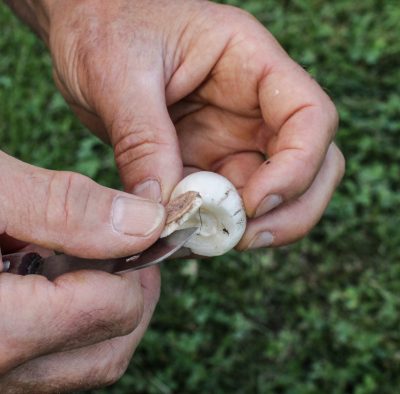 Another way is to score the bottom plate with a knife into 6 pie shaped wedges, making each score cut deep enough to hit that growing point.
 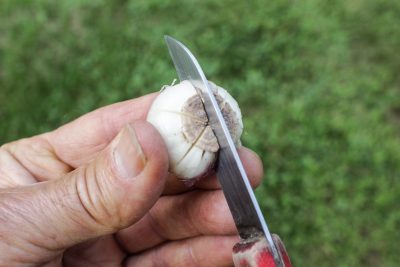 After scoring or scooping, set the bulb in a warm place in dry sand or soil for planting outdoors in a nursery bed in autumn.
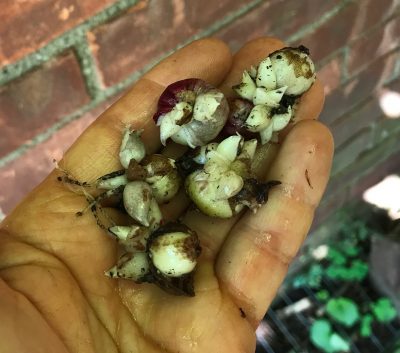 After a year, as many as 60 bulblets might be sprouting from the base of each scooped or scored bulb. Each bulblet does take 4 or 5 years to reach flowering size, but no matter. To quote an old Chinese saying: ‘The longest journey begins with the first step.’”

 And what about winter? A greenhouse full of salad and cooking greens solved that problem, in addition to providing figs in summer and early and late season cucumbers.
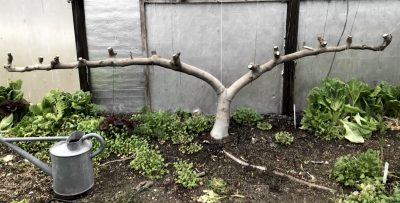
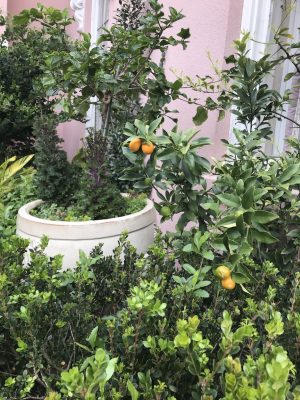 But winter low temperatures in Charleston rarely dip even to freezing but kumquat trees are hardy into the ‘teens. A few citrangequats — trigeneric hybids of kumquat, trifoliate orange, and sweet orange — that I stole from a tree proved to be tasty with sweet, edible rind enclosing a pleasingly tart interior.
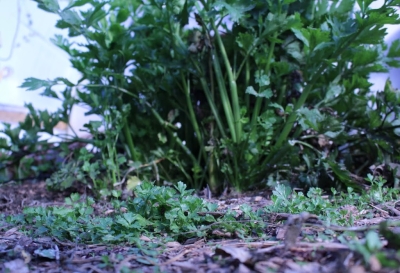 For the past few years, I’ve allowed celery in the greenhouse to go to seed each fall. The seeds drop and, within a few months, sprout to furnish plenty of seedlings for early summer celery in the greenhouse and later celery out in the garden. All of which is most welcome because celery seedlings are very slow to germinate and grow. Before celery volunteered around here, I had to sow seeds in early February in seed flats, keep the flats warm and moist until the seeds sprouted, transplant the sprouts into individual cells in another flat, and finally transplant the seedlings, after about 10 weeks of care, out into their permanent homes.
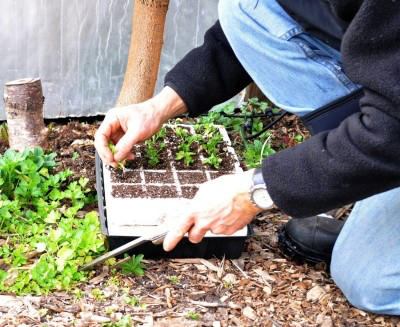

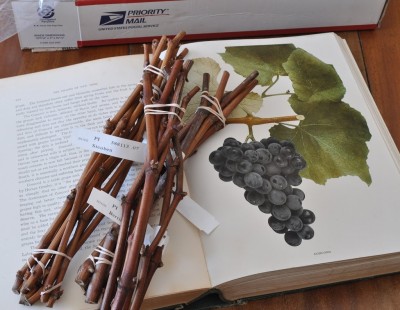
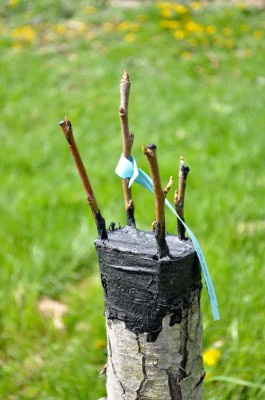 Grape sticks got plunged into the ground where they grew their own roots, shoots, and everything else. Apples aren’t so amenable to growing their own roots.