Physiological Workaround
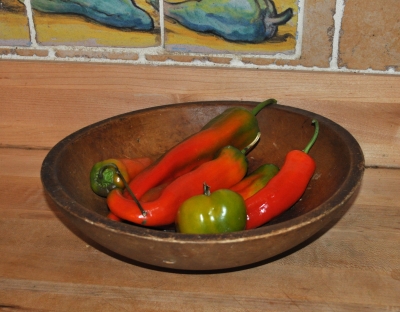
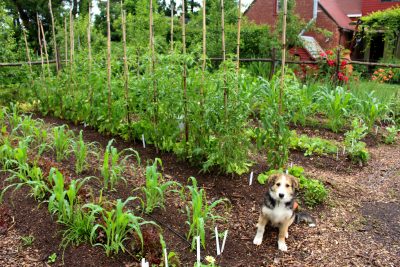
Portulaca is a genus that gives us a vegetable, a weed, and a flower. All flourish undaunted by heat or drought, a comforting thought as I drag the hose or lug a watering can around to keep beebalm, an Edelweiss grapevine, and some marigolds and zinnias — all planted within the last couple of weeks — alive.
Portulaca employ a special trick for dealing with hot, dry weather, which presents most plants with a conundrum. On the one hand, should a plant open the pores of its leaves to let water escape to cool the plant, as well as take in carbon dioxide which, along with sunlight, is needed for photosynthesis. On the other hand, the soil might not be sufficiently moist or the pores might end up jettisoning water faster than roots can drink it in, in which case closing the pores would be the ticket.
Portulaca gets around this conundrum by working the night shift, opening its pores only in darkness, when little water is lost, and latching onto carbon dioxide at night by incorporating it into malic acid, which is stored until the next day. Come daylight, the pores close up, conserving water, and malic acid comes apart to release carbon dioxide within the plant. I describe this specialized type of metabolism in my book The Ever Curious Gardener: Using a Little Natural Science for a Much Better Garden.
From the Pampas to my Garden
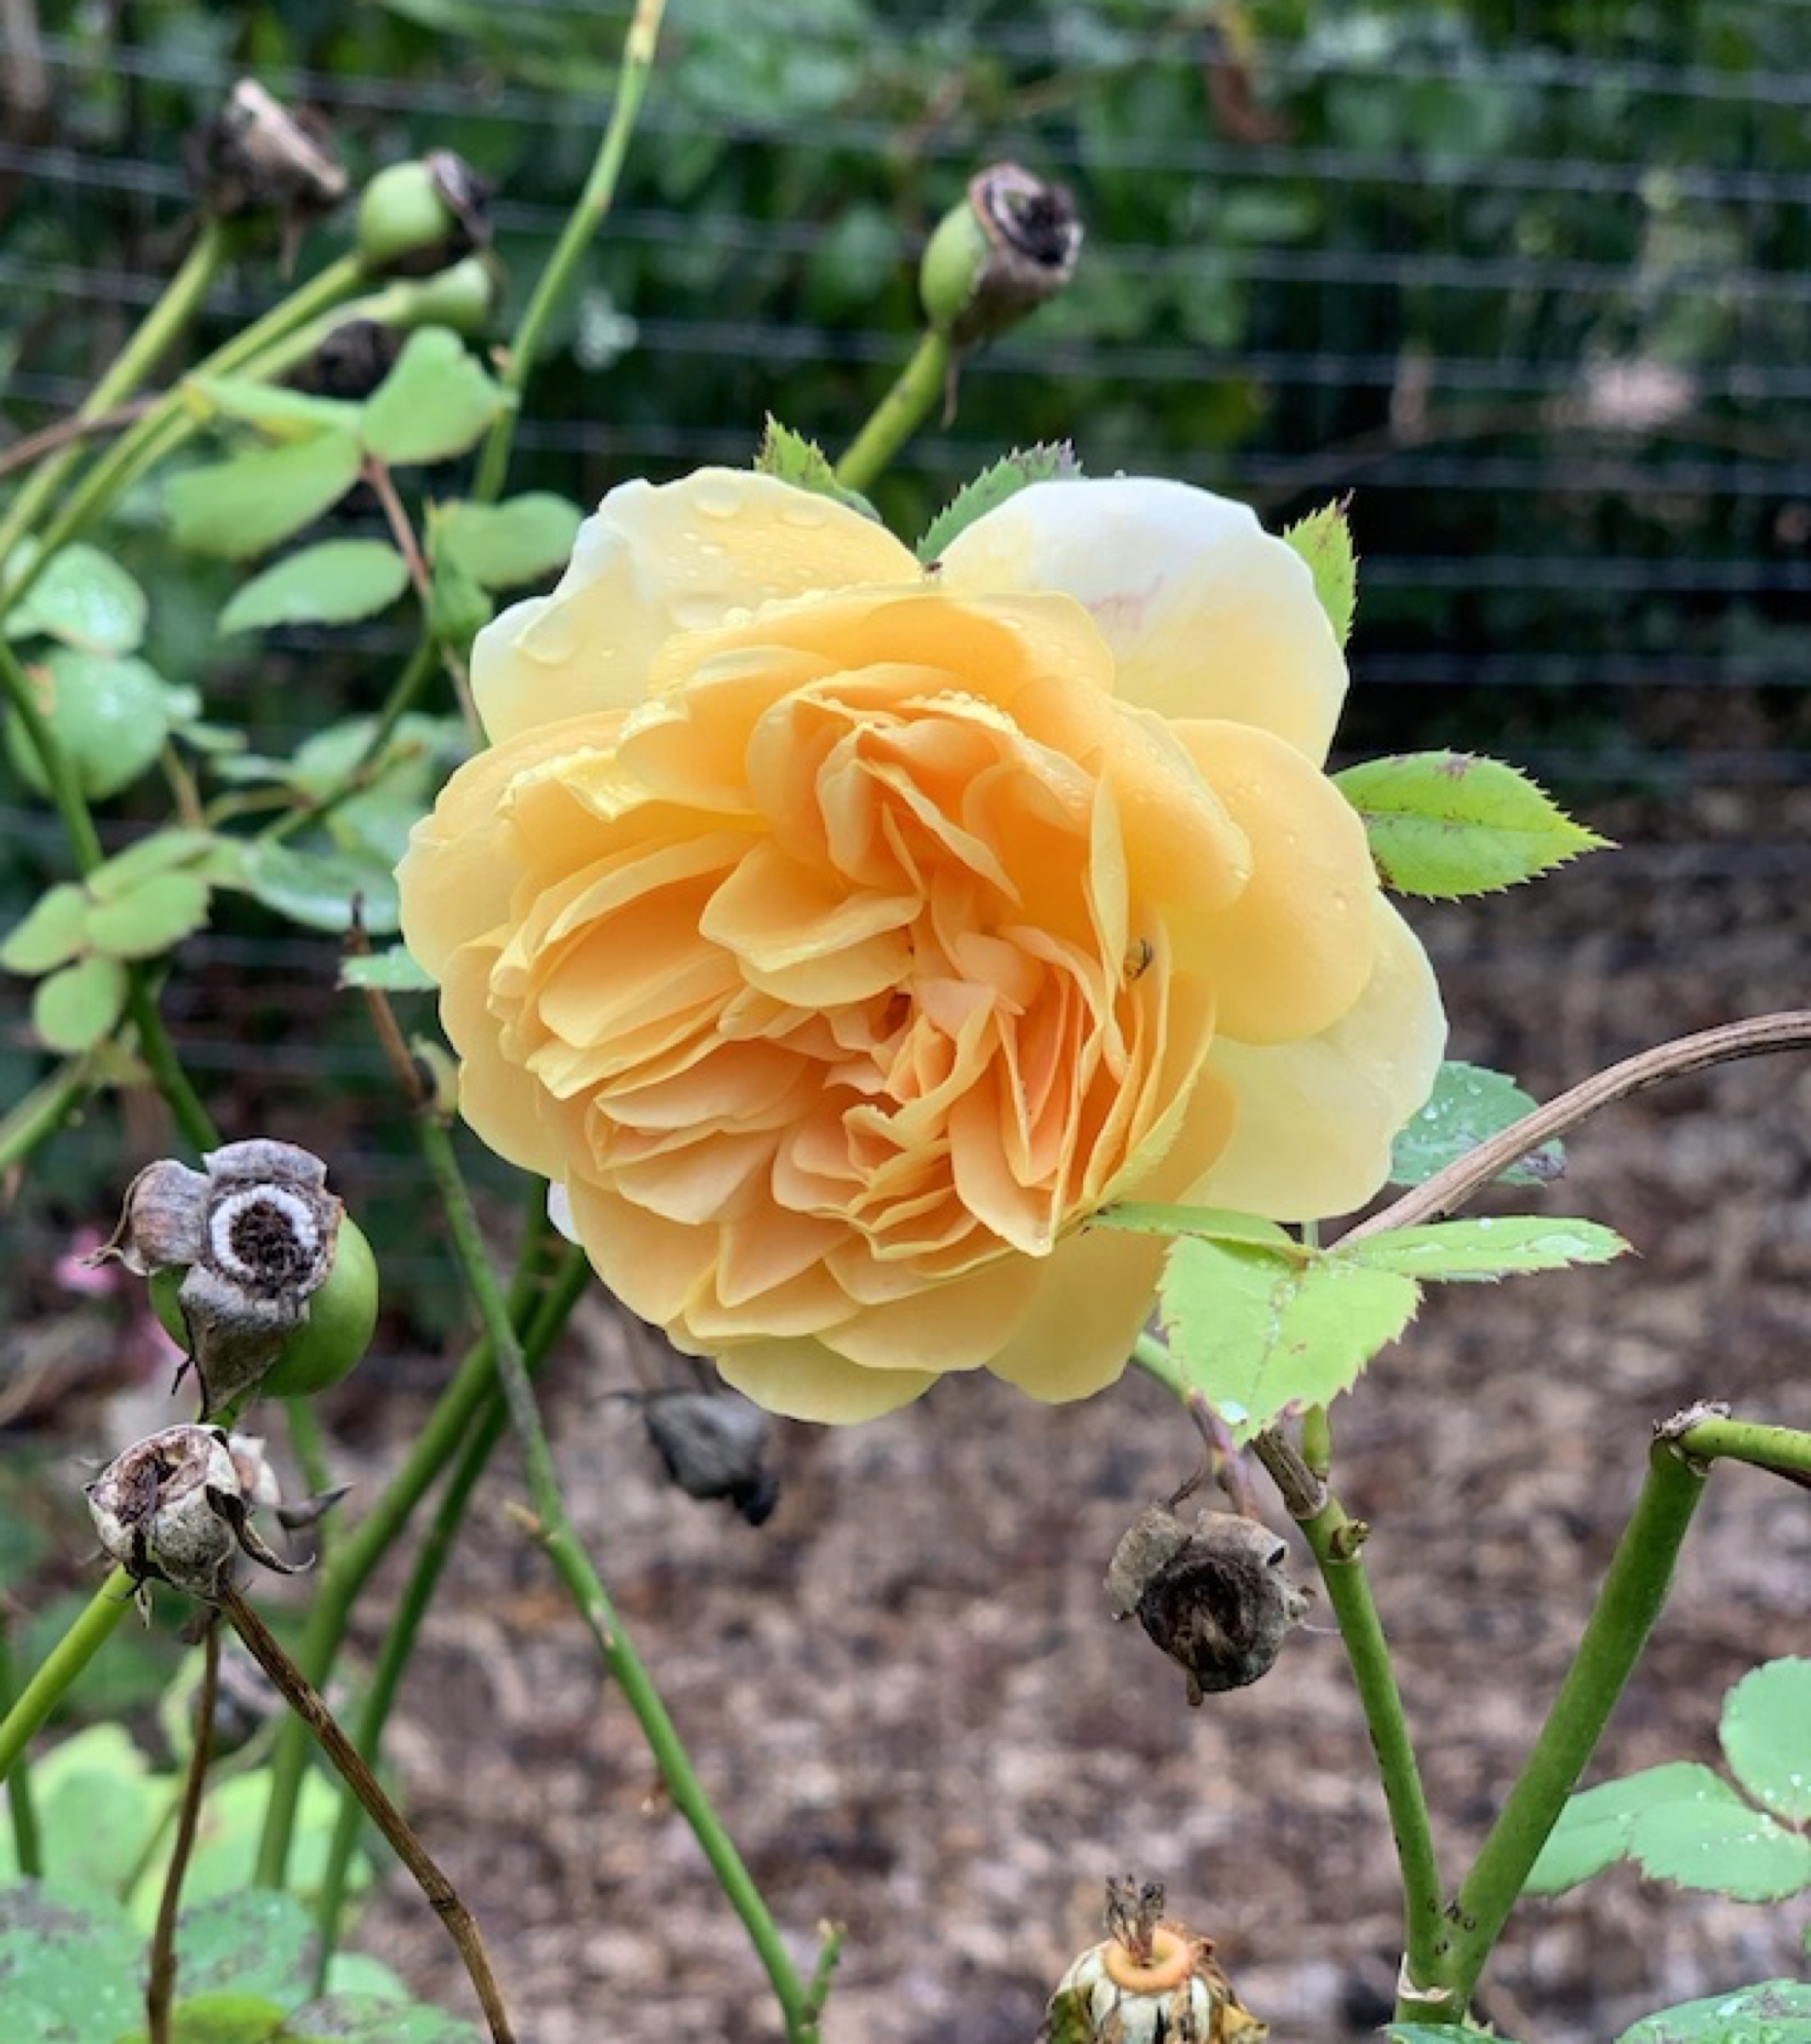
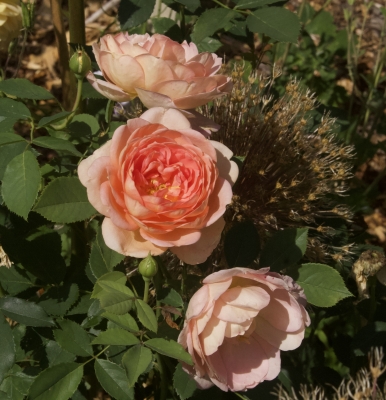
Let’s start with the flower Portulaca, P. grandiflora, which goes either by a common name that is the same as the generic name, or by the name “moss rose.” In truth, the plant is neither a moss nor a rose. But the tufts of lanceolate leaves do bear some resemblance to moss, a very large moss. And portulaca’s flowers, which are an inch across, with single or double rows of petals in colors from white to yellow to rose, scarlet, and deep red, are definitely rose-like. The plant grows to a half-foot-wide mound, with stems that are just barely able to pull themselves up off the ground under the weight of their fleshy leaves.
Moss rose is native to sunny, dry foothills that rise up along the western boundary of the South American pampas. As might be inferred from its native habitat, this plant not only tolerates, but absolutely requires, full sun and well-drained soil. Such requirements, and low stature, make the plant ideal for dry rock gardens and for edging.
Moss rose is easy to grow from seeds sown at their final home, or started in flats for transplanting. Some gardeners mix the extremely fine seed with dry sand before sowing, to ensure uniform distribution.
Once blossoming begins, it continues nonstop until plants are snuffed out by frost. Moss rose is an annual, but sometimes will seed itself the next season. However, double varieties (plants with double rows of petals) grown this year will self-seed single varieties (plants with a row of petals) “volunteers” next year.
Plant It or Not, It Will Be There
The vegetable and the weedy Portulaca can be dealt with together; they are one and the same plant, P. oleracea. Somewhere in your garden now, you surely have this plant, whose succulent, reddish stems and succulent, spoon-shaped leaves hug the ground and creep outward in an ever-enlarging circle.
The common name is purslane, though it has many aliases, including pussley, Indian cress, and the descriptive Malawi moniker of “the buttocks of the wife of a chief.”
Tenacity to life and fecundity accord purslane weed status. Pull out a plant and toss it on the ground, and it will retain turgidity long enough to re-root. Chop the stems with a hoe, and each piece will take root. Even without roots, the inconspicuous flowers stay alive long enough to make and spread seeds.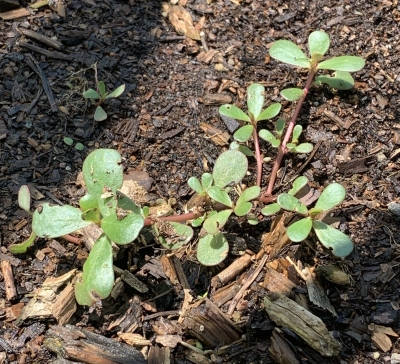
My one consolation with having this weed in my garden is that it’s easy to remove, robs little nutrients or water from surrounding plants, and, being low-growing, casts little or no shade. Perhaps it even protects the soil surface from sun beating down on it or pounding raindrops from washing away soil. On the other hand, left unattended, it could take over a garden this time of year.
You Could Eat It
What about purslane, the vegetable? Take a bite. The young stems and leaves are tender and juicy, with a slight, yet refreshing, tartness. Purslane is delicious (to some people, admittedly not to me) raw or cooked, and is much appreciated as a vegetable in many places around the world besides its native India.
I have actually tasted the result of the plant’s specialized metabolism in summer by nibbling a leaf of purslane at night and then another one in the afternoon. Malic acid makes the night-harvested purslane more tart than the one harvested in daylight.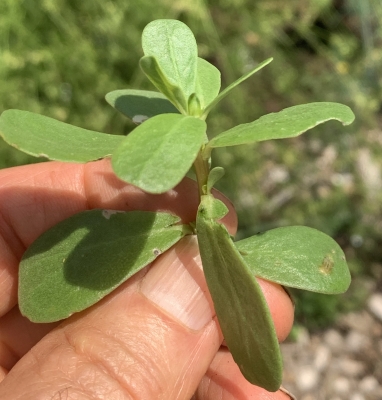
There are cultivated varieties of purslane for planting(!) in the vegetable garden. These varieties have yellowish leaves and a more upright growth habit than the wild forms. Wild or cultivated, the plants can be grown from seed or, of course, by rooting cuttings from established plants.
As far as actually planting purslane in my garden, I agree with the view of another garden writer who said “it is a reckless gardener who would plant purslane.” That does not mean that I do not grow purslane, though, for plenty keeps appearing despite my weeding.
Every once in a while, I again try eating it. I have enjoyed it in salads in restaurants to such accompaniments (or taste and texture disguisers) as feta cheese, olive oil, vinegar, and other strong flavors.
If you do opt to plant purslane, you must replant it yearly. Like the moss rose, purslane is an annual plant. Once established in the spring, both purslane and moss rose need no further care. Now, if only moss rose were a bit more weedy . . .

 I could of course be careful to avoid leaf spotting by not spilling any water, especially cold water, on the leaves. Watering from below would do the trick, with periodic leaching from above to prevent buildup of salts. They also like high humidity.

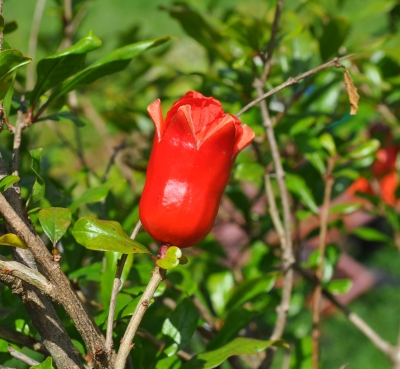
 The pocket-sized folio is like a miniature coffee table book, a celebration of fruit-growing in an earlier America with a wealth of historical context and scientific information. The first half of the book is devoted to a range of apple varieties, many with unfamiliar and quaint names; most of these cultivars now lost to time. Subsequent chapters cover pears and other pomes, stone fruits, citrus, berries and miscellaneous fruits such as avocados, pomegranates, persimmons and nuts.

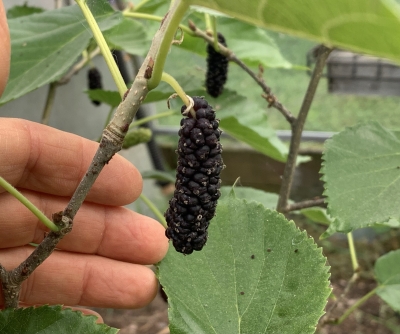

 So, like mulberry, the plants can be pruned back some so they’re more manageable to be protected from bitter winter cold. An in-ground plant, then, could be protected from bitter winter cold by being swaddled upright or lowered to the ground, even trained to grow along the ground; a potted plant is more easily maneuvered into a garage, unheated basement, or other cool location for its winter rest.