A PEAR, 170 YEARS LATER
A Luscious Fruit in Winter
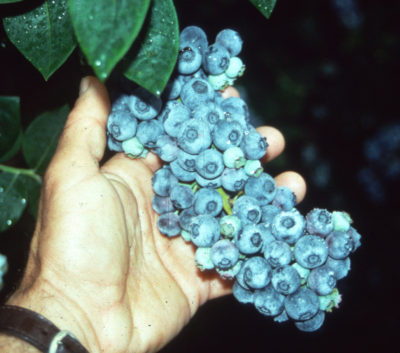
All fruits did well this past season but it was especially a banner year for pears. Why do I mention this now? Because we’re still eating them and they are delicious. “Them” is actually just one variety — Passe Crassane, not a variety you’d find on a supermarket shelf, but which is available as a tree.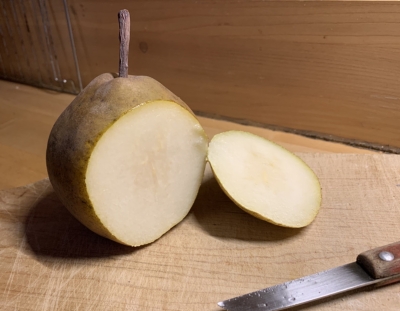
Timely harvest, storage, and ripening of pears melds art and science; since this was my first crop from Passe Crassane, I was wary as I sliced off a taste. It was like slicing through butter, a good omen. The flesh was “white, fine. melting, [sugary], perfumed, and agreeably sprightly,” to quote from The Pears of New York, U. P. Hedrick’s 1921 classic. Delicious.
The seed for this pear was sown, literally, by one Louis Boisbunel in Rouen, France in 1845. Ten years later, the tree showed its worth and the fruit made its debut. Passe Crassane is a winter pear that needs to be harvested mature — here, in early November — and then kept in cold storage for a couple of months to ripen to full flavor. Under ideal storage conditions, fruits keep well for months.
This variety was very popular in its century of origin, and its cultivation spread to Italy, Spain, Germany, and England. Commercially, stems were dipped in a red wax to prevent water loss during storage; those red-tipped stems became a signature of Passe Crassane. By the 20th century, Passe Crassane had fallen out of favor because of its susceptibility to diseases, including dreaded fireblight.
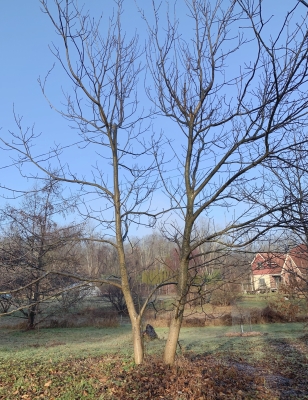
(My tree was struck by what I thought might be fireblight a year and a half ago, so I had drastically lopped it back well below what might have been blighted portions, planning to graft the stump to another variety. Fortunately, one older branch remained below the lopping and that branch, for the first time this past season, bore fruit, heavily. I’ll let the tree re-develop from one of the few watersprouts that shot skyward where the tree was lopped.)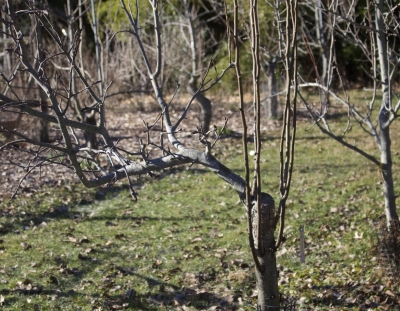
The Hard Part of Growing Pears
Apple, cherry, and other common tree fruits are usually beset with pest problems that make them hard to grow. Not so for pears. The hard part about growing pears is knowing when to harvest them and then ripening them to perfection.
Yeh, yeh, I’ve read all about various indicators that show pears are ready for harvest: 1) When the fruit stalk separates easily from the stem as you lift and twist; 2) When the skin color lightens slightly; 3) When the small lenticels on the skin turn from white to brown; 4) When the first fruits start to drop. And, my favorite, recording the harvest date, once you get it right, and then harvesting on about that date every year.
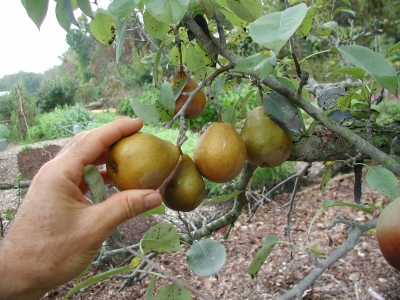
Picking Seckel pear
No matter what the method, a pear should be firm, not at all soft, once ready for harvest. Pears ripen from the inside out. So fruit left on tree to thoroughly ripen is mostly brown mush on the inside by then.
All those indicators notwithstanding, I am much better at timely harvesting of pear varieties I’ve grown and harvested for a number of years.
So much for harvest; now for storage. On or near freezing is ideal. Cold temperatures slow ripening, and, for all except very early varieties, primes the fruit to begin ripening.
Ethylene, a natural, gaseous plant hormone can unduly speed ripening. Mature pears give off very little ethylene; not so for harvested apples and many other fruits, so keep these other fruits away from the pears unless a whole lot of pears are needed ready for eating soon. (I cover ethylene more thoroughly in my book The Ever Curious Gardener: Using a Little Natural Science for a Much Better Garden.)
Finally, on to ripening, which occurs as fruits are brought into warmth, ideally a cool room, 60-70 degrees F. I press a finger against the stem end of the fruit, and if there is any give at all, the fruit is ready for eating.
All this finickiness with harvest, storage, and ripening is unnecessary with Asian pears, which are different species from European pears. Let Asian varieties ripen thoroughly on the tree, meaning they remove easily with a lift and twist, and are fully colored. Then eat. Or keep them refrigerated, and get them out to eat whenever you’re so inclined.
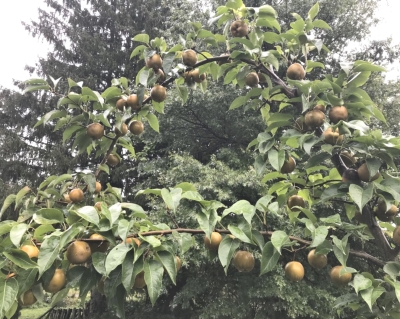
Asian pear, Korean Giant
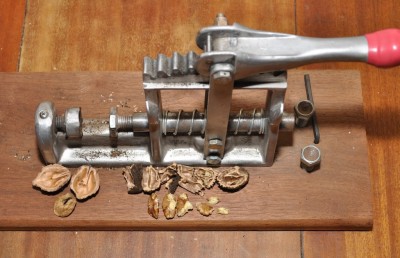
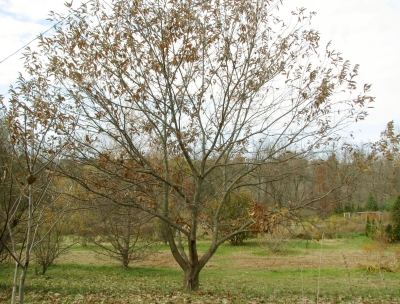
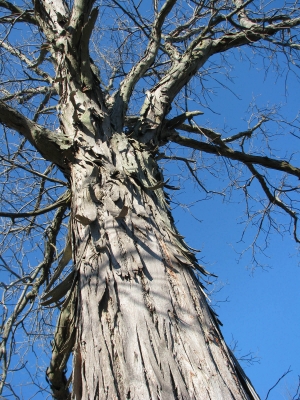 Shellbark hickory’s native range doesn’t extend as far east and south as shagbark’s. It’s found mostly along the Ohio and Mississippi Rivers, and bordering regions; nowhere, though, is it common. Also, the bark is less shaggy. The clincher is that shellbark nuts are much larger, around two inches long, and with thinner shells, so you get more bang for your buck with each nut you crack.
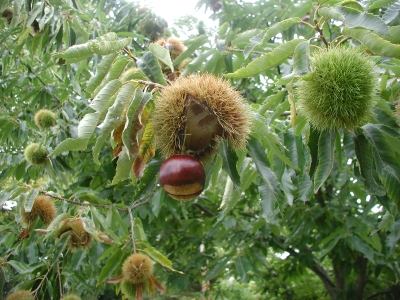 They’re often billed as the “bread tree” because in contrast to other nuts, which are high in fats and protein, chestnuts are high in starch. Obviously, you’re not going to be eating home-grown chestnut stuffing this year, or next, or the next; it takes awhile for a chestnut tree to start bearing. Not that long though. I’ve had plants grown from seed begin to bear within six years, and a grafted tree from a nursery should bear even sooner than that.
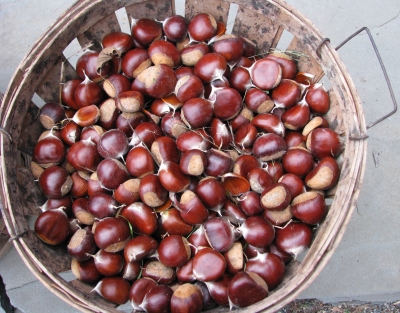

 Native Americans harvested and ate nu nu, and this was one of the foods crucial in helping the Pilgrims survive their first winters in Massachusetts.


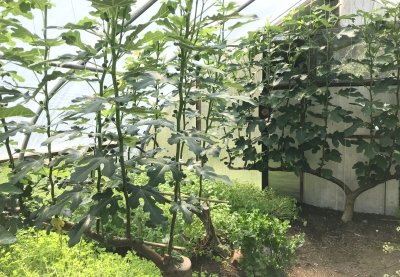
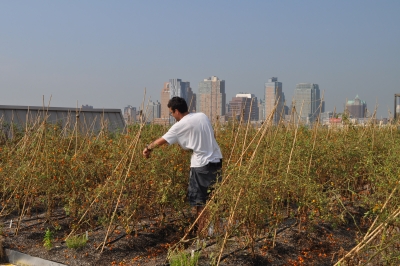
 Fruits are borne on shoots that grow vertically from these arms. Tomorrow I’ll lop all those vertical shoots back to the arms. Next year, new shoots will bear fruits and be cut back next fall, and the year after that, new shoots . . . and so on.
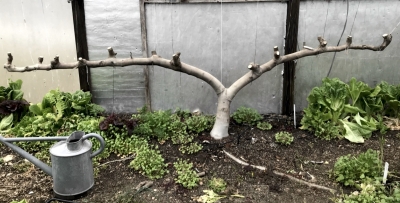

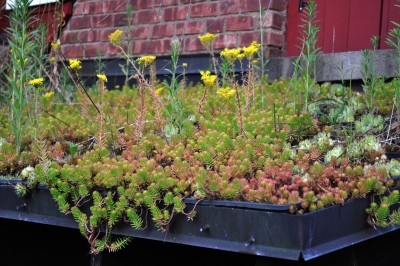
 The roof had enough slope so plants could be seen from the path, yet not so steep that a hard rain would wash the soil away.
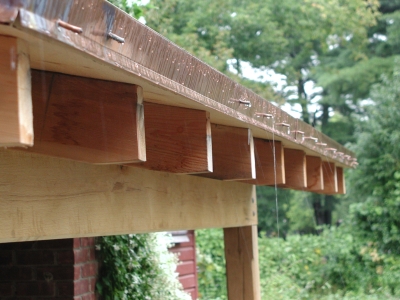 (It streamed, but not so decoratively, because some tubes kept getting clogged and the bottom edge of the roof was not exactly horizontal so the flow burden was taken up by only a few tubes.)
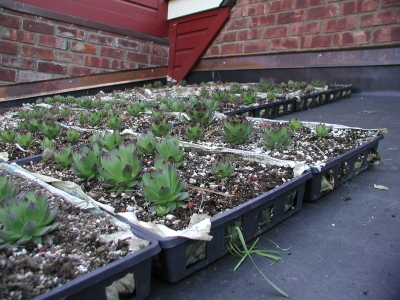 All this planting took place almost a year before the roof was readied for the plants, important so the hen-and-chicks could make enough “chicks” to spread and pretty much cover the planting trays, which otherwise would have left too much planting mix exposed to washing from rainfall.
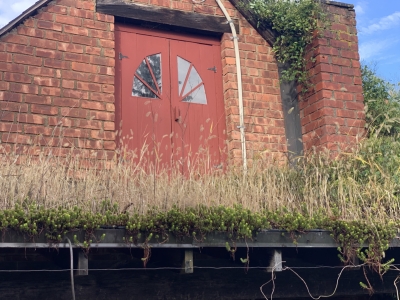

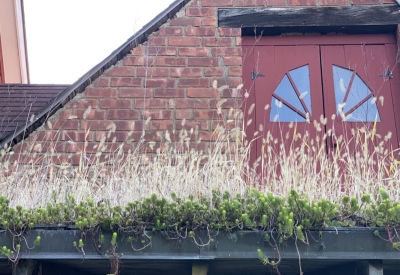
 She looked good up there, especially when draped over the front lip. She also multiplied rapidly both on the wall and on the roof. To further encourage her, I grab bunches wherever in excess on the wall and toss them up on the roof to root.