MY MENAGERIE EXPANDS (and a free webinar)
A Little Bit of the Mediterranean
The UPS guy arrived yesterday with a long, narrow cardboard box containing the latest addition to my menagerie, a menagerie of mostly Mediterranean plants. “Mostly” because not all of them have roots in the Mediterranean. But all of them thrive and are grown in Mediterranean climates of mild winters and sunny summers.
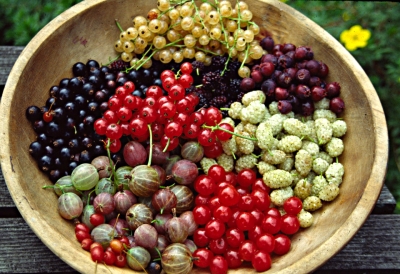
My collection is a “menagerie” because, although all the plants thrive and are grown in Mediterranean climates, the makeup is quite diverse. There’s the evergreen pineapple guava (Acca sellowiana that also goes under the common name feijoa), olive, rosemary, bay laurel, and Meyer lemon.
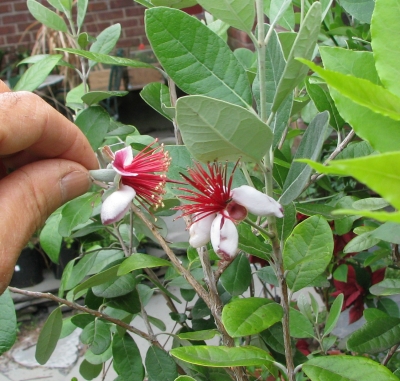
Pollinating pineapple guava
And a few of the plants — black mulberry (Morus nigra), Pakistani mulberry (Morus macroura), pomegranate, and fig — go dormant and lose their leaves in winter.
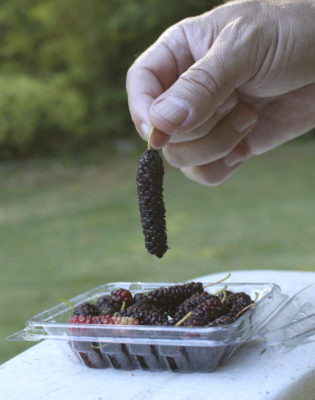
Pakistan mulberry fruit
Here at the farmden, winter temperatures can plummet to minus 20°F, so getting these plants to thrive involves more than just giving them a nice, sunny spot in the ground outdoors. Except for the figs, some of which are in the ground in the greenhouse, all the others grow in pots. Every couple of years or more, depending on the plant, I slide a potted plant out of its pot, shave off some of its roots, and then put it back into its pot with some new potting soil. Stems likewise need pruning to keep a plant from growing too big and, in the case of fruiting plants, to keep the plant fruitful.

Root pruning and repotting
Potted plants spend summers basking in sunlight, just as they would in a Mediterranean climate. Come winter, they’re protected from frigid weather but kept cool, ideally 25 to 45°F. The winter home for the deciduous plants is in the dark of either in my walk-in cooler or my cold basement. Evergreen plants need light year ‘round, which they get in various south-facing, sunny windows in cool rooms. More light allows for warmer winters indoors.
If all this sounds like a lot of trouble, it is. So why do it? I like the way the plants look but, even more so, I like the way the plants taste, especially those that bear fruit. Thus far, my most successful Mediterranean fruit has been fig; black mulberry and Meyer lemon have borne pretty well; my harvest from pineapple guava and olive have been only a few fruits each year. Still nothing from the pomegranate.
Another -Quat besides Kumquat and Sunquat
The newest addition to my menagerie is loquat (Eriobotrya japonica), bearer of plum-size yellow or orange fruits. I’ve only tasted two loquats in my life, both from fruit stands at a market (Paris and Jerusalem); neither was anything to write home about. But I know from experience the superiority of home-grown fruits. And descriptions I’ve read that loquat’s flavor combines that of apricot and peach, or that of peach, citrus, and mango. would alone would warrant my giving this plant a
try.
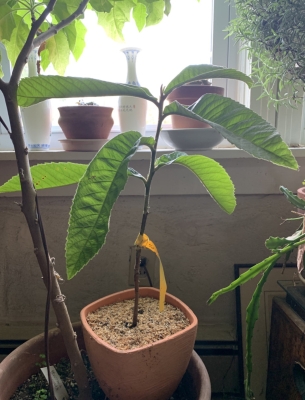 I’m also attracted to loquat for its several unique features. It’s a distant relative of apple, pear, and plum, yet it flowers in autumn and the fruits ripen in spring or early summer. The leaves, large, leathery, and dark green are ornamental enough for some gardeners in equable climates to grow this plant strictly as an ornamental.
 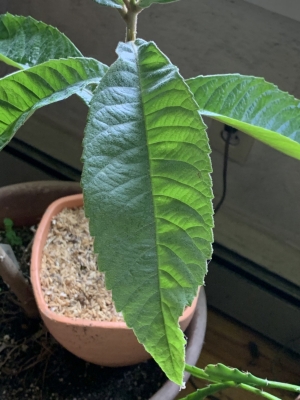 An attractive potted plant would do well to boost the eye appeal of my ragged collection of potted plants hugging sunny windows in winter.
Loquat’s small, white flowers emit a sweet and heady aroma — another plus — and are borne in clusters at the branch tips. Good to know when it comes to pruning: if I shorten too many branches, I’ll have to say good-bye to flowers.
As an evergreen, this plant will join other Mediterranean evergreens in winter at a sunny window in a cool room. Light through even a sunny window pales compared to outdoor sunlight at the same time of year. One source says that loquat tolerates a bit of shade. That’s hopeful.
From China, Around the World, and Now Here
Loquat’s botanical roots are in China. From there, it travelled to Japan where it evidently was a hit. The Japanese have been enjoying the fruits for about 1,000 years. Now the plant is widespread in climates where it can be grown. Because the plant is a little finicky about fruiting, with 26° killing the flowers, 24° causing developing fruits to drop, 19° killing unopened flower buds, and the whole plant dying at 12°. Add to that the plants’ not liking too much summer heat or wind. No wonder commercial production of this fruit is limited.
Looking at my loquat’s leaves, I feel almost like I’m looking at an old friend, or at least a close relative of an old friend. Yes! The plant reminds me of medlar (Mespilus germanica), a cold-hardy uncommon fruit that I’ve grown and enjoyed for many years (described in my books Landscaping with Fruit and Grow Fruit Naturally, and also in my, for now. out of print Uncommon Fruits for Every Garden). Besides similar leaves, both fruit at the tips of new stems growing off one-year-old wood.

Medlar
The fruit has even been called “Japanese medlar,” and the Spanish word nispero can mean either medlar or loquat. At one time, loquat was placed in the genus Mespilus, along with medlar.
My loquat, the variety Golden Nugget, does not need a pollinator and is allegedly “juicy, firm, meaty, and sweet.” And grafted trees (mine is) bear within 2 or 3 years. So I’m hopeful. If my Golden Nugget loquat is really flavorful it will earn a place, along with four in-ground figs, in the greenhouse, where the climate is truly Mediterranean.
FREE WEBINAR ON PRUNING FRUIT TREES, SHRUBS, AND VINES!
I’ll be giving this free webinar on Saturday, April 24, 2021 from 9-10:30AM EST. Register for it at https://www.eventbrite.com/e/pruning-fruit-trees-shrubs-and-vines-tickets-149851978301

 Topics will include:
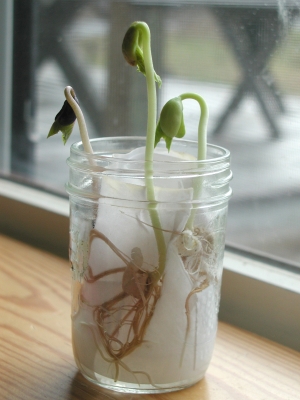
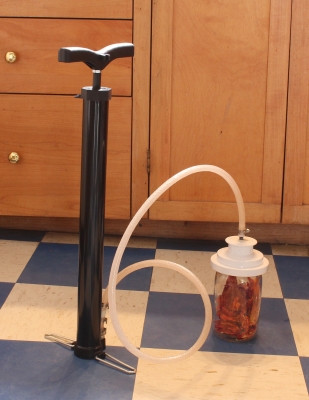 This allowed me to draw some of the air out of the jars with a tube connecting the pump to a ‘FoodSaver Wide-Mouth Jar Sealer.’ It did (usually) create somewhat of a vacuum but it was too much trouble to get at the seeds and re-seal a jar each time. And, again, seed packets don’t pack well into canning jars.

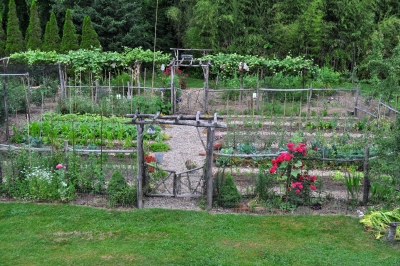


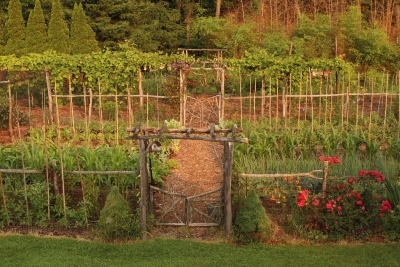
 The one on my garden gate is especially useful in spring and fall, when frosts threaten. As soon as the snow melts, my third