ENTERING THE TWILIGHT ZONE
Bigger Garden, Same Size
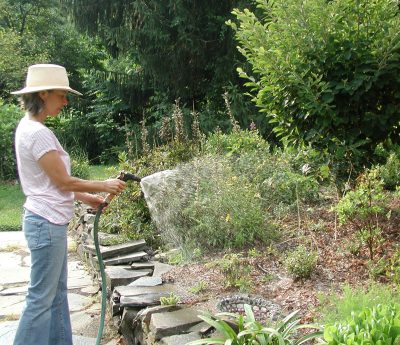
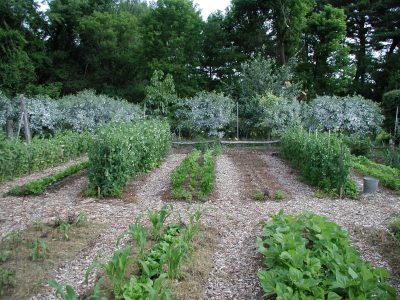
Over the years I’ve greatly expanded my vegetable garden, for bigger harvests, without making it any bigger. How? By what I have called (in my book Weedless Gardening) multidimensional gardening.
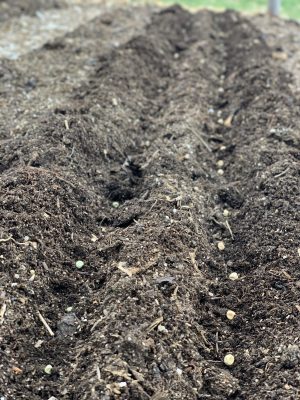
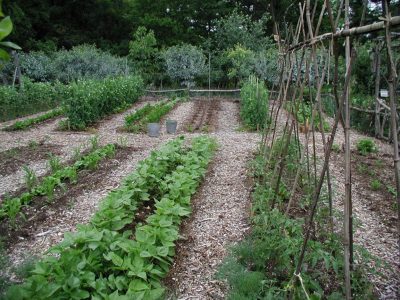
I thought about this today as I looked upon a bed from which I had pulled snow peas and had just planted cauliflower, cabbage, and lettuce. Let’s compare this bed with the more traditional planting of single rows of plants, each row separated by wide spaces for walking in for hoeing weeds, harvesting, and other activities. No foot ever sets foot in my beds, which are 3 feet wide. Rather than the traditional one dimensional planting, I add a dimension — width — by planting 3 rows up that bed. Or more, if I’m planting smaller plant such as carrots or onions.
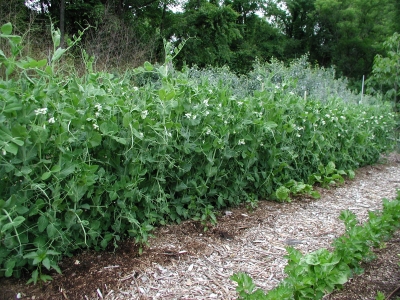
Let’s backtrack in time to when the bed was home to peas. Oregon Sugar Pod peas grow about 3 feet tall, so after planting them in early April, I made accommodations for them to utilize a third dimension in that bed, up. A three foot high, temporary, chicken wire fence allowed them to grow up, flanked on one side by a row of radishes and on the other side by a row of lettuce.
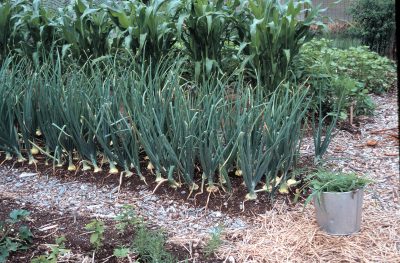
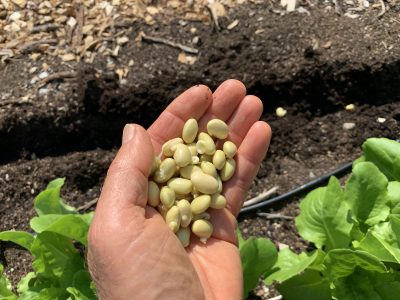
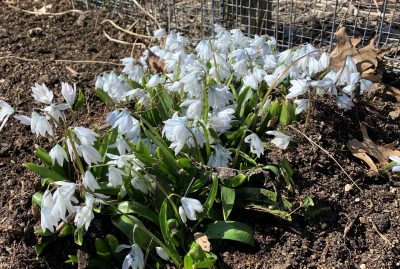
60 pounds of onions in 33 square feet!
There you have it, 3 dimensions. The bed length. The bed width, only three feet wide, with three or more rows down its length. And up.
A Fourth Dimension
Three dimensions isn’t the end of the story for multidimensional gardening. Time is another dimension. Neither peas nor radishes nor lettuce, occupy any bed for a whole season. Peas peter out in hot weather which, along with longer days, tells radish and lettuce plants that it’s time to go to seed. Those conditions tell me that radish roots are getting pithy and lettuce gets bitter, so out they go.
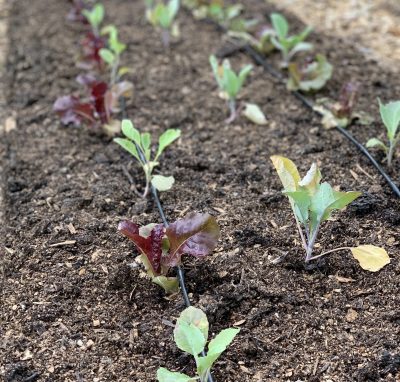
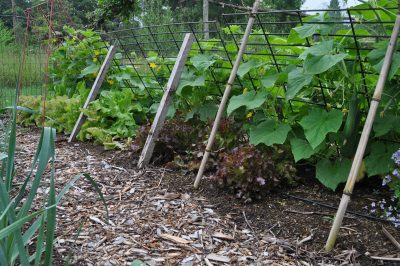
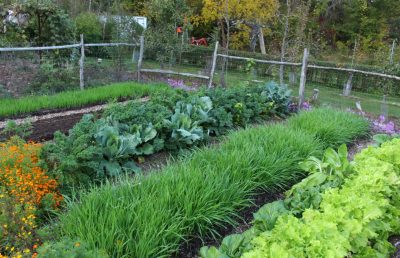
In my planting of cabbage, cauliflower, and lettuce, closer planting is possible because it allows room for longer maturing plants to expand as quicker maturing plants get harvested and out of the way. The middle row of the bed is planted to Charming Snow cauliflower, which will be ready for harvest around the first half of September. I can’t dawdle with that harvest because, left too long, cauliflower curds become loose and quality plummets.
I’ve planted Early Jersey Wakefield cabbage — an heirloom variety noted for its flavor — in a row eight inches away from the row of cauliflowers. The plants in the cabbage row are staggered with those in the cauliflower row, putting a little more space between plants from one row to the other. Early Jersey Wakefield will mature towards the end of September; no need to run out and harvest them all once they’re ready. In cool weather, the heads stay tasty and solid right out in the garden.
The row of Bartolo cabbage — a good storage variety — flanks the cauliflower on the other side of the bed. Bartolo requires 115 days to maturity.
Between each of the cabbage plants I’ve transplanted one or two lettuce seedlings. They’ll be ready for harvest and starting to get out of the way within a couple of weeks.
Mixing and Matching
How long a vegetable takes to mature, what kind of weather it likes, and the length of the growing season all need to be considered in order to make best use of four dimensions in the vegetable garden. Doing so, it’s often possible to grow three different crops in the same bed in a single season.
Here’s a table I made up listing some combinations that have worked well in my planting beds according to preferred temperature (cool or warm) and time needed until harvest (short, medium, or long season). That’s for here in New York’s Hudson Valley, with a growing season of about 170 days.
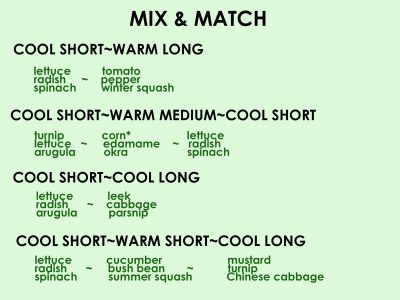
For example, looking at the first group, a tomato bed could start with lettuce, which will be out of the way by the time tomato transplants have spread to need the space. An example from the second group would be a bed with an early planting of turnips followed by a planting of okra followed by a planting of spinach.
A big advantage of these mixed plantings is that they present less of a visual or olfactory target for pests to hone in on, and they cover the ground enough to shade it to limit weed growth.
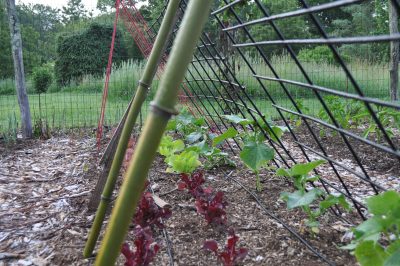
Lettuce and cucumbers

Carrots and lettuce following early corn
And Finally, the Twilight Zone, But Not For Now
Is it possible to find yet another dimension in the vegetable garden, a dimension beyond space and time? The Twilight Zone. Sort of. This fifth dimension is made up of a few tricks designed to find time where it is not, tricks meant to add days or weeks to the beginning and/or end of the growing season. But mid-July isn’t the time to detail ways of adding this dimension.
Trying to fill every available niche of physical space and time in the vegetable garden is like doing a four- (or is it five-?) dimensional jigsaw puzzle. Assembling this puzzle can sometimes bring on as much frustration as doing a real jigsaw puzzle. When I began gardening, I would sometimes get overwrought trying to integrate every multidimensional “puzzle” piece into every square inch of garden. Then I learned: When in doubt, just go ahead and plant.

 I grow only Sweet Mama and Waltham winter squashes. The first variety is botanically Cucumbita maxima and the second is C. moschata; the two species do not cross-pollinate.
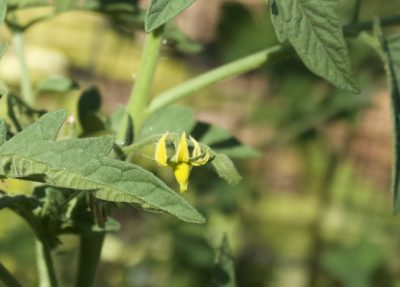 Distance between varieties can prevent cross-pollination. So can fine mesh bags. I plan to use small organza bags normally sold for wedding favors.


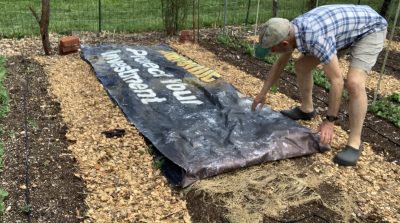
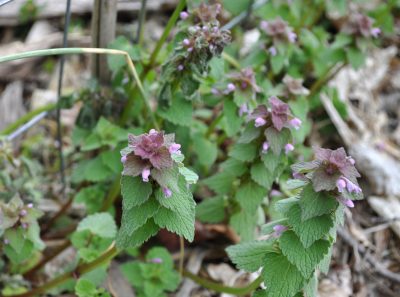 Yes, I know the plant is pretty, provides early nectar for pollinators, and is edible. But its out of place in my vegetable beds. The tarp does it in.


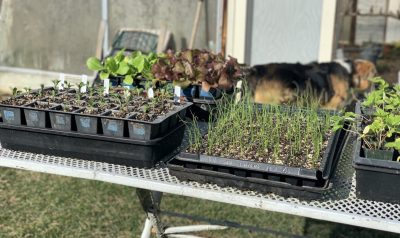
 Wait two weeks for Mother Nature to work her magic decomposing some of that existing vegetation. Or, rather, part of her magic. After two weeks, dig up the ground again, this time adding some compost or fertilizer. You could dispense with the compost or fertilizer this season if whatever was growing there before digging looked vibrant. Better not to go out to a store these days if you don’t have to anyway. Wait another two weeks, and when you’re ready to plant, use a garden rake to tickle the surface of the ground and crumble it.
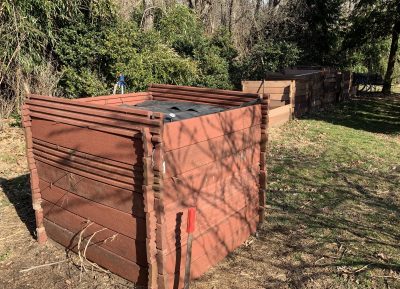
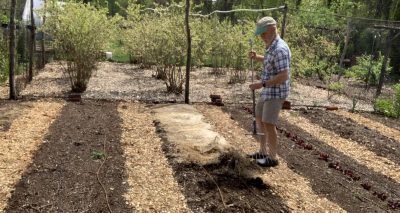
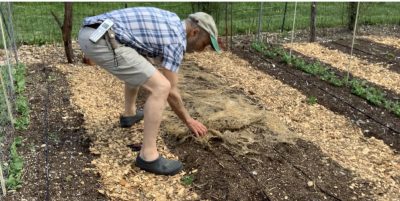
 Busy, such as: attending to my compost. The last compost pile of late fall and winter is an accumulation of end-of-season debris from garden cleanup, bedding from the duck house, and kitchen scraps. Not much happens in it with the slow additions and winter cold. I decided to dig into the pile to see how it was doing. Not good!