
WISE AND NOT SO WISE
A lot about this year’s vegetable garden warrants my patting myself on my back; other things warrant a nuggy (virtually impossible unless I was double-jointed). Let’s start with the pat-worthy stuff. Perhaps you’ll find some of it useful in your vegetable garden. Perhaps you’ll want to comment on it.
Good Moves
Sweet corn is one of my favorite vegetables, both fresh in summer, and frozen in winter. Evidently, chipmunks are also fans. I plant sweet corn — the old variety Golden Bantam — in hills (clumps) of three stalks per hill, the hills eighteen inches apart in the row, with two rows running the length of each three-foot-wide bed. I spread out the harvest with four plantings, the first on about the average date of the last frost, mid-May, and the last planting the end of June.
With a variation on traditional corn planting — “one for the rook, one for the crow, one to rot, and one to grow” goes the old saw — I drop five rather than four seeds per hole. 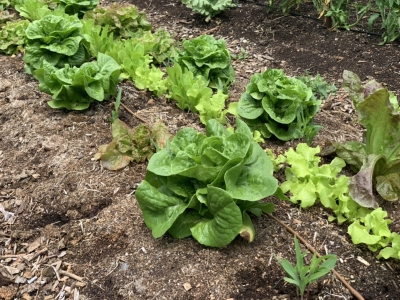 Seed is cheap. Unfortunately, those extra seeds merely gave chipmunks more to eat in that first planting. So . . .
For subsequent plantings I sprinkled a mixture of cayenne pepper and cinnamon over the seeds in each planting hole. Although birds can eat hot pepper, furry animals generally, my dog Daisy excepted, cannot. I figured the chipmunks wouldn’t like the taste of cinnamon and/or it would mask any aroma from the corn seeds. The result: success.
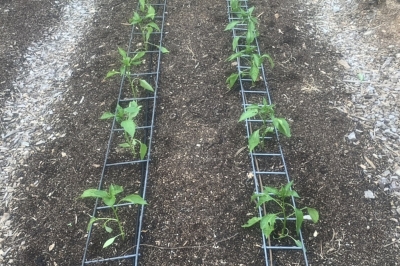
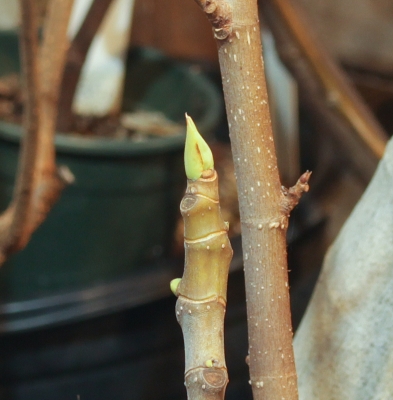
Pests threatening my onions and leeks arrived here on the farmden just a few years ago. Leek moth is one of them and thrips possibly another. Leek moth flies to lay its eggs in early spring, and thrips overwinter in debris. Another pest severely stunted last year’s onions, but neither I nor a university vegetable specialist could find anything odd about the roots, tiny bulbs, or leaves on which to lay blame.
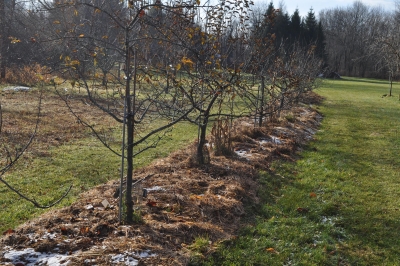
Thoroughly cleaning up debris, which I do for all beds anyway, and covering the bed with fine mesh should keep leek moth, thrips, and possibly other pests at bay. A wire frame to support a large piece of organza fabric, with the organza clothespinned tightly near ground level did the trick. The leeks and onions look healthy and vigorous.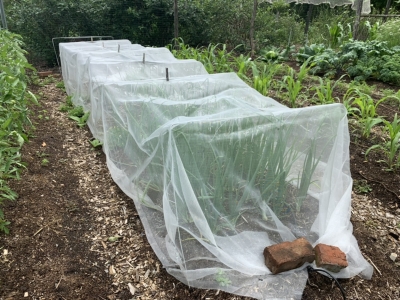
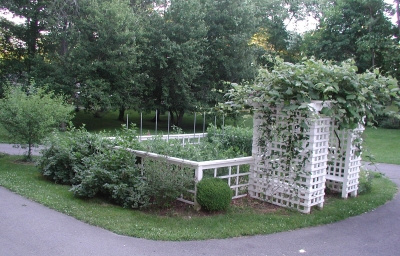
A Successful Makeover
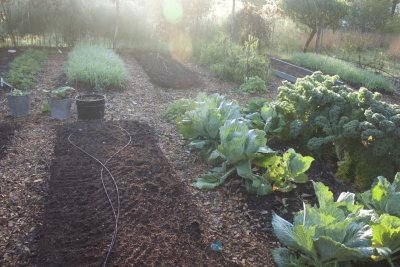
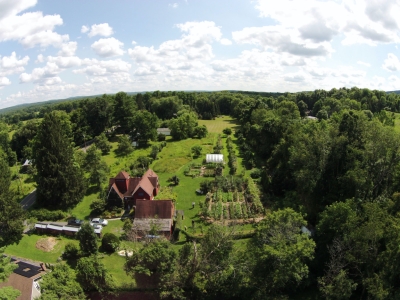
The need for a bold makeover of my south vegetable garden is embarrassing, but I’ll come clean. For some reason I oriented beds in that garden, created in 1997, east and west. I should have know better. It was a more favorable location for the two gates, but that’s not a good excuse. Tall plants in east-west beds shade shorter plants in those and nearby beds throughout the day. So whenever possible, north-south, or nearly north-south, beds are best.
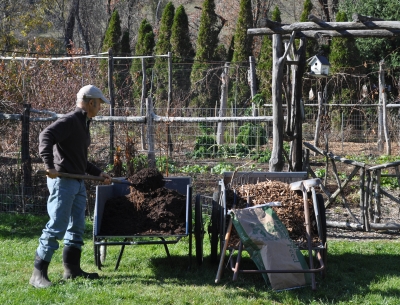
Last fall, with some help from friends, I raked soil in the beds and wood chipped paths as level as possible. (My beds aren’t raised beds, but they do slowly rise after decades of annual slatherings of an inch or more of compost.) 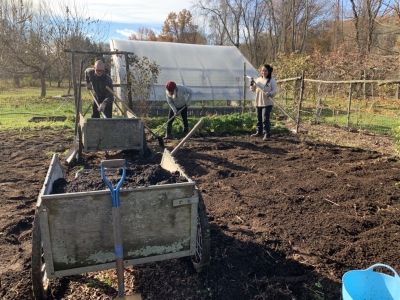 We rolled out gray resin paper to suppress weeds sure to sprout in the newly disturbed soil, then topped the paper with compost in the beds and wood chips in the paths.
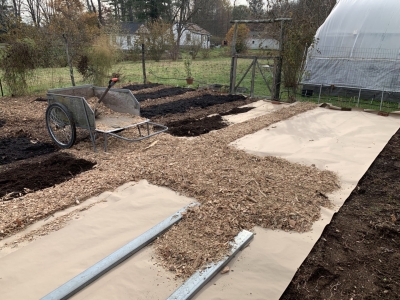
It’s a young garden again! Sort of. When planting, I can feel the difference in the ground from where a bed crosses regions that were once paths versus those that were beds. But the soil will get better every year, and the beds now run the better direction. Only one garden gate now, though.
Everything Not Always Rosy
Not all is always rosy down here on the farmden. Flea beetles, as expected, attacked my eggplants. I could have netted the eggplants also, but I was foolishly banking on hope.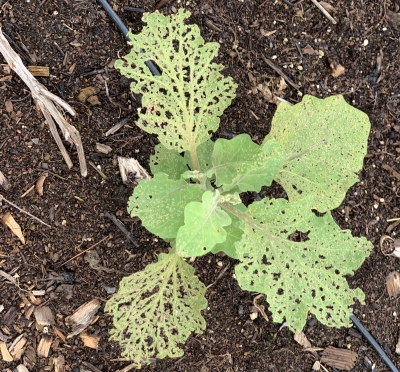 I’ll admit to spraying the organic pesticide Pyganic while waiting for the eggplants to outgrow the damage.
The other pest here is a weed, creeping woodsorrel (Oxalis corniculata). The straight species grows tall and is very easy to weed out. No problem.
The problem child is the purple-leaved variety (Oxalis corniculata var. atropurpurea) which blends in with the soil and hugs the ground in spreading mats. 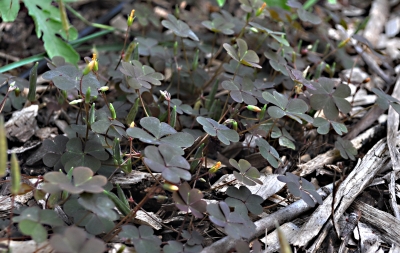 It responds favorably (for me, not it) to sprays of household strength vinegar or any of the other organic herbicides whose active ingredient is ammonium nonanoate, such as Ortho® GroundClear® Weed & Grass Killer or the more benign sounding BioSafe Weed & Grass Killer.
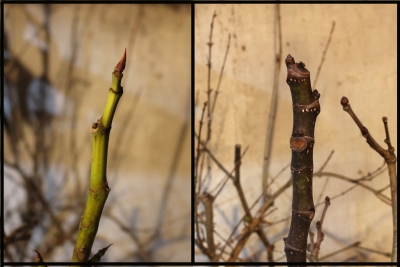
And finally, we come to drip irrigation, a watering technique on which I’ve heaped tons of praise for saving water, for limiting weeds, for healthier plants, and for being easily automated. This last quality can cause a problem. A few years ago I thought a spring had sprung it my field; it was an old main line that was still in line and spewing out water below ground. Another year plants in a couple of beds seemed to languish as drier weather moved in; the underground connection of some drip lines had disconnect from the main line. Yet another time, water was pouring out of an unplugged end of a drip line. Or, last year the battery died on one of the timers; most affected were two small rosemary plants, trained as small trees, many of whose leaves and stems dried up, dead.
This spring, it was, first, the main water source, which is from a shallow well, clogging the filter. And then, a piece of hose running from the well pump to the main line developing a kink.
All these irrigation glitches were easily fixed once I noticed them. And there’s the key. My very smart phone now reminds me to spend the few minutes required to check the drip irrigation system every Monday.


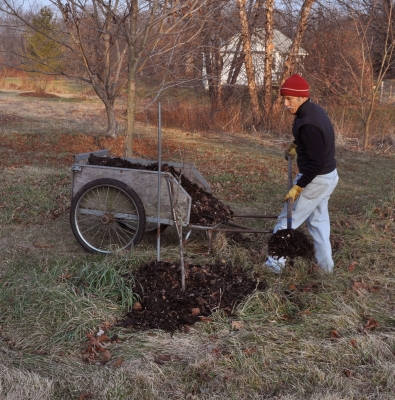
 That inch depth of compost is the only thing my vegetable beds get each year, and it nourishes closely planted cabbages, tomatoes, lettuces, and other plants from the first breath of spring until cold weather barrels in to shut down production.
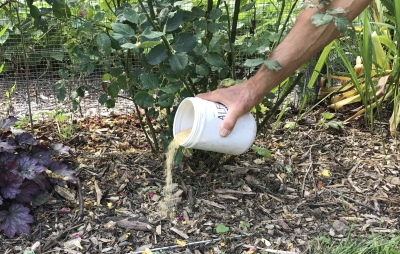


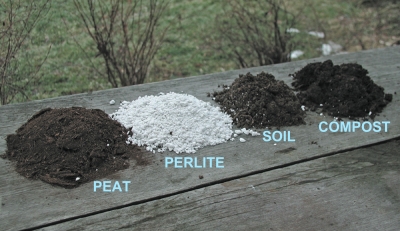

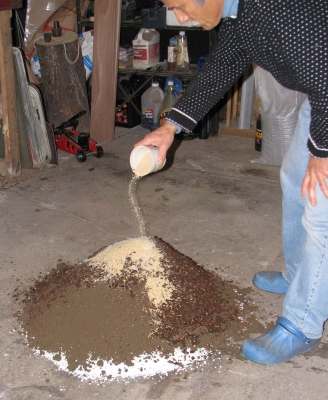 Then I pile up on the floor two gallons each of garden soil, peat moss, perlite, and compost. On top of the mound I sprinkle a cup of lime (except if I’ve sprinkled limestone on the compost piles as I build them), a half cup soybean, perhaps some kelp flakes.
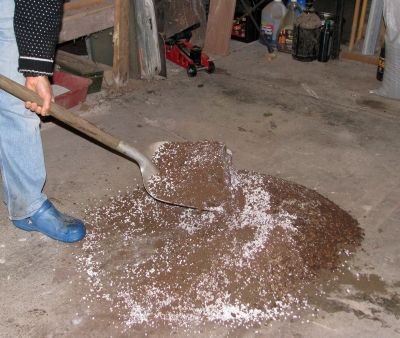 I moisten it slightly if it seems dry. When all mixed, the potting soil gets rubbed through a 1/2″ sieve, 1/4” if it’s going to be home for seedlings.
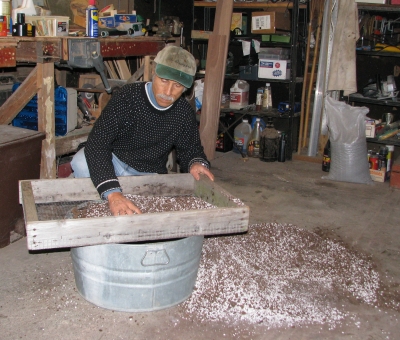


 To the south my meadow ends at a sweep of another neighbor’s field, the more frequently mown grass of which undulate like waves in summer sunshine in contrast to the more upright asters, fleabanes, goldenrods, and monardas that stand upright among the grasses in my meadow.


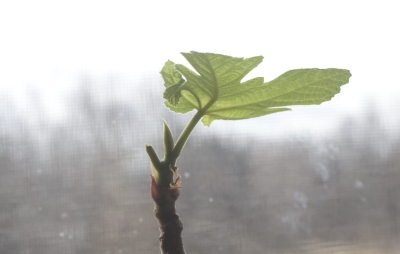 Besides having its thirst quenched just enough to prevent wilting, it sits in front of a large, unobstructed window facing due south in a room whose temperatures range from the 50s and 60s. (That’s why I’m writing while sitting here in a down jacket!)
 The larger the plant, the more roots can be removed. I go around the edge of the root ball with a kitchen knife slicing an inch or two off around the edge of the root ball. That should tell Ms. Fig to chillax!

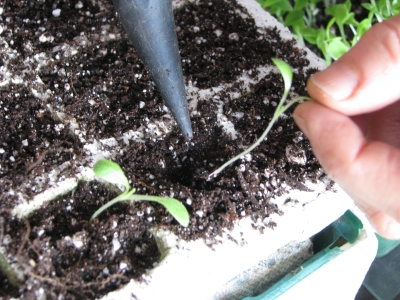
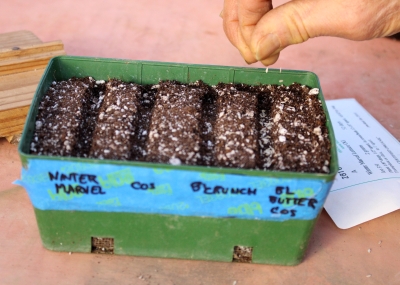 So I sowed them in a 4×6 inch seed flat filled with potting soil, then moved the flat in front of a sun-drenched, living room window. Once the lettuce seeds sprouted, which was in a few days, I moved them to the greenhouse. Warmer temperatures are needed to sprout a seed than to grow a plant.
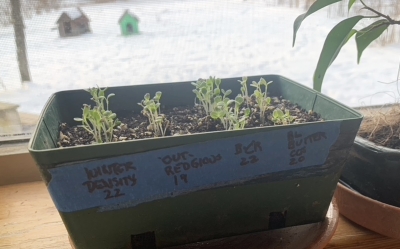
 I use this same method to keep up a steady supply of lettuce and other seedlings all through summer, the plants typically needing about a month in the