IN WITH THE NEW, STILL WITH THE OLD
Scale Attack Beginning!
As if to ring in the new year, scale insects are starting to make their presence known. These insects crawl around as babies, find nourishing spots on leaves or stems, insert their feeding tubes, and then spend their days sucking plant juice. Carbohydrates and sugars are what result when sunlight and chlorophyll get together, so longer days may already be making plant sap sweeter and more plentiful, much to the liking of these suckers.
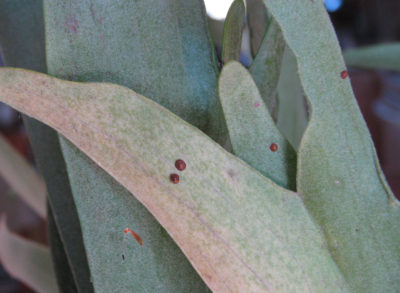
Armored scale on staghorn fern
I encounter two kinds of scales on my houseplants. Each armored scale looks like a small, raised, brown tab. Cottony cushion scale looks like a small tuft of white cotton. As either kind feeds, it exudes a sweet honeydew that drips on leaves, furniture, and floor, and eventually becomes colonized with a fungus that airbrushes those sticky drippings an unappealing smokey haze.
(Scale insects are often problems on trees and shrubs outdoors. I’ve never had any problems outdoors probably because natural predators, of which scale insects have many, can do their job. Once indoors in autumn, houseplants lose the benefits of these natural, outdoor predators. )
Repeated sprays last autumn of “horticultural” oil smothered the creeping, crawling baby scales as they were looking for homes on houseplants. I do all this spraying outdoors, where it is most convenient, before the plants come indoors for winter. None have turned up yet on the kumquat or the staghorn fern, both of which have been scale magnets in the past. I don’t see any on the bay laurel, another magnet, but I do see and feel the tell-tale sticky honeydew.
And . . . Counterattack
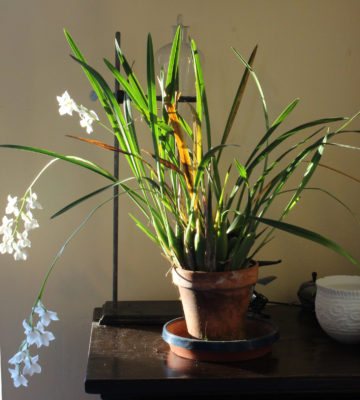
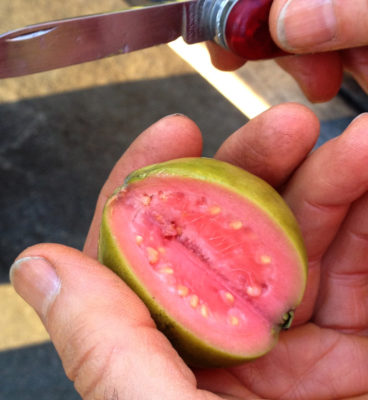
Cute, little white tufts of cottony cushion scale are starting to dot the undersides of strawberry guava’s leaves. It’s not surprising: I received this plant last autumn, already with scale, and it was too late then to start spraying with oil. As autumn progressed, the undersides of its leaves became increasingly covered with those white tufts.
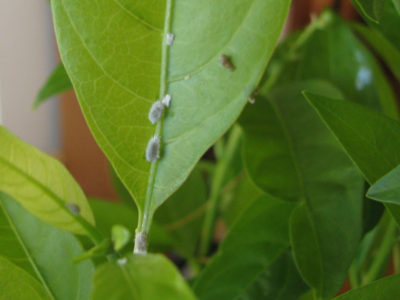
Cottony cushion scale
Repeatedly, over the last few months, I have fought back the buggers mano a mano by dipping cotton swabs in alcohol and methodically cleaning them off each leaf. (The plant is young and its leaves are large and few.) The last cleaning was especially thorough but some eggs evidently survived. Time to get out the alcohol and swabs again.
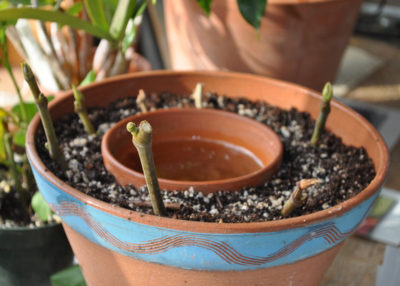
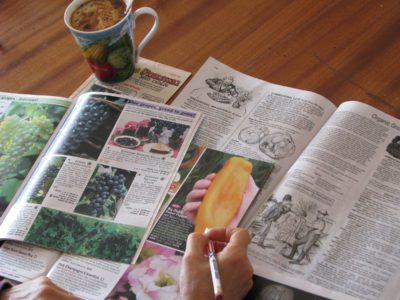
Mmmm, Tomatoes, In Planning Stage
Like the scale insects, I feel the distant tug of spring and spring seed orders are complete. With most vegetables and flowers, I’m pretty picky about variety so have to rely on mail order sources for my seeds.
And especially so with tomatoes: I refuse to waste time and space growing anything but the best tomatoes (to me), which makes me very wary of trying new varieties. My own tried and true varieties — flavor is what I’m after — include Belgian Giant, Sungold, Anna Russian, San Marzano, Amish Paste, Rose de Berne, Nepal, Valencia, Cherokee Purple, and Blue Beech.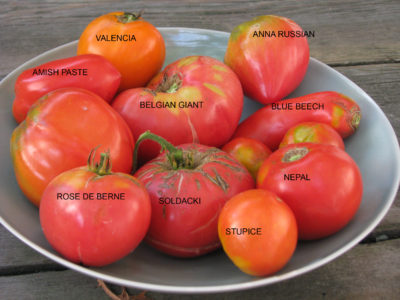
Every once in a while I’ll also grow a few others, but only if they come highly recommended from a reliable source and especially if they are an “oxheart” or “black” fruited variety. Not even worthy of consideration is any “determinate” variety because their leaf to fruit ratio is too low for good-tasting fruit. The seed catalog or seed packet itself should say whether a variety is determinate or indeterminate. This year’s tomato newbies include Rosella Purple and Dwarf Sweet Sue, both recommended by a reader of this column.
I highly recommend growing tomatoes from seed. It’s easy, especially if the seeds are sown in a timely manner, which is about 6 weeks before the average date of the last killing frost of spring — about April 1st here in USDA Hardiness Zone 5.
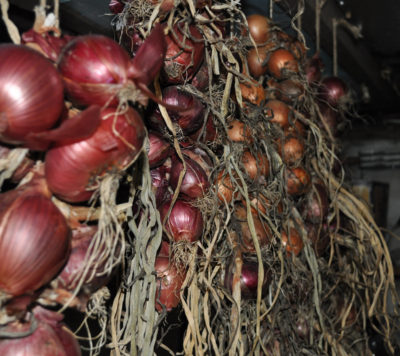
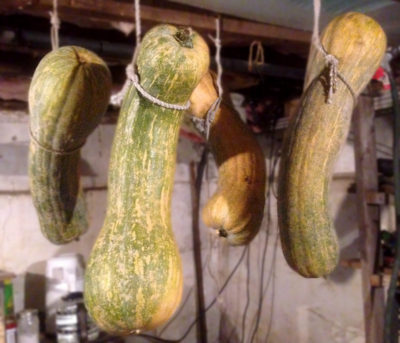
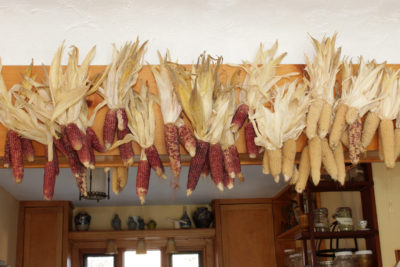
Onions, Last Year And This Year
It’s really not all that early to be ordering seeds. My date for sowing onion and leek seeds is February 1st. New York Early, Copra, Sweet Spanish, and Ailsa Craig are three onion varieties that did well for me last season, and will be returning for an encore. Last summer’s onions still hang in braids from the basement rafters, ready to be pulled off as needed to chop into a pan for roasting with sweet potatoes, into the soup pot with chickpeas and kale, and other savory dishes for weeks to come.