GOOD BERRIES, BAD(?) BERRIES
Sad, Then Happy
A sad day here on the farmden: the end of blueberry season. Frozen blueberries, that is. Seventy quarts went into the freezer last summer, and a lot more than that into bellies, and now they’re all finished.
A happy day here on the farmden: the first of this season’s blueberries are ripening. These blueberries, and those that were in the freezer, are the large “highbush” (Vaccinium corymbosum) varieties commonly found fresh on market shelves. Also ripening now are “lowbush” (V. angustifolium) blueberries, growing as a decorative, edible ground cover on the east-facing slope near my home.

I’ve said it before but I’ll say it again. After many, many years of growing fruits in my not-particularly-good-for-fruit-growing site, blueberries — a native fruit — have always yielded well. Two most important things are adapting the soil to blueberries’ unique requirements, and keeping birds at bay. Birds at bay? Best is a walk-in, netted area.

Soil for blueberries needs to be very acidic, with a pH between 4 and 5.5, made so, if needed, with the addition of sulfur, a naturally mined mineral. The pelletized form is best because it’s not dusty. Blueberry roots need good drainage and consistent moisture. They thrive in ground rich in organic matter, maintained with an annual three-inch topping of some weed-free, organic material such as wood shavings, wood chips, straw, pine needles, and autumn leaves.
(That’s the bare bones for success with blueberries. For a deeper dive into growing this healthful, delicious, reliable fruit, stay tuned for my soon-to-be-aired blueberry webinar.)
And More Berry-Like Fruits Coming Along
Just as last year’s apples were losing their crispness and tang and I needed a change from oranges, other berries, in addition to blueberries have started changing color, softening, and turning flavorful.
Black currants are another one of my favorites now ripening. They admittedly have an intense flavor not to everyone’s liking. But everyone likes black currants conjured up into juices, pastries, or jam. Variety matters. My favorites are Belaruskaja, Minaj Smyrev, and Titania.
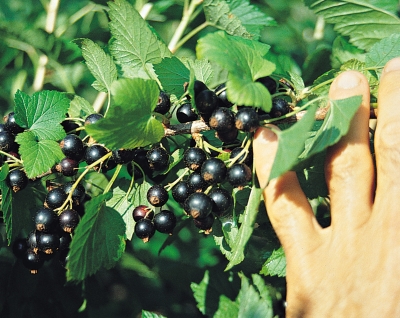
Don’t think black currants taste anything like “dried” or “Zante” currants. Those are raisins, originally made from “Black Corinth” grapes, a name then bastardized to “black currant.”
Like blueberries, black currants are easy to grow. But they have no special soil requirements, they fruit well even in some shade, and deer rarely eat the bushes, and birds rarely eat the berries.
Another tasty morsel now ripe is gumi (Elaeagnus multiflora). Birds usually strip this shrub clean of fruit, except this year the crop is so abundant that neither I nor the birds can make much of a dent in it. The berries are a little astringent if not dead ripe. And not at all if the fruit is processed; last year I cooked them slightly, strained out the seeds (which are edible), and blended it before drying it into a “leather.”

The gumi shrub itself has silver leaves, providing an attractive backdrop for the red fruits. The flowers are extremely fragrant, and the roots enrich the soil by taking nitrogen from the air (with the help of an actinomycete microorganism.)
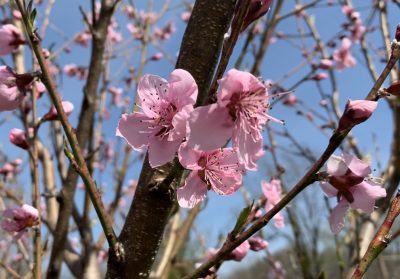
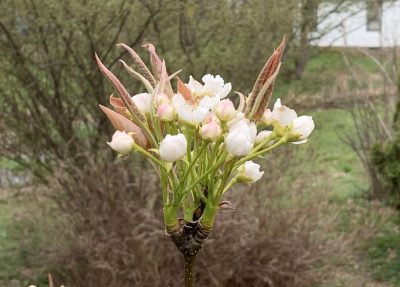
Also now abundant, with plenty for all, is Nanking cherry (Prunus tomentosa), a favorite of mine for beauty and easy-to-grow cherries. The cherries are small, usually no larger than about 3/8 inch. But the single pit is also small. Flavor lies somewhere on the spectrum between sweet and sour cherries, very refreshing especially when chilled.
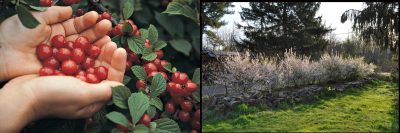
Nanking cherry fruit and bloom
Another Chance, and Then Another
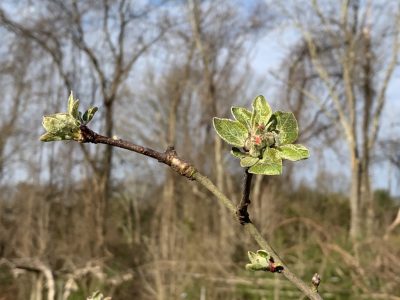
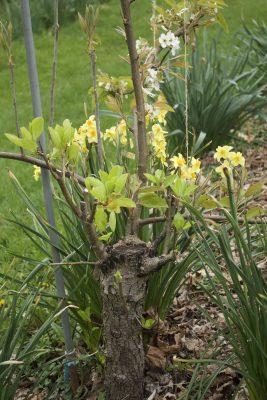
All is not rosy in the berry-size fruit world. Over the years, I had heard about and tried a new fruit in town, edible honeysuckles. In the past, the plants I tried either died over winter or bore very few, very mediocre berries. Since then, edible honeysuckles have come up in the world, with serious breeding work, and I was given the opportunity to try them again. (As Maria Schinz said, “Gardening is an exercise in optimism.”)
But first, what is an edible honeysuckle, which now goes under better names. If called “honeyberry,” it usually refers to Russian species such as Lonicera caerulea app. kamtshatica or edulis. Haskap is a Japanese name applied the Japanese species L. caerulea spp. emphylocalyx, or to hybrids of this species with Russian species. Pure Japanese species varieties are sometimes called Yezberry, after the Island of Hokkaido, called Yez or Yezo Island where they are found. The Japanese species and hybrids are less susceptible to spring frosts than the honeyberries.
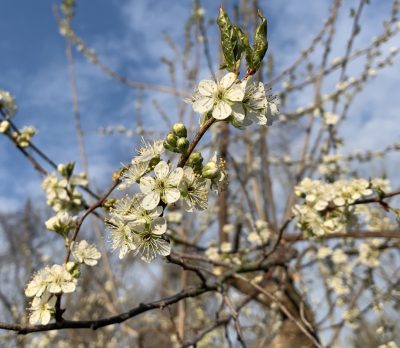
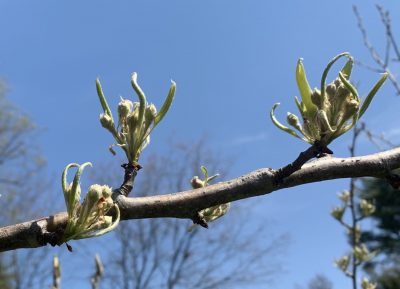
This spring I planted out two Yezberry varieties, Solo and Sugar Mountain Blue. The small, blue berries ripen early, and I was eager to give this fruit another try. Solo is bearing. The taste? Awful! Sour, with no other flavor.
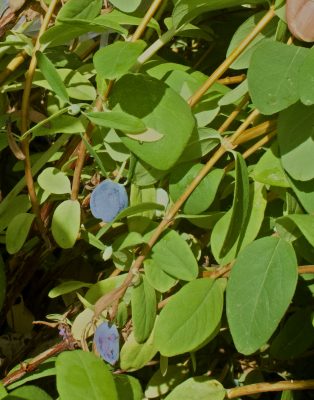
Solo yezberry
But I’m not abandoning edible honeysuckles. I’ve learned that the berries need to hang on the branches for a long time before developing full flavor and sweetness. A number of varieties are available, some of which are, according to others, “Delicious when eaten fresh from the plant” and “a bit like a cross between a raspberry and a blueberry. . . sweetness of a raspberry with a hint of pleasant tartness.” Really?!
Many blue berries are still hanging on my Solo bush. I’ll leave them to hang longer there and perhaps morph from “awful” to “delicious,” and will report back. I have hope for this new fruit, not yet high hopes.
At the very least, honeyberries or haskaps might be able to tide me over from the end of frozen blueberries to the first of fresh blueberries.

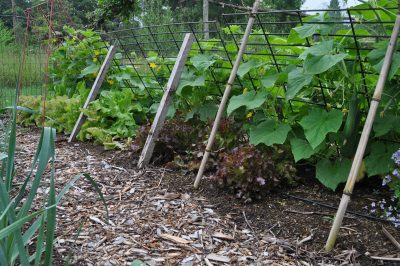
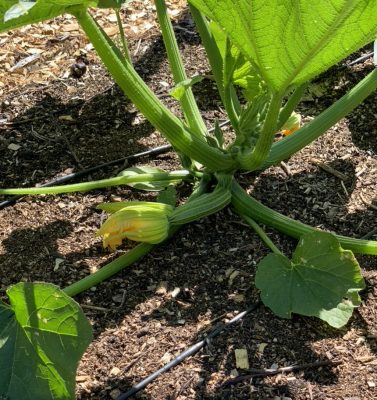 I grow only Sweet Mama and Waltham winter squashes. The first variety is botanically Cucumbita maxima and the second is C. moschata; the two species do not cross-pollinate.
 Distance between varieties can prevent cross-pollination. So can fine mesh bags. I plan to use small organza bags normally sold for wedding favors.

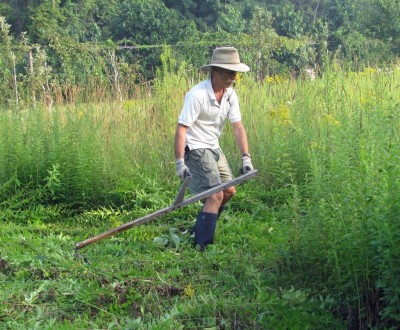
 Scott Nearing was a professor of economics, a political activist, a pacifist, a vegetarian and an advocate of simple living. And a gardener. For many of these reasons, he was almost a cult figure back in the 1970s when I, a young man, visited him. He was then known mostly for his book Living the Good Life. I had read the book, and decided to drive 1,000 miles from Madison, Wisconsin to show up on his farm, unannounced, in Harborside, Maine.
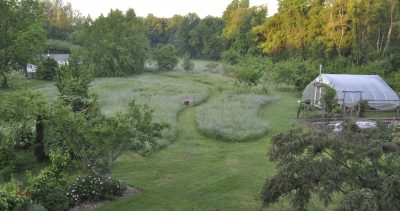
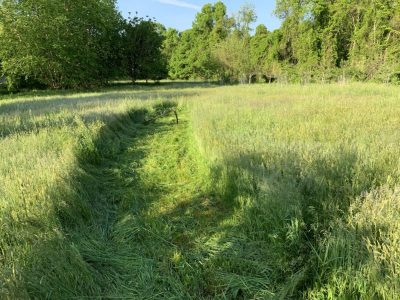
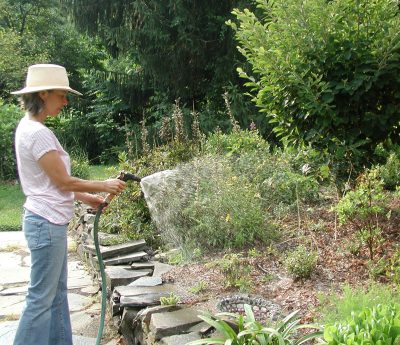
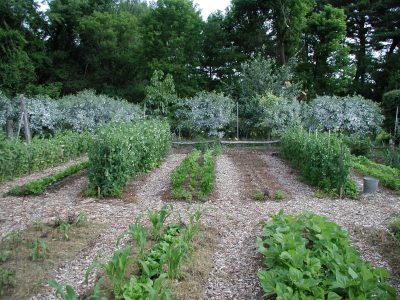
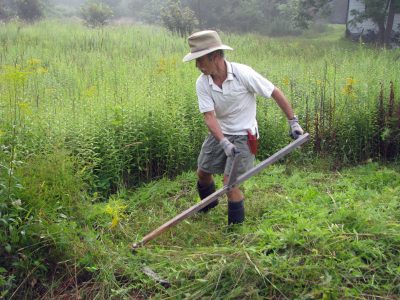 For me, working my field in the quiet of early morning, with the sun low in the sky and grasses still moist from morning dew, is sheer pleasure. A morning dance.
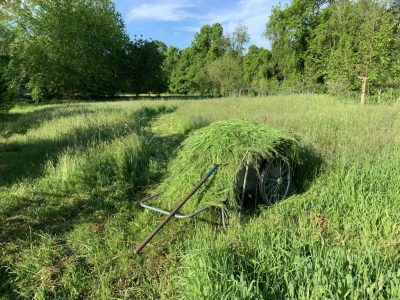
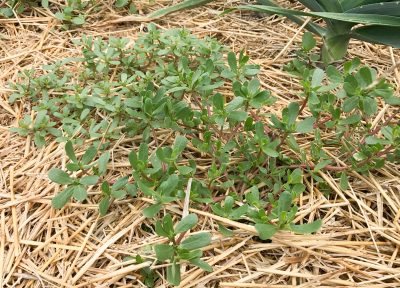

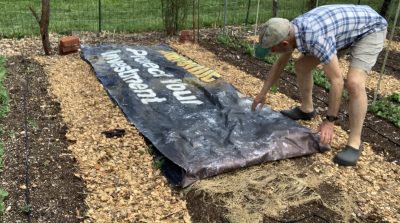
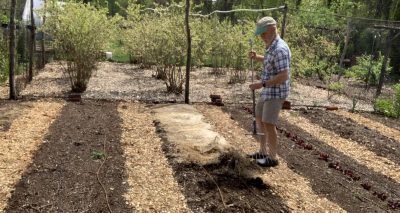
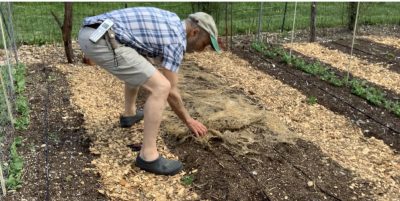
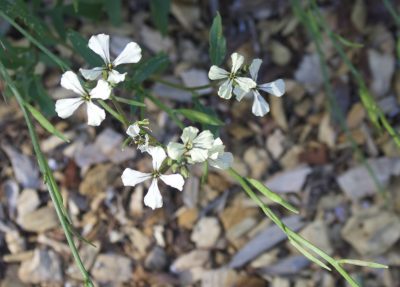
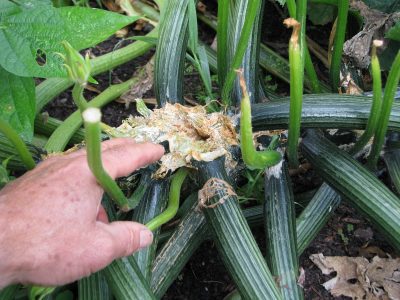
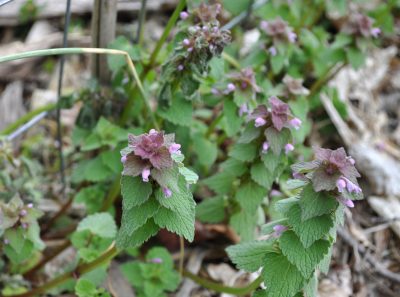 Yes, I know the plant is pretty, provides early nectar for pollinators, and is edible. But its out of place in my vegetable beds. The tarp does it in.
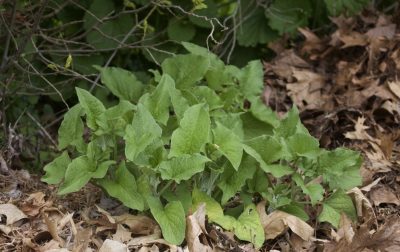
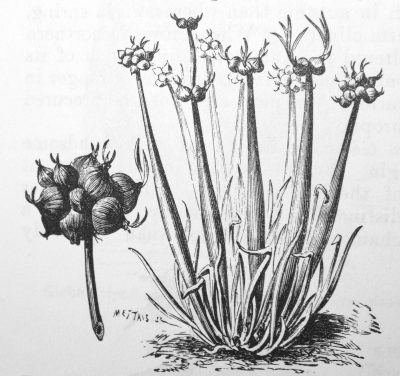 The bulbs take root, grow, bow, and deposit the bulbs another few inches away, so, unfettered, the plant spreads by “walking” around the garden. I stopped growing it because the flavor was too sharp for me.
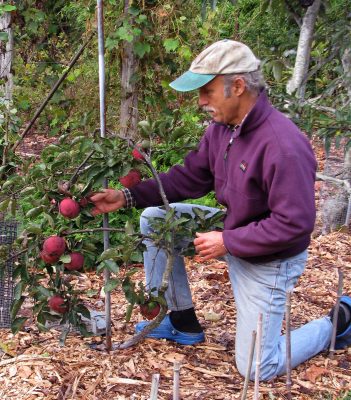
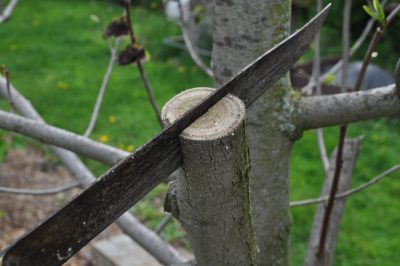


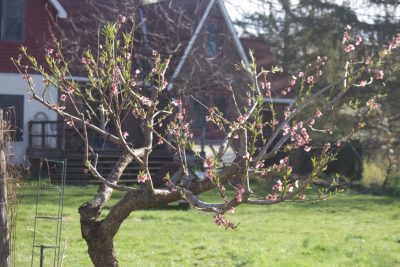
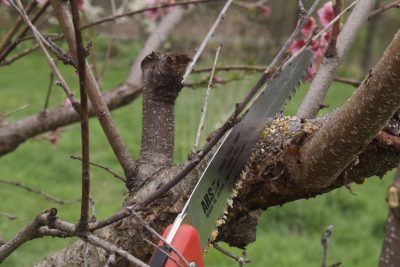 major cuts aimed at keeping the tree open to light and air.
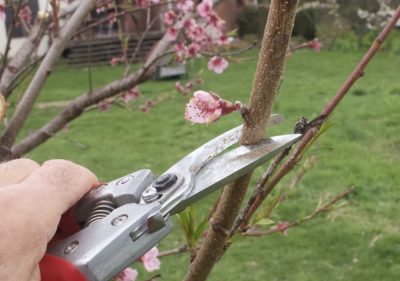
 And, of course, for more about pruning, there’s my book,
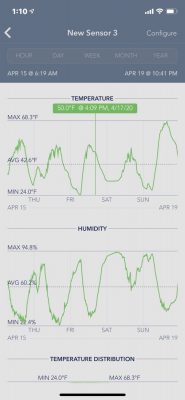
 Great. Even better, temperature (as well as humidity) is recorded, and can be displayed graphically or downloaded to my computer. So I didn’t have to be awake to find out the mercury hit 32.5°F at 12:16 AM on the night of April 17th and stayed there until it began rising around 7 AM.