As The World Turns…
Over the years, gardening has made me more and more aware of our planet’s annual track around the sun. How quaint. It gives me a certain kinship with the peasants at work in the 15th century painting for the month of September of Les Très Riches Heures de Duc de Berry.
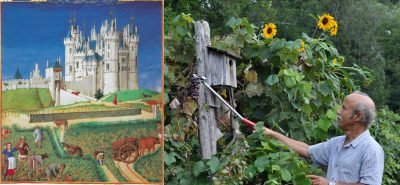
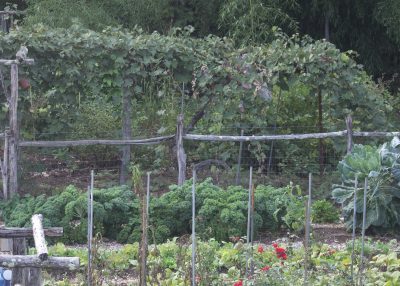
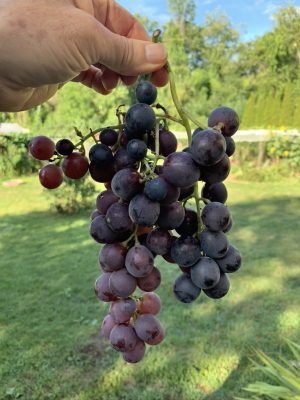
Picking grapes, 15th and 21st century
As with those peasants, September is a month when I have abundant fruits for harvest. Like the peasants, I’m harvesting grapes; it’s been a bumper year. Unlike the peasants, my grapes are destined for fresh eating rather than being sullied by fermentation into wine. (Okay, okay, just kidding, although I am not a fan of drinking wine.)
First to ripen here were the varieties Somerset Seedless and Alden. With an abundance of varieties and fruits, I can afford to be picky, so this will be the last season here for Somerset Seedless. It’s too prone to pest problems and the fruit never loses enough of its tannin-y taste for my palate.
Alden grape
Alden is also threatened with my saw and shovel because it bears lightly and is also plagued with pest problems. But excellent taste and texture make it worth keeping.
Following on the heals of those earlier varieties are Swenson Red, Lorelei, Glenora, and Vanessa. The latter two are very good but would not be worth keeping if they weren’t seedless. In my experience, the most flavorful grapes are those with seeds. Swenson’s Red is a variety that pretty much everyone loves. They’d also love Lorelei if they got to taste this not very common variety.
Finally come Edelweiss, Wapanuka, Brianna, and, bearing for the first time, Cayuga White. The first three are not yet quite ripe. Even at this stage, they are delectable. Cayuga White is still proving itself, or not.
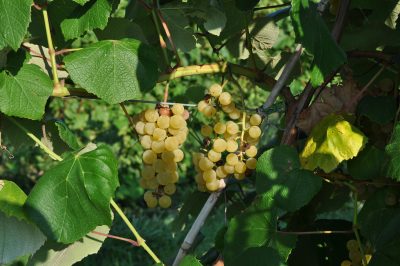
Edelweiss
Looking to the future, newly planted Bluebell, Alpenglow, and Dr. Goode should yield a few berries next year. Also an unknown variety that I propagated from an old vine growing at a friend’s Orchard.
With their bold flavors, you’re not likely to find any of the varieties I mentioned at a supermarket, possibly even a farmer’s market. Plant them!
Variety Choices
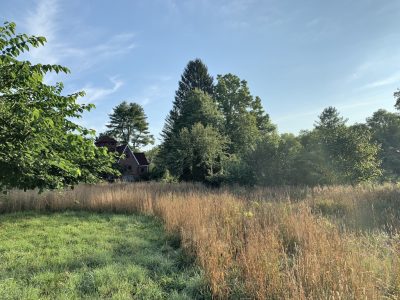
A few caveats: The Wallkill River Valley, site of my farmden, is far from ideal for fruit growing. As a valley, it’s colder than surrounding land (zone 5) and is laden with damper air that encourages disease. An abundance of wild grapevines in the bordering 6000 acres of forest provides a place for insects and disease to get their start.
Nonetheless, I get good crops without resorting to sprays. This is possible by providing a sunny site with good air circulation and making the best of it with trellises, and — very important — annual pruning. Also by choosing varieties to plant based on pest, disease, and cold resistance.
Many grape varieties are hybrids of European and American species, the Europeans chosen for their flavor (flavor, that is, from a Eurocentric perspective), the Americans for their toughness to pests and more rigorous growing conditions. American varieties have a unique flavor, called foxiness and typified by that of Concord, as well as a slip skin. European varieties are sweet with a crunchy texture.
As far as flavor and texture, varieties span the spectrum from those that are more like European grapes to those more like American grapes. My final, but very important, consideration in choosing a variety is flavor, and I mostly prefer the flavors of varieties toward the American end of the spectrum.
Of course, the choice widens for grape enthusiasts in more Mediterranean climates, where European varieties can also be grown, and in the Southeast, where the native muscadine grapes grow wild and are cultivated.
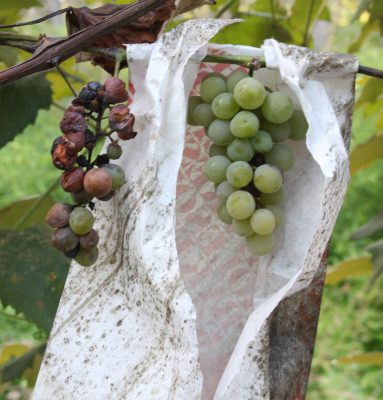
Bagging, for Pests
Many birds and insects, especially yellow jackets and European hornets, also enjoy my grapes. They leave plenty for me, but crucial to harvesting the best of the best tasting grapes here is bagging.
Years ago I figured that the longer a bunch of grapes hangs on the plant, the tastier it gets (to a point), but also the more chance of attack by insects and birds. So I bought 1000 bakery bags that happened to have “Wholesome Fresh Delicious Baked Goods” printed on them. 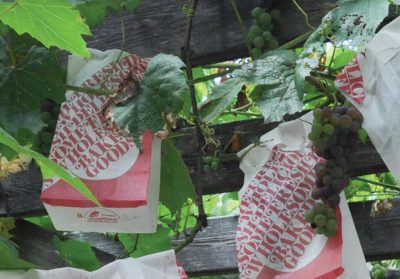 Perhaps the label made the bags even less attractive to grape-hungry birds and insects; at any rate, they worked very well, usually yielding almost 100 late harvest, delectably sweet and flavorful, perfect bunches of bagged grapes each year.
This year, I thought organza bags might work well. 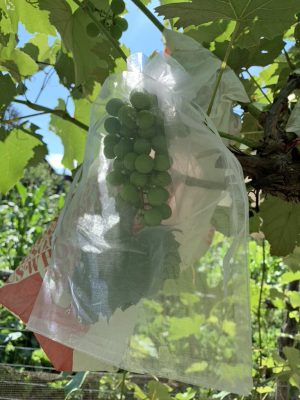 Organza is an open weave fabric often made from synthetic fiber. Small organza bags typically enclose wedding favors; the bags come in many sizes. Organza bags have the advantage over paper bags of letting in more light. A mere pull of the two drawstrings makes bagging the fruit very easy; paper bags involve cutting, folding, and stapling. Organza bags also re-usable. (The bags also work well with apples which, in contrast to grapes, require sunlight to color up.)
In the15th century painting, peasants just pile bunches of their grapes into large, wooden tubs. I gently set only enough bunches for immediate consumption into a woven basket. Different methods, but we’re all tuned to the progress of our planet around its sun.
More details about growing grapes — and lots of other fruits — in my book Grow Fruit Naturally.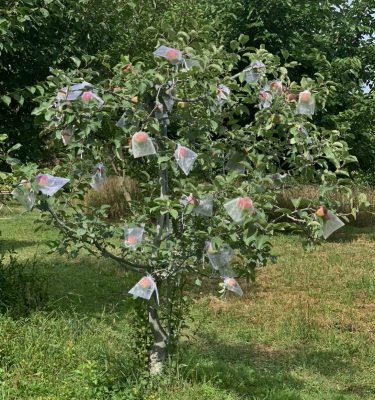


 The first grapes of the season, Somerset Seedless and Glenora, started ripening towards the end of August. The first of these varieties is one of many bred by the late Wisconsin dairy farmer cum grape breeder Elmer Swenson. The fruits of his labors literally run the gamut from varieties, such as Edelweiss, having strong, foxy flavor (the characteristic flavor component of Concord grapes and many American-type grapes) to those with mild, fruity flavor reminiscent of European-type grapes. Somerset Seedless is more toward the latter end of the spectrum and, of course, it’s seedless. Swenson red and Briana, which are ripe as you read this, are more in the middle of the spectrum.
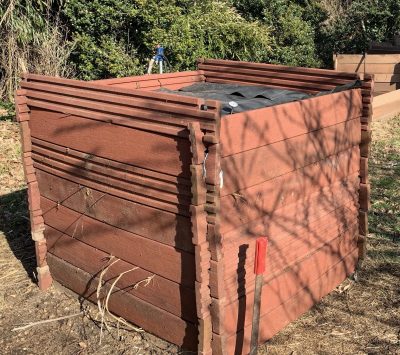
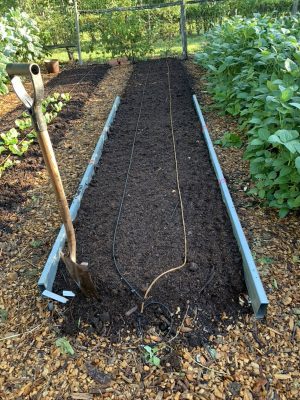
 Also covered will be the best ways to use your “gourmet compost.” Good compost is fundamental to good gardening; it put the “organic” into organic gardening, making healthy soil and healthy plants. Plus a segue into compost tea.
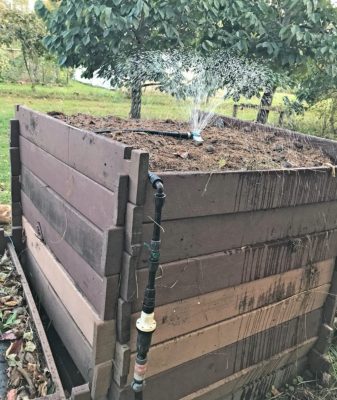 mpost? Interested in details about how to make gourmet compost? This is a reminder that on Wednesday, September 23, 2020 from 7-8:30pm EST, I’ll be hosting a webinar about composting. For more information and registration, go to