TELLING SNOW
I Grow Taller
“Make hay while the sun shines” is fine advice in its season. For winter, how about? “Prune while the snow is high and firm.”
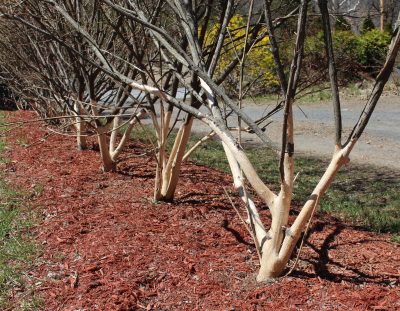
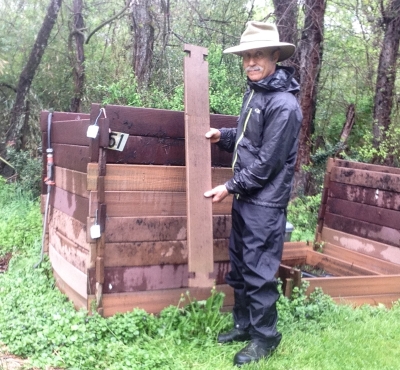
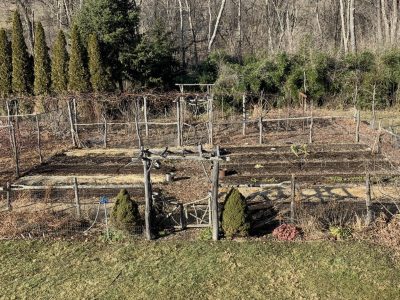
My apple and pear trees are semi-dwarf, presently ranging from seven to eleven feet tall. Even though I have a pole pruner and various long-reach pruning tools, I still carry my three-legged orchard ladder out to the trees with me to work on their upper branches. Sometimes you have to get your eyes and arms and hands right up near where you’re actually cutting.
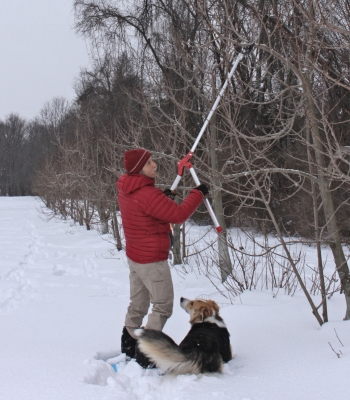
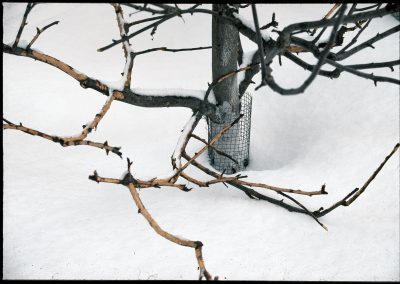
A few years ago, as I was looking out the window and admiring the foot or of snow on the ground, I realized that all that snow could give me a literal leg up on pruning. If I stayed on top of the snow, that is. While the snow was still soft, I was able to do this by strapping on a pair of snowshoes, which I bought, used, just for this purpose. (For travel through snow, I prefer to glide, on skis.) When the snow melted a little and then froze, the icy crust that formed was able to support my weight sans snowshoes.
In any case, when there’s a good depth on the ground, such as today, I gather my tools – minus the stepladder – and walk tall out to the trees.
Top Down Pruning
Plants, like other creatures, have hormones, and a hormone (called auxin) in every plant generally coaxes uppermost portions to grow most vigorously. Which is why old apple trees become topheavy, with most shoot growth high up. The upshot of this habit is that most fruit is borne high in the branches, out of reach, and lower branches are shaded to become unproductive and prone to disease.
Ideally, then, the best place to start pruning is with the most vigorous branches, highest in the tree. That’s also the last place you want to start if you’re standing at ground level. Perched atop a good depth of snow next to my smaller trees, starting near the top was much easier.
If I get high enough (in the tree), I can imagine that I’m hovering above the branches, looking at them from the perspective of ol’ Sol, which is a good perspective for a grower of fruit trees. This allows a more objective perspective on which branches are going to be blocking light or otherwise cramping others for space.

Letting more light and air in among the branches and, at the same time removing potential fruits with pruned branches, channels more of each tree’s energy into perfecting those fruits that remain. Remaining fruits are then healthier, larger, and more flavorful, especially for naturally larger fruits such as apples, pears, and peaches
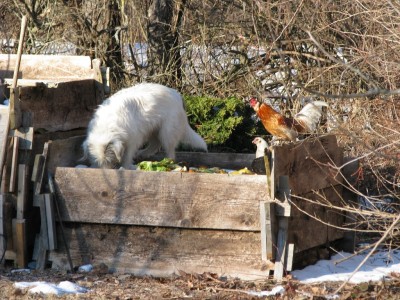
Snow Tales
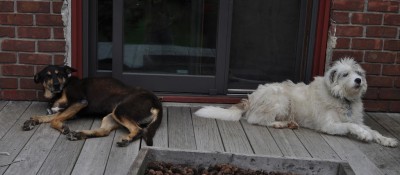
The snow is a blank canvas that records some winter activities. My dogs’ footprints are obvious and telling. They are provincial in their travels, having beaten paths from their doghouses, where they sleep, to the driveway, where they greet humanity, and to the deck, where they lie in the sun.
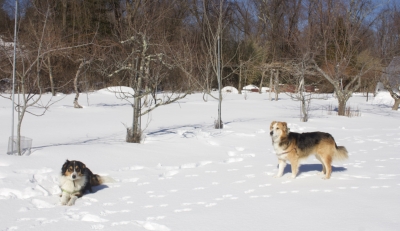
Daisy and Sammy at work
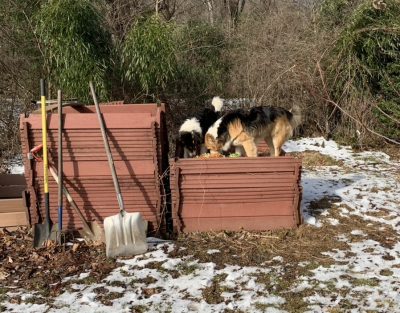
Less frequent are their forays out into the hay field to do their business and to see if anything interesting is creeping around out there.
The small, padded footprints of my cat hasn’t beaten out paths. The cat more randomly explores out-of-the-way nooks and crannies. She also likes to steer clear of the dogs, who consider her just another small animal worth chasing.
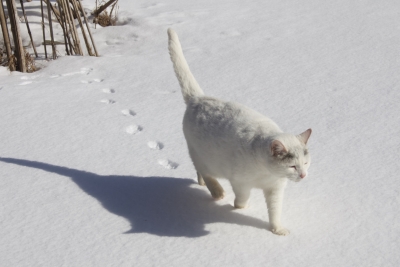
Gracie at work
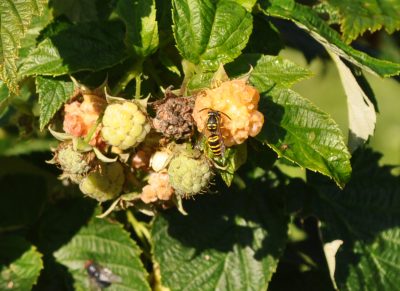
The distinctive footprints that I’m keeping the closest eye out for are those of rabbits and deer. Now, about when I typically delude myself that all danger has past, periods of warmer weather start coaxing rabbits to wander about and eye my trees and shrubs as food. Now is also when cottontail rabbits start reproducing, the first of up to five litters for this year, with a half dozen or so bunnies per litter! Very cute, but deadly to my plants.
This winter, a couple of deep snows either brought deer here or displayed their abundance with tracks in the snow. For the rabbits, who feed on young trees and low branches, I sometimes make up a spray of white latex paint, water, eggs, cinnamon, and hot pepper. That needs to be re-applied about now. Traps I set out for them are thoroughly and safely (for the rabbits) buried in snow. Perhaps I’ll dig them out and re-set them.
The uncluttered expanse of snow makes it easy to see where I put my pruning tools as I prune the apples and pears. The snow also makes it easy to see where I drop the prunings.
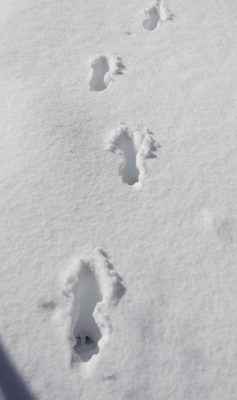
Deer tracks in the snow
And why do I care where I drop my prunings? Because I can then quickly look at them to see if any bark has been gnawed off those freshly cut branches. And what would gnaw bark off those freshly cut branches. Rabbits!
No sign of rabbits – yet, at least – on those prunings as well as on tracks in the snow. Thank you Gracie (my cat).
The dogs’ are supposed to be keeping deer at bay, but do so only if they are out and about when deer are around. This year I’ve been relying on Bobbex repellent, which I spray monthly on branches that would be within reach of the deer. So far, the sprays have been 100% effective even on trees with deer tracks right beside them in the snow.
Get Ready for Spring
I will be hosting a WEEDLESS GARDENING webinar on Monday, February 22nd for $35. It will run from 7-8:30 pm EST and there will be plenty of opportunity to ask questions. For details, go to www.leereich.com/workshops. Or trust me, and go right to registration (required) at https://us02web.zoom.us/webinar/register/WN_WqSCBtOGTqqjGgbOHOuxfg

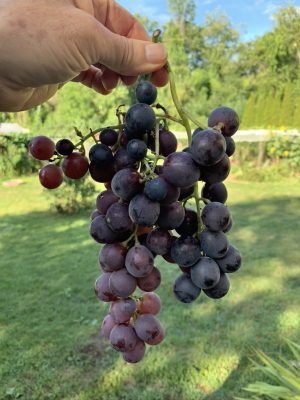
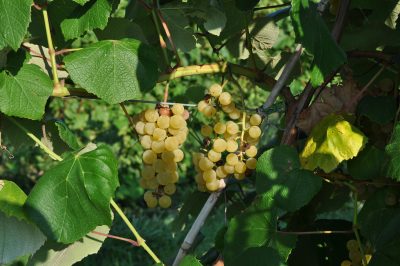
 The first grapes of the season, Somerset Seedless and Glenora, started ripening towards the end of August. The first of these varieties is one of many bred by the late Wisconsin dairy farmer cum grape breeder Elmer Swenson. The fruits of his labors literally run the gamut from varieties, such as Edelweiss, having strong, foxy flavor (the characteristic flavor component of Concord grapes and many American-type grapes) to those with mild, fruity flavor reminiscent of European-type grapes. Somerset Seedless is more toward the latter end of the spectrum and, of course, it’s seedless. Swenson red and Briana, which are ripe as you read this, are more in the middle of the spectrum.
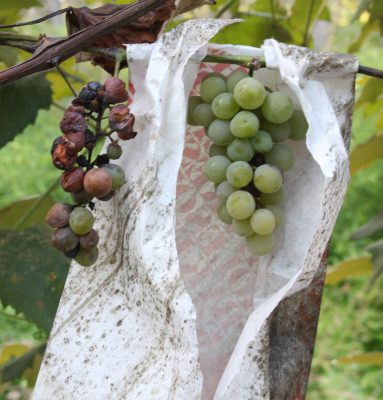
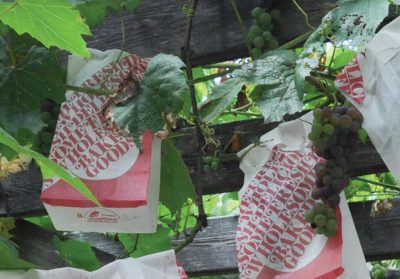 Perhaps the label made the bags even less attractive to grape-hungry birds and insects; at any rate, they worked very well, usually yielding almost 100 late harvest, delectably sweet and flavorful, perfect bunches of bagged grapes each year.
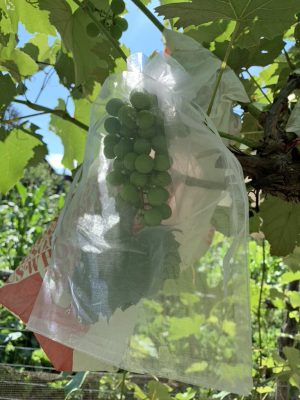 Organza is an open weave fabric often made from synthetic fiber. Small organza bags typically enclose wedding favors; the bags come in many sizes. Organza bags have the advantage over paper bags of letting in more light. A mere pull of the two drawstrings makes bagging the fruit very easy; paper bags involve cutting, folding, and stapling. Organza bags also re-usable. (The bags also work well with apples which, in contrast to grapes, require sunlight to color up.)
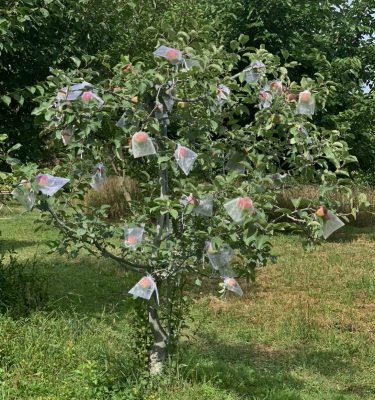
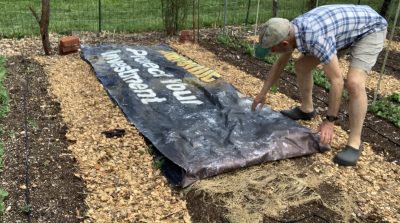
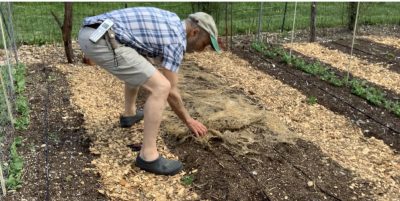
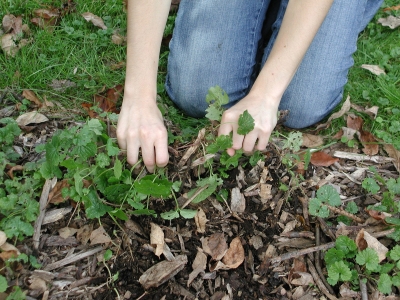
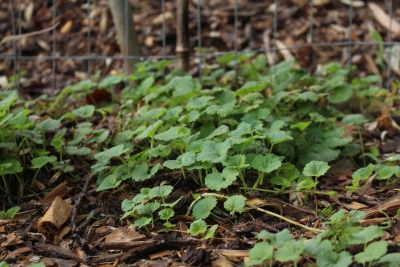
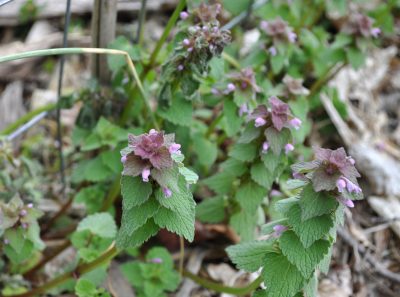 Yes, I know the plant is pretty, provides early nectar for pollinators, and is edible. But its out of place in my vegetable beds. The tarp does it in.