Snow Mulching
Only four inches of snow fell a a couple of weeks ago but I decided anyway to go outside and mulch. And shovel snow. And shovel snow and mulch.
What I was trying to do, besides clear snow from the driveway, the paths, and the doorway to the greenhouse, was to create a microclimate. A microclimate is a small area where the climate is slightly different from the general climate.
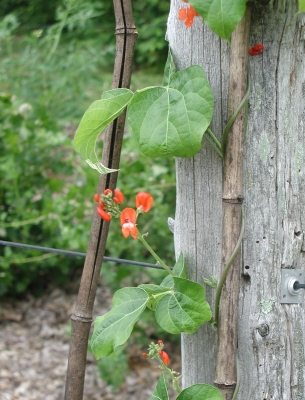
One group of plants in need of this special treatment are my maypops, Passiflora incarnata. Yes, Passiflora genus is that of passionflower, and maypop is a hardy species of passionflower, native to eastern U.S.. It bears the same breathtaking flowers, whose intricate arrangement of flower parts was used by Christian missionaries to teach native Americans about the “passion” of Christ, as the tropical species. 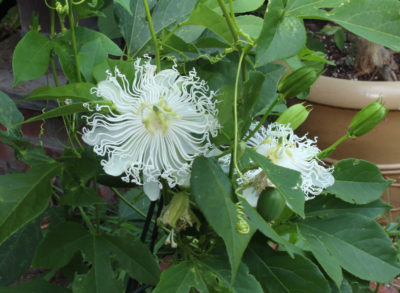 And, like the tropical species, flowers are followed by egg-shaped fruits filled with air and seeds around which clings a delectable gelatinous coating. You know the flavor if you’ve ever tasted Hawaiian punch.
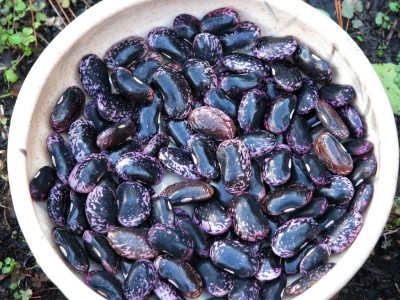
Maypop parts ways with tropical passionflowers, which are woody vines, in being an herbaceous vine. The roots live year ‘round but the above ground portions of the plant die back each winter.
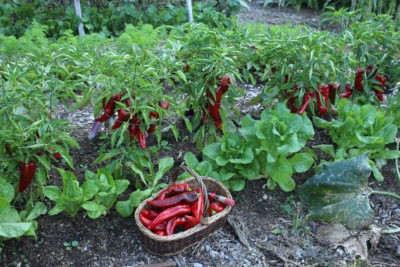
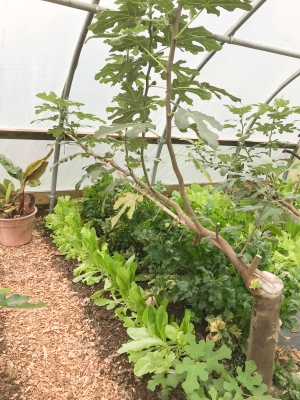
Besides creating a microclimate for the maypops, I also chose to plant them in an existing microclimate to their liking. That is on the south side of my woodshed, where the sun bears down to provide extra warmth in summer. (Another goal was to let the vines each summer cover a trellis that would give the woodshed some shade to prevent the firewood from drying out to much.) These plants of southeastern U.S. like their summers hot.
Soil moderates temperatures so never get as cold in winter as the air — or, in summer, as hot as the air. Five feet down, soils remain at a balmy 50°F year ‘round. Shallower depths are commensurately colder in winter and warmer in summer than deeper down.
Maypop is borderline hardy this far north. Insulating the ground around the plants will keep temperatures around the roots from dropping too low. Hence the snowy mulch.
As maypop grows through the summer, new flowers and then fruits appear. The longer the growing season, the more fruits the plants bear. Although I want to keep the ground from getting too cold in the depths of winter, I’d like it to warm up quickly in spring to get the plants going.
Wood chips, straw, snow, or any other mulch is going to put the brakes on soil warming, so, ideally, the mulch should be removed after the coldest part of winter is past. Except if that mulch is snow, which will melt.
Ugly but Delicious
Wandering through the snow to the other side of the farmden, I come upon another fruit, this one ready to pick and eat right now! Medlar. (Medlar and maypop each warranted a whole chapter in my book Uncommon Fruits for Every Garden.)
Medlar fruits resemble small, russeted apples (a relative), tinged dull yellow or red, with their calyx ends (across from the stems) flared open.  It’s peak of popularity was in the Middle Ages. And though popular, it was made fun of for it’s appearance; Chaucer called it the “open-arse” fruit.
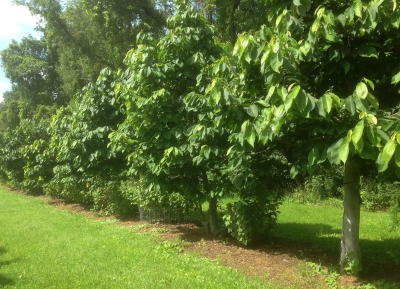
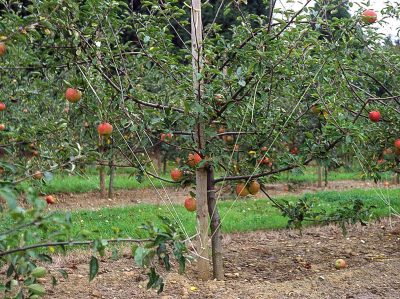
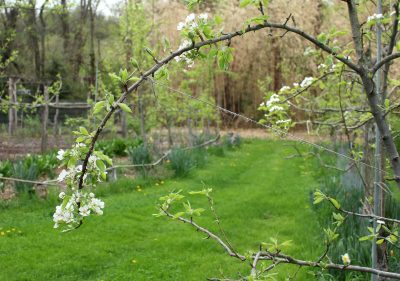
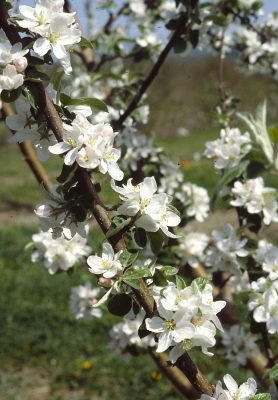
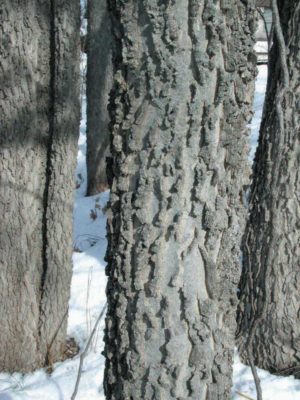
That old-fashioned look extends to the tree itself, which even this time of year is attractive with the elbowed contortions of its branches. In spring, the blossoms, which resemble wild roses, are borne singly at the ends of branches and, opening late so that each is cradled in already opened whorl of leaves.
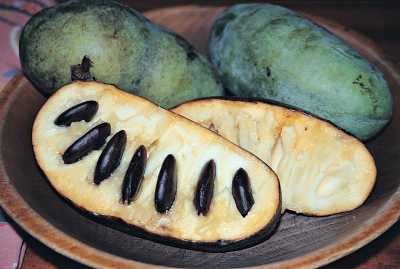
But back to the fruit; its got another quirk, besides its appearance. It’s inedible when first harvested. But after the fruit has sat for a couple of weeks or more indoors, a process called bletting, the once-hard, white flesh turns to brown mush.
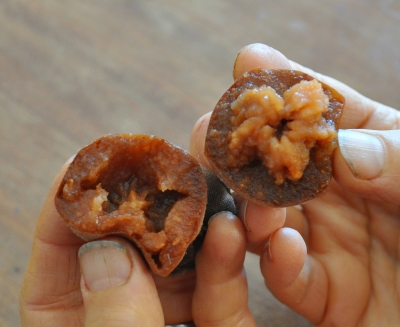
Medlar, after bletting
Yechhhh! The flavor, though, has a refreshing briskness with winy overtones, like old-fashioned applesauce laced with cinnamon.
Fruits left on the tree also blet, and my trees are loaded with fruits.
Uh oh. Although medlar is generally pest-free, I see that many of the fruits have what looks like some sort of pest damage. Instead of the smooth, brown mush, flesh of damaged fruits is drier, almost powdery. What is it?
(Almost?) Hardy Orange
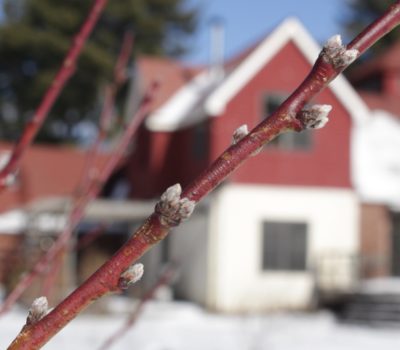
More snow more recently fell, and with it came bitter cold, which made me fear for the survival of my hardy orange, Citrus trifoliata. This orange is allegedly hardy to zone 5, but still . . .
The plant is only about four feet tall and there was plenty of snow so I just started piling snow on top of it. The ends of some branches remained exposed, which is okay because they can tell me whether the plant is really hardy.
Hardy orange bears flowers and fruits very similar to sweet oranges except that hardy orange fruits are bitter and very seedy. They could be used — in moderation — for flavoring, though. 
 Mostly I grow it for the novelty of an outdoor orange tree, for the sweetly fragrant blossoms, and for the decorative, green, swirling, recurved spiny stems.
Come spring, I;’ll know if just how hardy the hardy orange really is. Temperature the night after covering it dropped to minus 18° Fahrenheit.

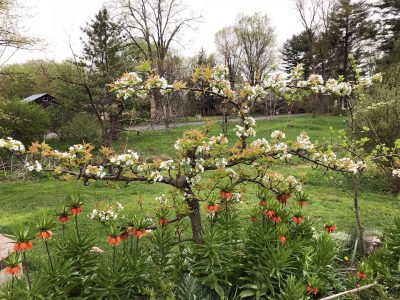
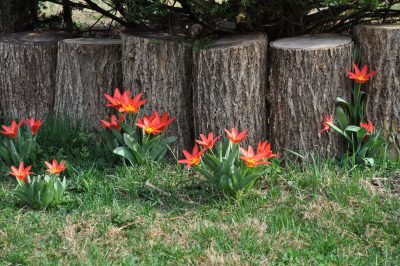 I’m banking, for instance, on the slightly warmer temperatures near the wall of my house to get my stewartia tree, which is borderline hardy here, through our winters. (It has.) And I expect spring to arrive early each year, with a colorful blaze of tulips, in the bed pressed up against the south side of my house. Proximity to paving also warms things up a bit.
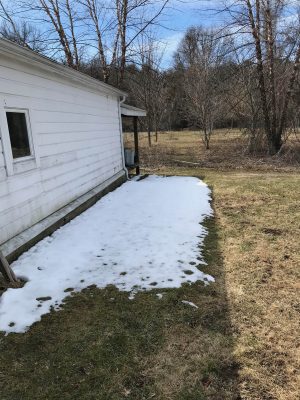 By planting the coveted blue poppy in a bed on the east side of my house, I hoped to give the plant the summer coolness that it demands. (That east bed was still too sultry; the plants collapsed, dead.)
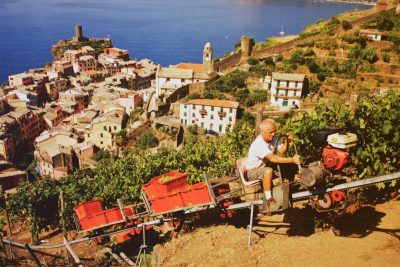
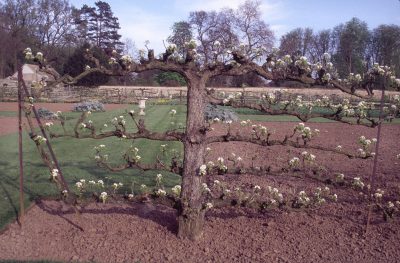
 The cold air that settles here on clear spring nights increases the likelihood of late frosts and also causes moisture to condense on the plants, leaving them more susceptible to disease. Hence my envy for that sloping vineyard site.
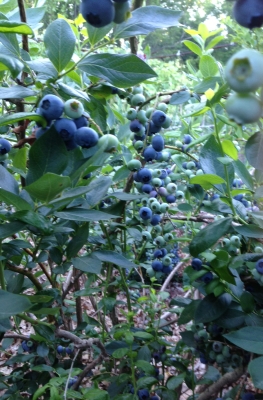
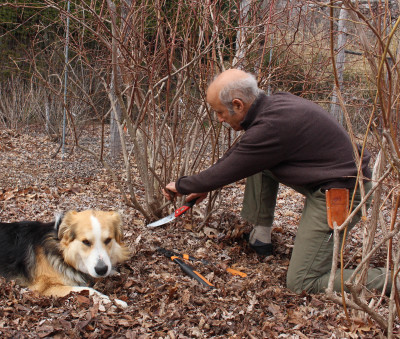
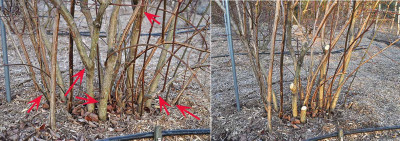
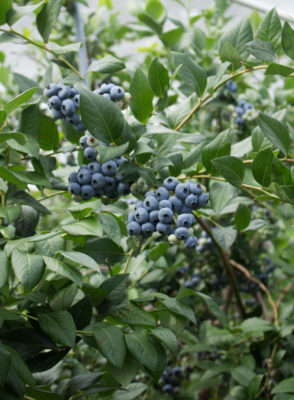
 forsythia, mockorange, hydrangea, and any other informal shrub. This technique is known as rejuvenation pruning because, over time, the above ground portion of the shrub is annually rejuvenated. In the case of blueberry, the roots live unfettered year after year but the bush never sports stems more than 6 years old. A perennially youthful blueberry bush can go on like this, bearing well, for decades like this.
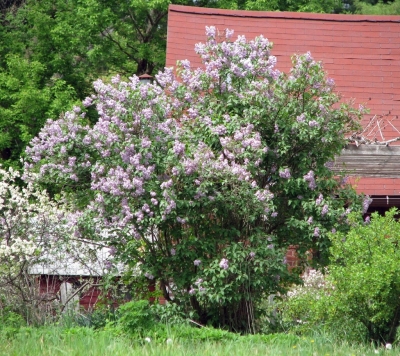
 , rose-of-sharon, climbing roses, and flowering quince. These shrubs are among those that perform well year after year on the same old, and always growing older, stems. They also grow few or no suckers each year. The upshot is that thesis shrubs are the easiest to prune: Don’t.
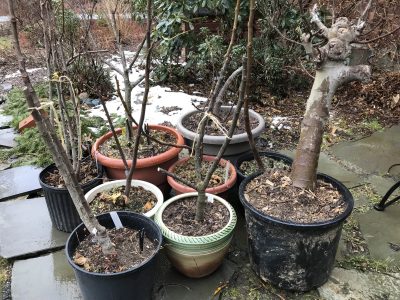
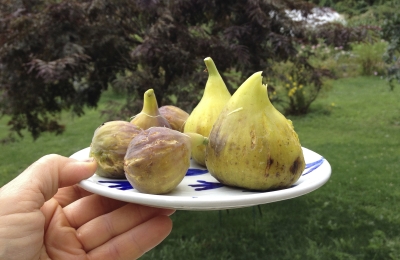
 A friend made it up because he got it from some Hassidic Jews who had no name for it. And the frequently grown variety Brown Turkey is a name assigned to two different varieties, one more common on the west coast and the other more common on the east coast. And the east coast variety has a number of other names, including Everbearing, Texas Everbearing, and La Perpetuelle.
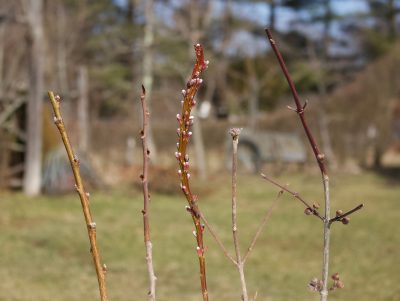
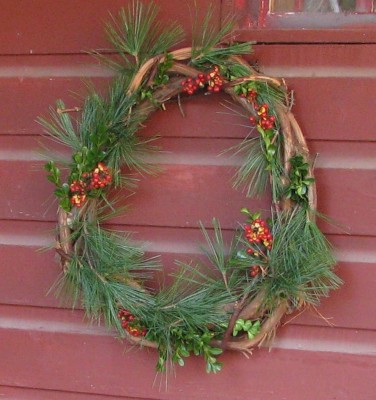
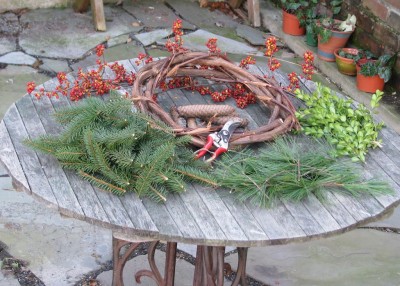 A few loops of string or thin wire can unobtrusively firm everything in place.
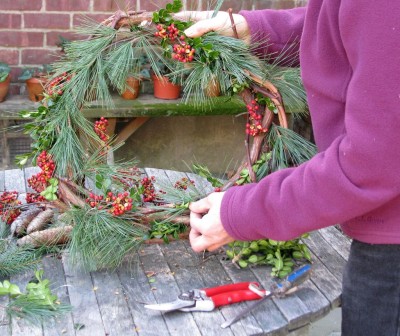 Besides the obvious — pine cones — also consider the flattened silvery pods of silver dollar plant, the wiry ones of love-in-a-mist, and the shaggy manes of clematis. If yet more ornamentation is wanted, there’s always chains of cranberries or popcorn strung together.
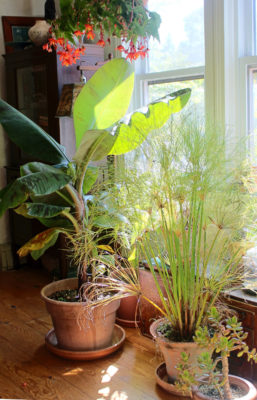
 I’ve huddled all these pots together against the north wall of my house but soon have to mound leaves or wood chips up to their rims to provide further cold protection.
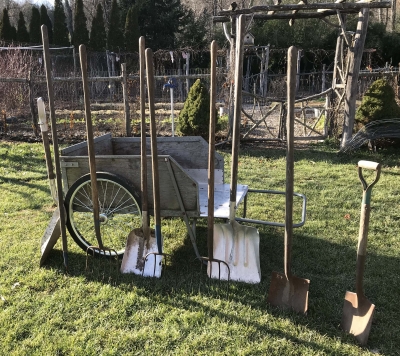 After the handles have been wiped down, 10 minutes later, they’ll be in good condition for at least another year.
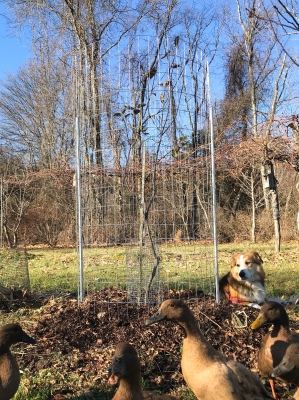 The pear trees, close to the house, don’t get bothered. The problem with such cages is that it’s a hassle to weed or prune within the cage — both very important for young trees. Two metal stakes, each a 5 feet length of EMT electrical conduit, woven into part of fencing on opposite sides allows me to slide the fence up and down to get inside a cage to work. These trees, which are replacing my very dwarf apple trees, are semi-dwarfs which can fend for themselves once they get above 5 feet. Then I’ll remove the cages.