Some Fruits and a Ornamental Veggie
/14 Comments/in Flowers, Fruit, Gardening, Planning, Soil, Vegetables/by Lee ReichHappy Blueberries, Happy Me
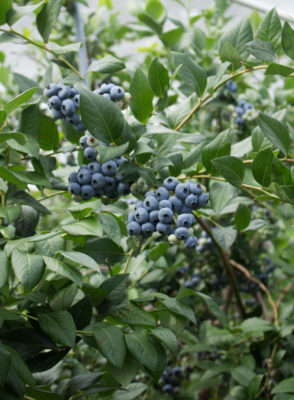
With all those years of mulching, levels of decomposed and decomposing soil organic matter have greatly increased the soil’s buffering capacity for acidity. That means that I no longer have to pay such close attention to acidity, so I rarely add sulfur anymore.
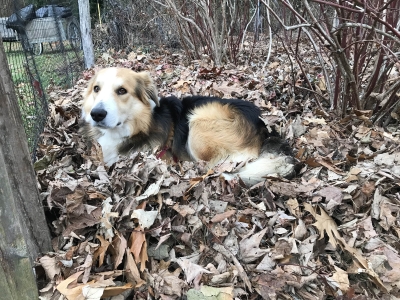
Sammy also likes the mulch
Besides all these other benefit, the mulch has created a soft root run that retains moisture, just what blueberries’ thin roots really like. Fruit is borne on shoots that grew the previous season, so each year’s vigorous new growth translates into a good crop in the offing for the next year.
New York Bananas
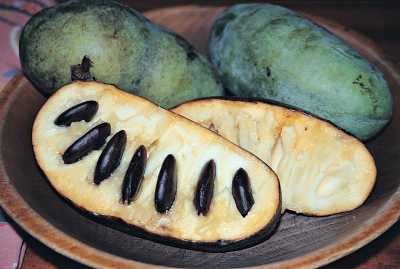
Two trees would be adequate for most households; I have about 20, just so I can learn more about them and their individual differences. That makes for a lot of pawpaws! (I test market most of them.)
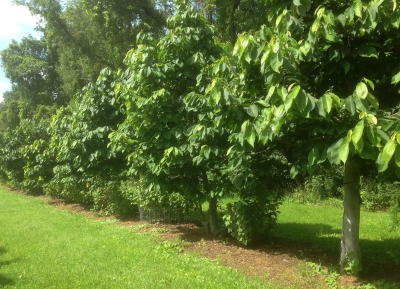
Pawpaw fruits are very variable in both size and flavor even among the branches of a single tree. One year, I tried thinning the fruits to see if that would increase size of remaining fruits, as it does with apples and peaches. Pawpaw has a multiple ovary so each blossom can give rise to as many as 9 fruits. The small fruits are hard to see because they match so closely the green color of the leaves, so I didn’t thin as many as I had hoped. That said, at season’s end, fruits on thinned clusters seemed no larger than fruits on unthinned clusters.
Beginning around the middle of September, I began harvesting the first fruits. I picked some up from the ground and picked some softening ones from the trees, all of which continued through October. By putting them immediately in a cooler at 40°F, I still had good fruit into the middle of November.
Scarlet Runners
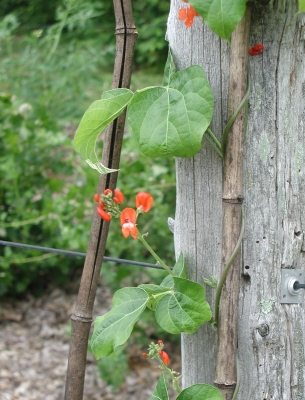
Despite the “bean” in the name, I’ve grown this vining bean, as do most people, primarily as an ornamental, for its scarlet blossoms. I occasionally eat the fat, hairy, yet delectable green beans.
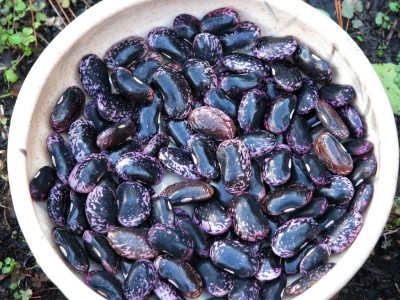
Every year I collect some of the matured black and pale purple, calico seeds for replanting the following year. One year, I decided to cook up some of these seeds and taste them. Scarlet runner bean seeds are quite tasty (and, I learned prior to eating, nonpoisonous).
Giving Thanks
/0 Comments/in Gardening, Soil, Uncategorized/by Lee ReichShare the Bounty
Thanksgiving is a holiday that really touches the gardener, this gardener, me, at least. If nothing more, it’s a harvest festival, a celebration of the bounty of the season’s efforts. And the season has been bountiful, as is every season if a variety of crops are grown.
Like most home gardeners, I grow a slew of different vegetables and fruits in my gardens. This year’s poor crops of okra, lima beans, and tomatoes was counterbalanced by especially bounteous crops of peppers, cabbages (Asian and European), and various kinds of corn (sweet corn, popcorn, polenta corn) and beans (green, cannelloni).
More than just give thanks, why not give back? One way would be to share the bounty with others who either don’t garden or can’t afford to purchase enough produce. Ample Harvest (www.ampleharvest.org), Angel Food Ministries (www.AngelFoodMinistries.org), and Feeding America (www.feedingamerica.org) are three organizations that can direct your vegetables and fruits to local pantries. Some gardeners take inspiration from the suggestion of Garden Writers Association to “Plant a Row for the Hungry.”
Thank You, Soil
This Thanksgiving, actually all through autumn (and every autumn), I’m thankful to the soil. Much of life is supported by the thin skin of earth that envelops the earth’s surface. (The skin of an apple is, relatively speaking, proportionally the same to the size of the fruit as the skin of soil is to the size of our planet.)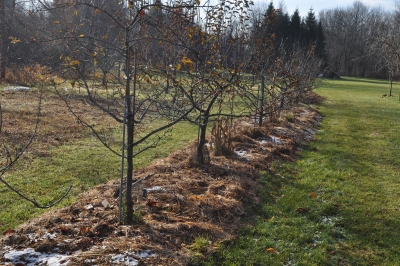
That earthy skin also plays an important role in recycling water and organic materials. Soil stores and purifies water, and is host to 10,000-50,000 species of microorganisms in every teaspoon that break down and recycle waste leaves, tree trunks, dead animals and other organic materials.
I offer thanks to the soil by feeding soil organisms organic materials. I haul in materials that people elsewhere have too much of: bagged leaves; manure mixed with wood shavings and hay from a local horse farm; wood shavings from a sawmill. On site, I feed soil creatures kitchen trimmings, hay mowed from my meadow, old cotton, wool or leather clothing, shredded paper, and anything else derived from what is or was living. Some of the stuff gets spread on the ground as mulch. Some gets composted before being spread on the ground.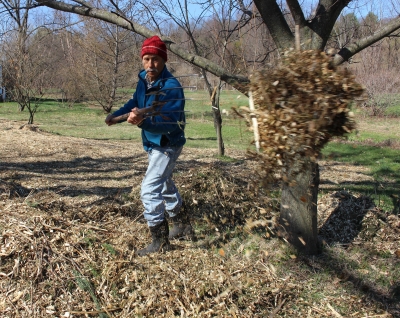
When all is said and done, my ground each years is better, in terms of fertility, soil life, water holding and drainage, than it was the previous year. On the practical side, there’s no need for me to purchase fertilizer.
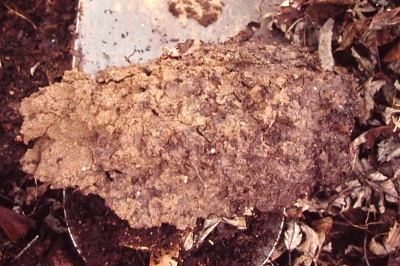
Good, crumbly soil structure
—————————————
That’s not all with this thankfulness. How about the environment generally, not just the soil? Nothing to do this time of year except to carry on as usual. That includes eliminating or minimizing the use of various -icides. Fungicides to kill fungi, insecticide to kill insects, herbicides to kill weeds, acaricides to kill mites, bactericides to kill bacteria . . . did I leave any out?
True, gardening isn’t Nature, and even good gardens get occasional pest problems. But, as I wrote above, most gardens easily yield an abundance of vegetables, fruits, or flowers, so some could be sacrificed to (shared with?) pests.
And there’s something to be said for ignoring a certain amount of damage, especially if it is only cosmetic. After all, plants tolerate the damage. The remaining parts of a leaf that has been chewed away by and insect, for example, then step up to bat with beefed up photosynthesis.
On the rare occasions when it’s necessary to reach for some -icide to do in a pest has gotten sufficiently out of control to seriously threatens a plant, I opt for environmentally-friendly alternatives. I’ll use the pest-specific bacterial fungicide Bacillus thurengiensis (sold under such trade names as Thuricide and Dipel) to kill the various cabbage worms (they’re actually not “worms” but “caterpillars”). And insecticidal soap or horticultural oil to kill scale insects and mealybugs, and certain fungi, and pans of beer to attract and kill slugs.
Mostly, though, I let Nature take care of itself, within reason. I decide what plants to put in my gardens and what plants to weed out (weeds). Severe pest outbreaks require a decision on whether action is necessary or whether the particular crop can be sacrificed. (That’s the advantage of home gardens: financial decisions don’t rule and diversity means there’s always plenty of other vegetables or fruits to harvest.) I regularly “feed” the little guys in the soil who, in turn, feed the plants to replenish nutrients they take from the soil, and then are moved further offsite into my kitchen.
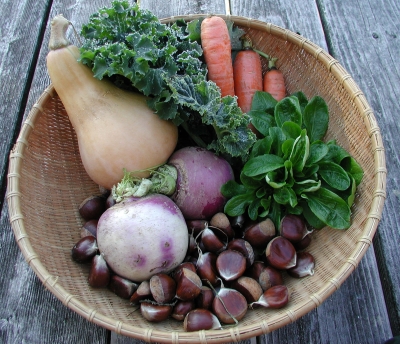
Thanksgiving harvest
Leafy Exercises
/9 Comments/in Gardening, Planning, Soil/by Lee ReichA New Exercise: Un-Rei-King
A few years ago I wrote that, among the many benefits of gardening is the opportunity it offers for varied, productive exercise. At that time I highlighted rei-king (ray-KING). Now, let’s add un-rei-king to join rei-king, zumba, cardiofunk, and other ways modern humans build and maintain sleek, fit bodies.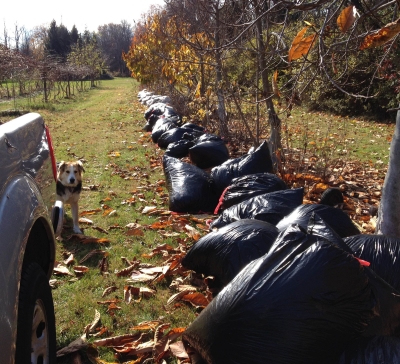
In fact, many people, including couch potatoes and nongardeners, practice rei-king this time of year. You can see them practicing this sweeping motion on their lawn amidst gathering piles of leaves.
Un-rei-king is a more rare form of exercise, of which I am a practitioner. Rei-kingers gather those piles of leaves that are a byproduct of their exercise into large bags, then muscle them curbside. I gather said bags, muscle them gardenside, and launch into un-rei-king. That is, I employ a similar motion to rei-king, except more jagged and with a pitchfork, spreading the leaves once I have freed them from their baggy confines.
Feeding the Soil to Feed the Plants
Exercise aside, my goal is to blanket the ground beneath one row of pear trees, a large bed of gooseberry bushes and grapes, and another long row of pawpaw trees and blackcurrant bushes with 6 to 12 inches of autumn leaves. That fluffy blanket will hold autumn’s warmth in the soil long after bare soil has frozen solid to a few inches depth.
I have to practice un-rei-king every year in November because by this time next year, that leafy blanket will have pretty much evanesced into thin air, literally. Leaves are composed mostly of carbon, hydrogen, and oxygen which becomes, over the course of the year, carbon dioxide and water vapor.
All this may seem like wasted effort (except for the exercise), but it’s not. The transmutation of leaves to carbon dioxide and water happens as bacteria, fungi, worms, and other soil organisms gobble up the leaves. Mostly, these creatures are beneficial, helping plants to fight off pests.
Leaves are mostly, but not only carbon, hydrogen, and oxygen; also contained therein are a slew of minerals needed by plants. In addition to feeding soil life, as the leaves decompose they’re also fertilizing the ground. More than that, natural, organic compounds are being formed that help make minerals already in the soil more accessible to plants.
All this living activity also releases into the ground other natural, organic compounds that aggregate soil particles to create pores for good aeration as well as to act spongy to help the ground, at the same time, hold moisture.
All of which is to say that after years of un-rei-king, my soil is soft, fluffy, moist, and very much alive. The pear trees, gooseberry bushes, etc. love it.
Uh-Oh, Mice
Meadow mice also enjoy the fluffy blanket, beneath which they can nest — and feed on plant roots and bark! So as I lay down that blanket, I’m also putting an 18-inch high cylinder of hardware cloth or some commercial wrap around the bottom of the tree trunks to fend off the mice.
I’ll also keep the leaves a few inches back off the trunks to keep mice at bay and avoid rotting of the trunk. Such precautions are unnecessary for shrubs, whose fresh supplies of stems that grow each spring at ground level can replace any chewed ones. (That’s why they are shrubby.)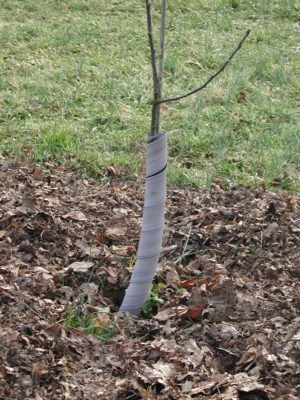
And Some Leaves — For Next Year
Not yet finished with leaves. Every autumn a local landscaper dumps a truckload of vacuumed-up leaves here. On that pile I grow watermelons all summer long. By now, the leaf pile has about half-decomposed into “leaf mold” which is pretty much the same thing as compost. Except rougher, because it’s not yet in the final stages of decomposition.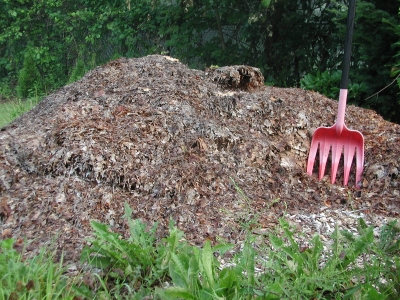
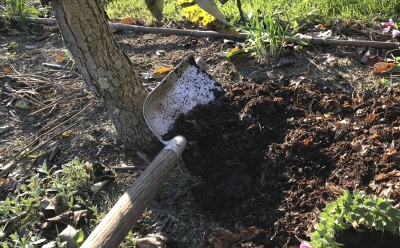
Being richer in nutrients than freshly fallen leaves, leaf mold is just the ticket for loading into a cart for mulching some special plants: a young chestnut tree, filbert bushes, and semi-dwarf apple trees. Plus, it brings along all the aforementioned benefits of raw leaf mulch.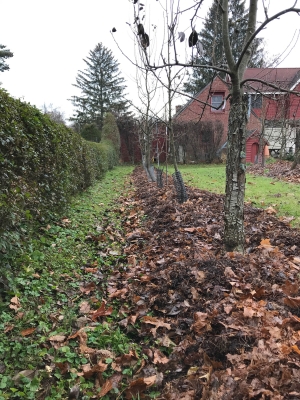
NOTE: I’m not sure if the comments section is working on this page, so, if you will, please some of you readers write a comment so I can see if a fix is needed. Thanks.

