MONOCOT THREATENED, MONOCOT SUCCESS
DRIP, DRIP . . . A WORKSHOP
Drip irrigation has many benefits: saves water, healthier plants, easily automated, less weeds. I’ll be holding a DRIP IRRIGATION WORKSHOP on June 20, 2015 in Bloomington, NY. Learn why drip is the better way to water and the components and designing of a drip system. And then, hands-on, we’ll design an install a system in an existing vegetable and flower garden. For registration and information, go to www.leereich.com/workshops.
Lily Turds
The turds on my crown imperial plants were unwelcome, but no surprise. I’d been forewarned that the red lily beetle (Lilioceris lilii) was in the area. Finally, it found my garden and my crown imperials.
For a relatively mobile insect, the beetle was surprisingly slow in its arrival. This native of Europe made its North American debut in Montreal in 1945 and its entrance stateside, in 1992, in Massachusetts. Since then, it has spread. Gardeners are on alert for the beetle as far away as the Pacific northwest since its sighting near Seattle in 2012.

Red lily beetle on crown imperial.
Those turds I saw actually are turds, the beetle larvae’s excrement, piled on their backs as they feed. Perhaps the greenish brown slime that hides the red larvae will not make the larvae unappetizing to my ducks or chicken. Those larvae are hatchlings from eggs adult beetles laid a few weeks ago. After a few weeks of feeding, the larvae will pupate. New emerging adults will feed until making their way to their winter homes in fall. The worst culprits, in terms of plant damage, are the larvae.
There are many ways to skin a cat, and many ways to deal with red lily beetles, none of which need involve highly toxic pesticides. Easiest, of course, would be to avoid growing susceptible plants. Mostly, the beetles fare are lilies (Lilium spp., which does not include daylilies) and Fritillaria species, which includes crown imperials. Susceptibility varies among lily species, with Asiatic hybrids the most vulnerable and some Oriental hybrids more resistant. Lilium henryi ‘Madame Butterfly’, Lilium speciosum ‘Uchida’, and Lilium ‘Black Beauty’ are among the most resistant.
Because I’m already growing lilies and fritillarias, I might opt for the wait and see approach, hoping for the chickens or ducks to take care of the problem. Or take the mano a mano approach, regularly inspecting plants to pick off eggs, larvae (yuck), or adults by mano. A container of soapy water held under a leaf is useful for handpicking adults because they drop soil-ward when disturbed — also emitting a defensive chirp or squeal.
Neem is a relatively nontoxic (to humans) pesticide and deterrent extracted from, you guessed it, the neem tree, in India. It’s effective if sprayed on very young larvae. I have too many crown imperial plants scatted about to easily spray.
Best of all would be to find some natural controls, and they have been found. Three species of parasitoid wasps (Lemophagus errabundus, Diaparsis jucunda, and, especially, Tetrastichus setifer) have proven effective. Releases have been made in New Hampshire, Rhode Island, Maine, and Connecticut. Come on, New York, let’s get some parasitoids.
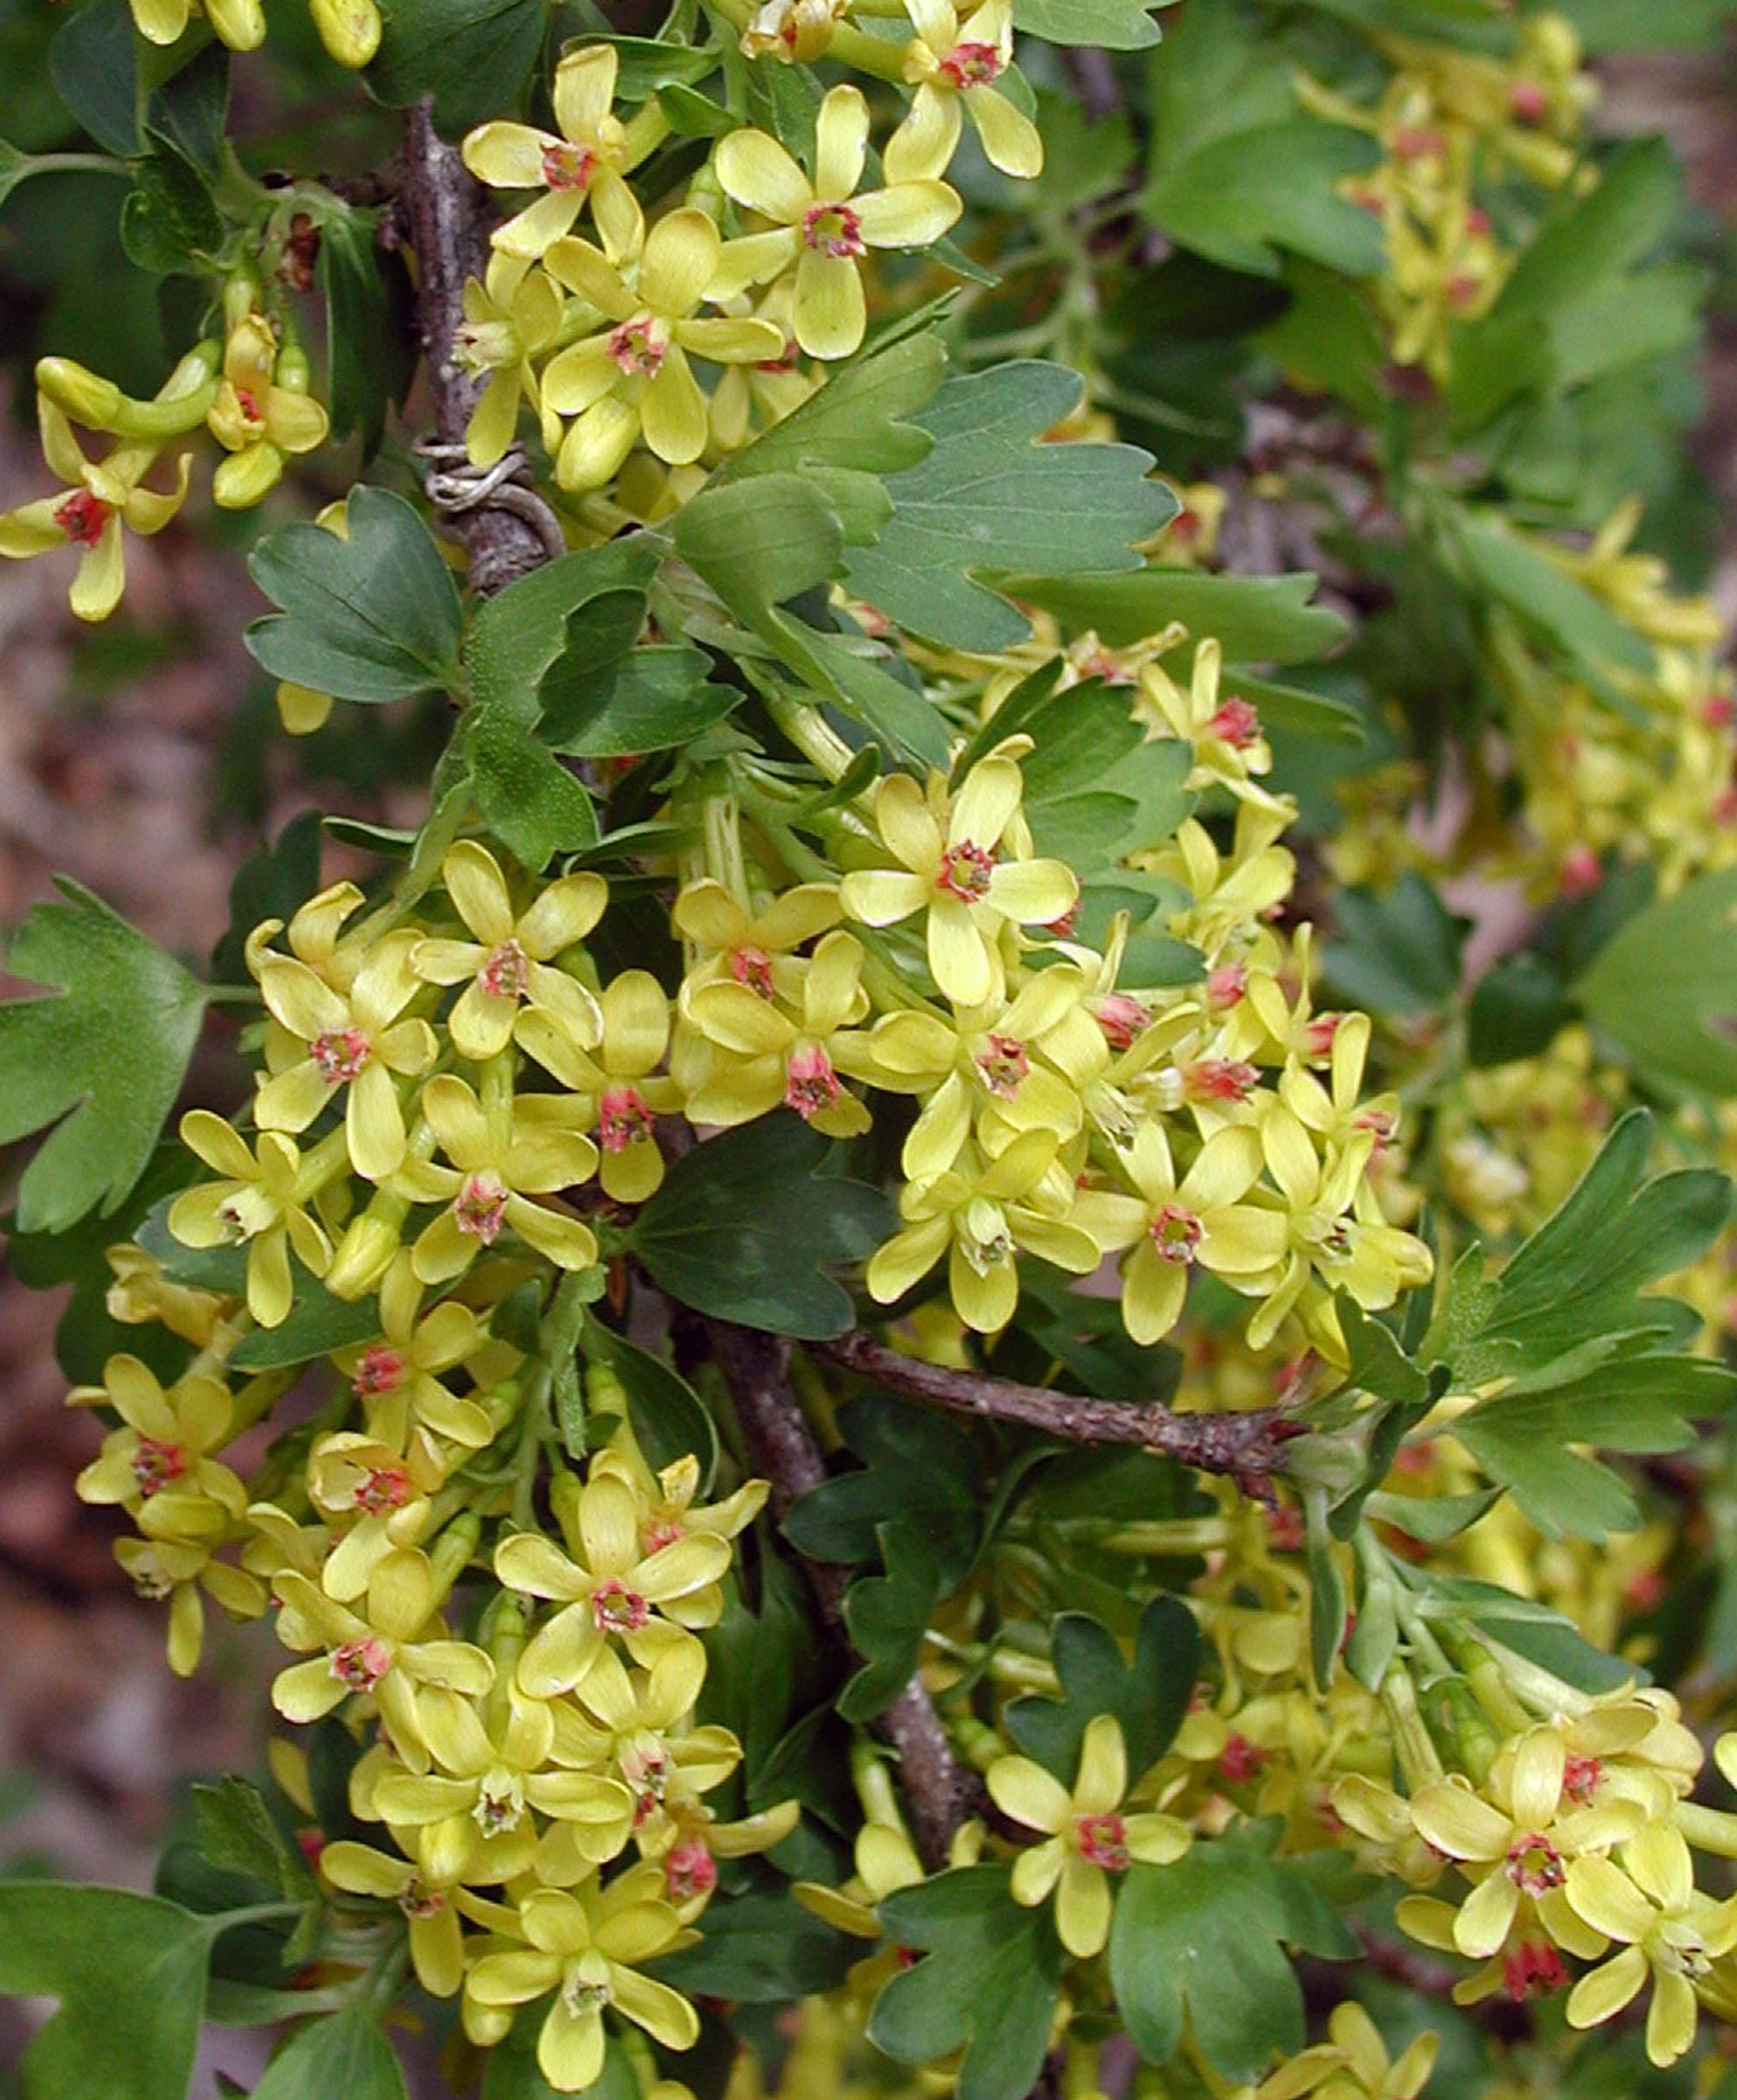
What Beautiful Onions, Thank You
Moving on to another monocotyledenous plant, this one with no pest to speak of: ornamental onions, which also go by their botanical name, alliums.
(“Monocotyledonous,” what a mouthful! This refers to the plants leaves, or cotyledons, which function either as seed leaves or as storage structures. Monocots are one broad group of flowering plants; dicots, with two seed leaves, are the other broad group).
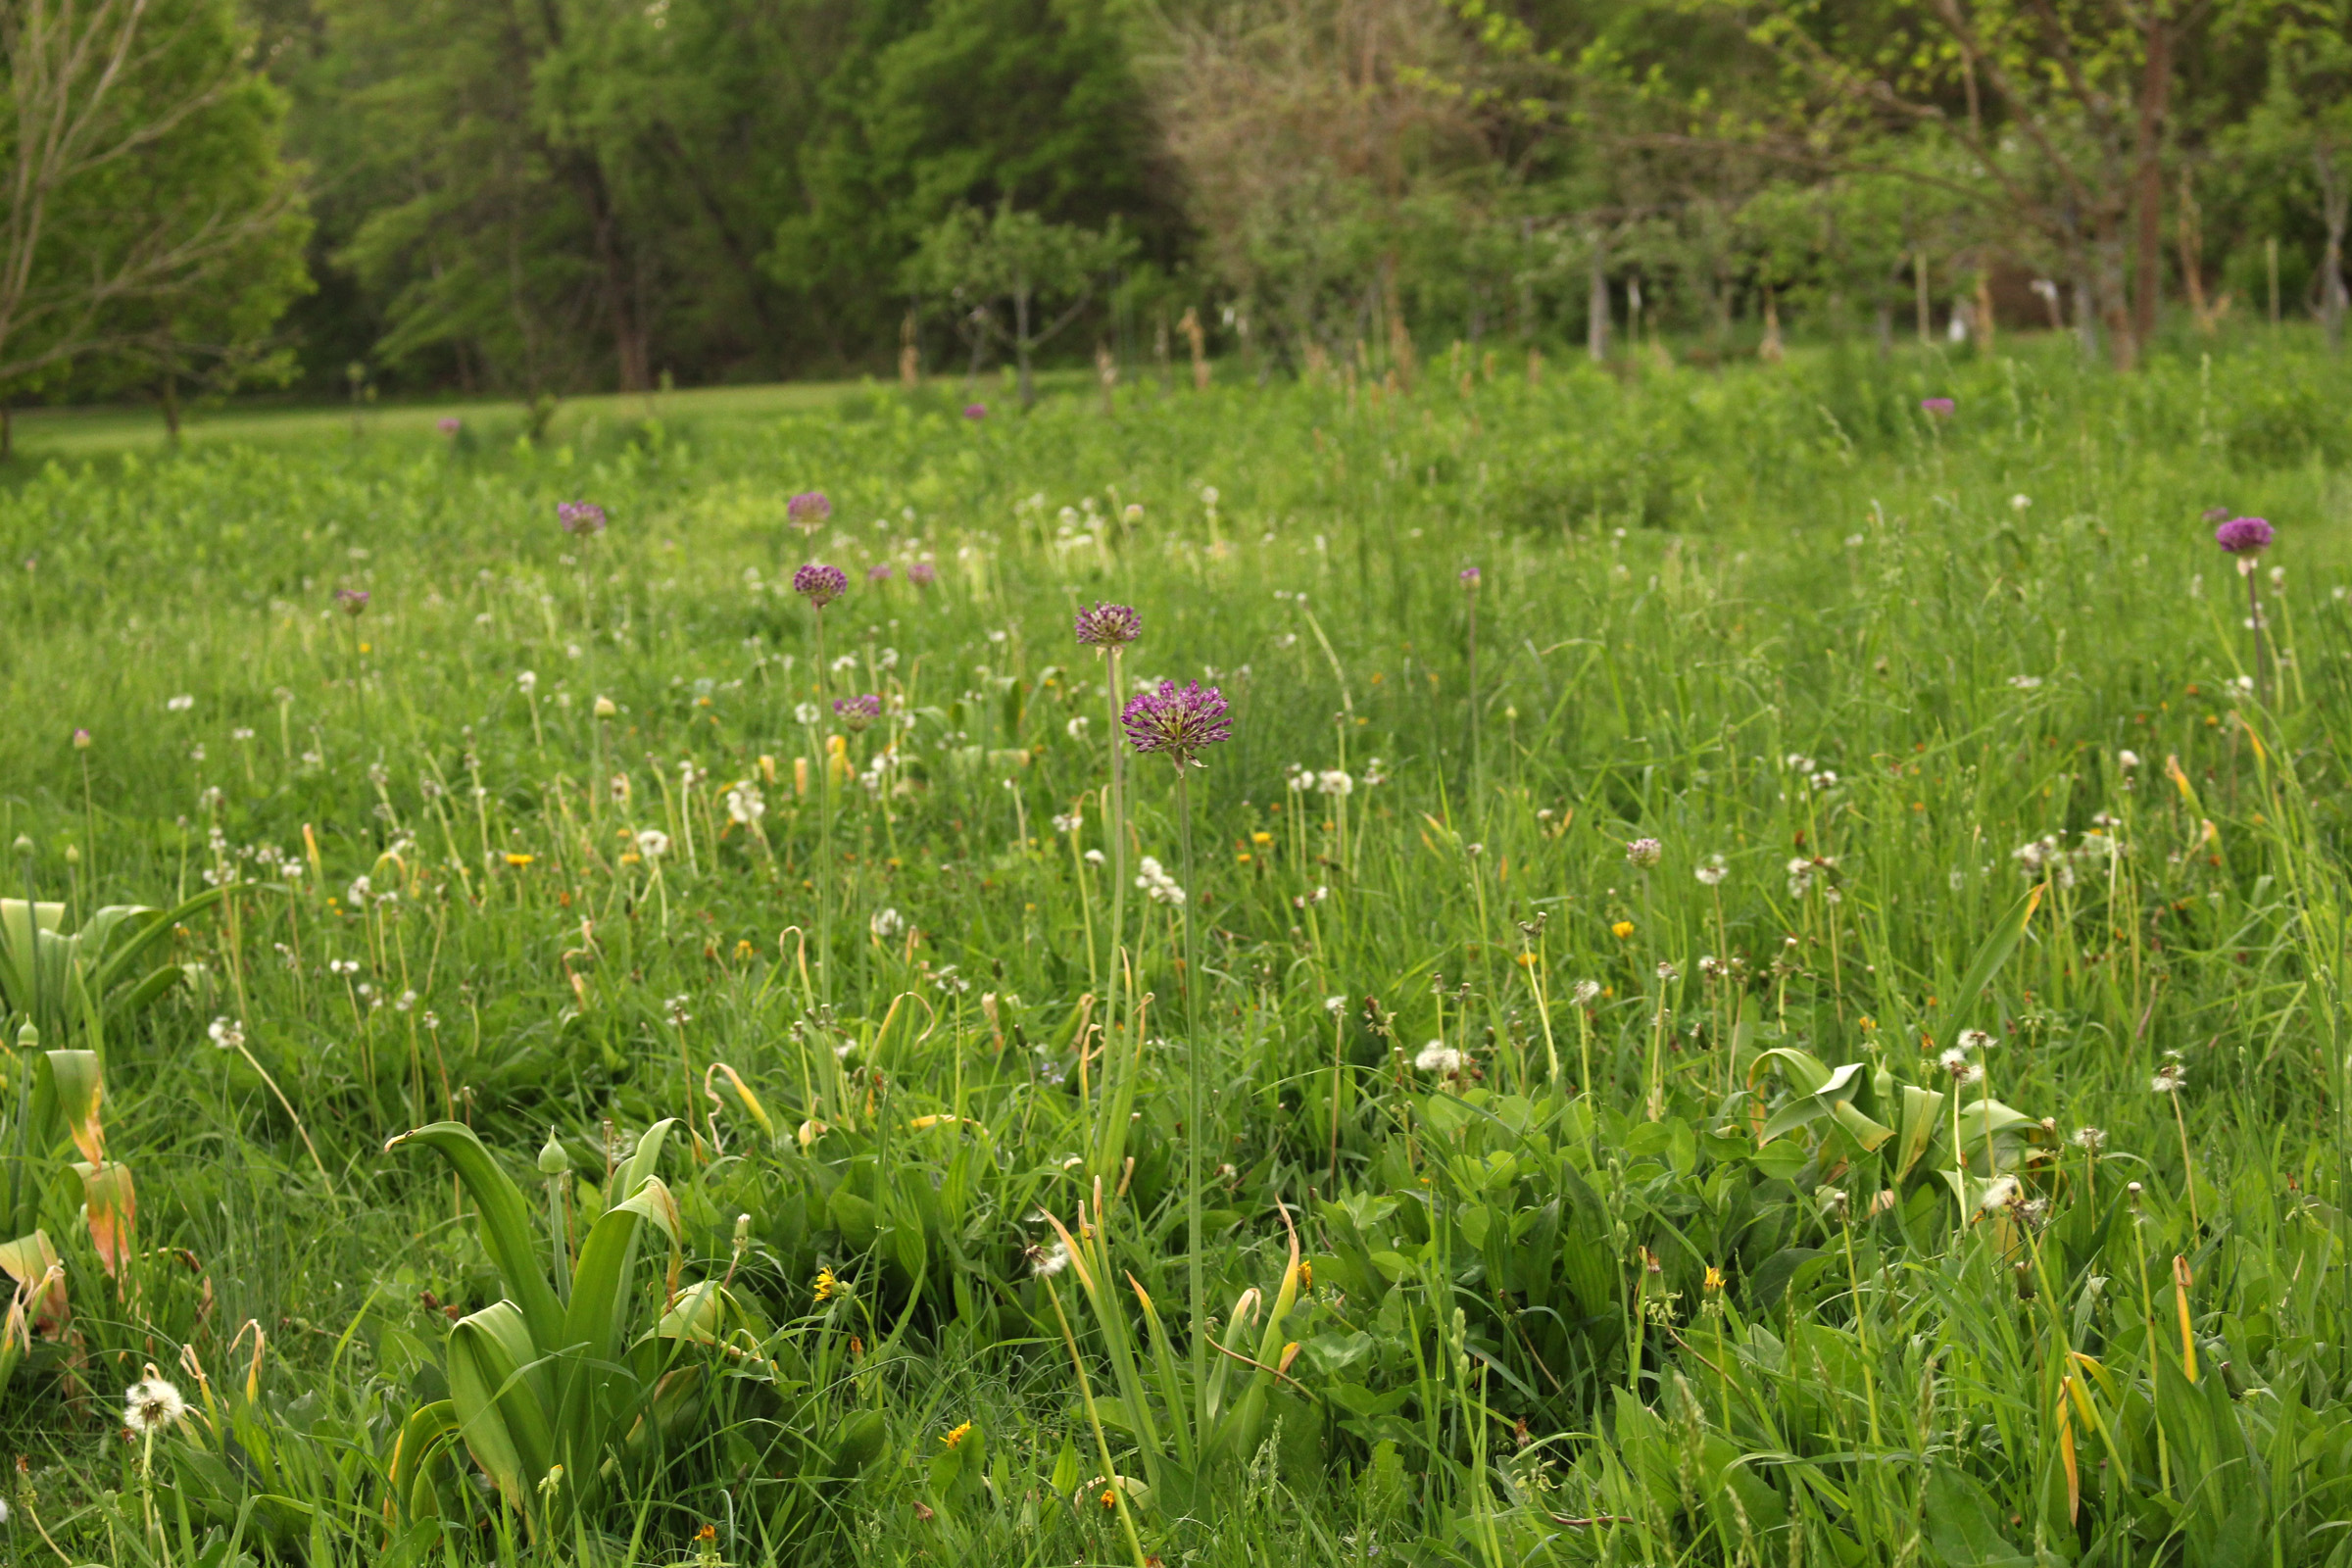
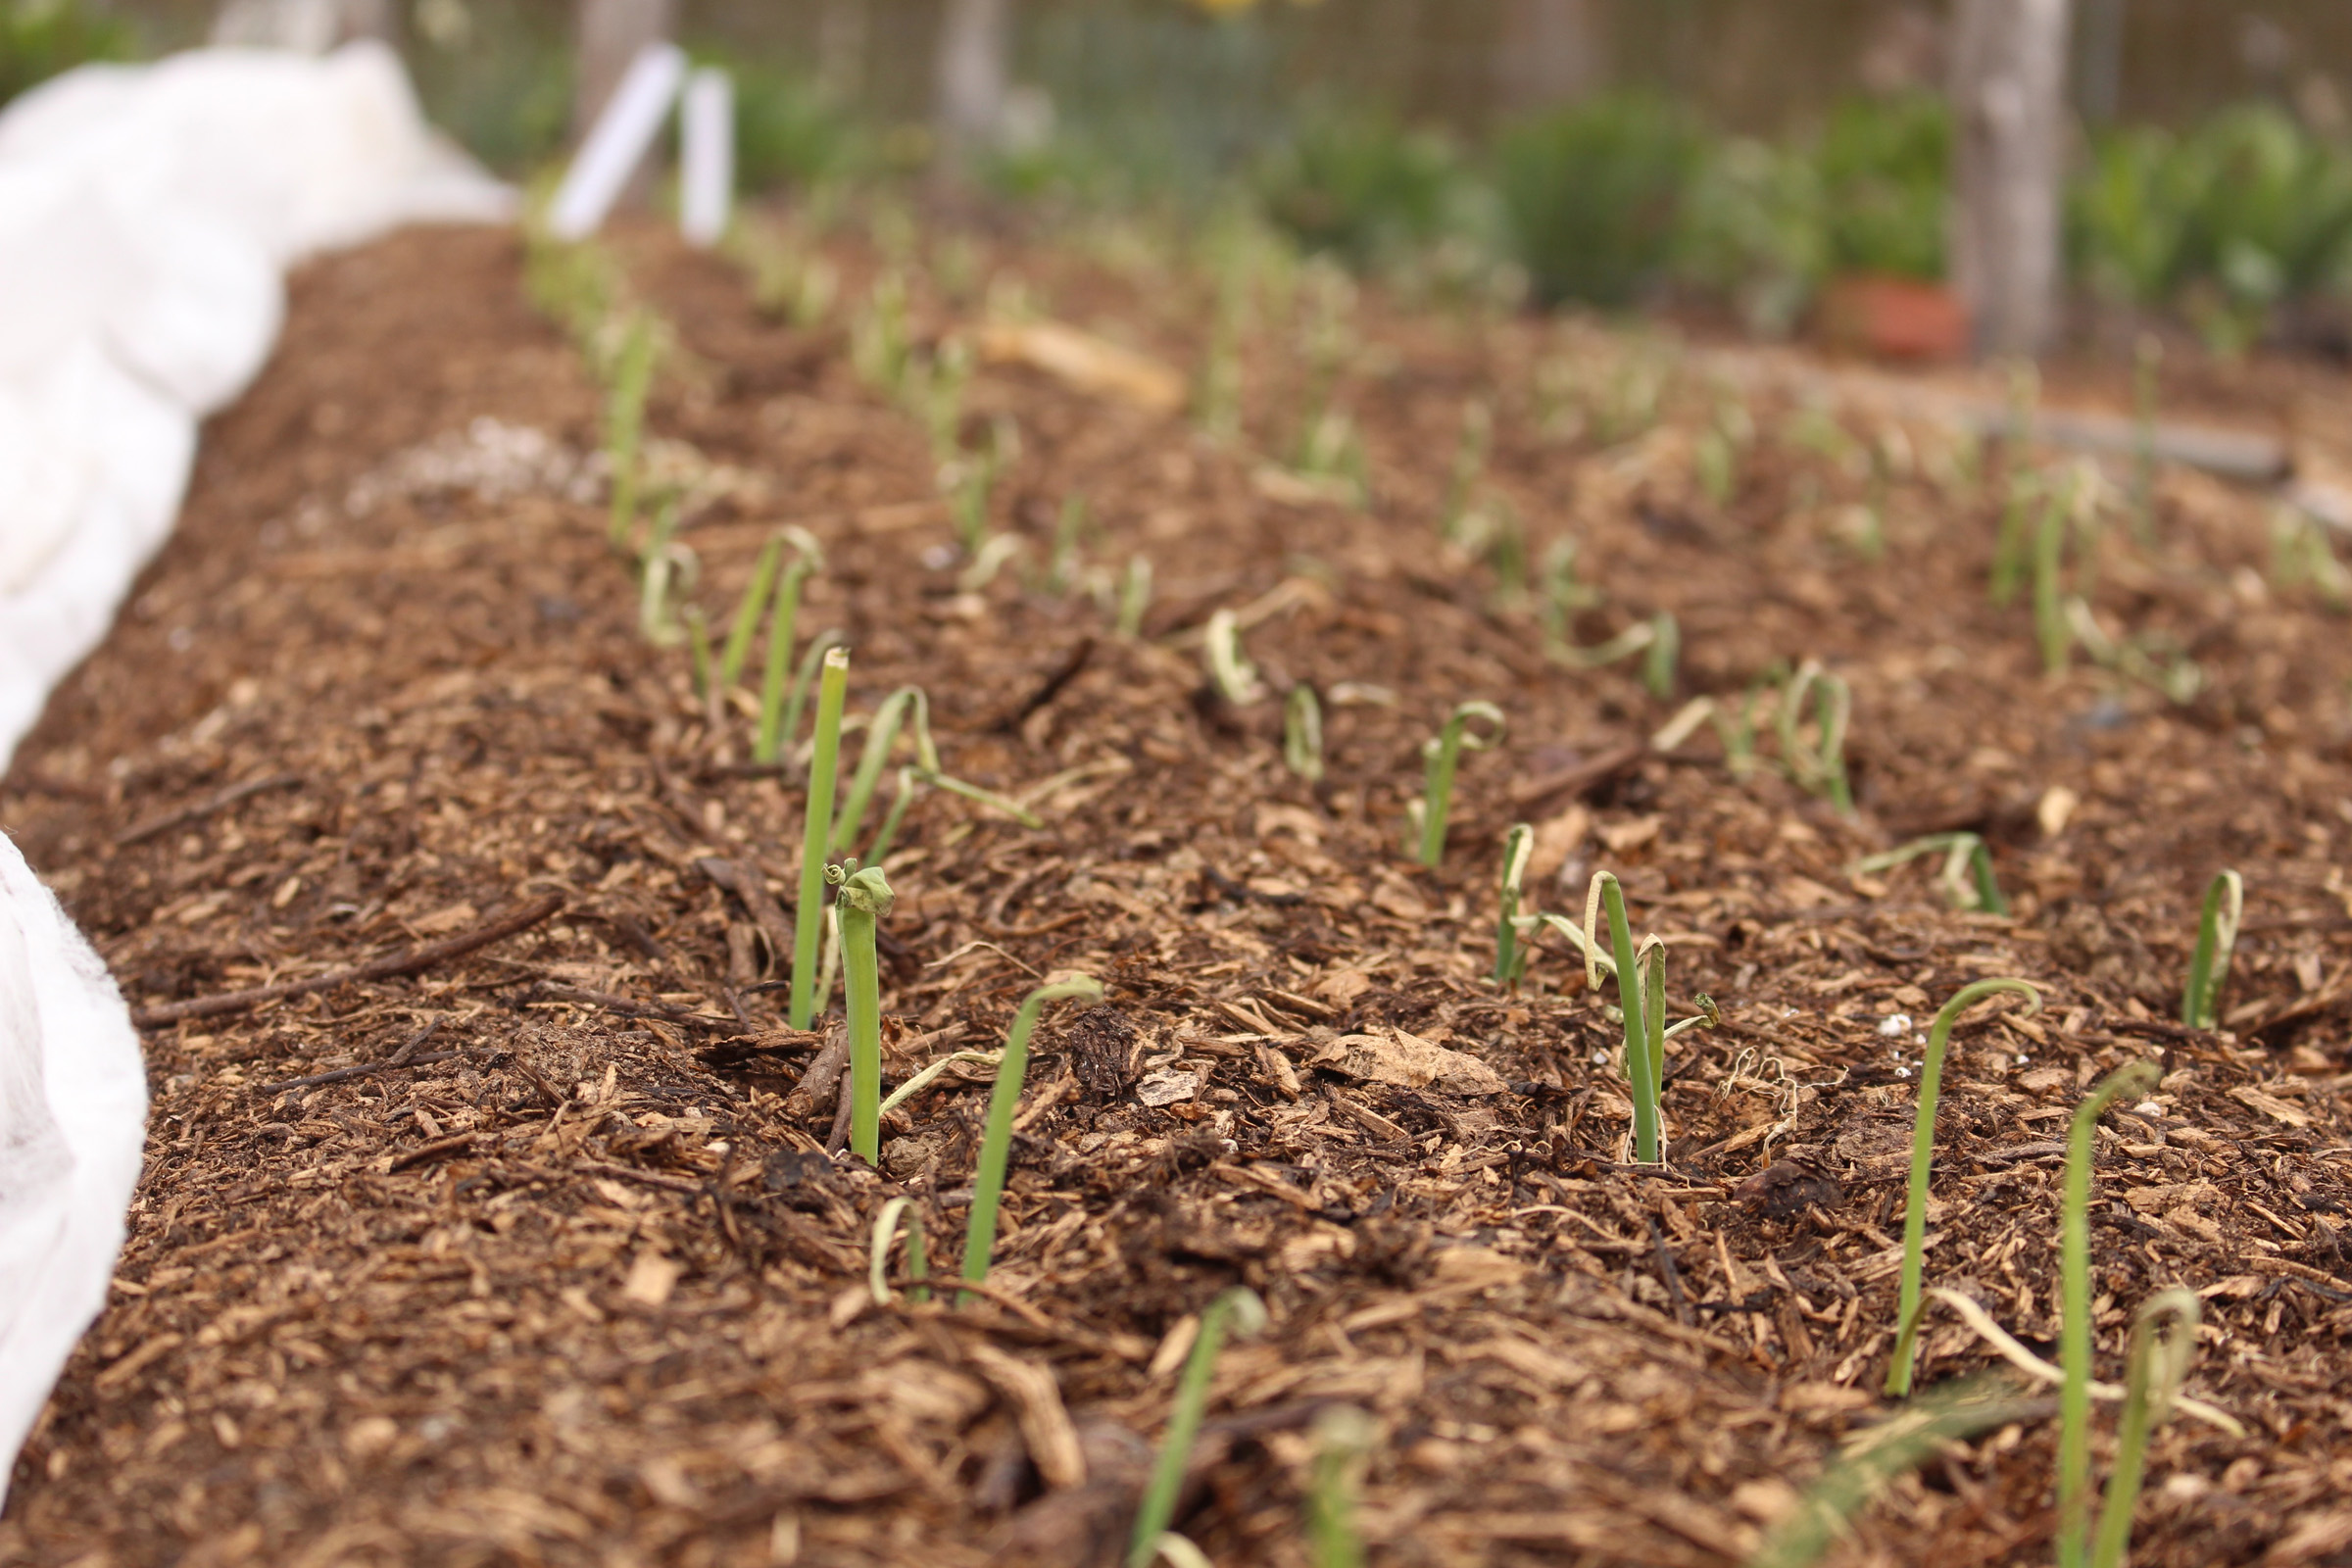
Alliums starting to open
Last fall I reported on my planting of Allium giganteum ‘Ambassador’, which makes volleyball-sized heads of purplish blue flowers, and A. hollandicum (or A. aflatuensis) ‘Purple Sensation’, bearing similar flowers in tennis ball- sized heads. Both are nice plants for flower beds, but, as I reported, I wanted to see if they would naturalize in my south meadow.
Early on, this spring, the experiment seemed a success. The broad, green, strappy onion leaves unfolded, drinking in sunlight, before the surrounding grasses and other meadow plants had hardly budged. As warmer weather moved in, surrounding vegetation grew more boldly, soon beginning to get the upper hand on the onions.
Then the onions, the smaller ‘Purple Sensations’ onions, began to bloom. The blue heads were lost, at first, in the sea of dandelions, orchard grass, goldenrod, and other plants coming on strongly. But ‘Purple Sensation’ heads evidently weren’t yet at their peak. They came increasingly into focus as the heads continued spreading their starbursts of blue blossoms. ‘Ambassador’, as I write, has still to show its heads.
Flowers are pre-packaged within fall-planted bulbs. The true test will be whether or not the alliums bloom as strongly, or at all, next spring. Perhaps the ‘Ambassador’ bulbs will even multiply, as they have in the less competitive terrain of the flower garden.
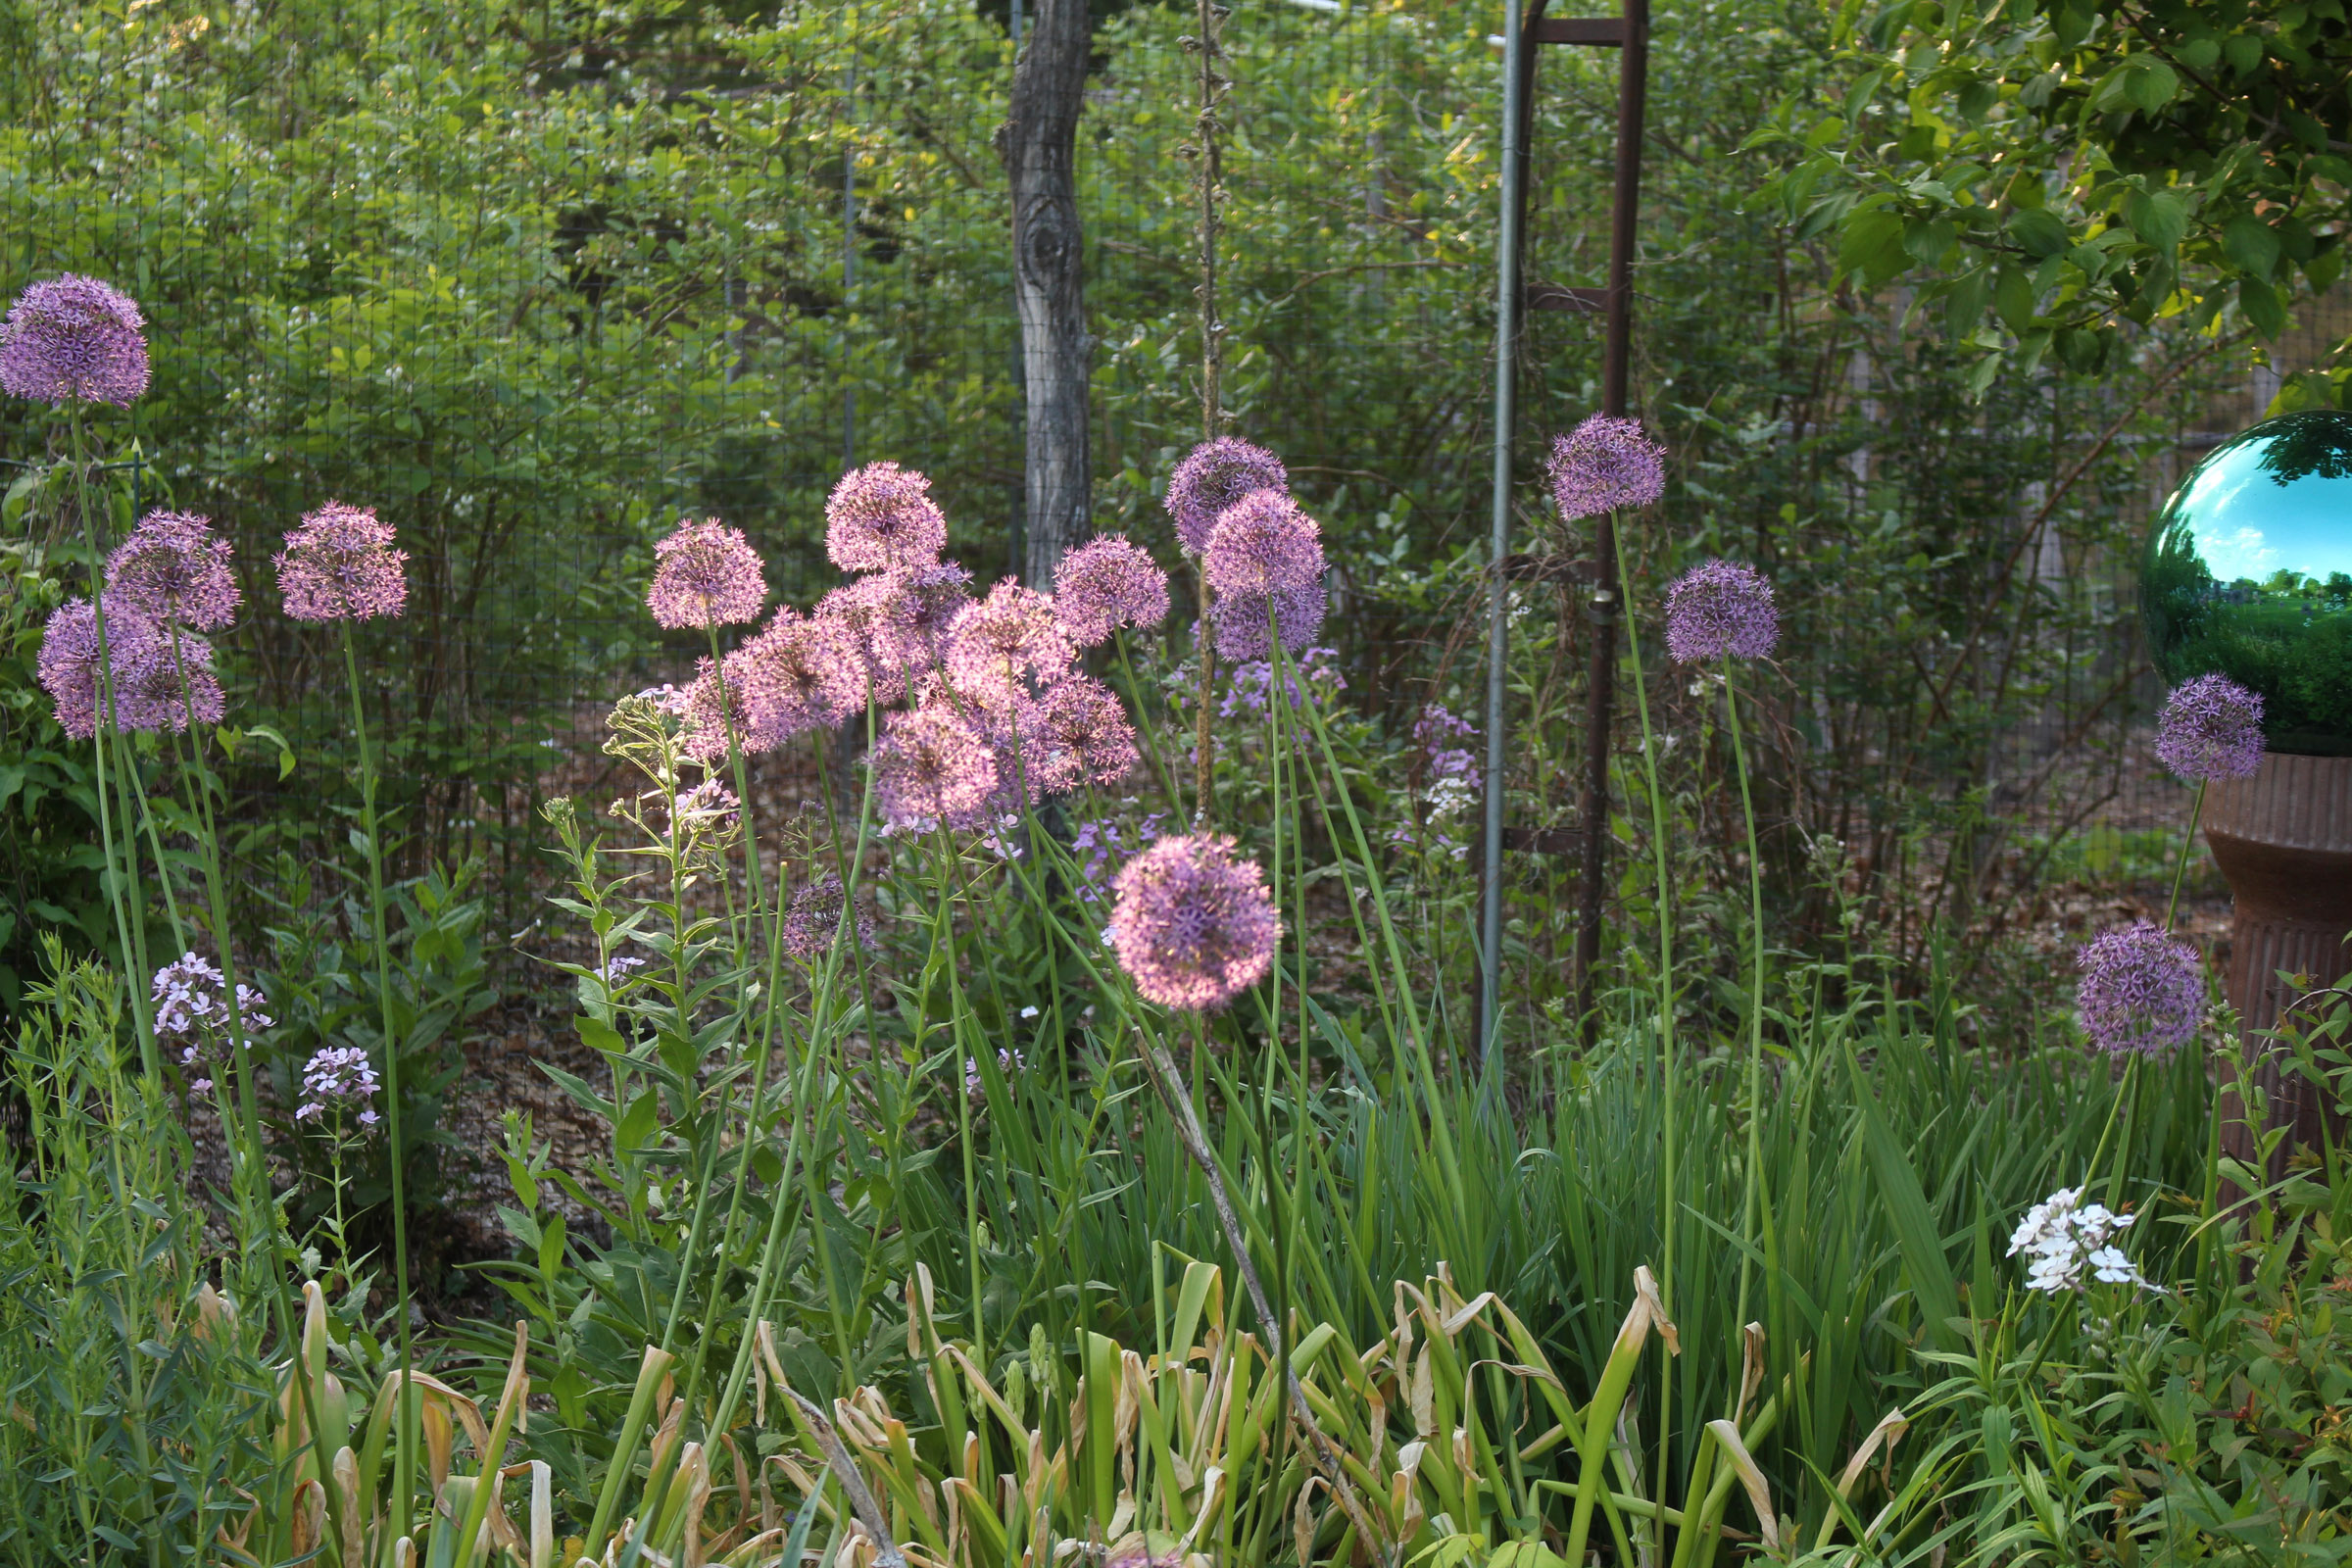
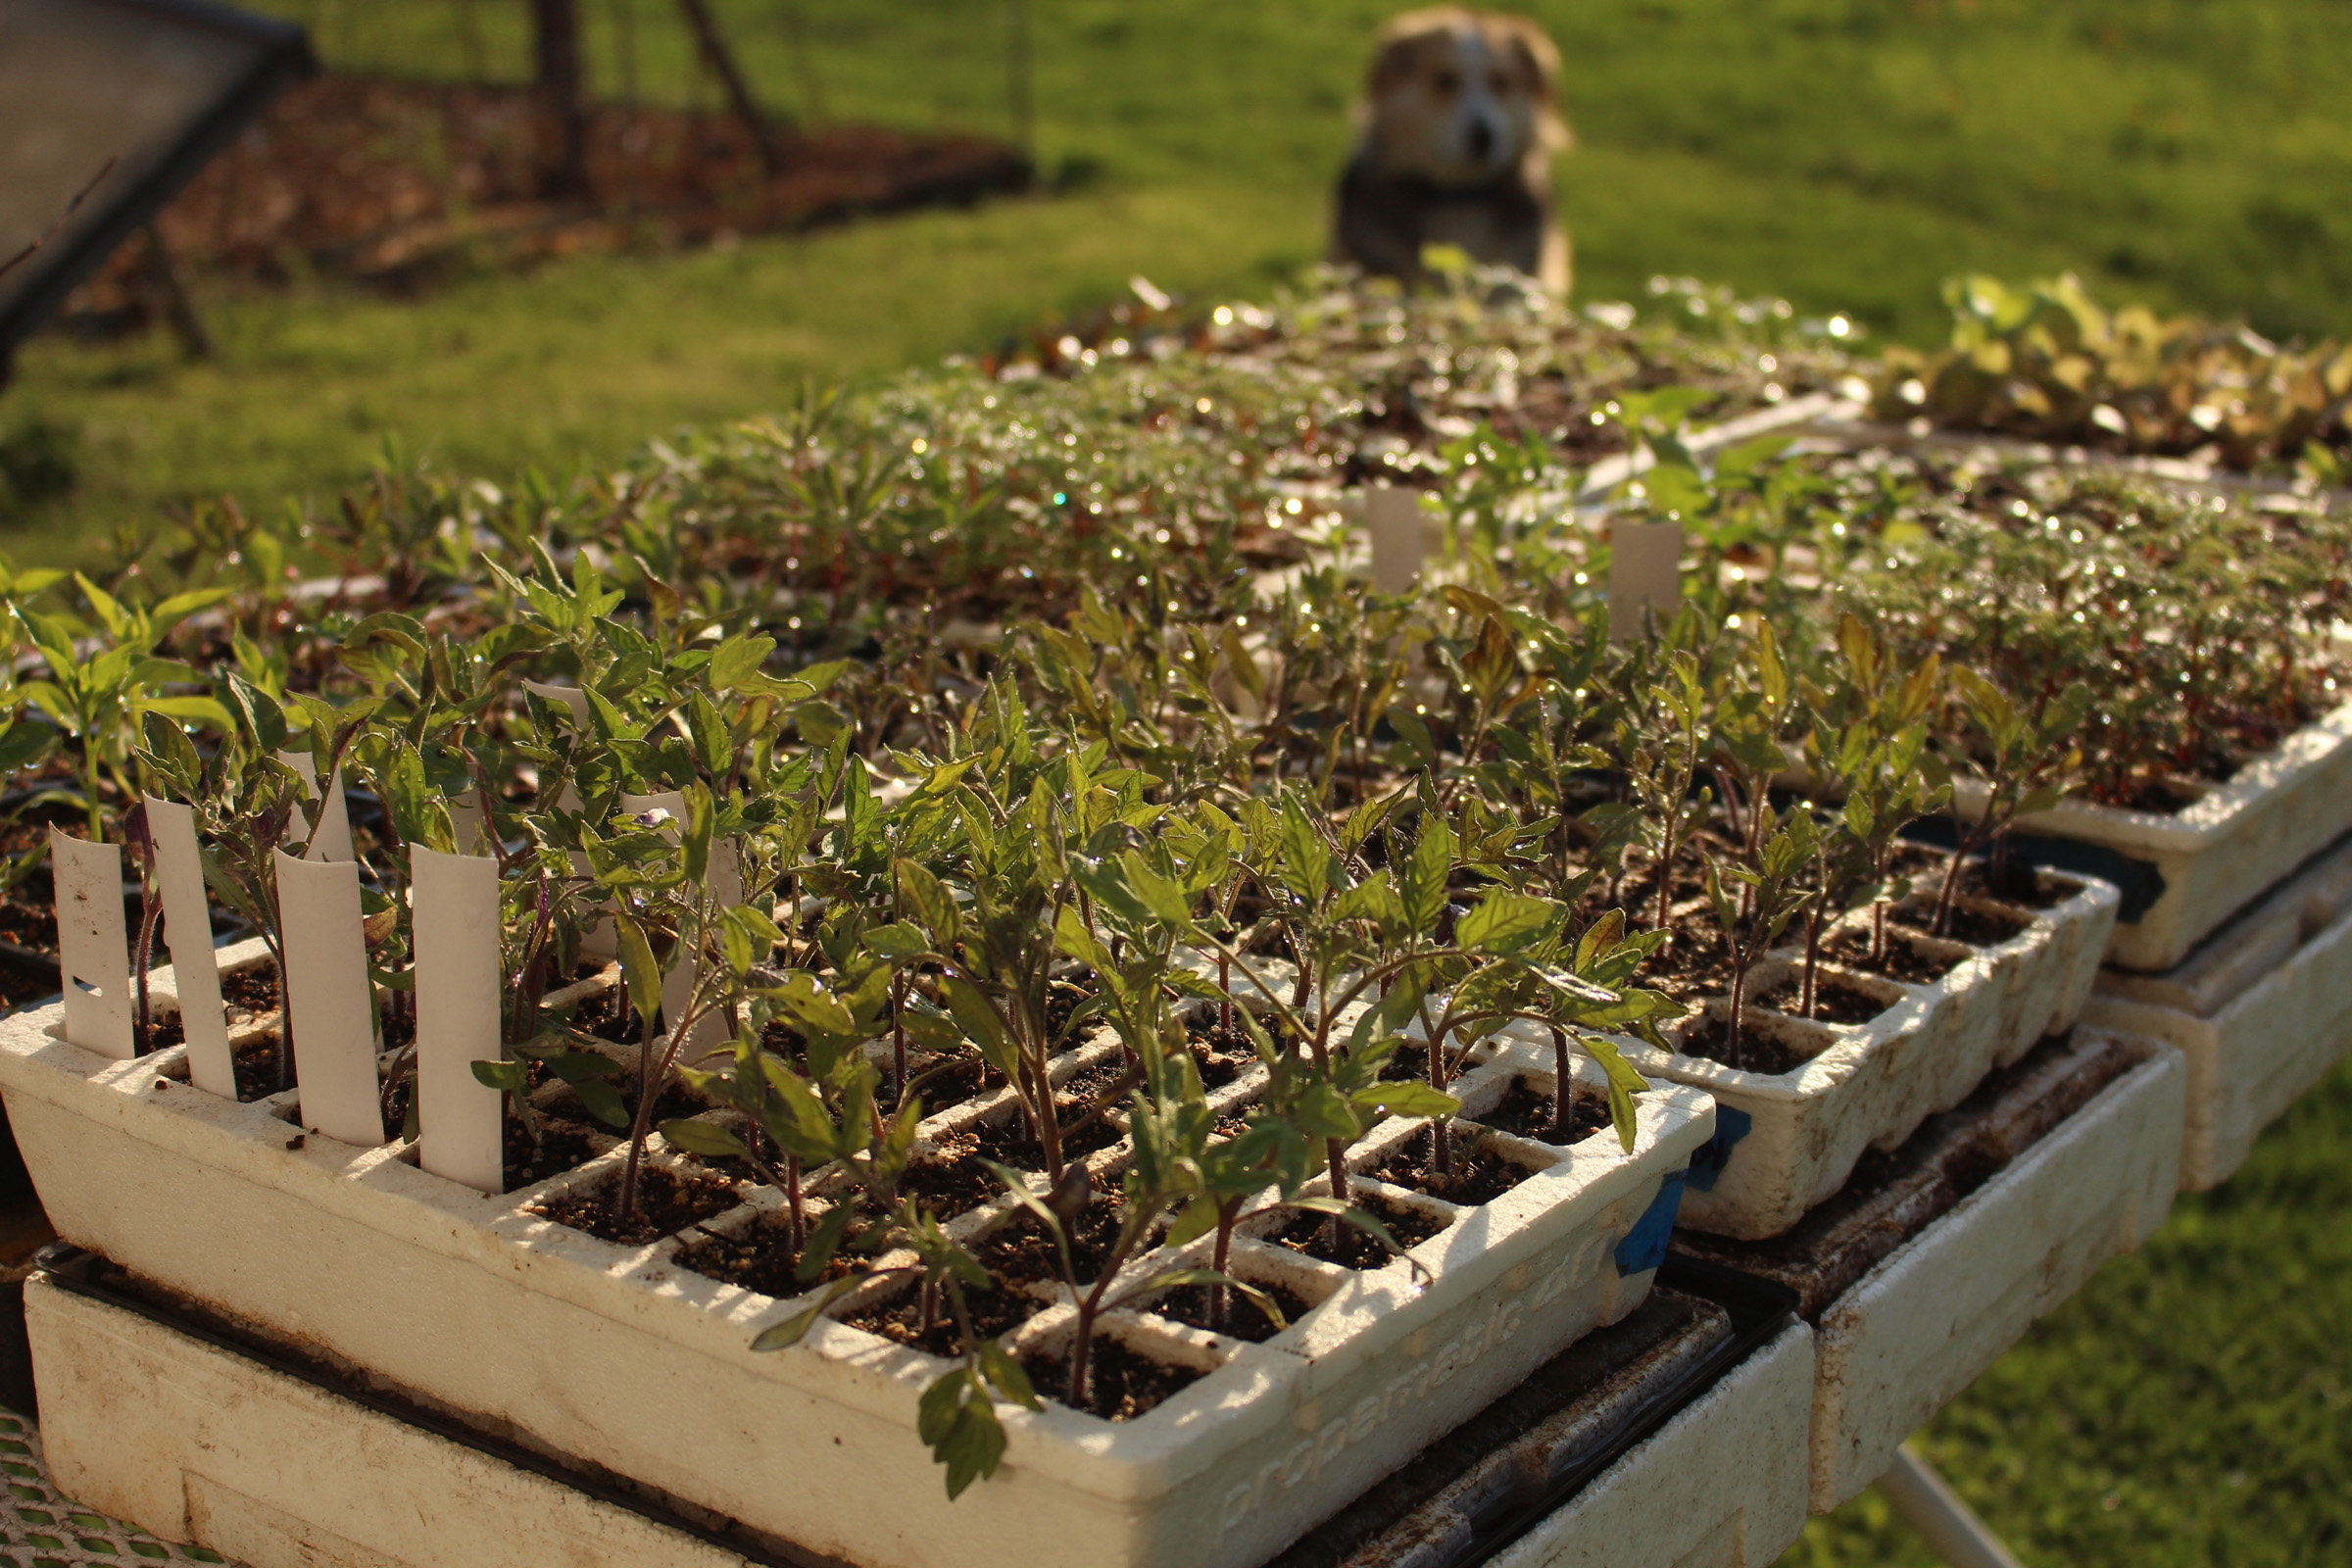
Alliums in the garden.