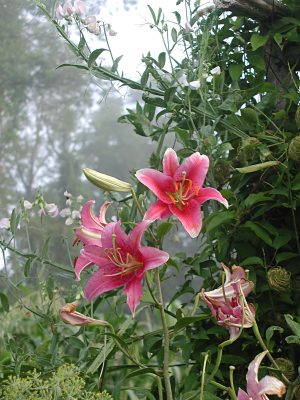
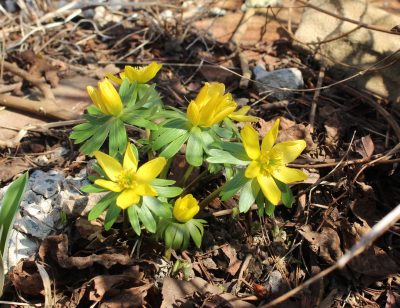
I GET MY KICKS
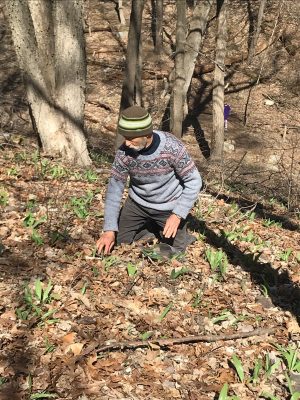
Roots Do It
Some people get their kicks from hang gliding; some from racing cars. Call me mundane, but I get a similar thrill, minus the fear, from seeing cuttings of some new varieties of figs that I am propagating take root. The cool thing about hang gliding, racing cars, and rooting cuttings is also the sense of satisfaction you get from doing it well.
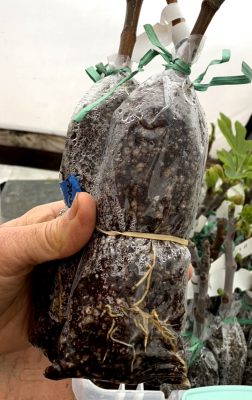
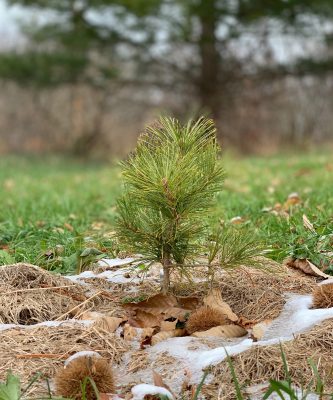
The current batch of cuttings provides special satisfaction because the method I used, gleaned from the web (see, for instance, what turns up with a search for “fig pops”), permit me to check and observe progress frequently. Usually, I stick a cutting into a rooting mix and learn that rooting has taken place by the resistance of the stick to an upward tug or by roots escaping through the drainage hole in the bottom of the pot. With fig pops, I get to see each cuttings wiry, white roots wending their way through the rooting mix soon after they first start to develop. Fig pops are also a way to root lots of cuttings in a small space.
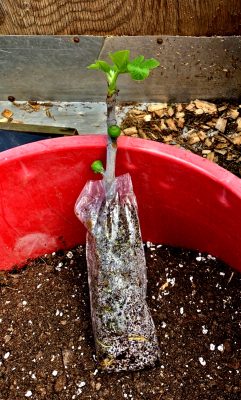
The current figs are rooting in 3” by 8” clear, thin plastic bags filled with my usual 1:1 mix of moist peat moss and perlite. I pushed the cuttings, fig “sticks” of last year’s growth 1/4 to 1/2 inch thick, into the mix almost to the bottom, then sealed the top closed with a twist-tie. One cutting per bag. Roots need to breathe, so I poked each bag full of holes with a toothpick. That’s it, except when the bags seemed too dry I stood them in a pan with a couple of inches of water for awhile.
(Dipping the cuttings in a commercially available rooting hormone would probably improve rooting, but I don’t use them. To me, the health precautions needed when dealing with them takes the fun out of gardening.)
All that, and time, would have been enough. But to speed things up, I moved the cuttings to a place where they’d get some warmth on their bottoms. That could have been atop a refrigerator, above, but not on a radiator, or, in the case of my cuttings, on a seedling heating mat.
 No light is needed until cuttings start to leaf out. Which is an exciting moment, because roots might — or might not — begin to show about then. All that’s needed is to lift a fig pop and take a look. Some of mine showed roots after only 3 weeks! But it’s good to let them get well rooted before disturbing them.
When the time came to move a well rooted cutting, I sliced the plastic on the bottom and up along one side of its bag and put the whole root ball in a bona fide pot, filling in with bona fide potting soil around it.
That’s it. Growth will pick up with increasing warmth and sunlight. And then fruit, which could arrive on the branches even this growing season. Figs are admittedly easy to root by any method. As with any cutting, an important ingredient for success is patience.
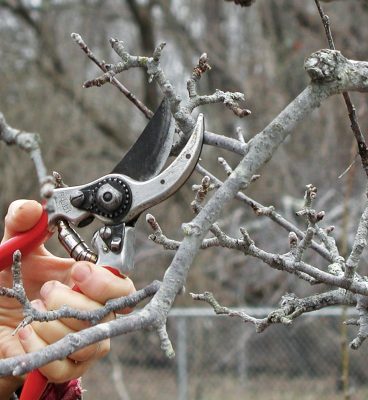
Graft (Nonpolitical) is Good
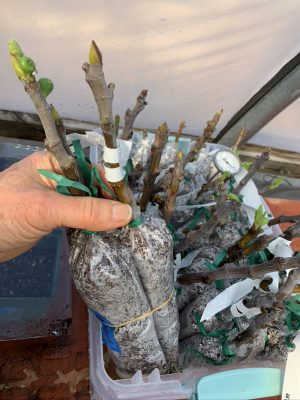
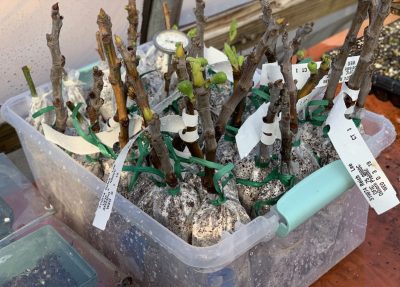
Moving on, next week, to another perennial source of excitement here in the garden: grafting. I do this every year about now? Why every year? Because I’m always getting scions (1-year-old stems for grafting) of new varieties of fruits, mostly pears, to try out or to replace existing varieties. Or I might want another tree or two of a variety particularly worth growing here.
If I’m replacing an existing variety, I do a Henry the Eighth on the tree, lopping off its head, low, to graft a new variety onto the remaining stump. With the established root system underfoot, these grafts grow very vigorously and bear relatively quickly — sometimes the year after grafting.
Alternatively, I make a whole new tree by grafting a scion onto a one-year-old rootstock that I purchase or grow. These small trees will take longer to come into bearing, how long depending on the kind and variety of fruit, and the rootstock.
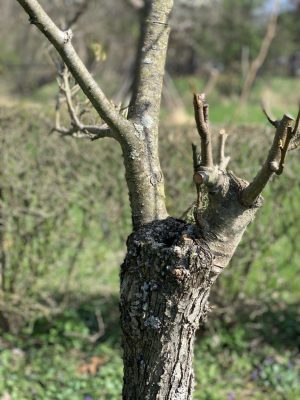
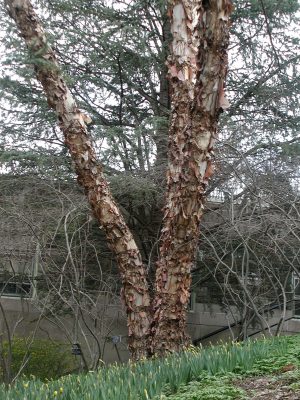
Stump of older graft
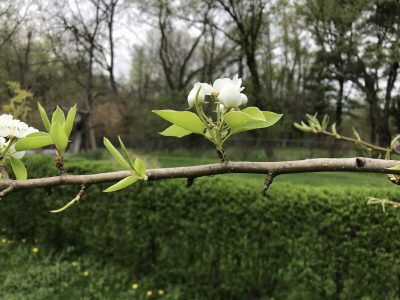
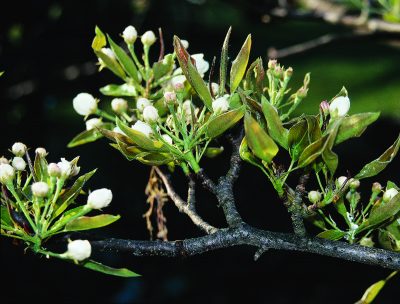
A rootstock, whether the remaining stump of a lopped back mature tree or a pencil-thick young plant, has to be closely related to the scion that will be grafted atop it for the graft to be successful. Rootstock and scion in the same genus generally do well together, so pear on pear, apple on apple, even peach on plum are compatible. Occasionally, plants in the same family but different genus, such as pear and quince, also join well.

Whip graft
One way to create a rootstock would be to just plant a seed, giving rise to the appropriately named “seedling” rootstock. A seedling rootstock’s main claims to fame might be its general toughness and its genetic diversity from other seedlings. That genetic diversity is a downside if you want to plant an orchard of uniform trees; it’s an asset if you don’t want some pest all of a sudden wiping out all your plants with genetically the same rootstocks.
Rootstocks have been selected or bred that impart special qualities to a tree, and these rootstocks are propagated not by seed, but by any one of a number of methods of cloning (cuttings, tissue culture, mound layering, etc). Most dramatic might be the effect on plant size. The Malling 27 variety of apple rootstock, for instance results in a tree that matures at about 7 feet high. As with many dwarfing rootstocks, the tree also yields its first harvest quickly with, although less fruit per tree than a larger tree, more fruit per sure foot of space. And you can plant many dwarf trees in the same space as one full-size tree.
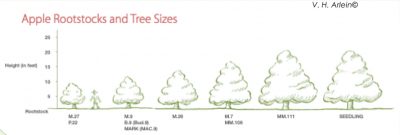
Dwarf trees also have the advantage that pruning, harvesting, and other needs can be met with your feet planted on terra firma. Any disadvantages? Yes: more finicky about growing conditions, much shorter lifespan, and often needing staking throughout their lives. But there are many rootstocks from which to choose, especially with apples and pears, so you can choose what suits you from a fully dwarfing tree on up to full-size tree. A rootstock might also be selected for its tolerance for certain soil conditions, hardiness, and other environmental hazards.
Most important: The rootstock, for all its effects, has little or no influence on the flavor of fruit grafted upon it.
I’ll be grafting next week. Stay tuned for the 2 or 3 easy grafts I use to make trees.

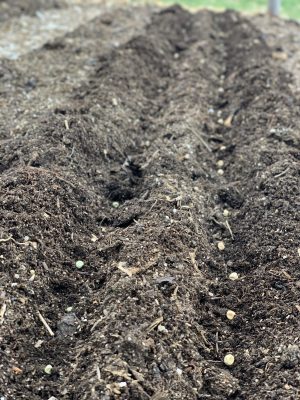

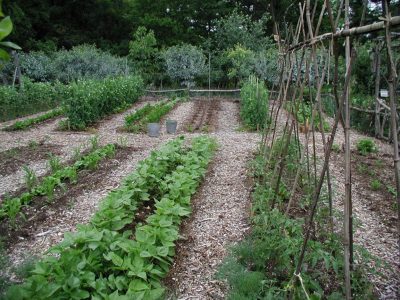
 Wait two weeks for Mother Nature to work her magic decomposing some of that existing vegetation. Or, rather, part of her magic. After two weeks, dig up the ground again, this time adding some compost or fertilizer. You could dispense with the compost or fertilizer this season if whatever was growing there before digging looked vibrant. Better not to go out to a store these days if you don’t have to anyway. Wait another two weeks, and when you’re ready to plant, use a garden rake to tickle the surface of the ground and crumble it.
 Busy, such as: attending to my compost. The last compost pile of late fall and winter is an accumulation of end-of-season debris from garden cleanup, bedding from the duck house, and kitchen scraps. Not much happens in it with the slow additions and winter cold. I decided to dig into the pile to see how it was doing. Not good!
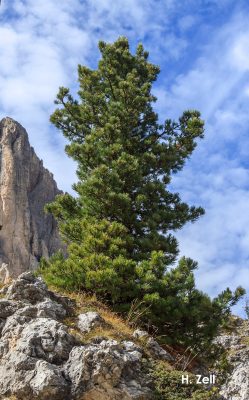
 I also planted a white oak (Quercus alba), whose sturdy limbs, I figured, would slowly spread wide with grandeur in about 150 years, after the maples and birches were perhaps long gone. Unfortunately, the white oak died, probably due to winter cold; its provenance was a warmer winter climate. My mistake.
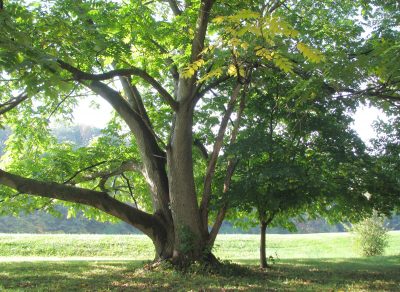
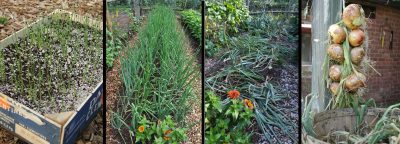
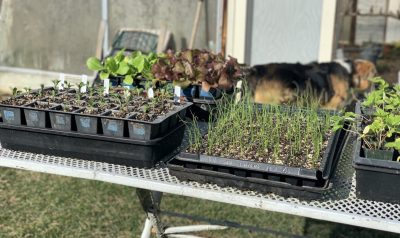
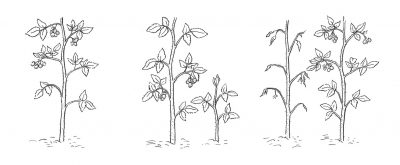
 When transplanting out in the garden, plant each cell with its seedlings intact, spacing them further apart than you would with individual transplants so their roots get adequate water and nutrition. As vegetable growing maven Eliot Coleman wrote in Four-Season Harvest, “the onions growing together push each other aside gently.”
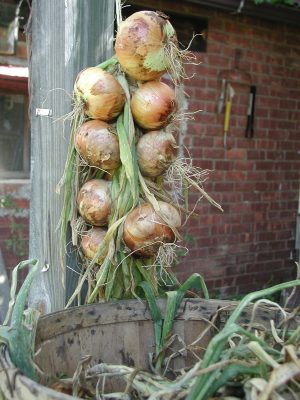

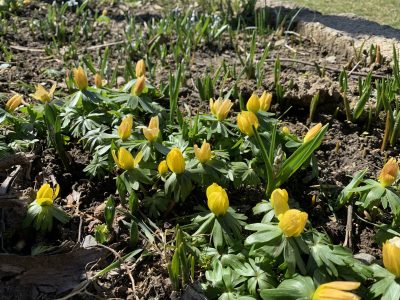
 In the case of plants like petunia, chrysanthemum, rhododendron, and fuchsia, at least part of the botanical name is the same as the common name in English. In some cases, using the botanical name might be the only way I could be assured of getting the plant I really want. If I wanted to plant bluebells, Hyacinthoides, and searched and asked for it by its common name, I could end with plants in the Mertensia, Muscari, Campanula, or Eustoma genus.