They’re Not Tropical
Too many people think fig trees are tropical plants. They’re not. They’re subtropical plants and that’s one reason those of us living in cold winter climates can harvest fresh, ripe figs. In fact, fig trees like that little rest that cold weather offers them.
Here in Zone 5 (average winter lows of minus 10 to minus 20° F), I grow figs a number of ways. Figs are cold hardy to the low ‘teens, too cold for even subtropical plants to grow outdoors in the ground, their stems splayed to cold winter air like my apples and pears. Their roots, especially if mulched, generally will survive winters here in the relatively warmer temperatures underground. But then new shoot growth must originate at ground level, and the growing season isn’t long enough for figs that develop on those shoots to ripen.
Potted
Some of my figs, like many of yours, are in pots.
With nighttime temperatures now often below freezing, there’s an urge to grab the potted fig and carry it indoors. Don’t! As I wrote, fig trees like a little cold weather. Experiencing some cold weather also toughens them to be more able to withstand even colder weather. My goal is to get these potted plants into a deep sleep, and to maintain that state as long as possible through winter, ideally until they’re ready to be carried outdoors again in spring.

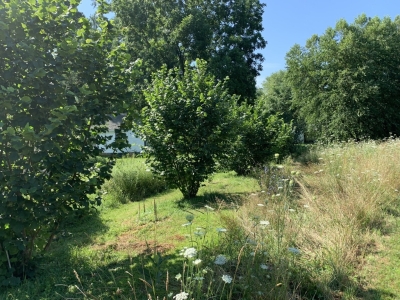
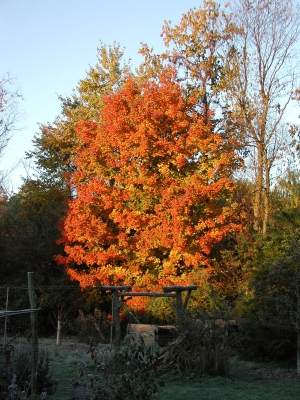
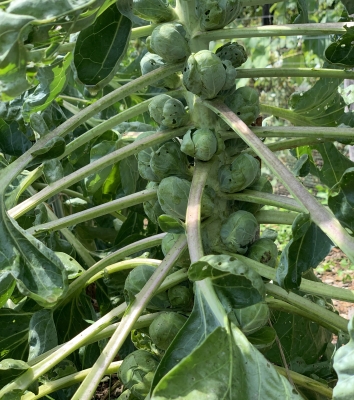
My friend Sara’s fig last summer
If temperatures are going to be super cold, below the low ‘teens, move the plant to a temporary, but cool, location such as an unheated garage or mudroom, or garden shed.
Plants might still sport some leaves this time of year. Perhaps some of those leaves have been frosted. Not to worry.
Eventually, a potted fig needs to be moved to a winter home. Around here, at least, not yet. Typically, I leave my potted fig trees outside — in a slightly sheltered spot near a wall of my home where temperatures are modulated — until sometime in December. A fully dormant fig tree sheds its leaves so won’t need light in winter. If any of my plants are still holding onto their leaves, I just pull them off before the plants move to their winter home.
The winter home should be cold, but not frigid, ideally 30 to 45°F. That previously mentioned unheated garage or mudroom, or garden shed might be suitable. A minimum-maximum thermometer is an inexpensive way to know just how cold a site gets during winter even when you’re not in there or looking — at 2 AM, for example.
Some of my potted figs retire to my basement for winter, where winter temperatures are usually 40 to 45°F.

Kadota fig stored in cold basement
More recently, I’ve set up an insulated, walk-in cooler, mostly for storing fruits and vegetables. There’s also plenty of space for some potted fig trees. The cooler, which needs a little heat in the dead of winter, maintains a pretty consistent temperature of 39° F.
To help the plants remain asleep, I keep them on the dry side, perhaps watering them once or twice during this period.
To a point, the more stem growth on a fig tree, the more fruit it bears. So a potted fig can only bear so much fruit. I want more figs from some of my trees.
Innovations for Greater Yields
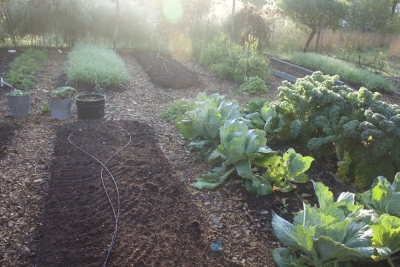
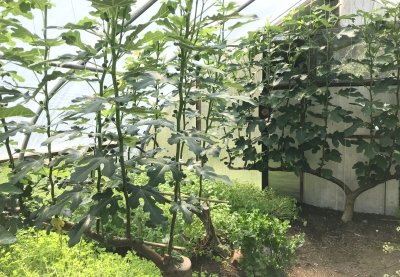
Years ago, I built a greenhouse in which to grow cool-weather-loving salad stuff and greens such as lettuce, celery, kale, chard, arugula, mustard, mâche, and claytonia through winter. I soon realized that the hot summers and the cool (never below about 35°F) winters in the greenhouse mimicked the Mediterranean climate that figs call home. So I planted four fig trees right in the ground in the greenhouse. The vegetables don’t mind their figgy neighbors because they’re leafless in winter.
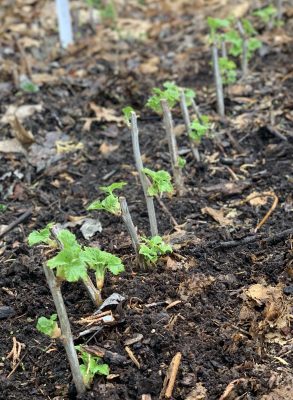
Those fig trees are more than just leafless in winter; they’re also pretty much stemless. Each tree is trained to have a short trunk off which grows one or two permanent, horizontal arms. (This method of training is called espalier.) 
 Fruits are borne on shoots that grow vertically from these arms. Tomorrow I’ll lop all those vertical shoots back to the arms. Next year, new shoots will bear fruits and be cut back next fall, and the year after that, new shoots . . . and so on.
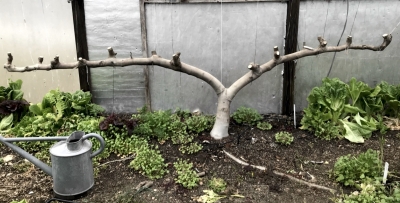
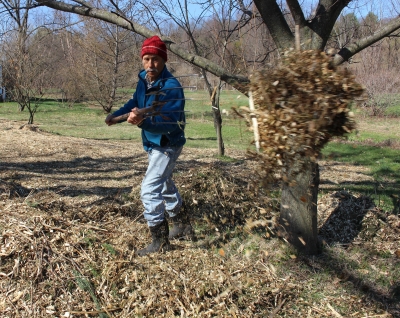
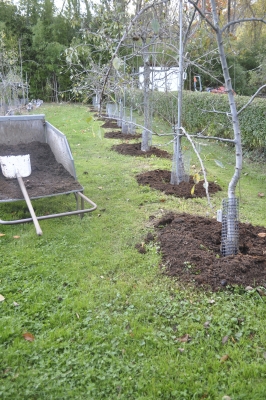
I’ve even used this method, this time with the horizontal arm trained just a few inches above ground level, for a fig tree I have growing outside. That low-growing arm is easily covered with a blanket of leaves, straw, or some other insulating material, how much depends on the depth of wither cold expected.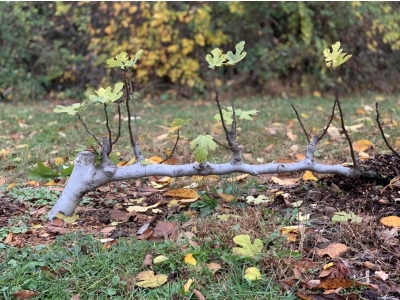
Once again, I’ll delay covering the plant until colder temperatures arrive so that the plant is hardened more against cold and goes into winter as dormant as possible.
Over the years, other figs of mine have weathered cold winters also by such methods as being bent over and covered to keep them warm and outdoors, by being grown in pots sunk into the ground then lifted, before the arrival of frigid weather. etc., etc. You want to harvest fresh figs in summer? There are many paths to this mountaintop.
The takeaway today is: Don’t protect your fig tree from too much cold too soon. Let the plant experience and benefit from the sleep-inducing and hardiness that some exposure brings.
And if you want to know more about growing figs in cold climate — varieties, method details, pruning, accelerating ripening, potting mixes, and more — see my book with the eponymous title GROWING FIGS IN COLD CLIMATES (available from the usual sources as well as, signed, from my website).Here’s a very short video I made back in October about some methods of growing figs in cold climates and my new book: Fig video

 I’ve used this weed-less system for over 25 years! $10.95
 ways to hasten ripening. $24.99
 from ornamental trees and bushes, to fruit and nut trees, to houseplants and perennials. A final section delves into specialized techniques such as topiary, bonsai, and espalier. $29.95
 (the ornamental value, how easy they are to grow, what they taste like, varieties). Also a chapter on landscape design basics. $19.95
 short description of what is going on plantwise. From there we are left to the whims and vagaries of the weather and the weeds, the unfolding of blossoms and ripening of fruits, perhaps the cry of a plant begging to be repotted — any and all topics gardenwise. $17.00
 everyone from newbies to experienced gardeners whose curiosity at the wonders of cultivation grows deeper and stronger with each season. How to maximize flavor and nutrition; how to help plants outwit drought; making the best sse of compost; etc, etc. $18.99
 pest control, storing your bounty, and growing fruit plants in containers. Details on over 30 fruits and how to reap their bounty. $24.95
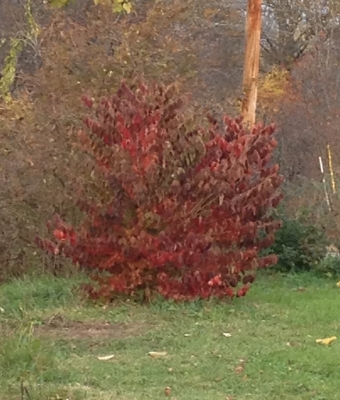


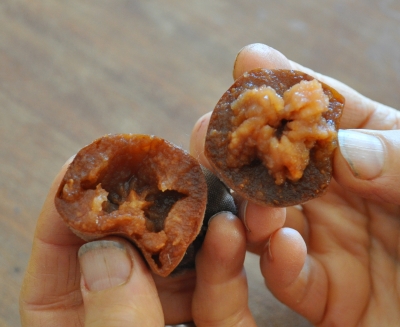
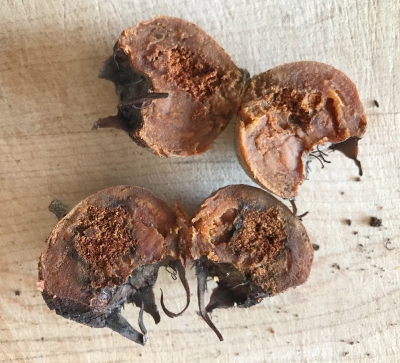
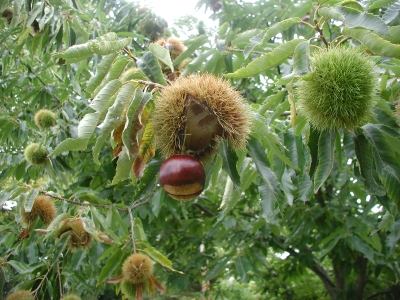 They’re often billed as the “bread tree” because in contrast to other nuts, which are high in fats and protein, chestnuts are high in starch. Obviously, you’re not going to be eating home-grown chestnut stuffing this year, or next, or the next; it takes awhile for a chestnut tree to start bearing. Not that long though. I’ve had plants grown from seed begin to bear within six years, and a grafted tree from a nursery should bear even sooner than that.
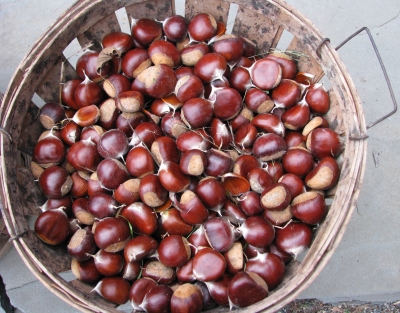

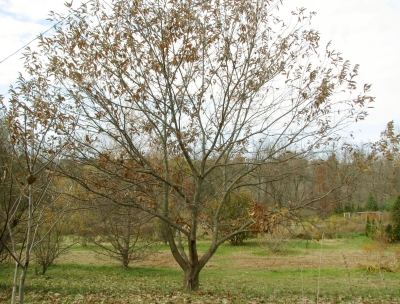
 Native Americans harvested and ate nu nu, and this was one of the foods crucial in helping the Pilgrims survive their first winters in Massachusetts.
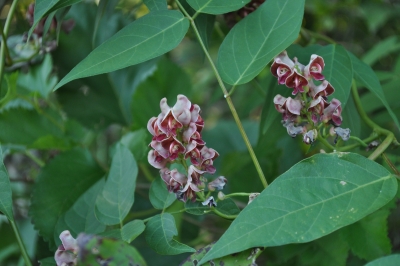
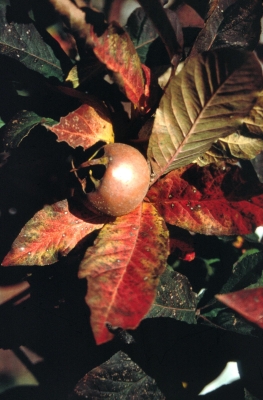
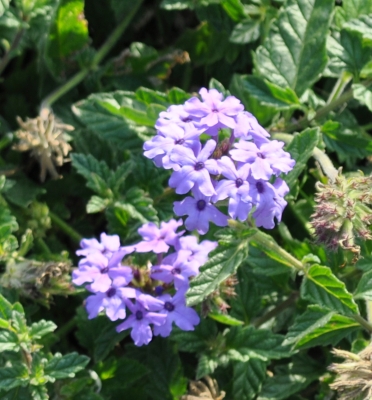 It’s that purple again, light purple in this case. Also, the plants weren’t exactly smothered with flowers and most prominent, then, were the leaves which were not particularly attractive.
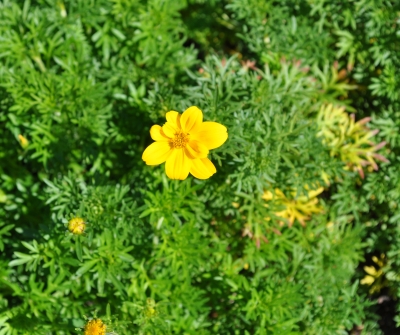
 Those are Bidens, trying to spread. (Not to be confused with the round, marble-size burs of burdock.)
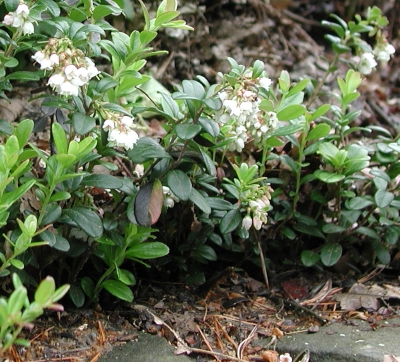 The bright red berries hang on the plants for a long time, well into winter, with their backdrop of holly-green, glossy leaves making a perfect holiday decoration in situ.
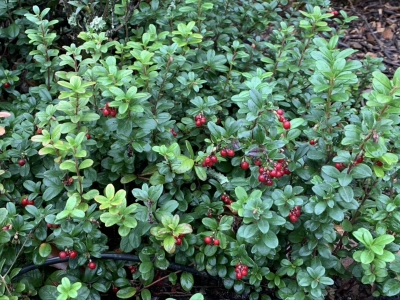

 The roof had enough slope so plants could be seen from the path, yet not so steep that a hard rain would wash the soil away.
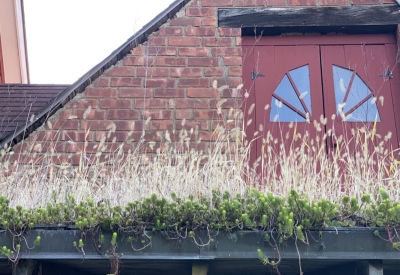
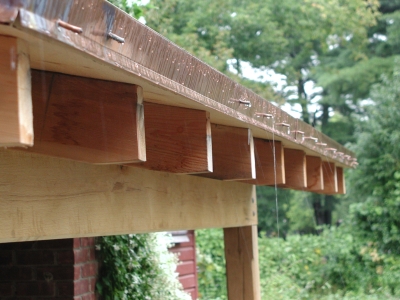 (It streamed, but not so decoratively, because some tubes kept getting clogged and the bottom edge of the roof was not exactly horizontal so the flow burden was taken up by only a few tubes.)
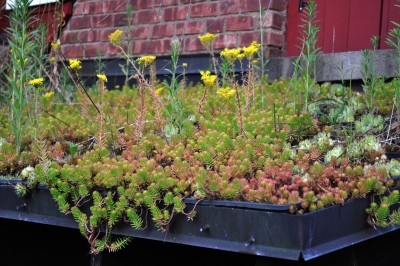
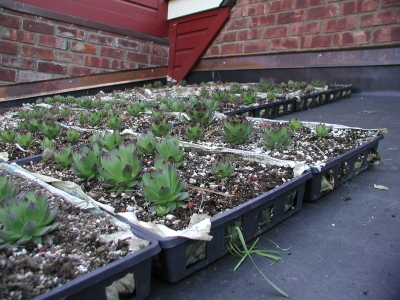 All this planting took place almost a year before the roof was readied for the plants, important so the hen-and-chicks could make enough “chicks” to spread and pretty much cover the planting trays, which otherwise would have left too much planting mix exposed to washing from rainfall.
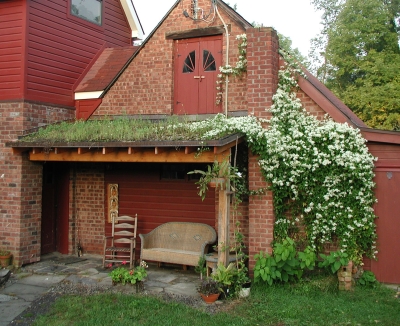
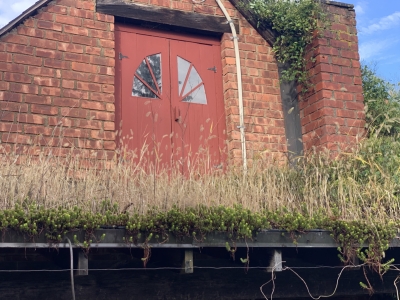

 She looked good up there, especially when draped over the front lip. She also multiplied rapidly both on the wall and on the roof. To further encourage her, I grab bunches wherever in excess on the wall and toss them up on the roof to root.

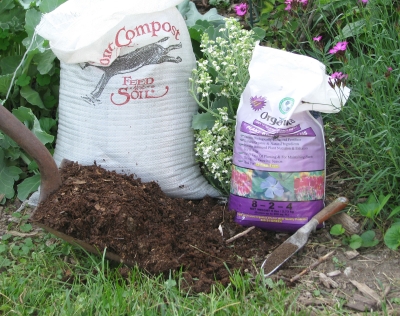
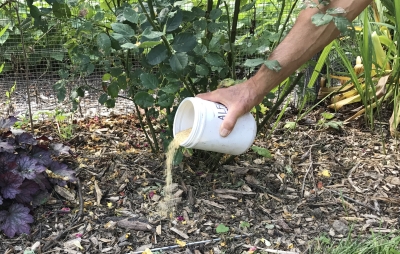
 Remember the song lyrics: “House built on a weak foundation will not stand, no, no”? Well, the same goes for plants. (Plant with a weak root system will not be healthy, no, no.) Fertilization in the fall, rather than in winter, spring, or summer, promotes strong root systems in plants.
 The two major forms of soluble nitrogen that plants can “eat” are nitrate nitrogen and ammonium nitrogen. Nitrate nitrogen will wash right through the soil; ammonium nitrogen, because it has a positive charge, can be grabbed and held onto negatively charged soil particles. Therefore, if you’re going to purchase a chemical fertilizer to apply in the fall, always buy a type that is high in ammonium nitrogen. The forms of nitrogen in a fertilizer bag are spelled out right on its label.