TRANSPLANT GROWING, A BETTER WAY
Snicker if You Will
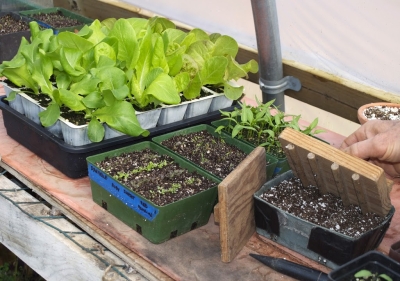
I don’t know about your propagation space, but mine is getting overcrowded. Yes, now with a greenhouse, I’ve got more room than in the the past when I grew seedlings in windowsills or in my basement under lights. But my greenhouse is small, and with greenhouse beds home to fig trees and early spring lettuce, arugula, and other greenery, seedlings are relegated to a 12 by 2 foot shelf along the north wall.
I make the most of that shelf by “pricking out.” Snicker if you will at this Britishism, but pricking out is a way to get a lot of bang for your buck space-wise, whether in a greenhouse, on a windowsill, or beneath lights. It also makes more economical use of seeds.
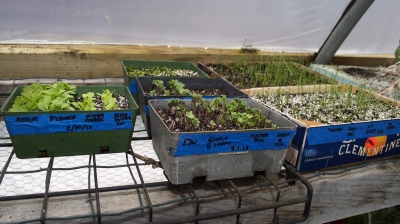
The process begins, for me, with either 4 by 6 inch or 6 by 8 inch seed flats, which are plastic pans a couple of inches deep with drainage hole drilled in their bottoms. I fill one of these with potting soil, firm it, and then treat it like a miniature farm field, making 4 or 5 furrows along the short length. I press these furrows into the potting soil with a board that fits the flat to the underside of which I attached dowels where I wanted the furrows.
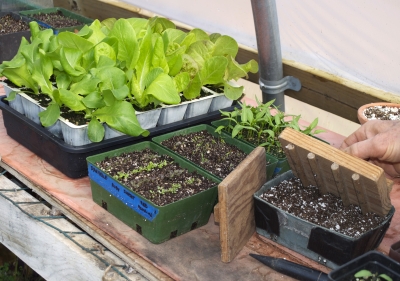
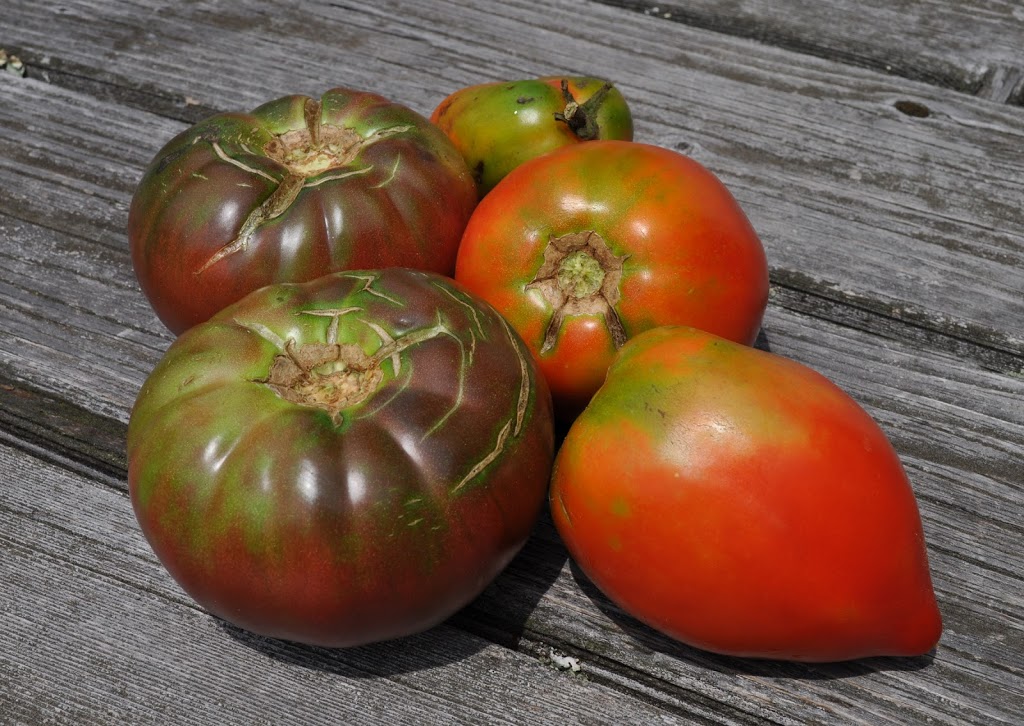
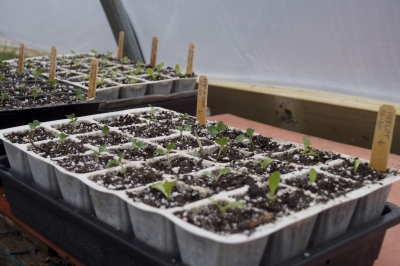
The first cool thing about this whole process is that each furrow can be sown to a different variety. I generally sow the flat to different varieties of the same kind of plant so that germination of the whole flat is fairly uniform. Looking over at one of my larger flats, I see newly emerged sprouts of Nepal, Belgian Giant, Paul Robeson, Amish Paste, and Blue Beech tomatoes. All taking up a mere 48 square inches!
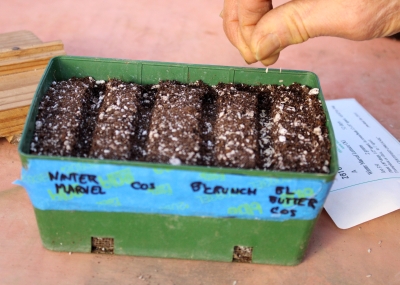
Flats of tomato seed were planted April 1st, watered, and kept warm, and those sprouts emerged today, the 6th. No light is needed until sprouts emerge. After a week , now with good light, those cotyledons (seed leaves) will darken and true leaves will appear. That’s when it’s time to actually “prick out.” Mind you, for two weeks, all those potential tomato plants have been getting started in a mere 48 square inches, the first week of which they didn’t even need light!
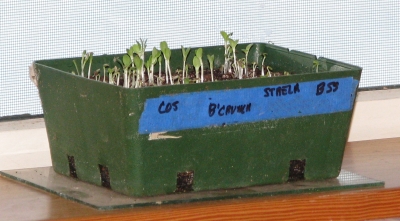
Other kinds of seeds take longer to germinate. Or shorter. And temperature also figures in. Tables of optimum germination temperatures for various kinds of seeds are available on the web and in some seed catalogs.
The Process
Pricking out is transferring the still tiny seedlings from the seed flat to individual cells to “grow on,” another Britishism. For these containers I’ve used saved cell-packs from plants I’ve bought in the past; now I mostly use Growease Seed Starters automatic watering system from gardeners.com. Depending on how many plants you’ll be growing and what you’ve got, small yogurt containers, even jumbo egg cartons could also fill the bill.
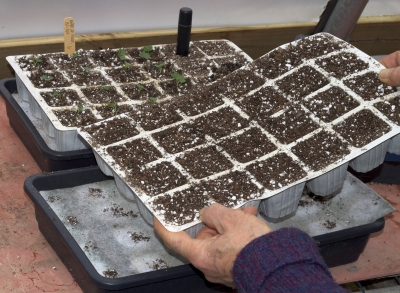
To start, I take a dibble, for this use, a pointed plastic cylinder about 3/4 inch across, and make a hole in one potting-mix-filled cell. (Etymologically, “dibble” originally was, or is, Manchester British slang for a police officer, from a character in a cartoon. How did that become the name for the black plastic thing I’m holding?)
Back to the seed flat . . . time to lift individual seedlings out of their seed flat and into their newly dibbled hole. Those seedlings are very delicate and will die if the stem is injured. So I take a knife or a spatula and scoop up underneath a clump of seedlings to loosen the potting soil around their roots, and then take gentle hold of one of their leaves to lift the plantlet free.
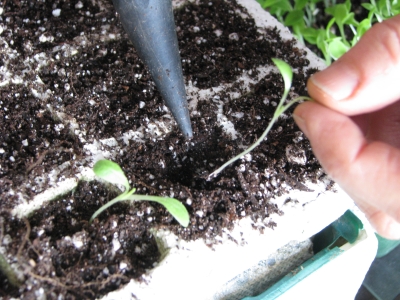
After lowering one plant’s roots into its waiting hole, I firm the potting soil around the roots. No, not pressing against the stem, which could injure it, but pressing down into the potting soil. And not too hard. Just enough to firm it around the roots. One advantage of pricking out is that you can set the little seedling deep in the hole, up to its true leaves, so that the leaves are no longer supported by the weak, young stem.
Water is needed right away, either from below by sitting the container in a pan of water for awhile, or with a gentle shower from above. The newly planted seedlings are not turgid for a few hours so water from above often accumulates on the leaves to weigh down the plant. The wet leaves, flopped down on wet potting soil, are apt to rot, so with my finger I go plant by plant flicking off the water, and then the plants stand up straight.
After about 5 more weeks of growth with bright light and slightly cooler temperatures, the plants will be sturdy and the season will be ripe for tomato planting. Sometimes I caress my plants to encourage stocky growth, raking my hand gently over their tops, ideally once a day. The effect, called thigmotropism, is the same as that which causes dwarf, stocky growth of pine trees on wind mountain outcroppings.
Not all seedlings follow tomato’s schedule. Celery, for instance, might take 3 weeks to germinate and then another 9 weeks to grow to transplant size. (For details on when to sow, based on the average date of the last spring frost where you garden, see the vegetable section of my book Weedless Gardening.)
Followup on Previous Weeks’ Blogs
My first batch of birch syrup from a couple of weeks ago was, according to a friend who boiled it down for me, awful. “Worst thing I ever tasted,” says he.
But some of that syrup was cloudy from microbial activity during the warm weather. That could have caused that distinctive flavor.
Colder weather followed, and I tried again, discarding any cloudy sap. Boiled into a syrup, the flavor was still distinctive, not awful, but also not really good. Something reminiscent of cough syrup or molasses. The sap is high in fructose, which burns at a lower temperature than sucrose, the primary sugar in maple sap. It more easily takes on a scorched flavor, which my syrup definitely has, in excess.
Perhaps a species other than river birch would have been better, even good. The syrup is usually made from paper birch. All I grow here is river birch, though. They are, at least, beautiful trees.
And a followup on my overwintered artichoke plants. Or, I should write, my non-overwintered artichoke plants. Perhaps something will eventually emerge. No sign of anything yet, and I’m not hopeful.

