FAILURES, SUCCESSES
Can Anybody Tell Me How to Grow This?
Quotes about the rosy side of failure are not hard to find. ”Failure is the opportunity to begin again more intelligently,” wrote Henry Ford. John Dewey wrote that “Failure is instructive. The person who really thinks learns quite as much from his failures as from his successes.”
No, Mr. Dewey; in gardening, at least, failures are more instructive than successes. Put a seed into the ground and that seed has millions of years of evolution prompting it to grow. True, you can fail if starting with old seed, or soil so cold that the seed rots before it grows, or compacted clay soil that suffocates the seed. But generally, gardening is not that difficult. And generally, it’s hard to fail. So success is the norm, no matter — within reason — what you do.
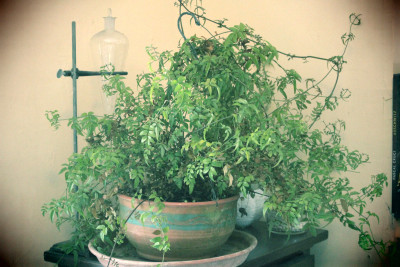
Jasmine — no flowers, again
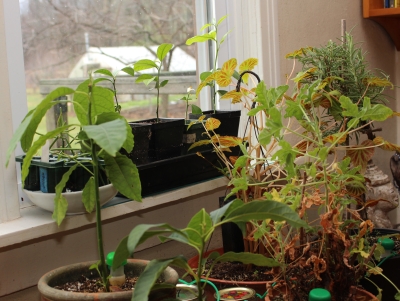
For someone who pays particular attention to their gardening (and writes about it!), occasional failures are surely opportunities for learning and for success. Not so, for me! With my jasmine (Jasminium officinale) plant, at least.
I’ve grown this jasmine for many years. In its early years, the plant was a snowball of sweet-smelling white blossoms in late winter. Over the years, flower production has petered out, to the point where the plant coughs forths just a few blossoms here and there.
Many plants need a cold period to induce flower buds. Over the years, my jasmine has spent fall outdoors or in my cold basement (near a window) or in my cold greenhouse (minimum temperature 37°F).
Many plants need a dry period to coax on flower buds. Over the years, the soil in which my jasmine grows has been kept through fall just moist enough to keep the plant from wilting.
Some plants need a period of both cold and dryness for flowering. Check.
Besides all these treatments, I have tried various suggestions from others, including professionals who sell jasmine plants awash in bloom from their commercial greenhouses. No pruning after August. No artificial light in autumn. Generally good growing conditions all through summer. High phosphorus fertilizer. Check. Check. Check. Mmm-check. (I’ll admit I neglected the high phosphorus fertilizer. With ample compost, my potting soil has ample phosphorus, or so I assume.)
Now, in its thirteenth year here, jasmine has again not bloomed. I’ve learned nothing. Again, I’m threatening to walk it to the compost pile, counterbalanced by inklings of desire to give it one more try. (The phosphorus fertilizer, perhaps.)
My one possible consolation comes from reading a quote by George Bernard Shaw, “My reputation grows with every failure.”
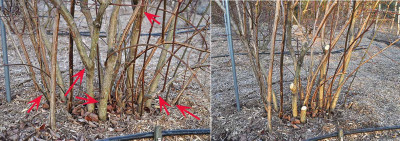
Cardoon Futures
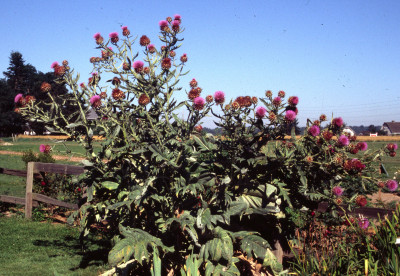
Cardoon I saw in Oregon
Enough self-flagellation. Let’s balance that out with a couple of successes, one the result of my doing, not driven by millions of years of evolution.
I’ve written previously about cardoon, a so-so vegetable but a fine ornamental. (True, many other people sing passionate gustatory praise for cardoon.) As a perennial, cardoon grows only leaves its first year from seed, which is fine if your eating it, because the leaf stalks are the edible part. The tall, spiny, olive green stalks, like a Mediterranean celery on steroids, also are dramatically ornamental in their own right.
The flowers, poised like cerulean bottlebrushes atop their tall — five feet high, or more — flower stalks are the real show, though. And, in that second year and beyond, you still get the whorls of giant leafstalks rising up from around the base of the plant.
Cardoon can’t tolerate winter cold below about 10 or 15°F, so it’s not winter cold-hardy here. Too much moisture around the crown of the plant might also help do it in during winter.
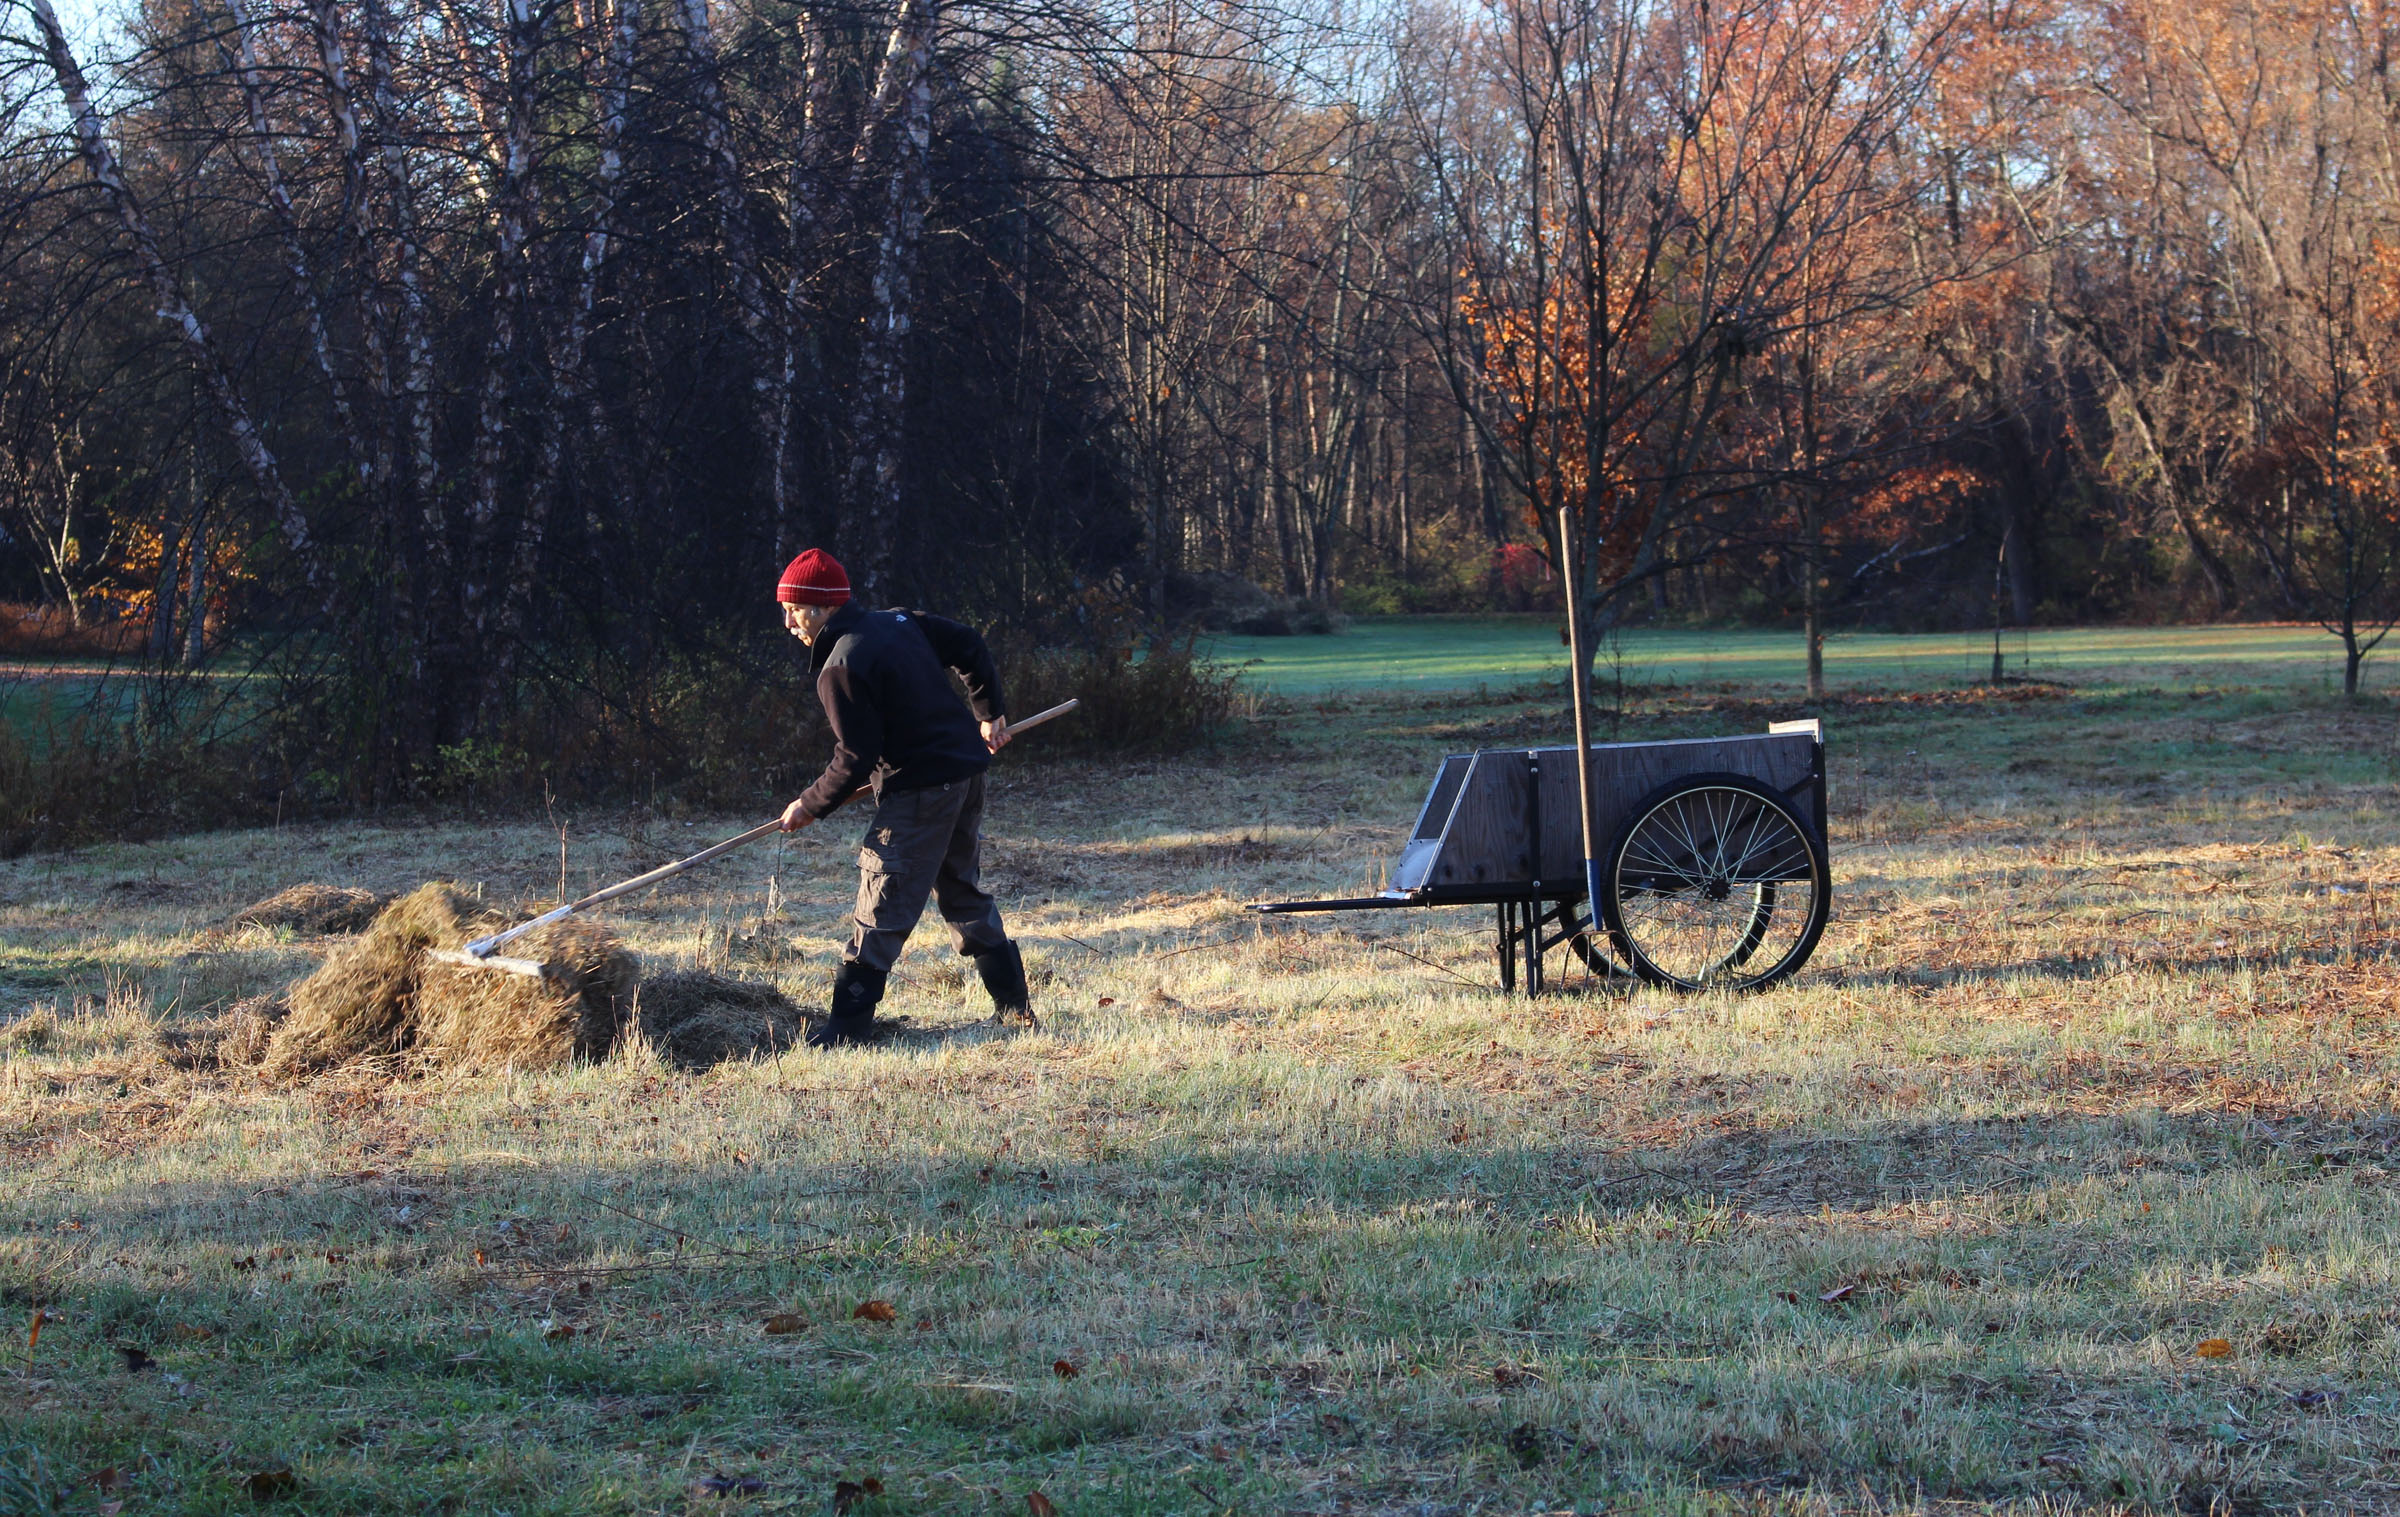
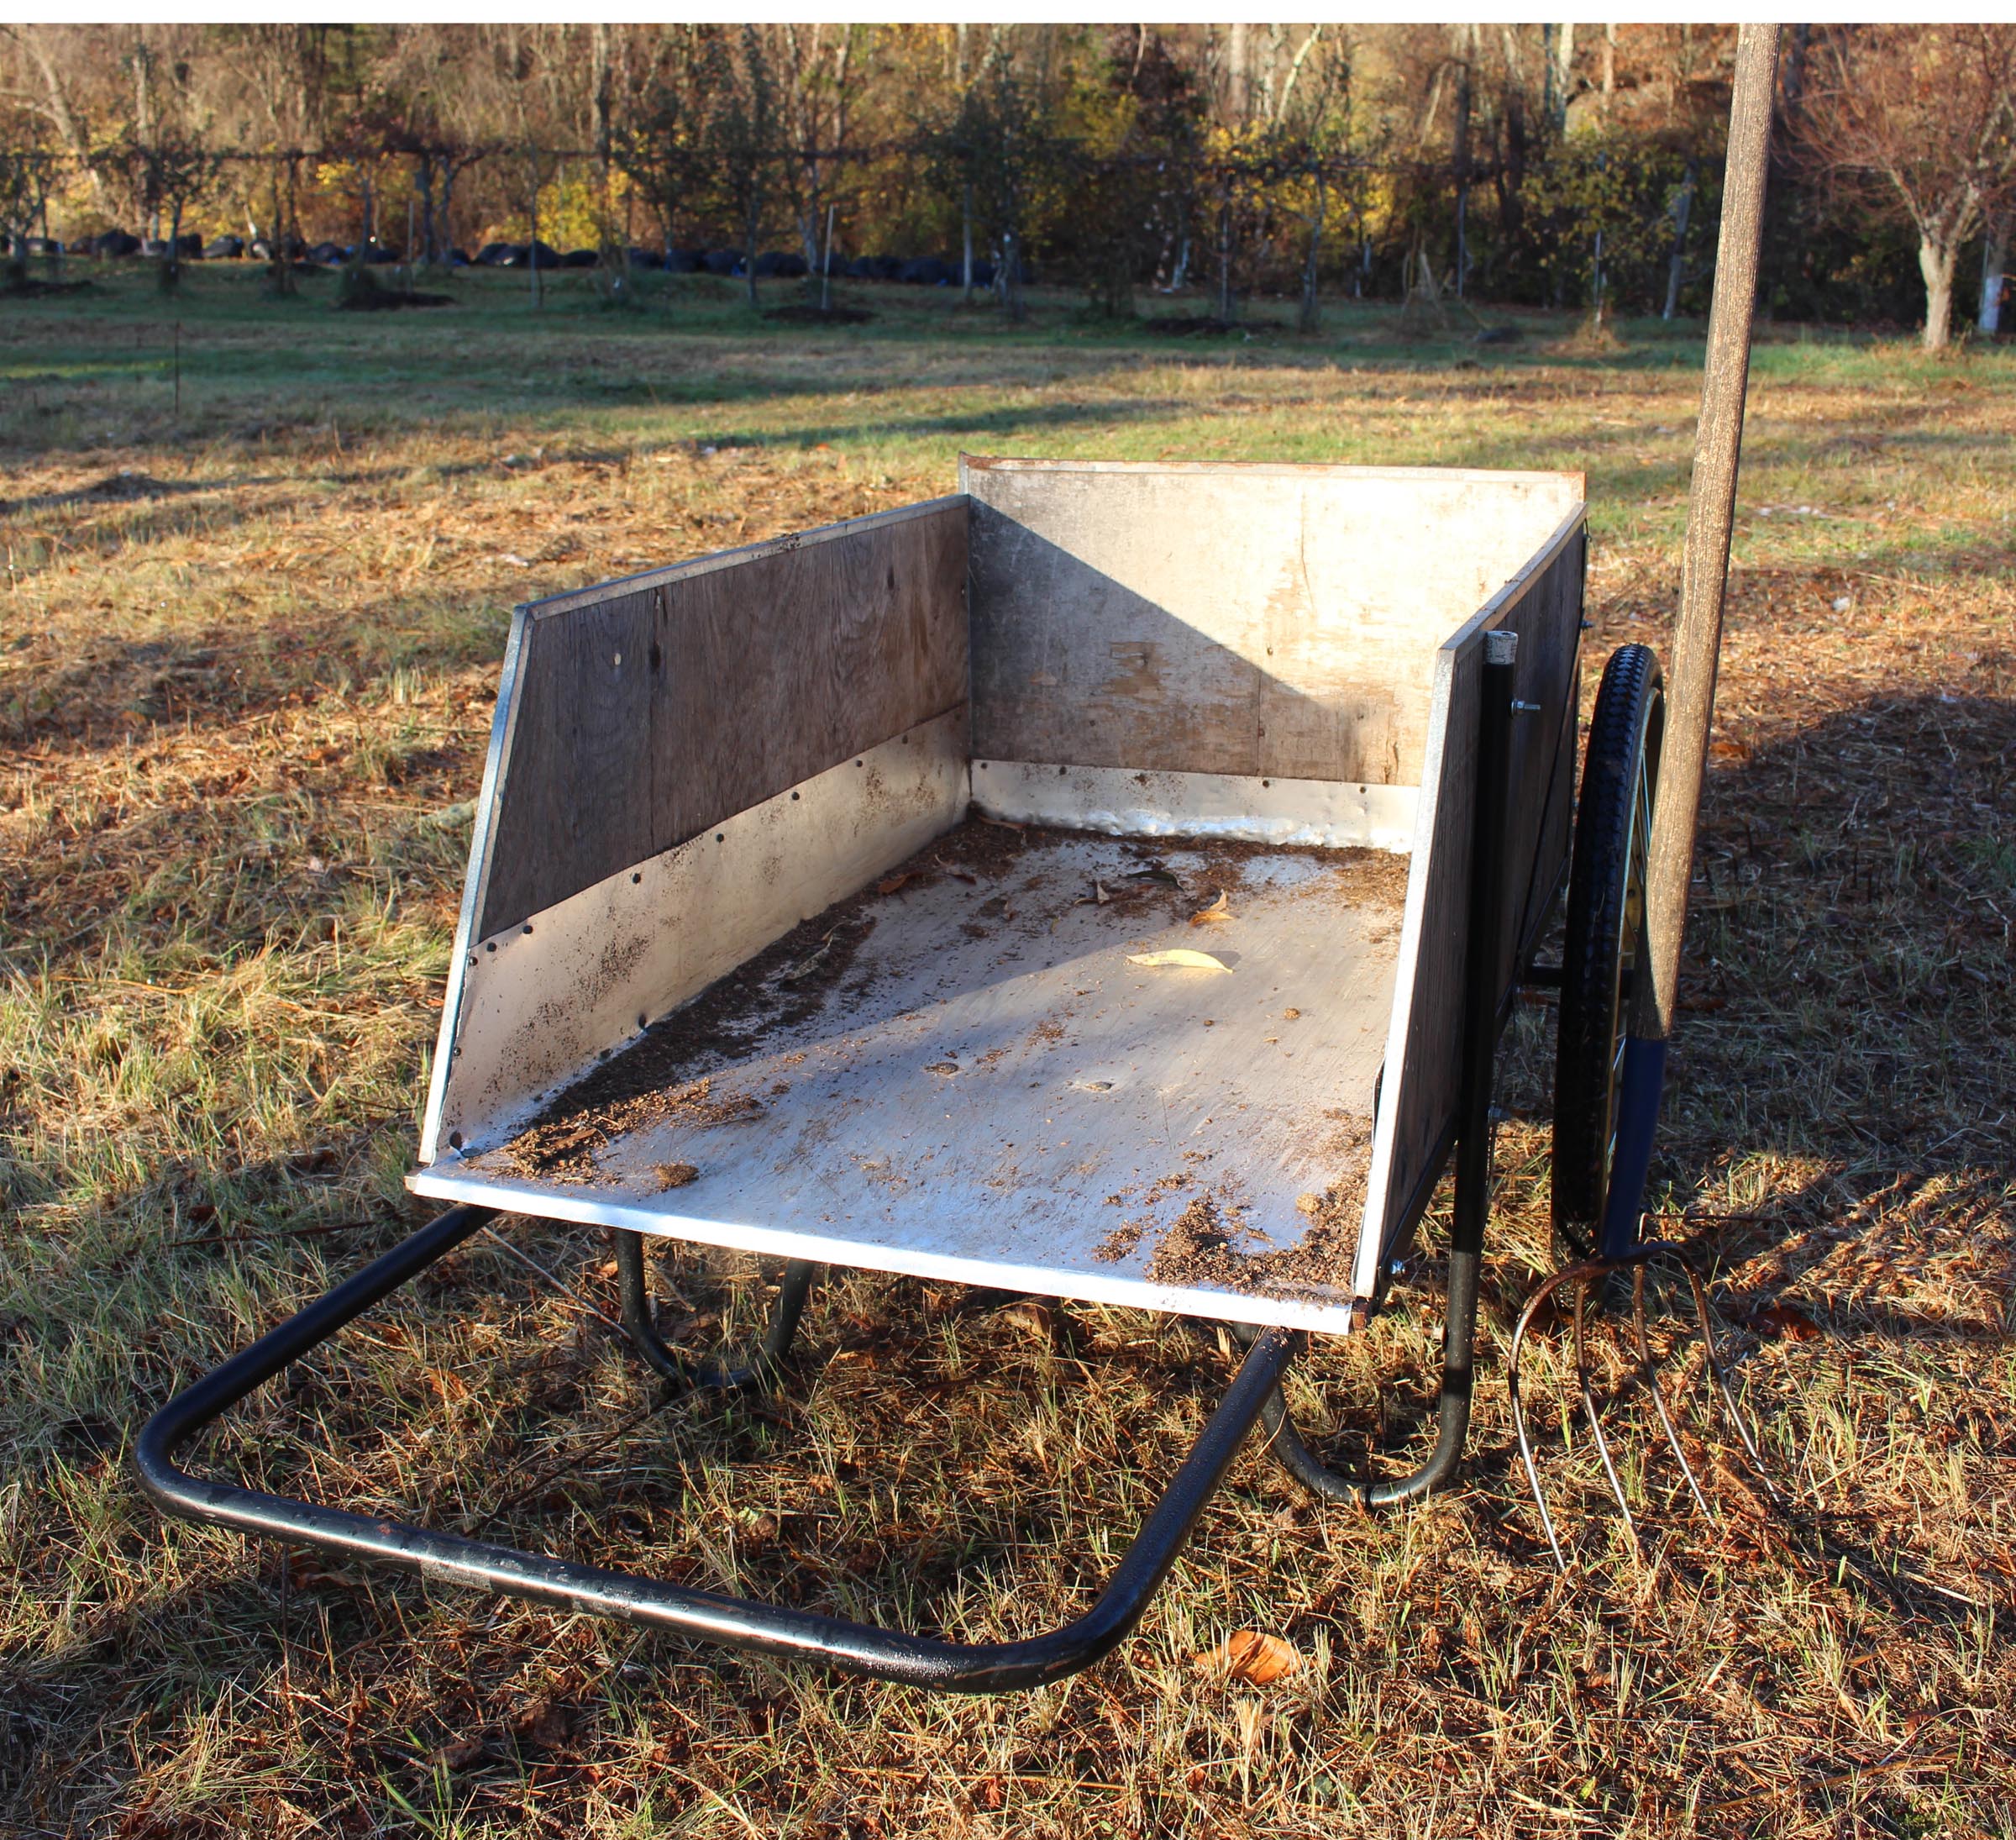
Last fall, after cold had settled into the ground, with about an inch depth of frost in the soil (towards the end of December) I cut back the top of the plant, then piled dry leaves over it. An overturned, 2-foot-diameter, plastic planter over the leaves kept them in place and added a bit more insulation and, also important, kept rain and snowfall off the plant. The drainage holes around the bottom (now the top) of the planter’s side allowed for some air movement within.
A week or so ago I tipped off the planter and untucked the leaves from around the plant. It was important to get to the plant before warmth got it growing, in which case the once-shaded, tender leaves would burn in the sunlight and be susceptible to frost. The leaves, just starting to emerge from the decapitated plant, looked healthy and ready to stretch out and grow after their winter’s rest. I look forward to the flowers.
Really Red Deer Tongue
Winter lettuce in the greenhouse is my other success. While many lettuces have begun to go to seed, especially those sown earlier in fall, the variety Really Red Deer Tongue just keeps making new leaves in spite of it’s having been sown in early September of last year. The leaves, as the names says, are red and, I suppose, the shape of a deer’s tongue. I don’t normally eat deer tongues, but these leaves taste good.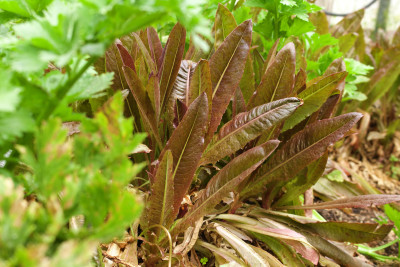
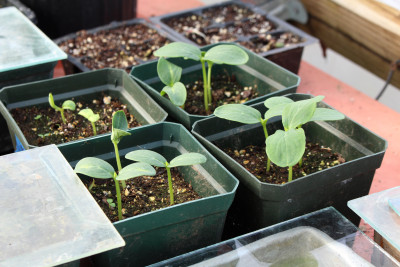
 Temperatures stay relatively consistent and cool (40-45°F.) in my basement and it’s dark down there, so the plants generally stay dormant until sometime, probably next month, when I can set them outside. Keeping the plants slightly on the dry side also helps hold back growth.
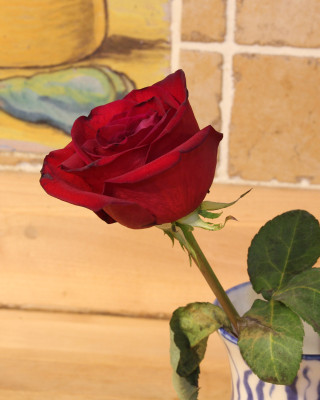
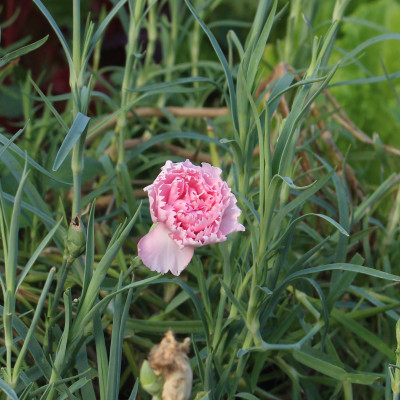 Carnations are among flowers, along with baby’s-breath, lilies, snapdragons, and most orchids, whose ethylene production ramps up as senescence begins. These flowers also are very sensitive to the effects of ethylene, which speeds aging, which generates more ethylene, which further speeds aging, which . . .