
TREES AND SHRUBS AND VINES, OH NO!
Plant Dreams
You’d think that after living in the same place for over 35 years and every year planting new trees and shrubs, that there would be nothing new for me to plant this year. Or, at least, no where to plant them. Well, t’ain’t so!
I’m now trying to wrap up getting anything I need in terms of plants or seeds for this growing season. Let’s see: Did I succumb to any of the enticements for new and wondrous plants mentioned online and in the slew of gardening magazines and nursery catalogues that appear almost daily in my mailbox?
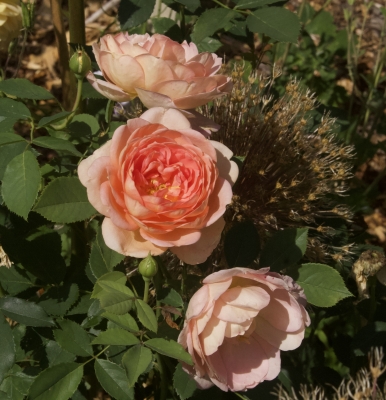
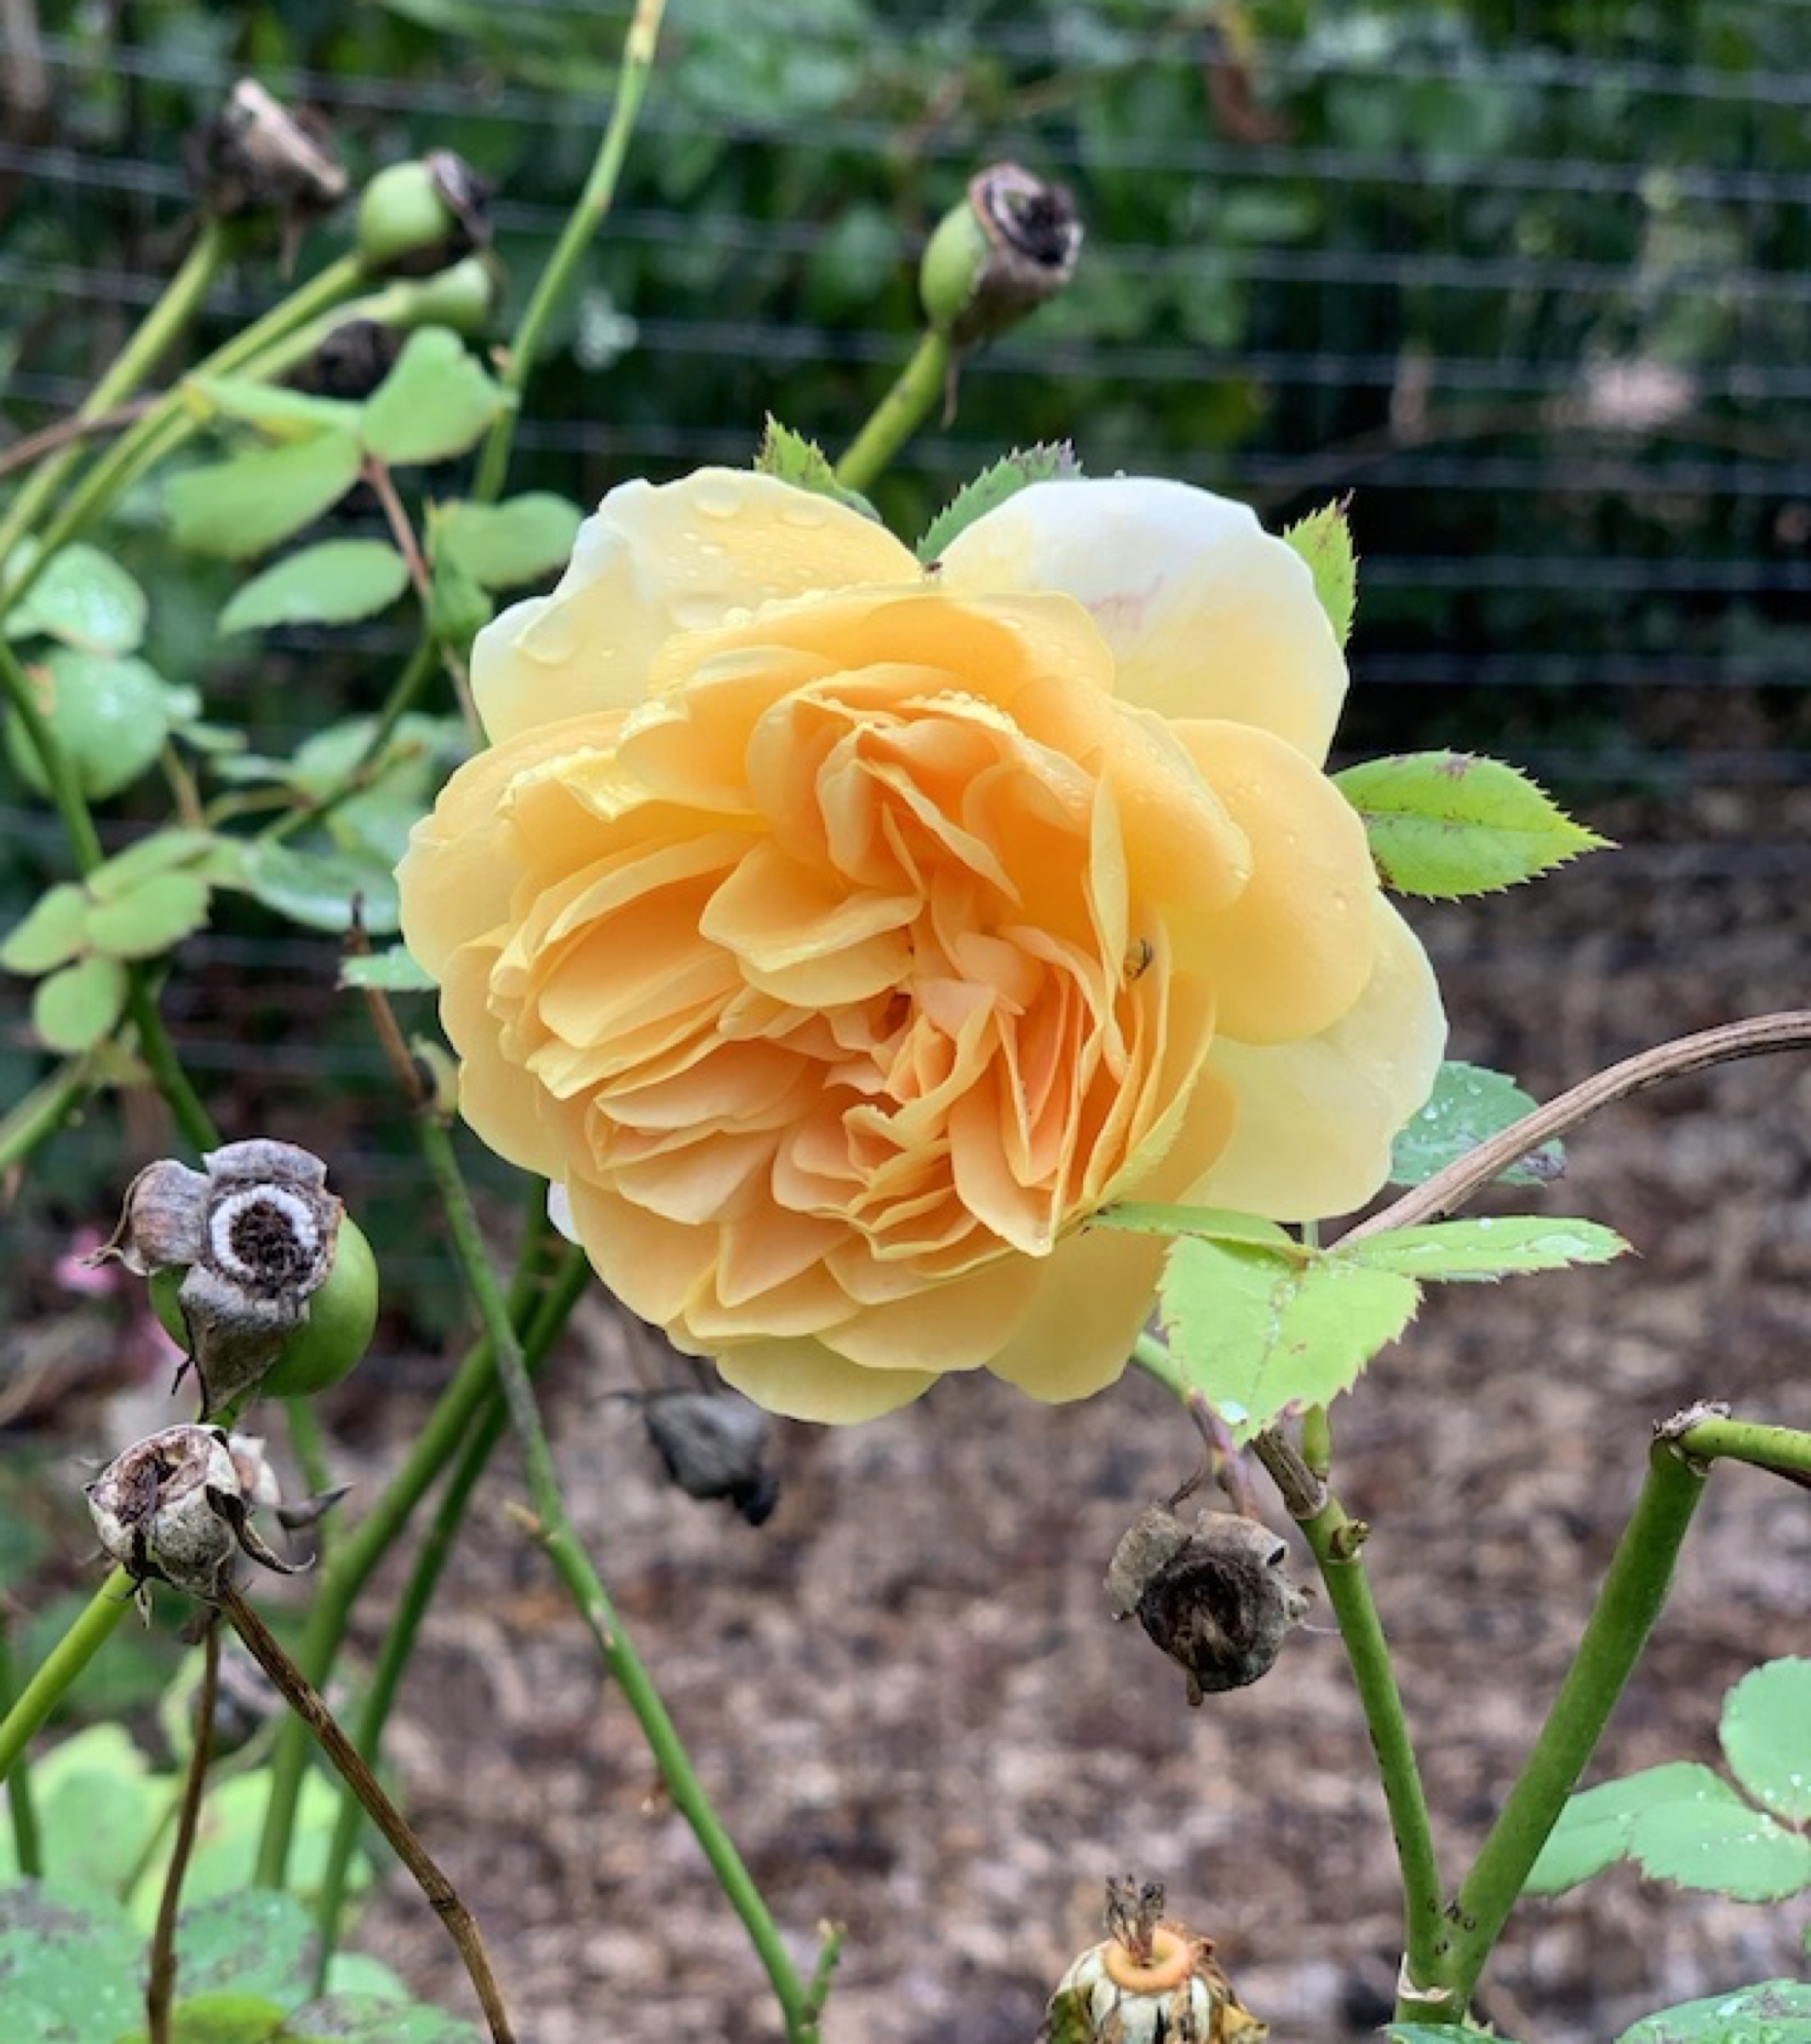
Lady of Shallot rose
David Austin roses, which have the pastel blooms and blowsy form of yesteryear’s roses, and the pest-resistance of present-year roses, are always a draw. But I have quite a few of them; do I have room for or need more of them? It’s cold here (or used to be), so I choose for beauty and hardiness, and, for an added attraction, fragrance. Among my favorites are Lady of Shallot, Dame Judy Dench, Golden Celebration, and LD Braithewaite. Read more

TOO MANY GOOSEBERRIES
Am I a Hoarder?
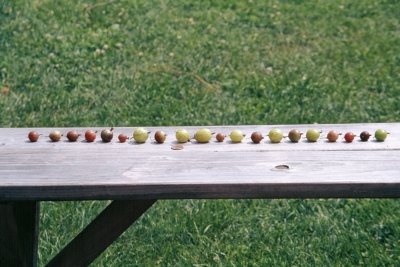
I once had what may have been the largest collection of gooseberries in this country east of the Rocky Mountains — four dozen or so. Many more existed and exist in collections across “the pond,” especially in Great Britain. That was due, in large part, to the gooseberry contests held annually since the 18th century in the clubrooms of inns, especially in Lancashire, Cheshire and the Midlands. Flavor be damned: rewards went for the largest berries. The gaiety of singing and refreshments at these shows was offset by the solemn weighing of fruits.
 Those winning berries were the handiwork of amateur breeders and some rather esoteric horticulture. Suckling a promising berry, for example, whereby a saucer of water was perched beneath an individual berry throughout its growth, just high enough to wet only its calyx (far end).
A MATTER OF TASTE
Most Important, to Me at Least
Hints of summer already are here, not outside, but in the seed catalogues in my mailbox, on seed racks in stores, and from emails from seed companies. Look how many different varieties of each vegetable are offered! Thumbing through one (paper) catalogue, for example, I see twenty-eight varieties of tomato, seventeen varieties of peas, and eleven varieties of radishes. Anyone who has gardened for at least a few years has their most and least favorite varieties of vegetables. Here’s a sampling of mine. 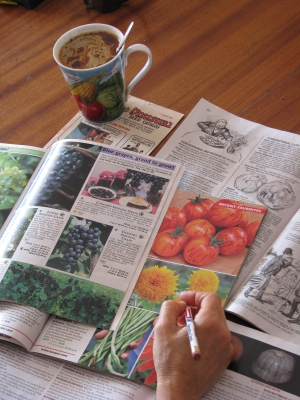
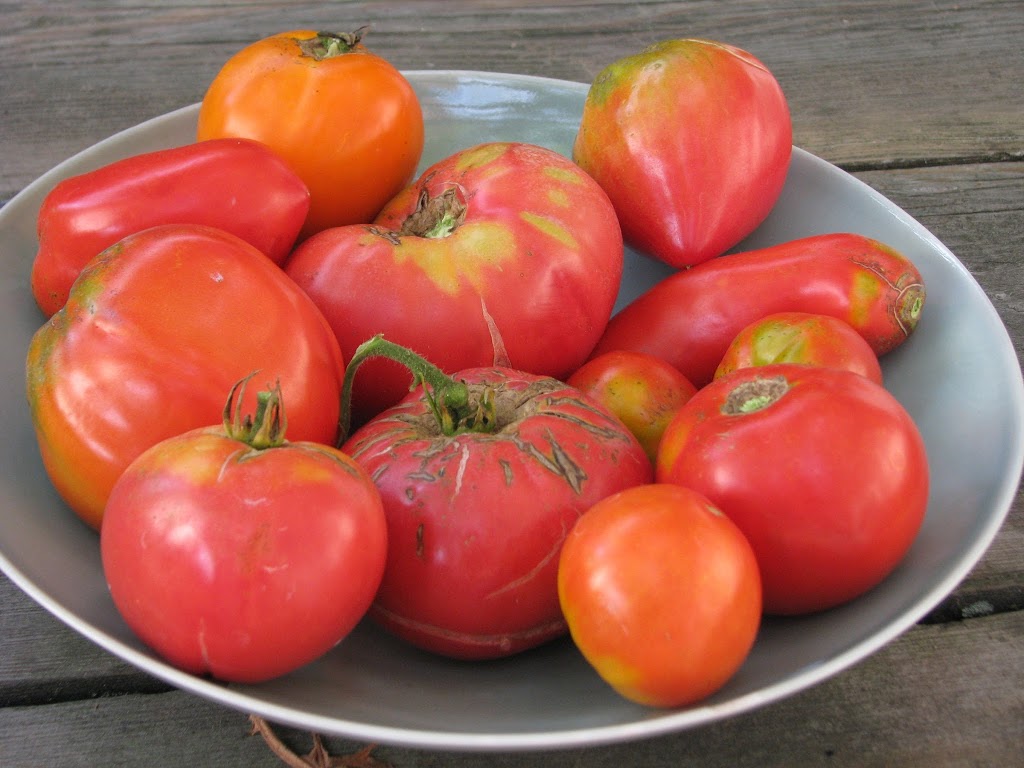
Right from the start, I admit that most important to me in choosing a vegetable variety is flavor. I’ll grow a low-yielding variety, even one that’s not particularly resistant to insects or diseases, if it is particularly delectable. Within reason, of course.
Let’s start with one of the most widely-grown backyard vegetables, tomatoes.
