
PESKY CREATURES
Vegetables are Easy, But . . .
I consider vegetables generally easy to grow, especially if you grow lots of different kinds. If one kind does poorly one year, there are lots of other vegetables in the garden doing well, and there are other years.
Still, vegetable — and flower — transplants are especially apt to suffer attacks from three pests this time of year, each leaving a telltale clue to its presence or handiwork. Stems might be chopped off at the soil line. Leaves might be chewed. Or leaves might be shot full of tiny holes. The culprits? Respectively: cutworms, slugs, and flea beetles.
All three culprits have cosmopolitan tastes, attacking practically any transplant you set out. Fortunately, these pests can be controlled to some degree without toxic (to you, and nontarget creatures) sprays, usually without resort to any sprays.
A Few, But Deadly, Bites
Cutworms take only a few bites out of new transplants, which would not be reprehensible if those few bites were not at ground level. Seedlings topple and, because they are just seedlings, never recover. 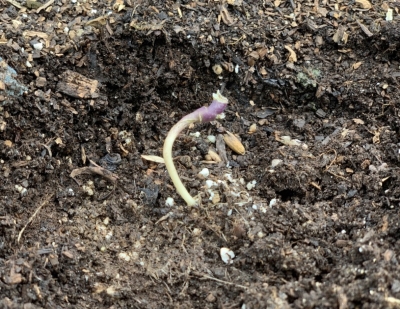 The damage should not be confused with damping-off disease, which is a fungus that also attacks at the soil line, but only afflicts newly emerged seedlings. To make sure, scratch with your finger in the soil near the toppled plant and look for the bugger. Then squish it.
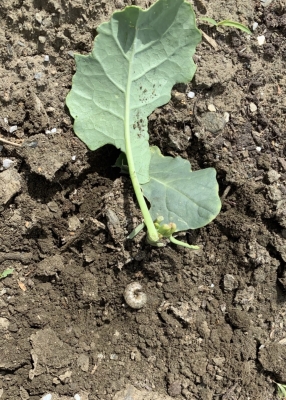
Cutworms are easily repulsed with some sort of barrier, such as a cardboard collar around each plant. Toilet paper tubes cut a couple of inches long are convenient for this purpose. Surround each transplant and press the collar a half-inch or so into the soil.
Before a cutworm takes a bite of a plant, it wraps its body around the plant’s stem to make sure the stem is tender enough to bite into. Once stems of vegetable and flower transplants toughen, cutworms leave them alone.
I used to fool cutworms by sticking one toothpick in the ground right up against each of my transplants. It worked. The insects think they are embracing small, woody-stemmed trees and leave the young plants alone.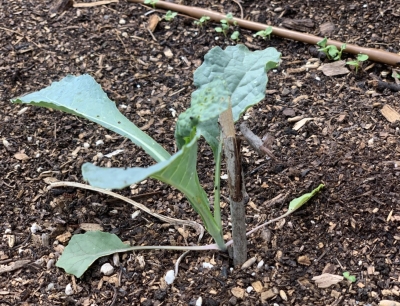
Another method to foil cutworms (which I have not tried) is to trap them in foot-deep holes, made with a broom handle or an inch-thick dowel. As daylight approaches, the cutworms climb into these holes for shelter. What the cutworms do not realize is that they are incapable of ever climbing back out.
The life of the cutworm is not easy: this pest is also food for birds and ground beetles, and is parasitized by certain small wasps.
I have to admit that I haven’t used any of these cutworm control methods for years and years. I never see cutworms or their damage anymore. I’d like to think that it’s evidence of my having a green thumb, but much more likely are the robins and morning doves that I see patrolling my garden early every morning.
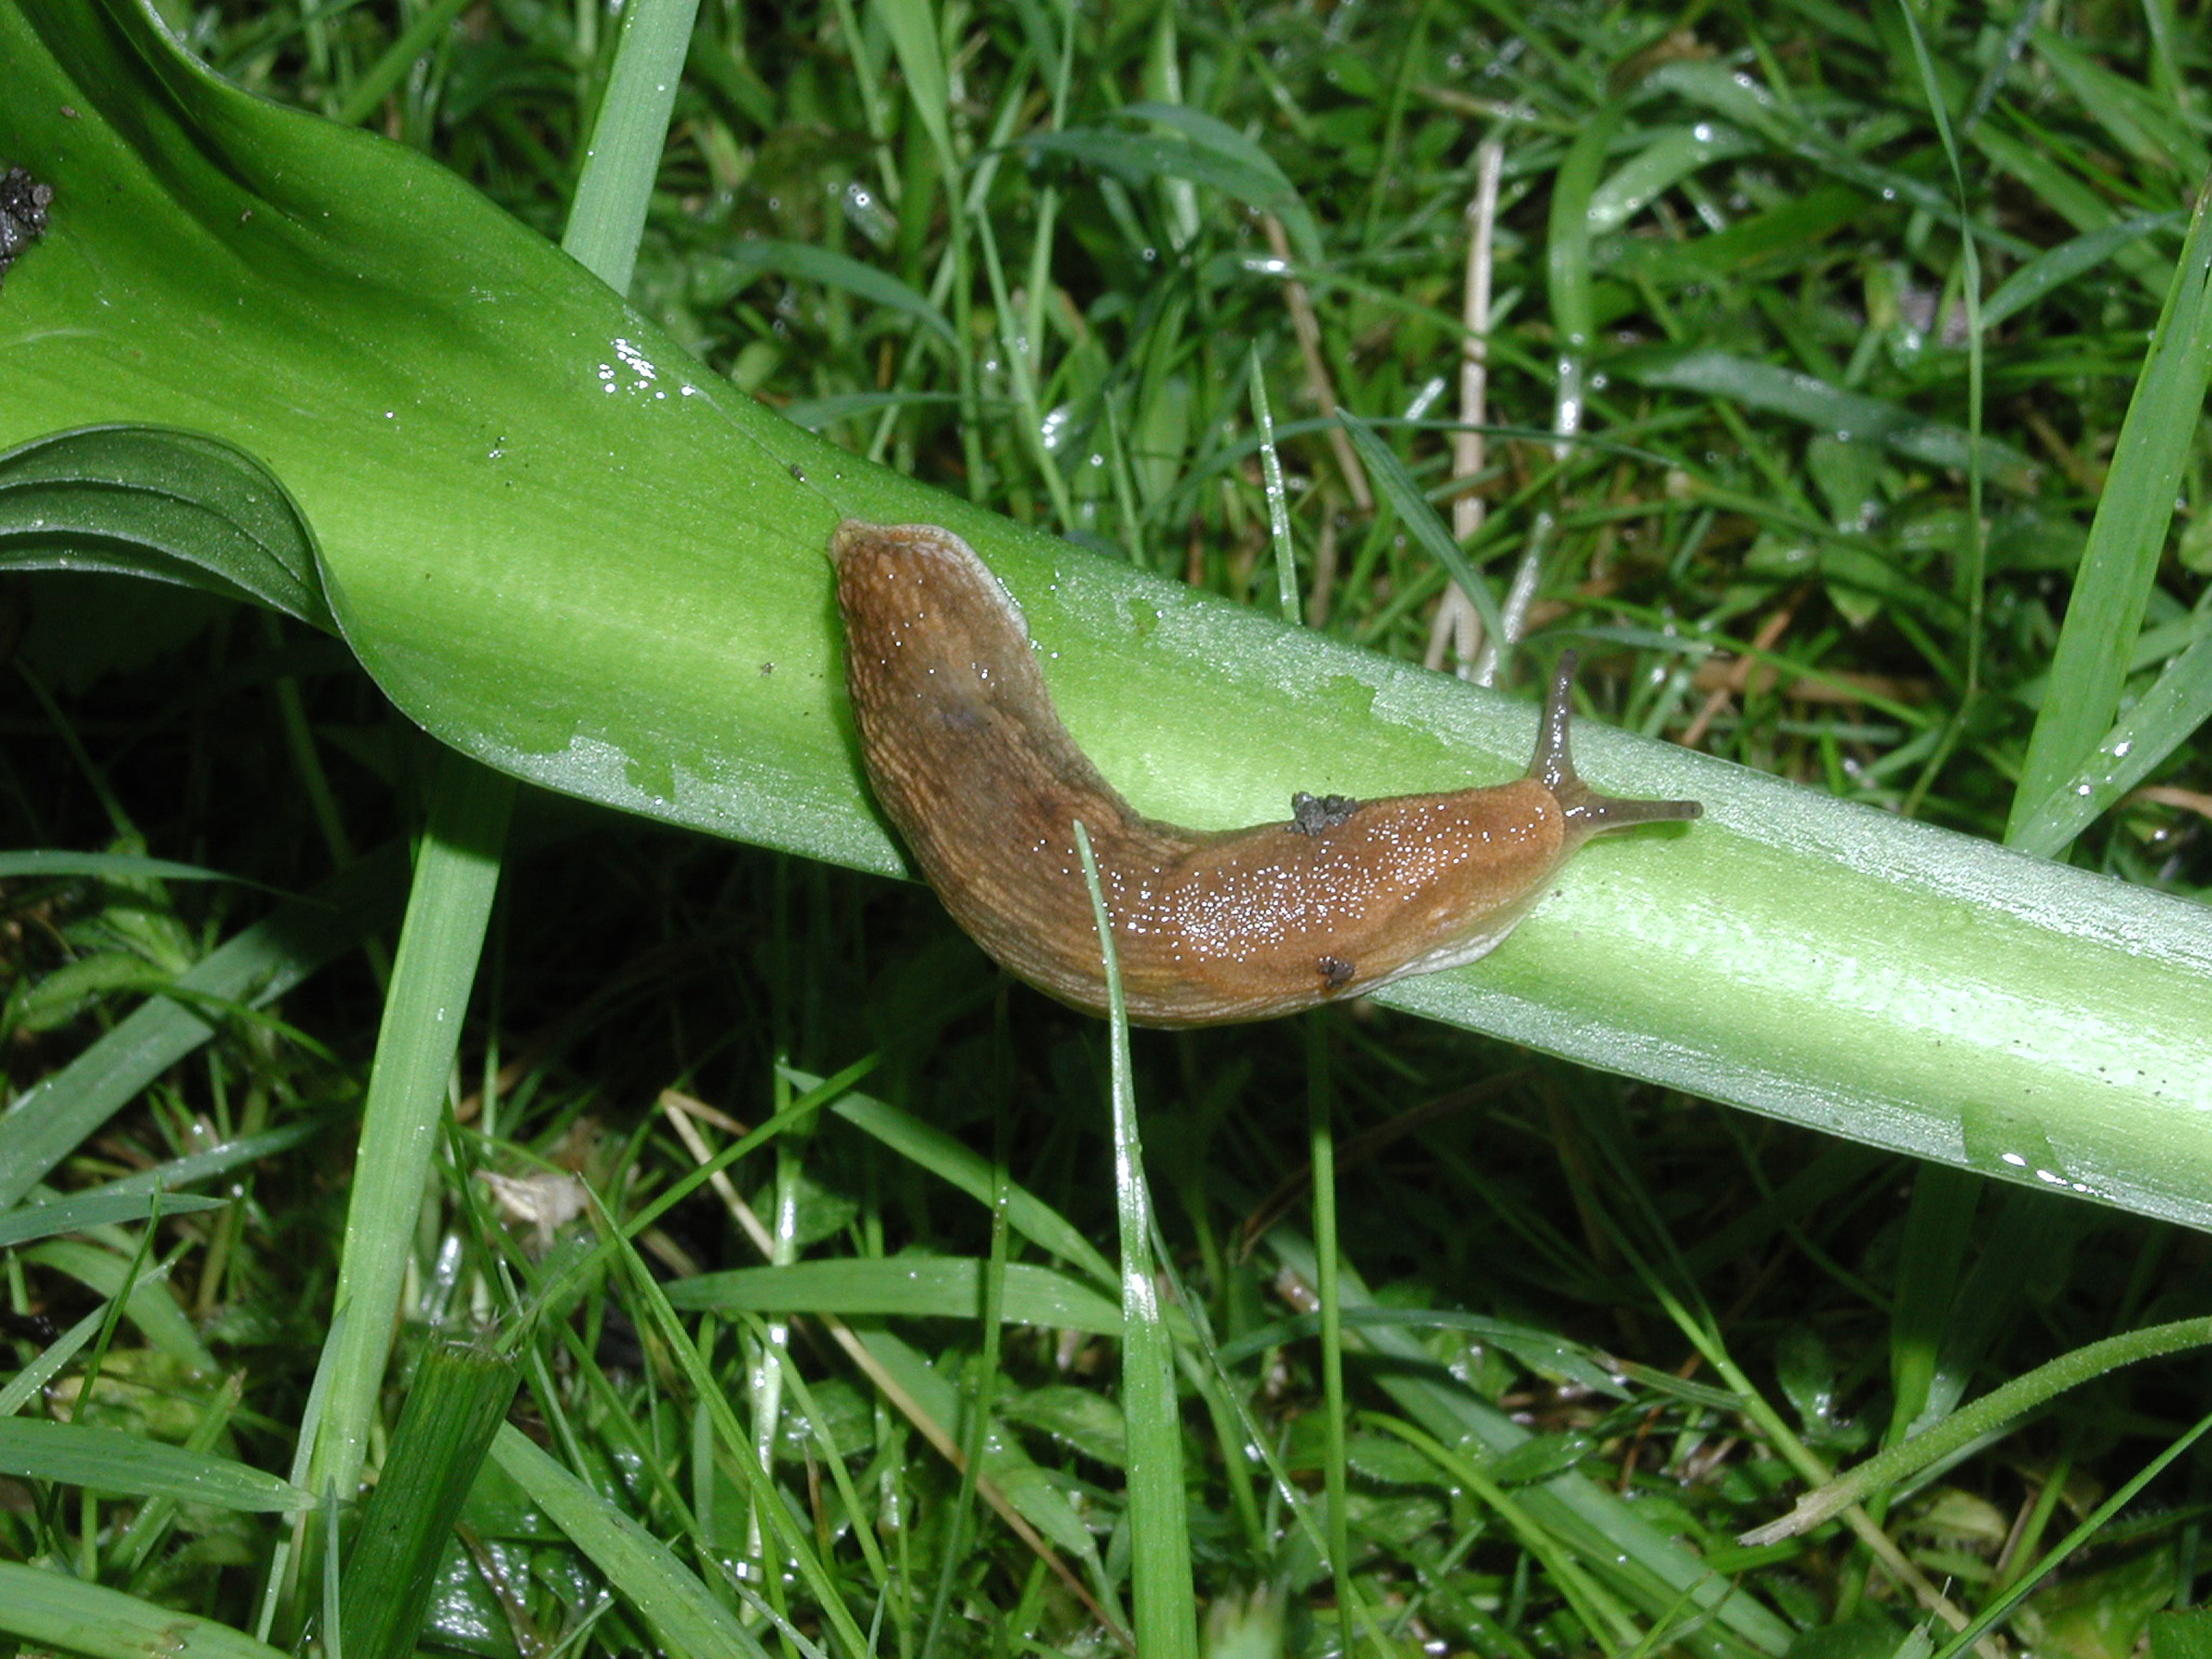
Slimy Slitherers
Moving on to slugs . . . these creatures love wet weather. Slugs slither around at night and by morning their presence is made known by the shiny trails and ragged leaves they have left. Here in the Northeast, they are up to a couple of inches long. In other parts of the country, they get as large as a half a foot or more long.
Slugs don’t like anything sharp or caustic rubbing against their slimy bodies, so if you sprinkle a circle of sharp sand, diatomaceous earth, or woodashes around your plants, a slug will think twice before crossing this barrier. Unfortunately, these barriers must be renewed after rains, which is when slugs are most active.
You could take a flashlight into the garden at night and sneak up on slugs while they are at work. They are slippery to handpick, so take along a saltshaker. Sprinkling salt on them will kill them. It’s gruesome to watch, but very effective.
Beer is a somewhat effective poison bait for slugs. Put some beer — Budweiser is one of the best — in a shallow pan or cqn and sink it into the ground so the lip is about one inch above ground level. Almost immediately slugs will start inching to their demise.
A bait containing iron phosphate is very effective agains slugs, and considered nontoxic to just about everything else, including humans.
No need to open a fresh bottle each night, for slugs are happy even with stale beer. Some gardeners report good results with only yeast plus water. You might need lots of traps because slugs won’t “hear” the siren song of beer beyond a few feet.
A Different Kind of “Flea”
Flea beetles, which perforate leaves with small holes, are the most difficult of the three pests to control without pesticides. You may not notice the beetles because they’re only a couple of millimeters long and hop away when approached. 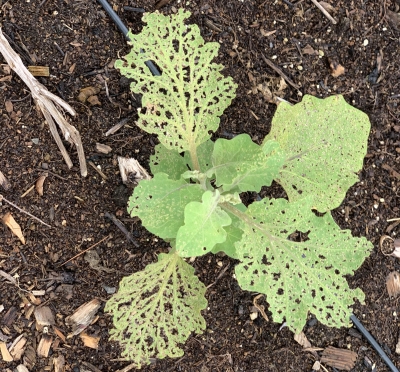
Lawrence D. Hills, in his 1974 book Grow Your Own Fruit and Vegetables, describes a contraption he put together himself. It looks like a high-riding skateboard, with a long handle at the top of the middle and a horizontal metal wire down across the front of the board. He tacked flypaper on the underside of the board. (Tangletrap© spread on the underside would work as well, or better.) As you push this contraption over a row of plants, the wire disturbs each leaf — and the flea beetles. Flea beetles hop away when disturbed; for these flea beetles, it’s their final hop as they get stuck on the flypaper.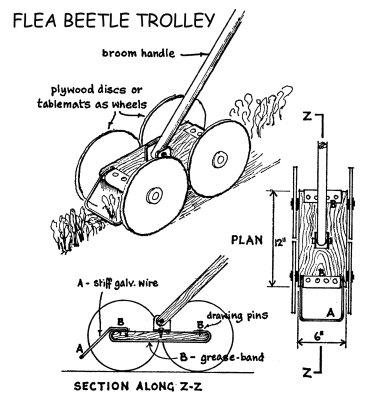
Predatory nematodes, which you can purchase, might also limit flea beetle damage by attacking eggs in the soil. I added predatory nematodes that have the potential to perennialize to my soil, available from the Shields Lab at Cornell University. These have been shown to be effective against some pests that spend part of their lives in the ground. Patience is needed as their numbers multiply.
Flea beetles are especially fond of cabbage and its kin, as well as spinach, beets, and potatoes. They’re mostly a problem on my eggplants; actually, just about everybody’s eggplants. I and many other gardeners and farmers thwart them, by covering plants with a barrier of a “floating row cover.” These lightweight materials, made from spunbonded or woven synthetic materials, are permeable to water, air, and sun, but impermeable to insects. The barrier must be in place before seedlings emerge or right after setting out transplants.
Sometimes it’s appropriate just to ignore pest damage, for awhile, at least. Small transplants often outgrow flea beetle or slug damage, provided the plants are growing rapidly enough and the pests are not too many or too hungry.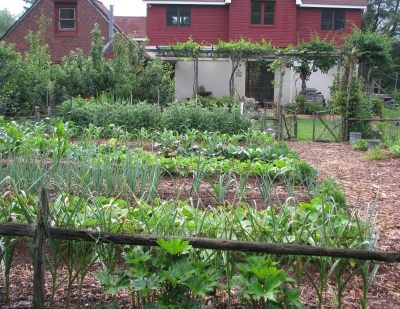
FERTILIZER GIVEAWAY
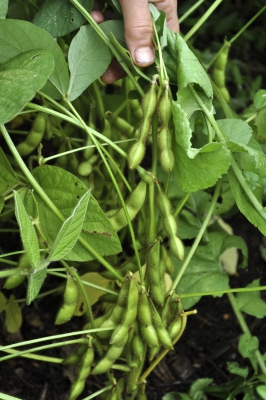
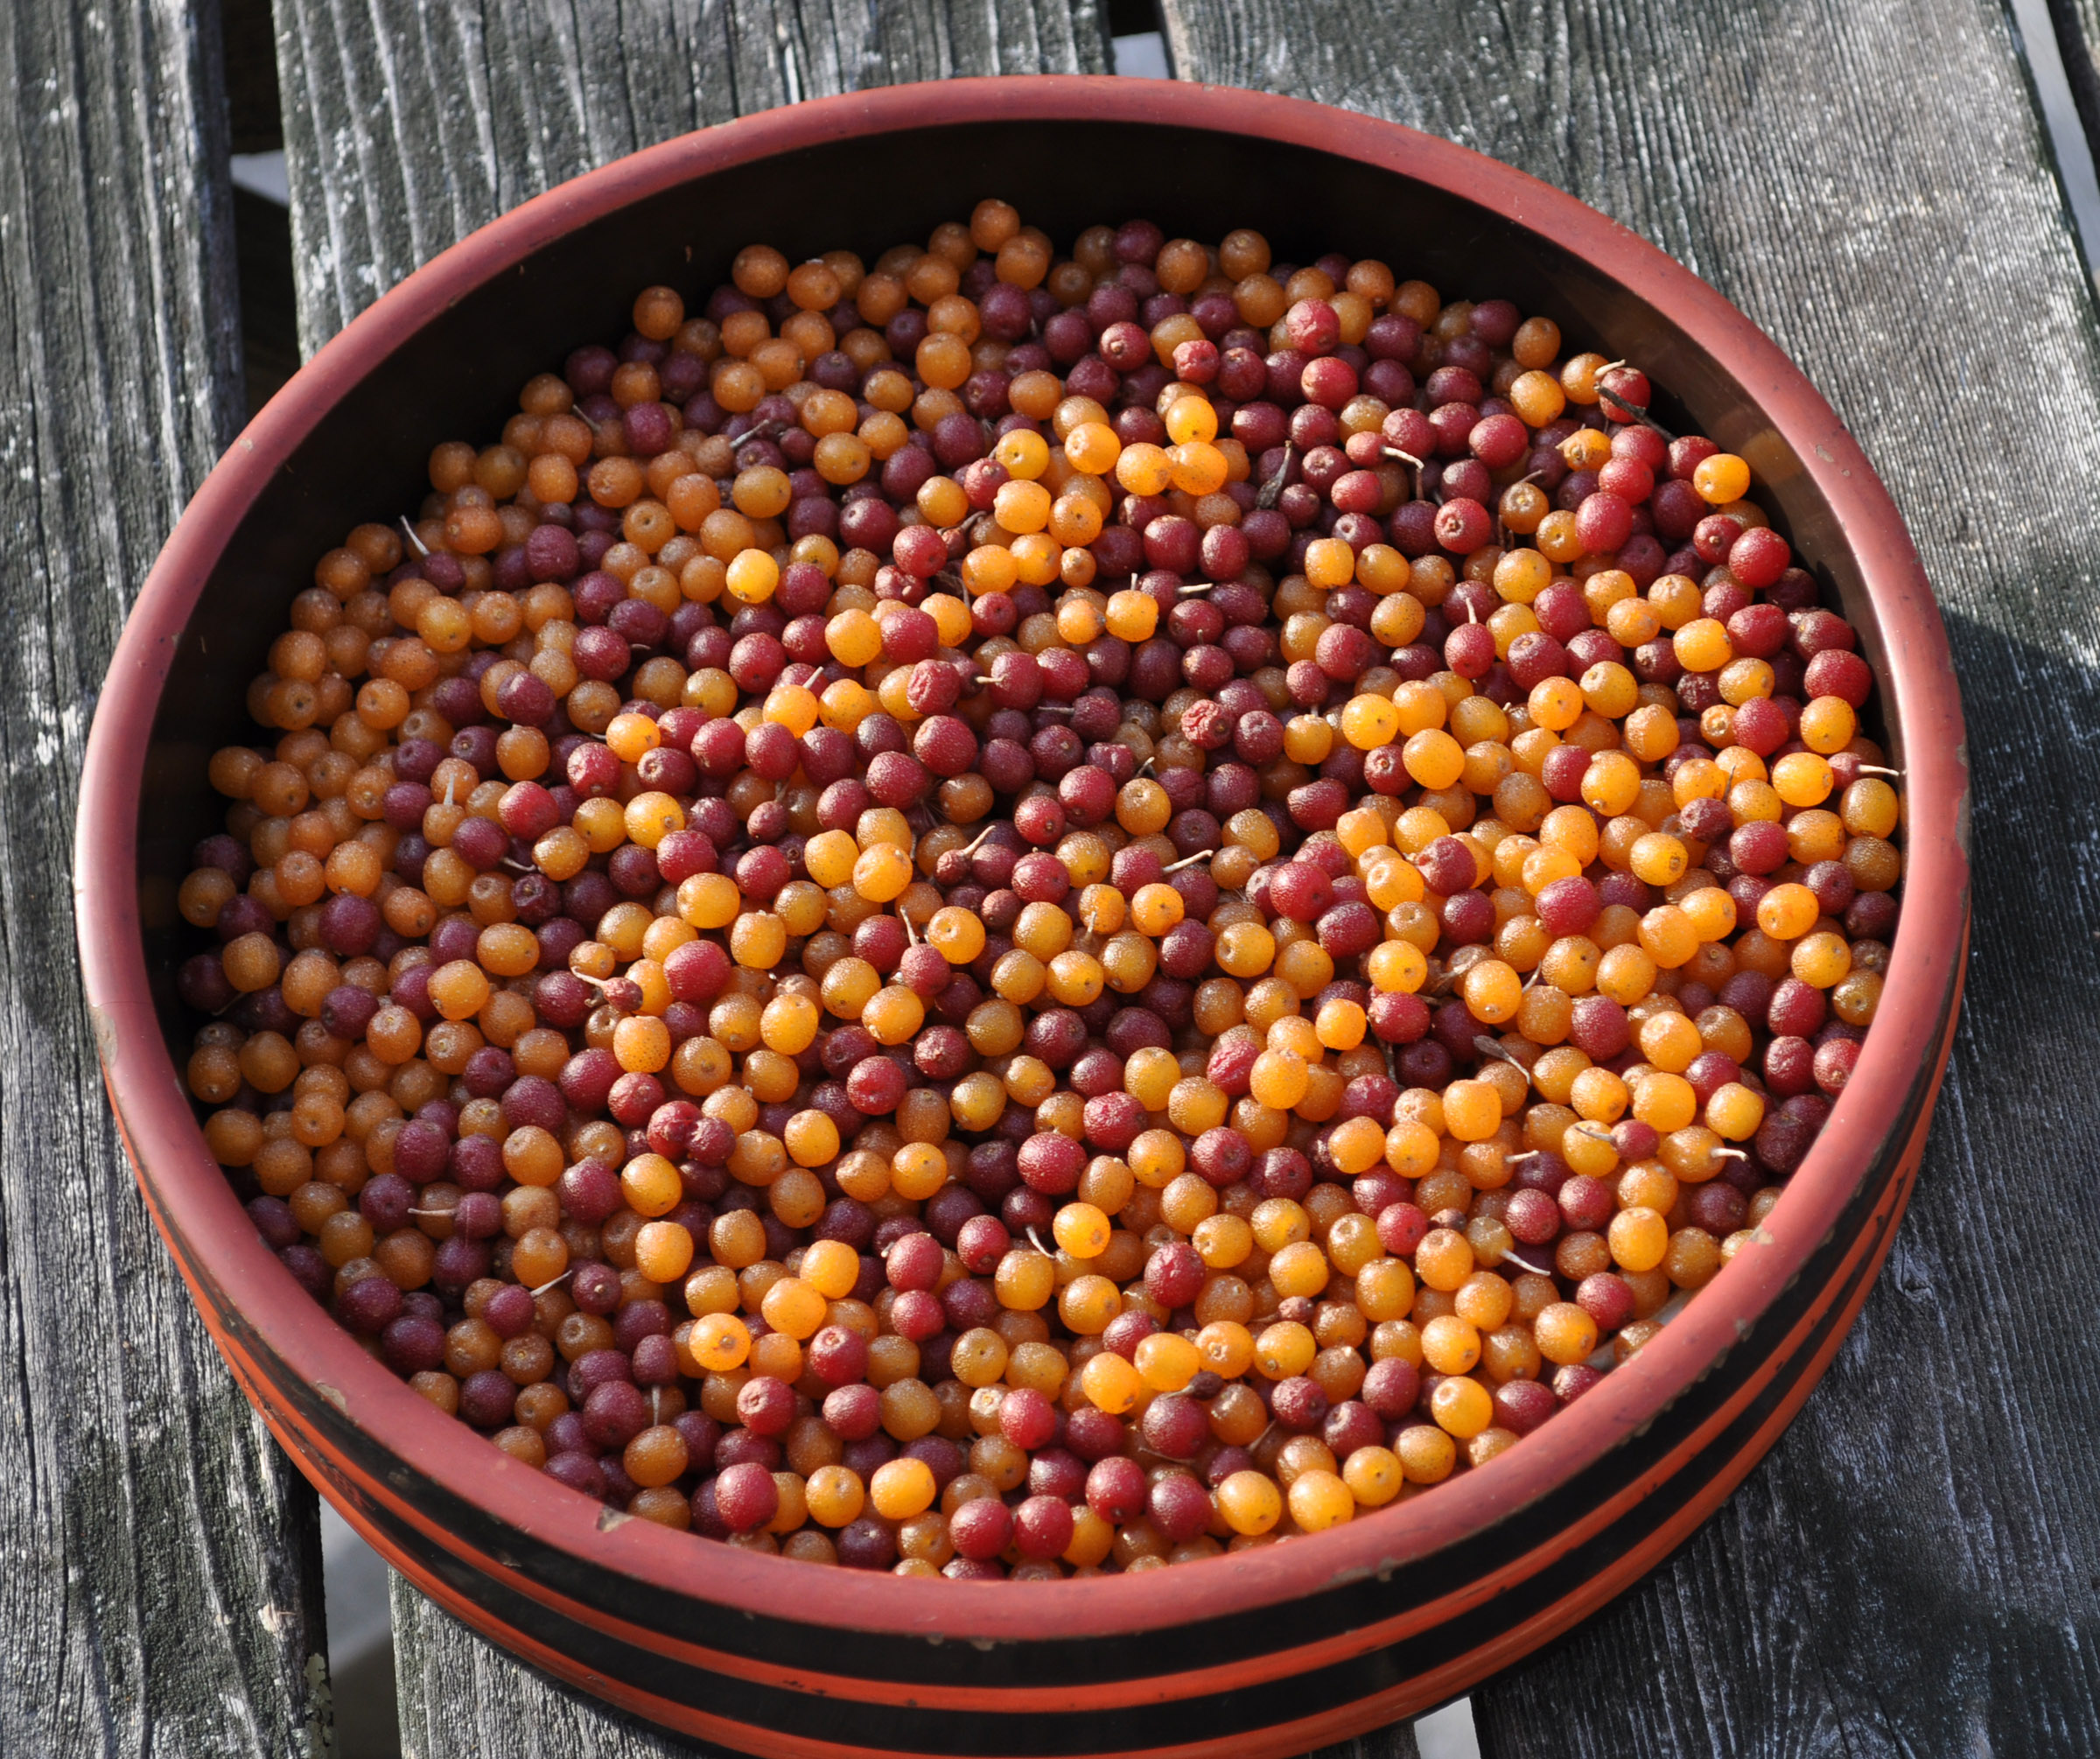
Edemame
Most Needed Food
A laundry list of things to pick up at the local garden center or hardware store this time of year likely includes fertilizer. It’s ironic that nitrogen is the fertilizer element generally needed most, yet the air contains about eighty percent nitrogen — 35,000 tons of it over every acre. The problem is like that of someone lost at sea; most plants can’t absorb nitrogen from the air.
A fortunate partnership has evolve between certain bacteria and plants that lets plants grab onto some of that airborne goodness.
Beans, Beans, They’re Good for Your . . . Garden
Most familiar among these partnerships is that of legumes and rhizobia bacteria. Legumes include garden plants like peas, beans,
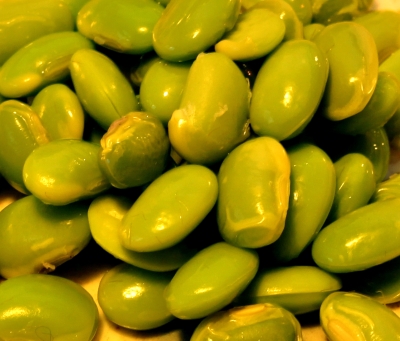
Edamame, shelled
and lupines, in addition to field plants like clover and vetch, and trees like honeylocust, black locust, and golden chain tree. In order to use atmospheric nitrogen, legumes must be infected with special strains of bacteria.
You can make sure your peas and beans are infected with the right bacteria by buying a legume inoculant when you buy your pea and bean seeds. This black powder (the bacteria comes mixed in dry peat) is applied either by shaking it with moistened seeds before sowing, or dusting it directly over seeds in the furrow. Read more

GARDENING LUNACY
Lunar Influences
For no apparent reason, my seedlings sometimes take longer than usual to poke up through the soil. Or one day’s transplants get off to a rousing start right after planting, while another day’s transplants sulk for a while before they grow. Fickle plants, or is the problem perhaps with the moon?
Some gardeners believe that the phases of the moon dictate the best times for gardening. No one has told me that my garden will be a flop if I ignore the moon, but paying attention to it as I go about my gardening activities will “take advantage of the impetus provided by nature” (as one moon-gardener has stated). Old-time gardeners used to say, “Plant potatoes by the dark of the moon.”
The Details
For some moon-gardeners, instructions are more refined, taking into consideration the sign of the zodiac along with the phase of the moon. Planting is not the only activity covered. Read more
