
A SLIPPERY SLOPE
A Little History
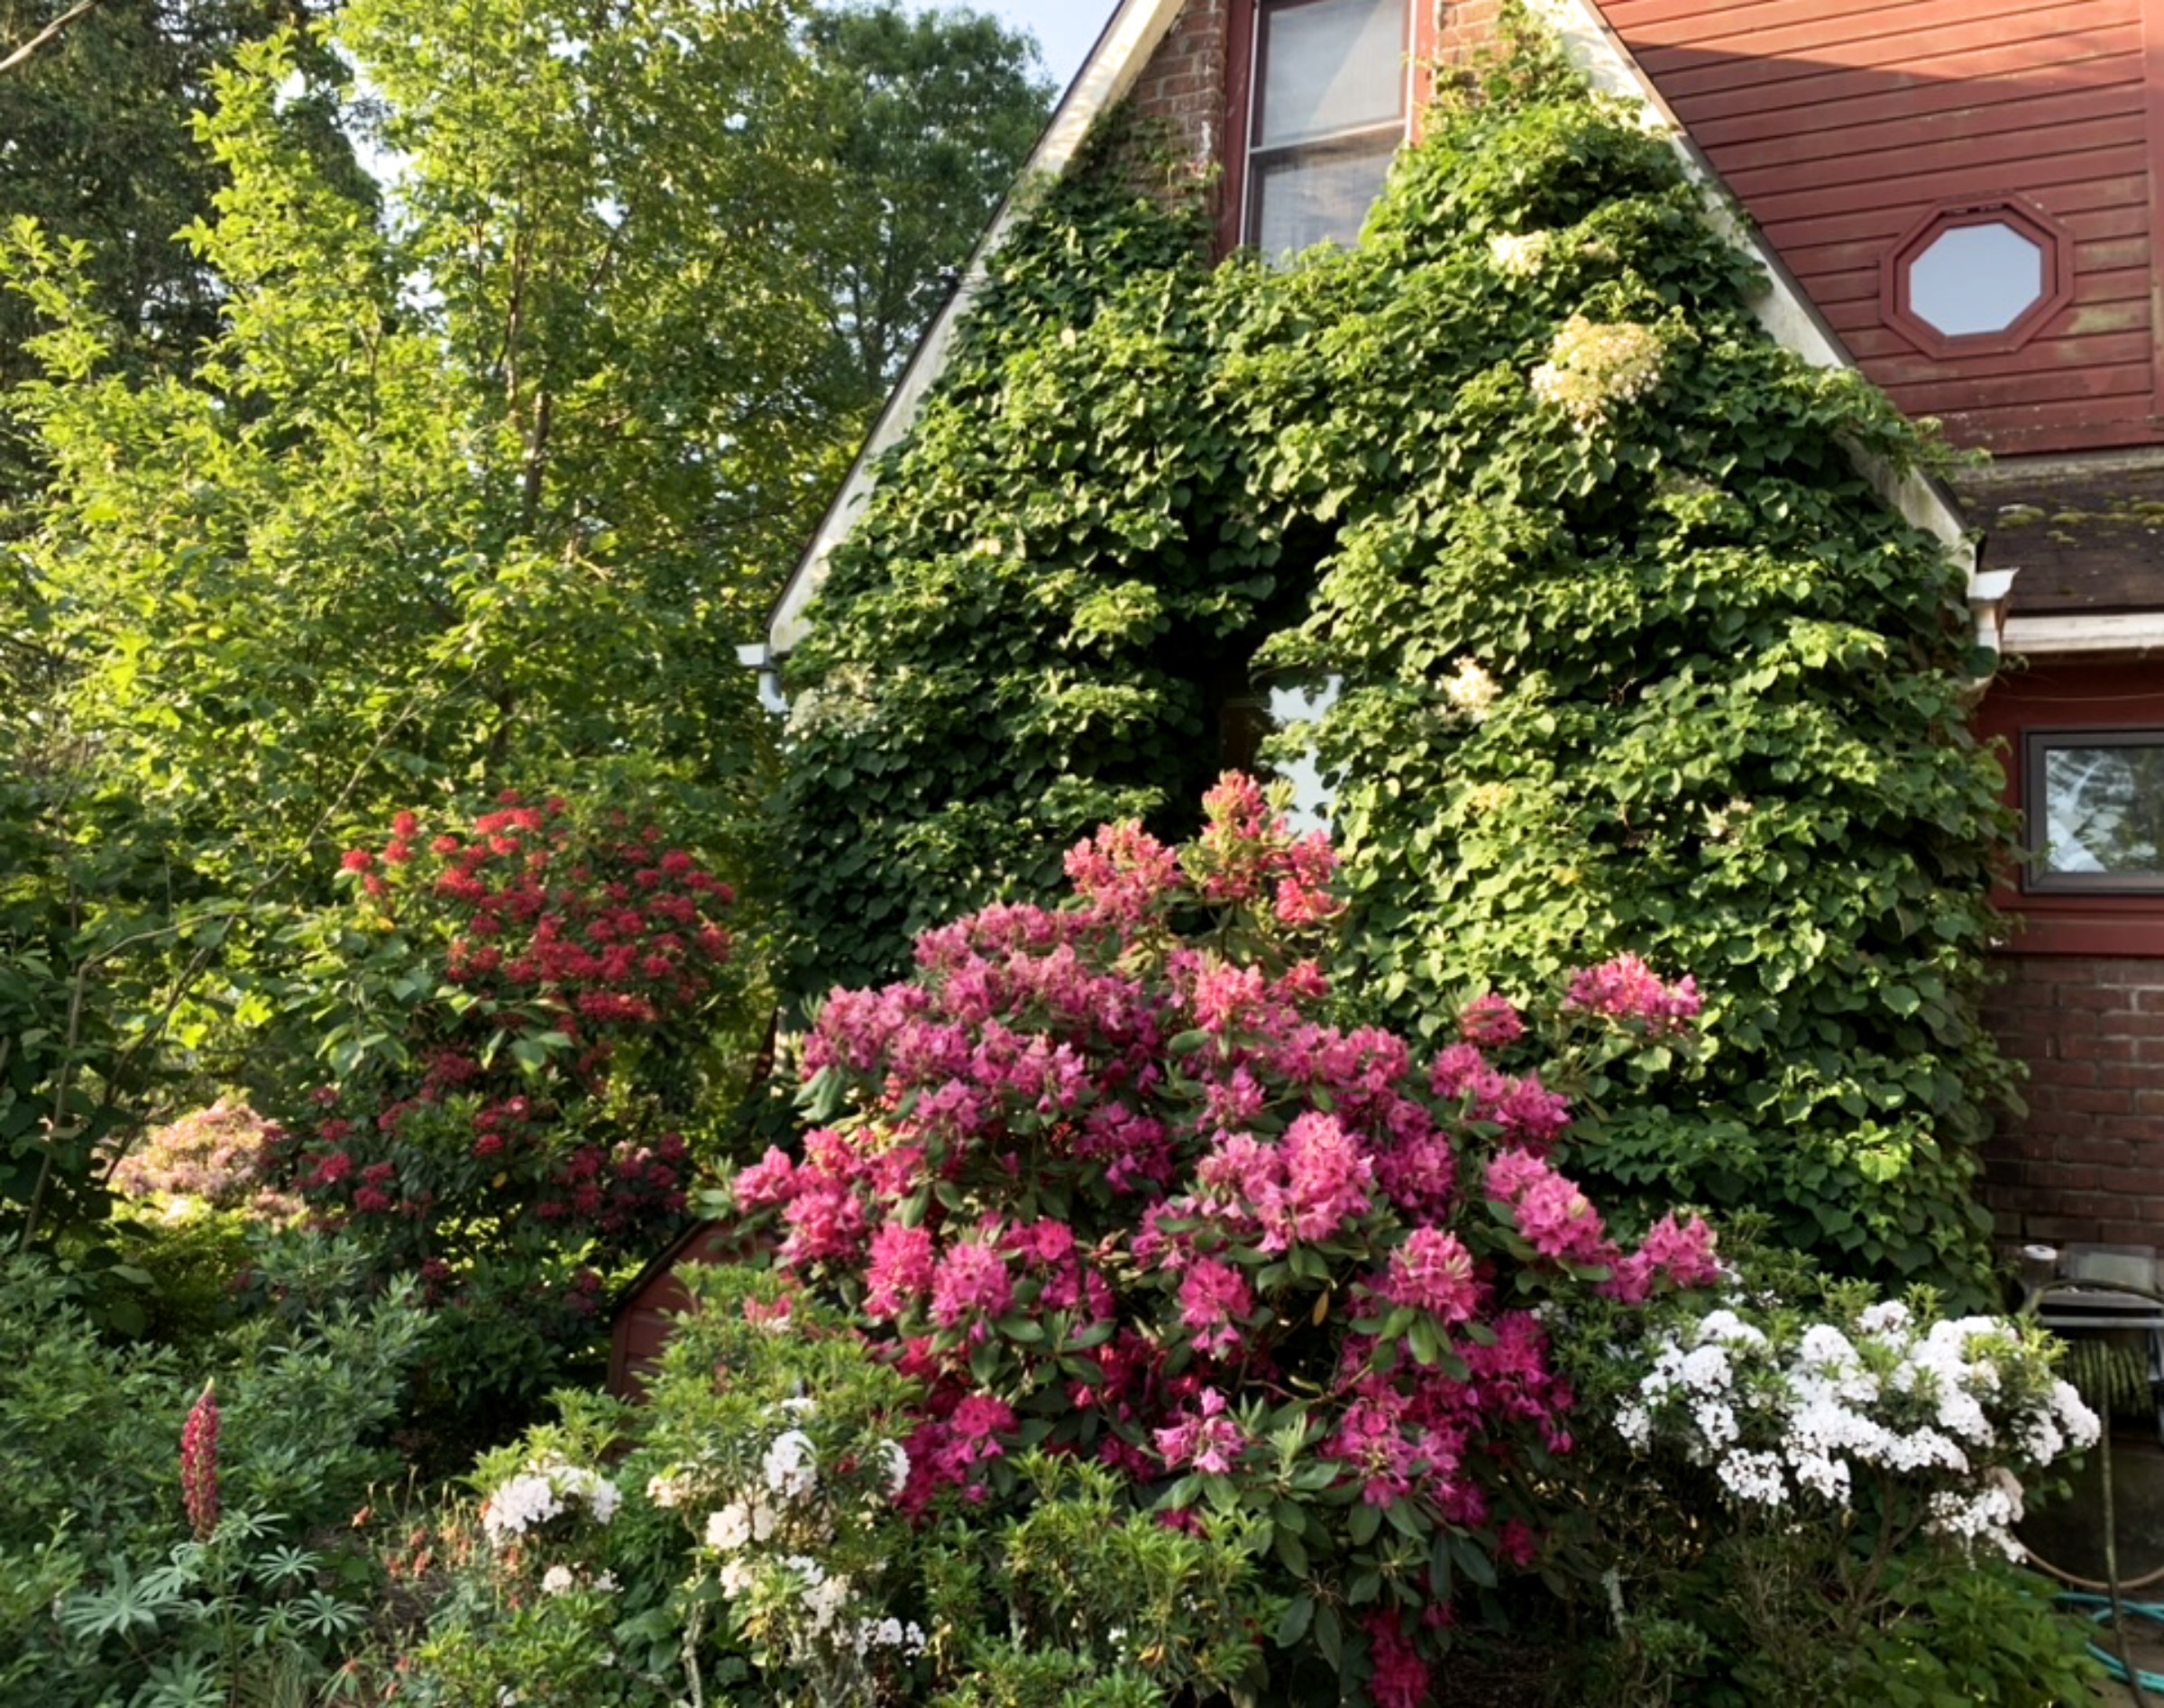
Walking down the path alongside my home first thing this morning, I looked to my right and was wowed. What I saw warranted bragging rights. Flowers in red, pink, white, and a touch of purple against a backdrop of varying shades of green leaves, some sparkling with reflected light, others mat, holding onto any reflections. Heart-shaped leaves, lance-shaped leaves, and compound leaves livened the backdrop. All of it set off against the solid backdrop of the red brick wall.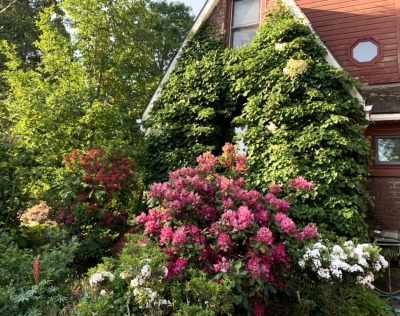
Although I chose and planted all that I admired, not too much credit for it was mine. This was no carefully planned design laid out on paper with squiggly shapes representing plants and their locations, each shape labeled with plant names and varieties, perhaps even a note to flower colors.
Twenty plus years ago, the site was a strip of sloping lawn on the east and north sides of my home. Imagining myself one day slipping while mowing with my foot sliding beneath the mower that birthed a plan for building a rock wall at the base of the slope which would be backfilled with soil. No more slope and no more mowing.
The Heath Family Stays Together for a Reason
And so was borne my “heath bed,” a bed of various plants in the Heath Family, Ericaceae. Grouping such plants together was not just a botanical plaything; it had function. Read more
A FRUITFUL YEAR?
High Hopes
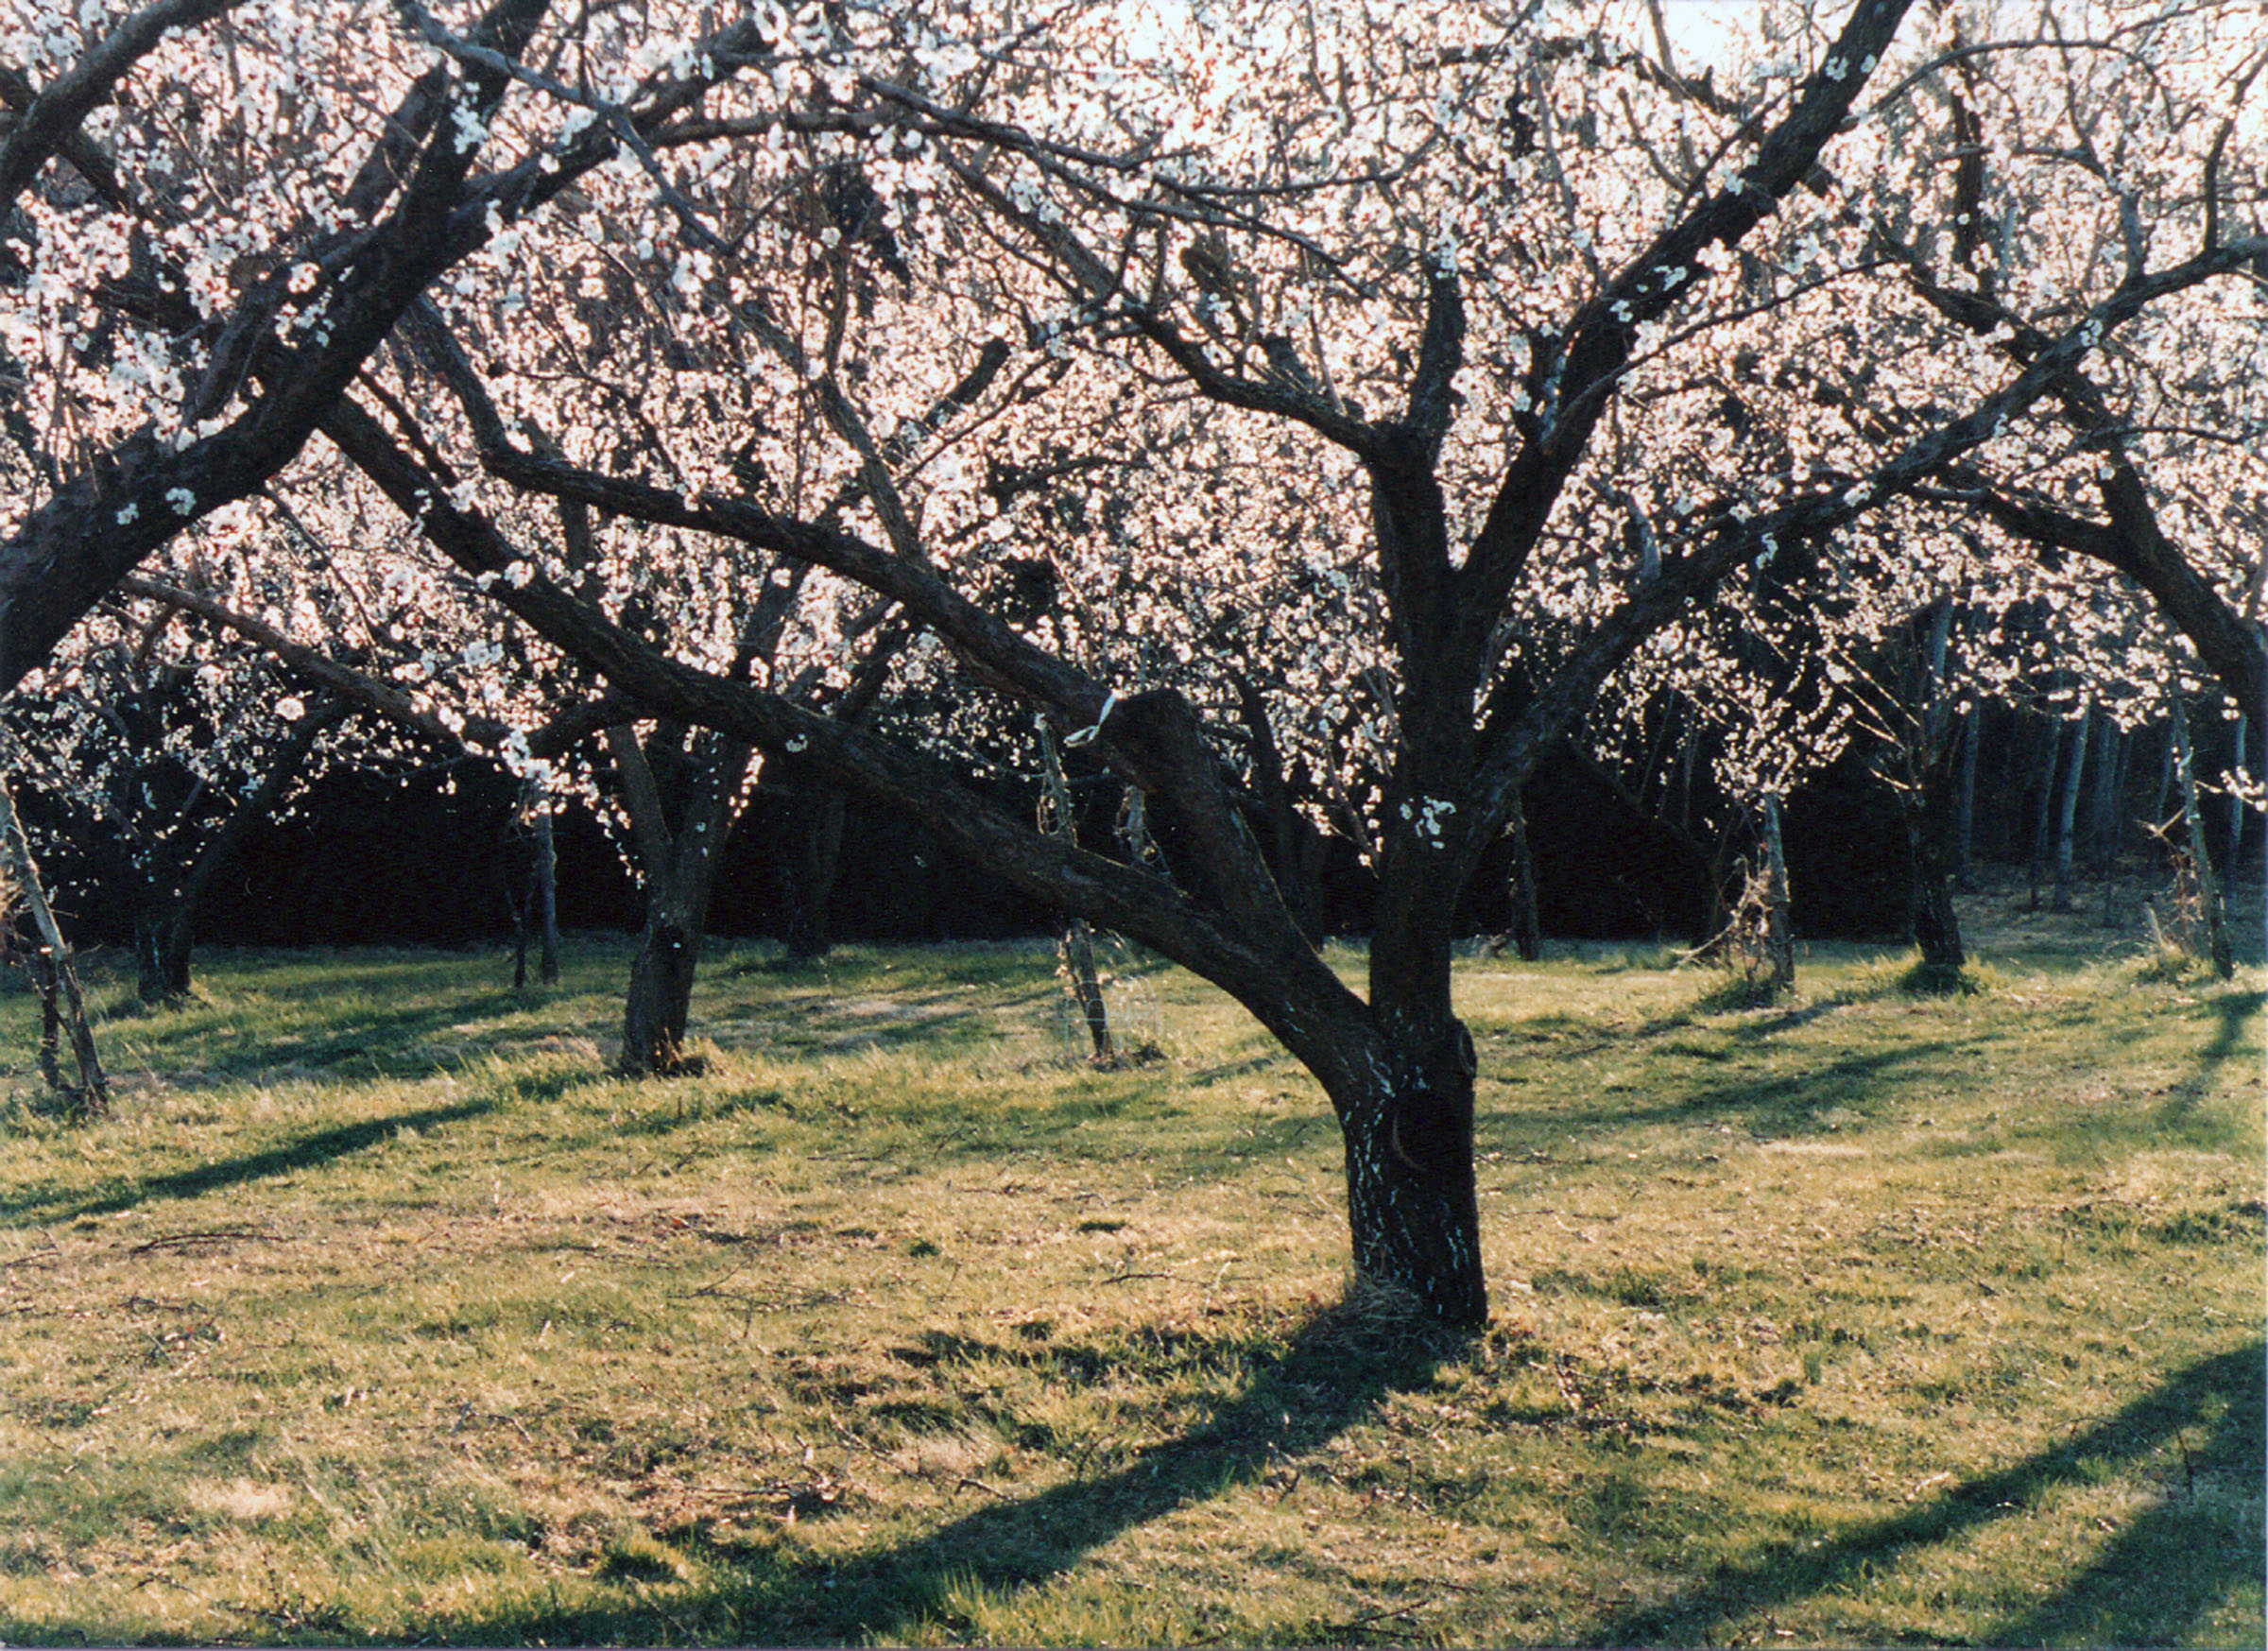
Apple, pear, and plum branches frothing in white blooms this spring foretold of bountiful crops of these fruits. Wrong. They foretold of the potential for bountiful crops. I’ve mentioned before the abundance of insect and disease pests that lurk here, ready for action, and the potential for late spring frosts. So I don’t get my hopes too, too high with these fruits, except for the pears, European and Asian, which are naturally pest-free here.
Lots of things can be blamed for a barren fruit tree, bringing disappointment no matter what the cause.
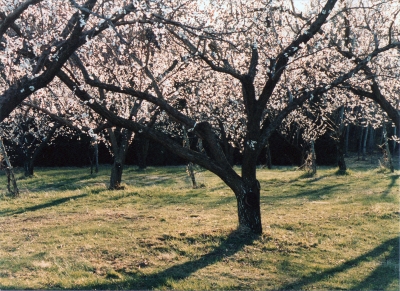
Apricot trees in bloom
If the tree is young and not yet of flowering age, fruitlessness can be forgiven. Pears, for all their qualities, are typically slow to come into bearing.
Who Needs a Mate?
There’s many a slip ‘twixt the cup and the lip. Read more
EXIT: TOMATOES AND PEPPERS
Listen to Lee, Lee
You’d think I would have known better or, at least, listened to my own preaching. An increasing warming spell a week ago induced many fellow gardeners around here to set tomato and pepper transplants out in their gardens. The average date of the last killing freeze around here is May 21 — but temperatures were getting warmer and warmer, and what with global warming . . . I have preached not going with your gut when it comes to times for spring planting, but was swayed with the crowd and the warming weather, and planted out over 50 tomato plants and a dozen pepper plants a couple of weeks ago.
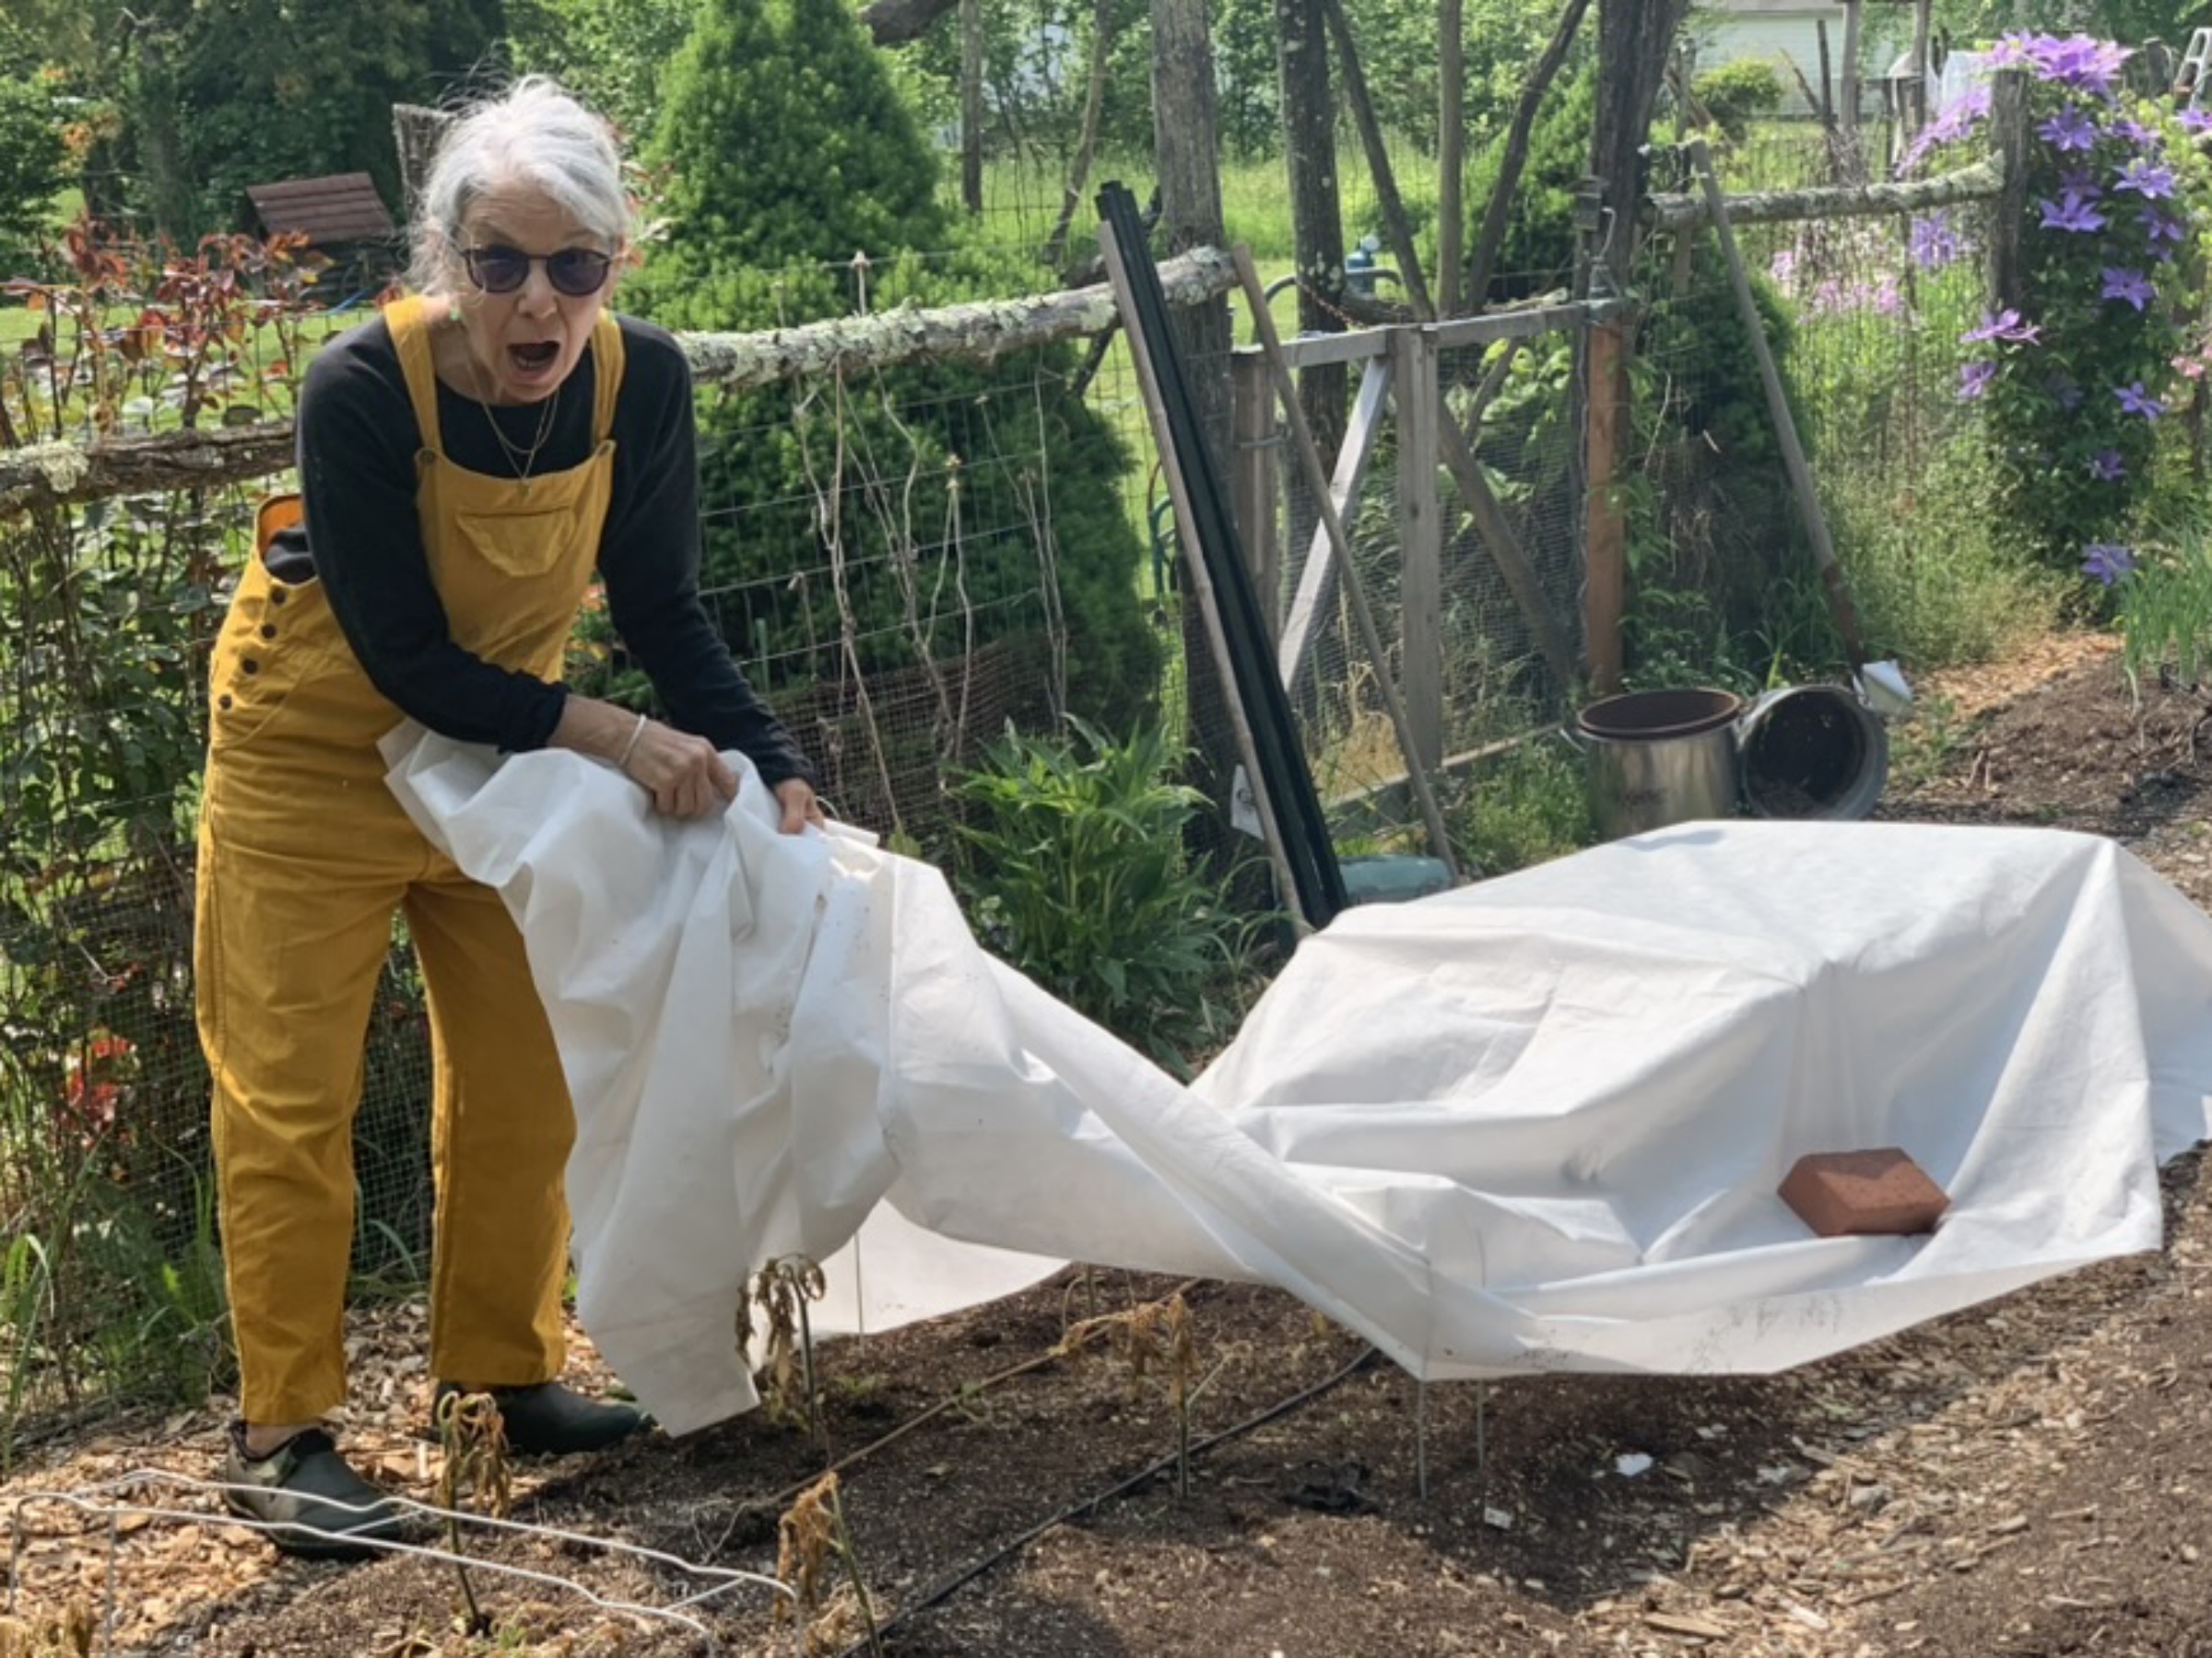
Then the weather turned cooler, with night-time lows predicted to sink into the low 30s. Here in the Wallkill River Valley, cold air, which is denser than warm air, flows downhill like water to collect in low spots. My farmden always experiences temperatures a few degrees colder than locally predicted.
No problem. I made some wire supports over which I draped a row cover which is said to retain heat, offering about six degrees more of frost protection. I went to bed that night at peace with our planet. Read more
