CLOTHE THE GROUND
/9 Comments/in Soil/by Lee ReichSomething Good for the Soil
Soil has been called “the skin of the earth.” That “skin” nourishes much of life here, so let’s take care of it. Which is one reason for cover crops, that is, plants grown not directly for us, but specifically to maintain or improve soil health. Typical cover crops include rye, oats, buckwheat, clovers, and other mostly grains or legumes.
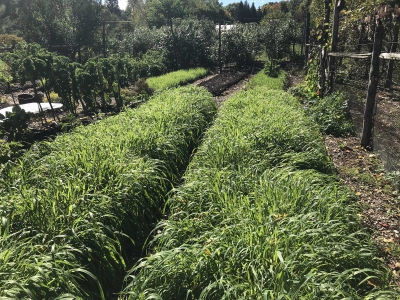 The most obvious benefit of a cover crop is the protection it affords the soil from wind and rain, either of which can carry away the most fertile surface layer. Also protection from temperature extremes. Another benefit is that cover crops can suppress weeds. Less obvious is cover crop plants’ ability to grab onto and bring back up to the surface layers nutrients that rain might otherwise wash beyond roots into the groundwater.
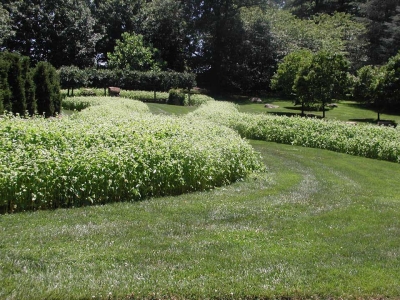
Buckwheat cover crop at Chanticleer
Some effects are even more subtle. Substances oozing from plant roots feed microbes and also bind soil particles to create small and large pores to create a good balance of air and water in the ground. Cover crops also can increase levels of all-important soil organic matter, which benefits plants and soils nutritionally, physically, and biologically in both known and unknown ways.
But Does My Ground Need It?
Despite the benefits of cover crops, you’ll rarely see them in my vegetable garden. Mostly, that’s because the beds are usually packed full of growing vegetables from very early to very late in the growing season. There’s nowhere to plant a cover crop! The vegetable plants themselves provide the same benefits as would a cover crop, especially since I plant at very close spacing, close enough, usually, to hide bare ground.
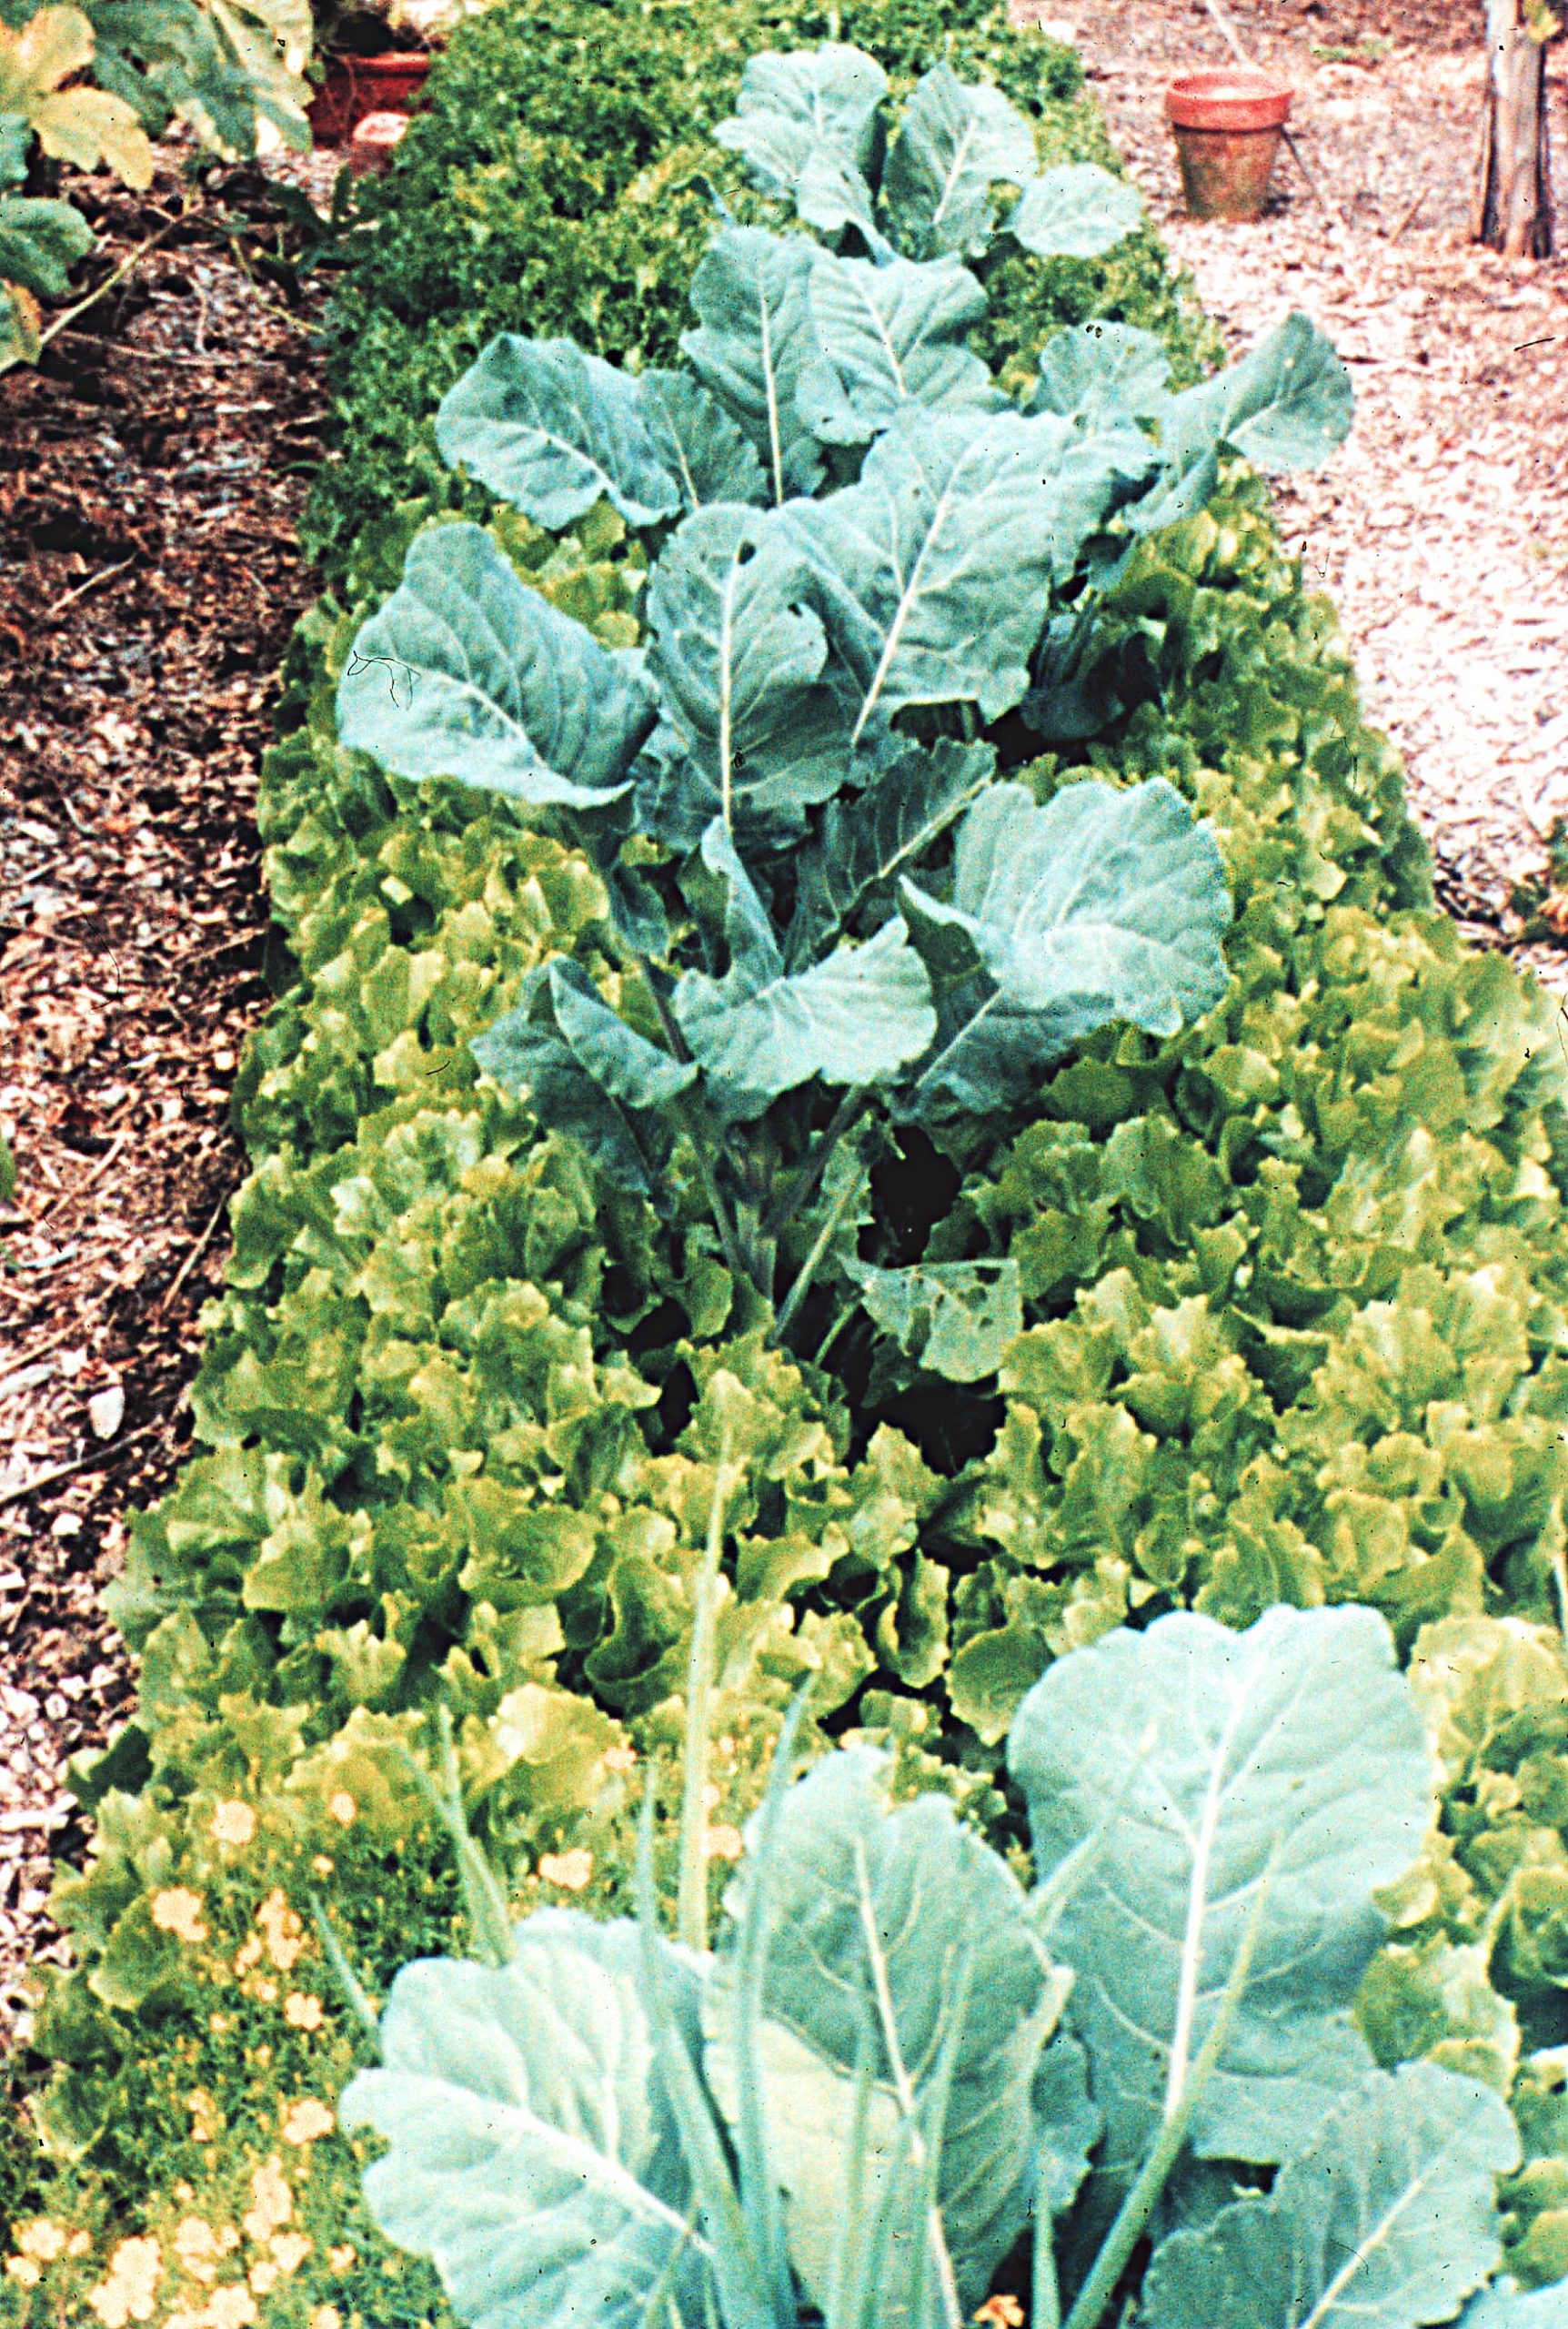
Bed of broccoli & endive
Planting cover crops in my garden to increase soil organic matter would be like taking coals to Newcastle. For decades, every year I’ve laid a one-inch blanket of compost over all my vegetable beds. (My book Weedless Gardening describes the whole system of soil care.) The result is soil organic matter levels, last time I tested, at about fifteen percent. No need for cover crops to boost my soil’s organic matter content.
Fifteen percent organic matter is very high. A typical, very good agricultural soil, such as the virgin Midwest prairies, was about five percent organic matter.
Then again, could fifteen precent be too high? Very high levels of organic matter lead to soil tests registering excessive levels of phosphorous and potassium. Traditionally, phosphorus was thought to be so tied up chemically in the soil that it would stay put, but some recent research indicates that water can push some phosphorus into the groundwater if phosphorus levels are high enough.
Conventional soil tests are for mineral soils, not soils that are very high in organic matter. A soil with around fifteen percent organic matter would better be called a “growing medium” rather that a “soil. Soils naturally this high in organic matter are classified as histosols, commonly called bogs, peats, or moors. Such soils, in contrast to my garden soil, are typically low in plant nutrients.
An obvious way to assess soil management is — duh — to look at the plants and their growth. Everything looks fine.
Problem? Maybe, Maybe Not
Except for a couple of strange goings on in one of my two vegetable gardens. In one bed, planted this year to early turnips and lettuce, now in corn, the corn in half the bed is stunted. (The turnips and lettuce did fine.) 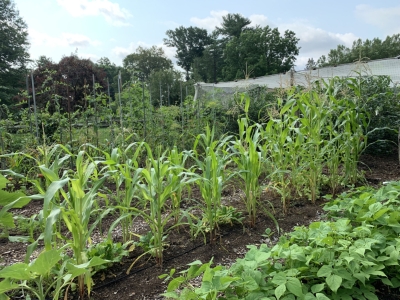 In another bed, tomatoes are doing fine, but are not as vigorous as they should be as compared with another bed of tomatoes in that garden.
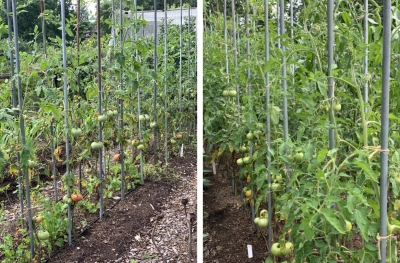 My notes indicate that both beds received their annual blanket of compost, just like all the other beds. Last fall, when the compost was applied, I also sowed cover crops in those beds. Rather than my usual oats cover crop, which winter-kills so integrates well with my no-till system, I sowed crimson clover along with the oats. Why crimson clover? Because it’s pretty when it blooms in spring.
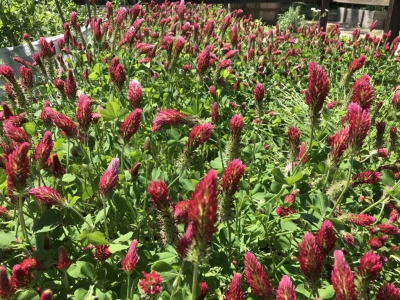
Crimson clover is allelopathic. Allelopathic plants can biochemically suppress growth or germination of nearby plants; the clover could have adversely affected growth of tomato and corn. Of course, only half the corn bed is stunted but clover germination, if I remember correctly, wasn’t uniform in that corn bed. I’ll file all this in the back of my head for future investigation.
Then again, oats, is also allelopathic, as are rye, sunflower, sorghum, and many other plants, including, most famously, black walnut. Allelopathy is often very specific, an allelopathic plant inhibiting the growth of only some species of plants. Said allelopathic plant might even promote growth of other plant species. Time, usually a couple of weeks, after an allelopathic plant is killed or removed, usually rids the soil of any allelopathic effect.
For completeness, I should mention that the corn and tomato bed problem could be traced to erratic behavior, this year, of my drip irrigation system, which has now been corrected.
I’m going to continue occasionally planting cover crops and will monitor more closely any positive or negative effects — in my garden. As they say in so many arenas: “Your results may differ . . .”
SENSUAL THINGS, AND WATER
/6 Comments/in Flowers, Fruit, Gardening, Soil/by Lee ReichHeady Nights
It’s difficult to work outside in the garden these days, especially in early evening. No, not because of the heat. Not because of mosquitos either. The difficulty comes from the intoxicating aroma that wafts into the air each evening from the row of lilies just outside the east side of my vegetable garden.
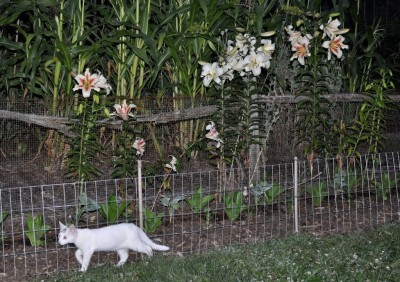
These aren’t daylilies, which are mildly and pleasantly fragrant. Wild, orange daylilies are common along roadways and yellow and hybrid daylilies, often yellow, are common in mall parking lots. (That’s not at all a dis’; the plants are tough and beautiful, and I’ve planted them also.) They’re also not tiger lilies, which lack aroma and sport downward turned, dark red speckled orange flowers with recurved petals.
My fragrant lilies are so-called oriental hybrid lilies, which are notable for their large flowers and strong fragrance. My favorite among those I grow is Casa Blanca. The flowers are large and lily white (what’d you expect?) except for the threadlike, pale green stamens emerging from their centers, with dark red anthers capping their ends.
Casa Blanca would be worth growing just for the look of the flowers; the fragrance, very sweet and very heady make this bulb a must-grow. Not for everyone, though. A few people dislike this fragrance. For some people it’s more than just stinkiness, the aroma causing nausea, dizziness, or congestion.
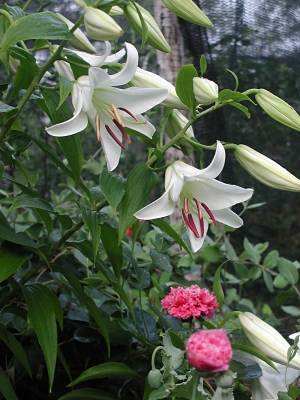
Casa Blanca’s stems can rise to about four feet tall, their upper portions circled with almost a dozen of those large blossoms in various stages of ripening. Some years, staked, persimmon orange, Sungold tomatoes grow in that bed, and the tomato and lily plants looked very pretty mingling together. (Tomatoes were, after all, once grown as ornamentals.)
This year I’m growing kale in that bed which, besides good eating, provides a frilly base from which the lily stems rise.
In Good Taste
Turning to another of the senses . . . taste. Blueberries. They are among my most successful fruits and, as usual, the plants’ stems are bowing to the ground under a heavy load of berries this time of year.
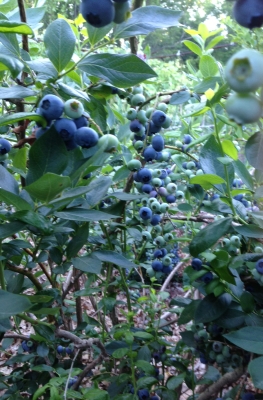
Not to brag, but the average yield of a blueberry bush is 3 to 5 quarts. My blueberry bible, Blueberry Culture (1966), states that “proper cultural practices can increase the yield to as much as 25 pints per bush.” I average about 18 pints per bush, with some bushes yielding as much as 24 pints. Organically grown, of course.
I credit my good yield to periodic additions of sulfur to maintain acidity of pH 4.0-5.5, timely watering with drip irrigation especially the plants’ first few years, topping up of existing wood chip, wood shavings, or leafy mulch each fall with an additional 3 inch depth of any organic, weed-free mulch, and pruning every spring.
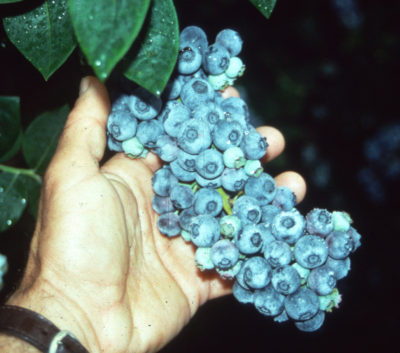
In year’s passed, I also added soybean meal for extra nitrogen to fuel stem growth. Blueberry flower buds develop along growing stems, with flowers open along those stems the following spring. More stem growth means more blueberries, to a point. For many years I have foregone soybean meal because the the plants were overly vigorous, creating a dense jungle that makes getting to the berries too difficult.
One other key to success and topnotch flavor is a net during the summer to fend off birds and — for best flavor — careful picking of only dead ripe fruits.
Water, Too Much or Too Little
So far, the growing season here in the Northeast has been one with both dry spells and wet spells, more than usual of each. Some recent thunderstorms fool many a gardener into thinking that the soil has been thoroughly wetted. But such rains are often only a drop in the bucket.
The only way to know for sure if enough rain has fallen for plants to really slurp up water is to check the soil or measure the actual amount of rainfall. A friend tells me he waters his plants every day. Every day! How much? It could be too much or too little, and probably is one or the other. I like to quantitate things so I measure rainfall or watering, as well as soil moisture, in a few different ways.
First, measuring water added to the soil: The ideal is about a 1 inch depth of water per week, which is equivalent to about a half a gallon per square foot of surface area. For hand watering a young tree, with an estimated root spread of only a couple of square feet, I fill the watering can with a gallon of water and sprinkle it on.
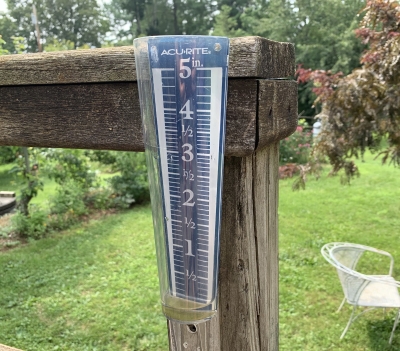
Rainfall, or the water from a sprinkler, could be measured with a straight-sided container. I use a rain gauge whose tapered body can break down the measurement into tenths of an inch, readable from indoors.
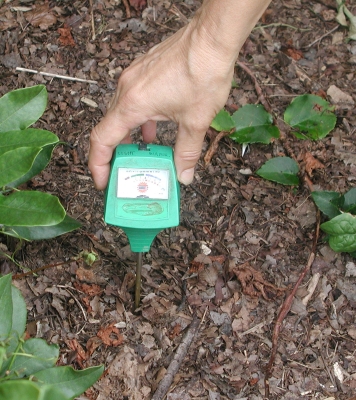
Digital moisture probe.
I usually measure the actual moisture in the soil with a handy little meter attached to a probe that slides a half a foot down into the soil. As expected, the meter told me today that the soil is very wet. Not surprising after 3 inches of rainfall, as measure in the rain gauge, two nights ago.
(There’s more about blueberries and water in my books Grow Fruit Naturally and The Ever Curious Gardener.)
PERMACULTURE(?) HERE ON THE FARMDEN
/15 Comments/in Design, Flowers, Fruit, Planning, Soil/by Lee ReichTrue Accusation?
Accusations of my being a permaculturalist, that is, a practitioner of permaculture, are true, but only partially so. Yes, I grow peppers in a flower garden and persimmon as much for its beauty (see Landscaping with Fruit) as for its delicious fruits, also integrating other edibles right into the landscape. And, like permaculturalists, I do try to maximize use of the 3-dimensional space in my farmden with, for example, shade-loving black currants growing beneath my pawpaw trees.
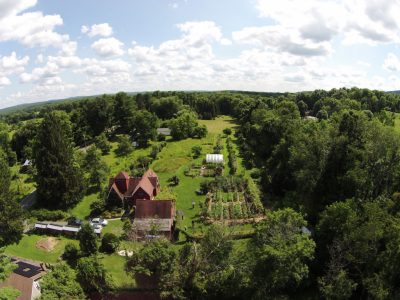
I am also a permaculturalistic in maintaining the integrity of my soil by not tilling it or otherwise disrupting the structure that builds up naturally in undisturbed soils. New ground is prepared for planting by merely smothering existing mowed or stomped down vegetation. I mulch with compost, leaves, wood chips and other organic materials to keep bare ground from ever showing.
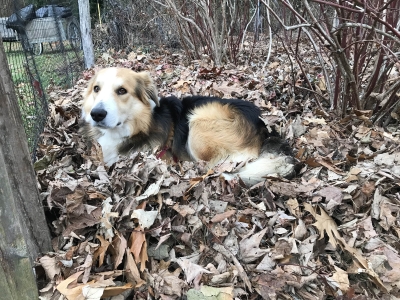
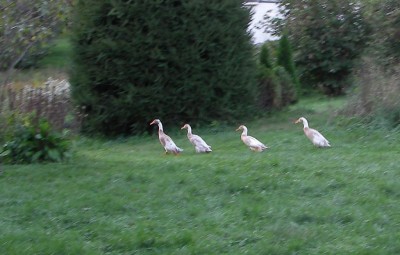
And like permaculturalists, I try to grow plants adapted to the setting so as to minimize pest problems. And poultry — ducks here on the farmden — wander freely, except in the vegetable gardens, to minimize pest problems, to provide fresh eggs, to add to the bucolic atmosphere, and to provide entertainment. And, in the shade of a Norway spruce, a rack holds up oak logs from which pop out shiitake mushrooms. I could go on.
Why I Am Not a Full-Fledged Permy
Despite the assertion of one young, self-described “expert” permaculturalist, I am not a permaculturalist. I tend a permaculturesque farmden. Why the “-esque”? Because I part with true permaculturalists in a few critical ways.
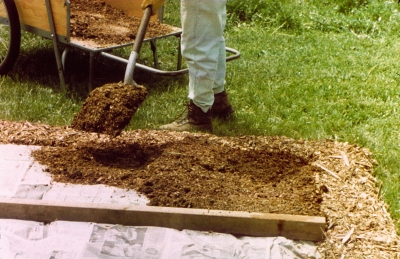
Let’s begin with soil preparation. I smother existing vegetation beneath a few, typically four, sheets of newspaper topped with compost or some other weed-free, organic mulch. (I describe my methods in more detail in my book Weedless Gardening.) Many, perhaps most or all, permaculturalists prefer using corrugated cardboard from boxes as that first layer. The longevity of that cardboard on the ground is seen as an asset over paper. But I use paper so that soon after existing vegetation is smothered, the mulch and the soil below can begin to meld together. I don’t want any barrier to water and nutrients, or bacteria, fungi, earthworms, and myriad other soil organisms in place any longer than necessary.
I part ways with permaculturalists by growing my vegetables rectilinearly, in straight rows within rectangular 3-foot-wide beds. Yes, the idea of organically shaped beds and keyhole gardens is very appealing –- on paper. But time, my time, is also an important element in the garden, and it takes a lot longer to maintain curved and somewhat randomly shaped bed than it does rectilinear beds.
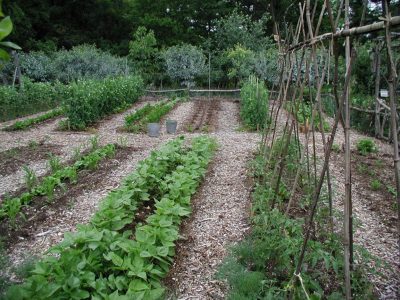
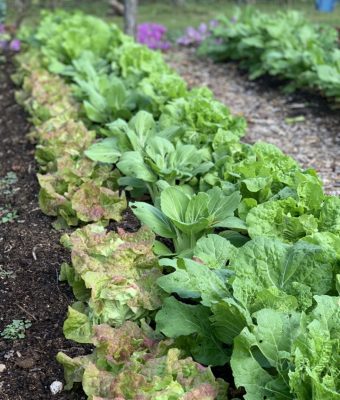
And then there’s the permy way of tucking, say lettuce plants, beneath fruiting shrubs and trees. But I eat a lot of vegetables and there’s nothing like straight rows running down straight beds for packing a lot of vegetables into a given area, and making planting, weeding, and harvesting quicker and easier. When I go out to pick some vegetables for a meal, I don’t want to be remembering where I tucked the lettuce and wending my way through trees and then crawling beneath some shrub to get at it.
Permaculture originated and thrives in the dry climates of Australia and our Southwest. Over much of the country, and especially here in the Northeast, rainfall coaxes very exuberant growth from crop plants and weeds alike. Too many permaculturalists are liable to spend their first few permaculture years admiring their efficient and attractive use of space, and all the years hence cursing all the time needed cutting and weeding needed to keep growth of various plants in balance. What I need are some straight lines and a little elbow room.
(I have been hired more than once as a consultant on a property designed and planted by a true permaculturalist. I’m sure it looked great on paper and for the first few years, until it became a tangled mass of plants, more than most people could handle long term. Sometimes, the best course moving forward is to remove everything for a fresh, perhaps permaculturalesque start this time around. As one landowner told me, “a few years back I was ‘permacultured’ by some fine folks. I have been fighting my way back ever since.”)
“Forest gardening,” growing and eating from your planted forest, is receiving growing interest within permaculture circles. As you might guess, I’m also not a forest gardener, despite the fact that I have integrated fruiting trees, which do come from forests somewhere, as well as chestnuts, English walnuts, black walnuts, and other nutty things into my landscape.
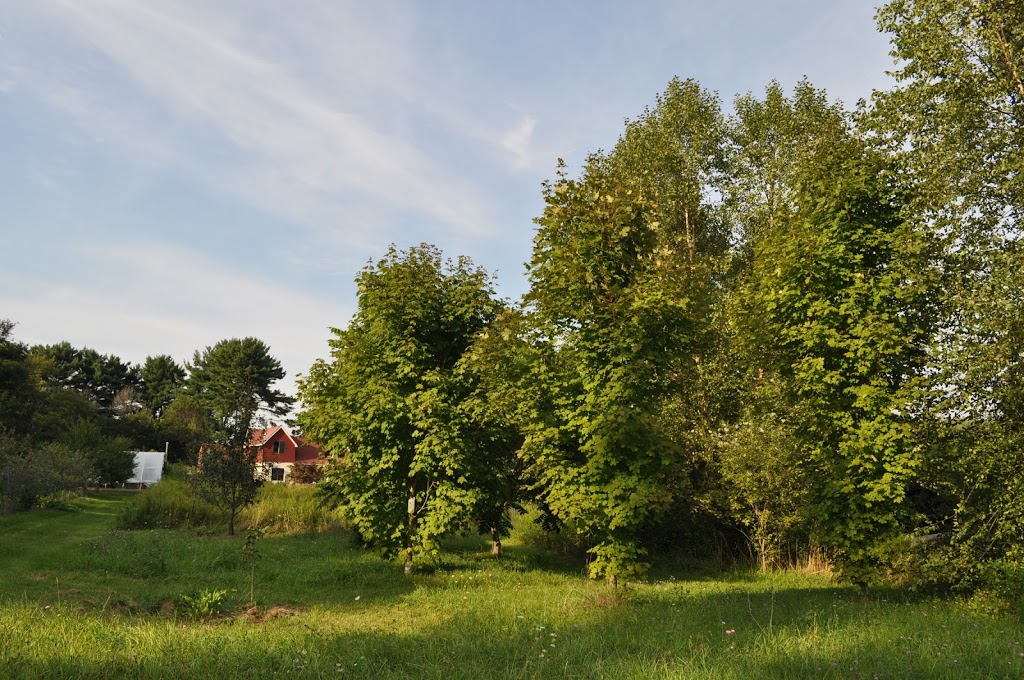
Planted “forest”
I do have a miniforest in a portion of my meadow. The cool shade beneath the now large buartnut, shellbark hickory, maple, and river birch trees is not planted with herbs and vegetables for nibbling. It’s mostly a leafy mulch that fall in autumn, as in any forest floor. Oh, with a bow to forest gardening, I also planted ramps there.
I plant fruits, vegetables, and nuts to provide sustenance, not just a nibble here and there.
I Aim for Good Food, Not a Concept
I’m growing my own fruits and vegetables because I want great-tasting food. It seems to me that permaculture is usually about making growing plants easier. Nothing wrong with that, of course, except sometimes plants that are easiest to grow aren’t those that have the best flavor. I grow elderberries (back in my more hard-core permaculture planting along with aronia, rosa rugosa, seaberry, and highbush cranberry). Could anybody claim that a fresh picked elderberry can hold a candle to, flavorwise, a fresh picked blueberry?
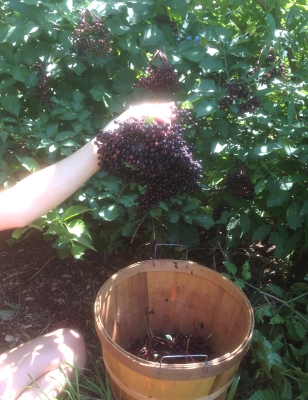
Elderberry harvest
Speaking of blueberry, they are easy to grow. But, if you want best production of flavorful berries, best to put some effort into getting the soil right, pruning correctly and annually, and netting to fend off birds so you can harvest truly ripe berries. Grapes? They need abundant sunlight, not the shady but easily supplied support of a nearby tree, for best quality and easy picking. Pruning is critical for topnotch flavor and pest control. It all takes effort, but is worth it.
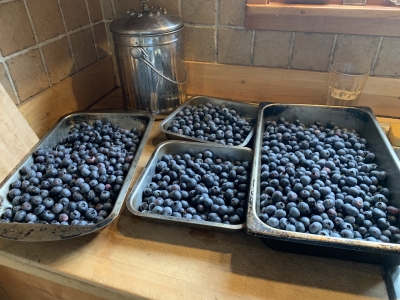
Today’s blueberry harvest
Although I am very intimate and knowledgeable about the plants I grow, I am no expert on permaculture. Perhaps I have misconstrued certain permaculture techniques or am totally missing the concept (even though I was accused of being a permaculturalist). I welcome feedback.

