
A FLOWER (PERHAPS EDIBLE) NOW AT ITS BEST
A Flower? Not
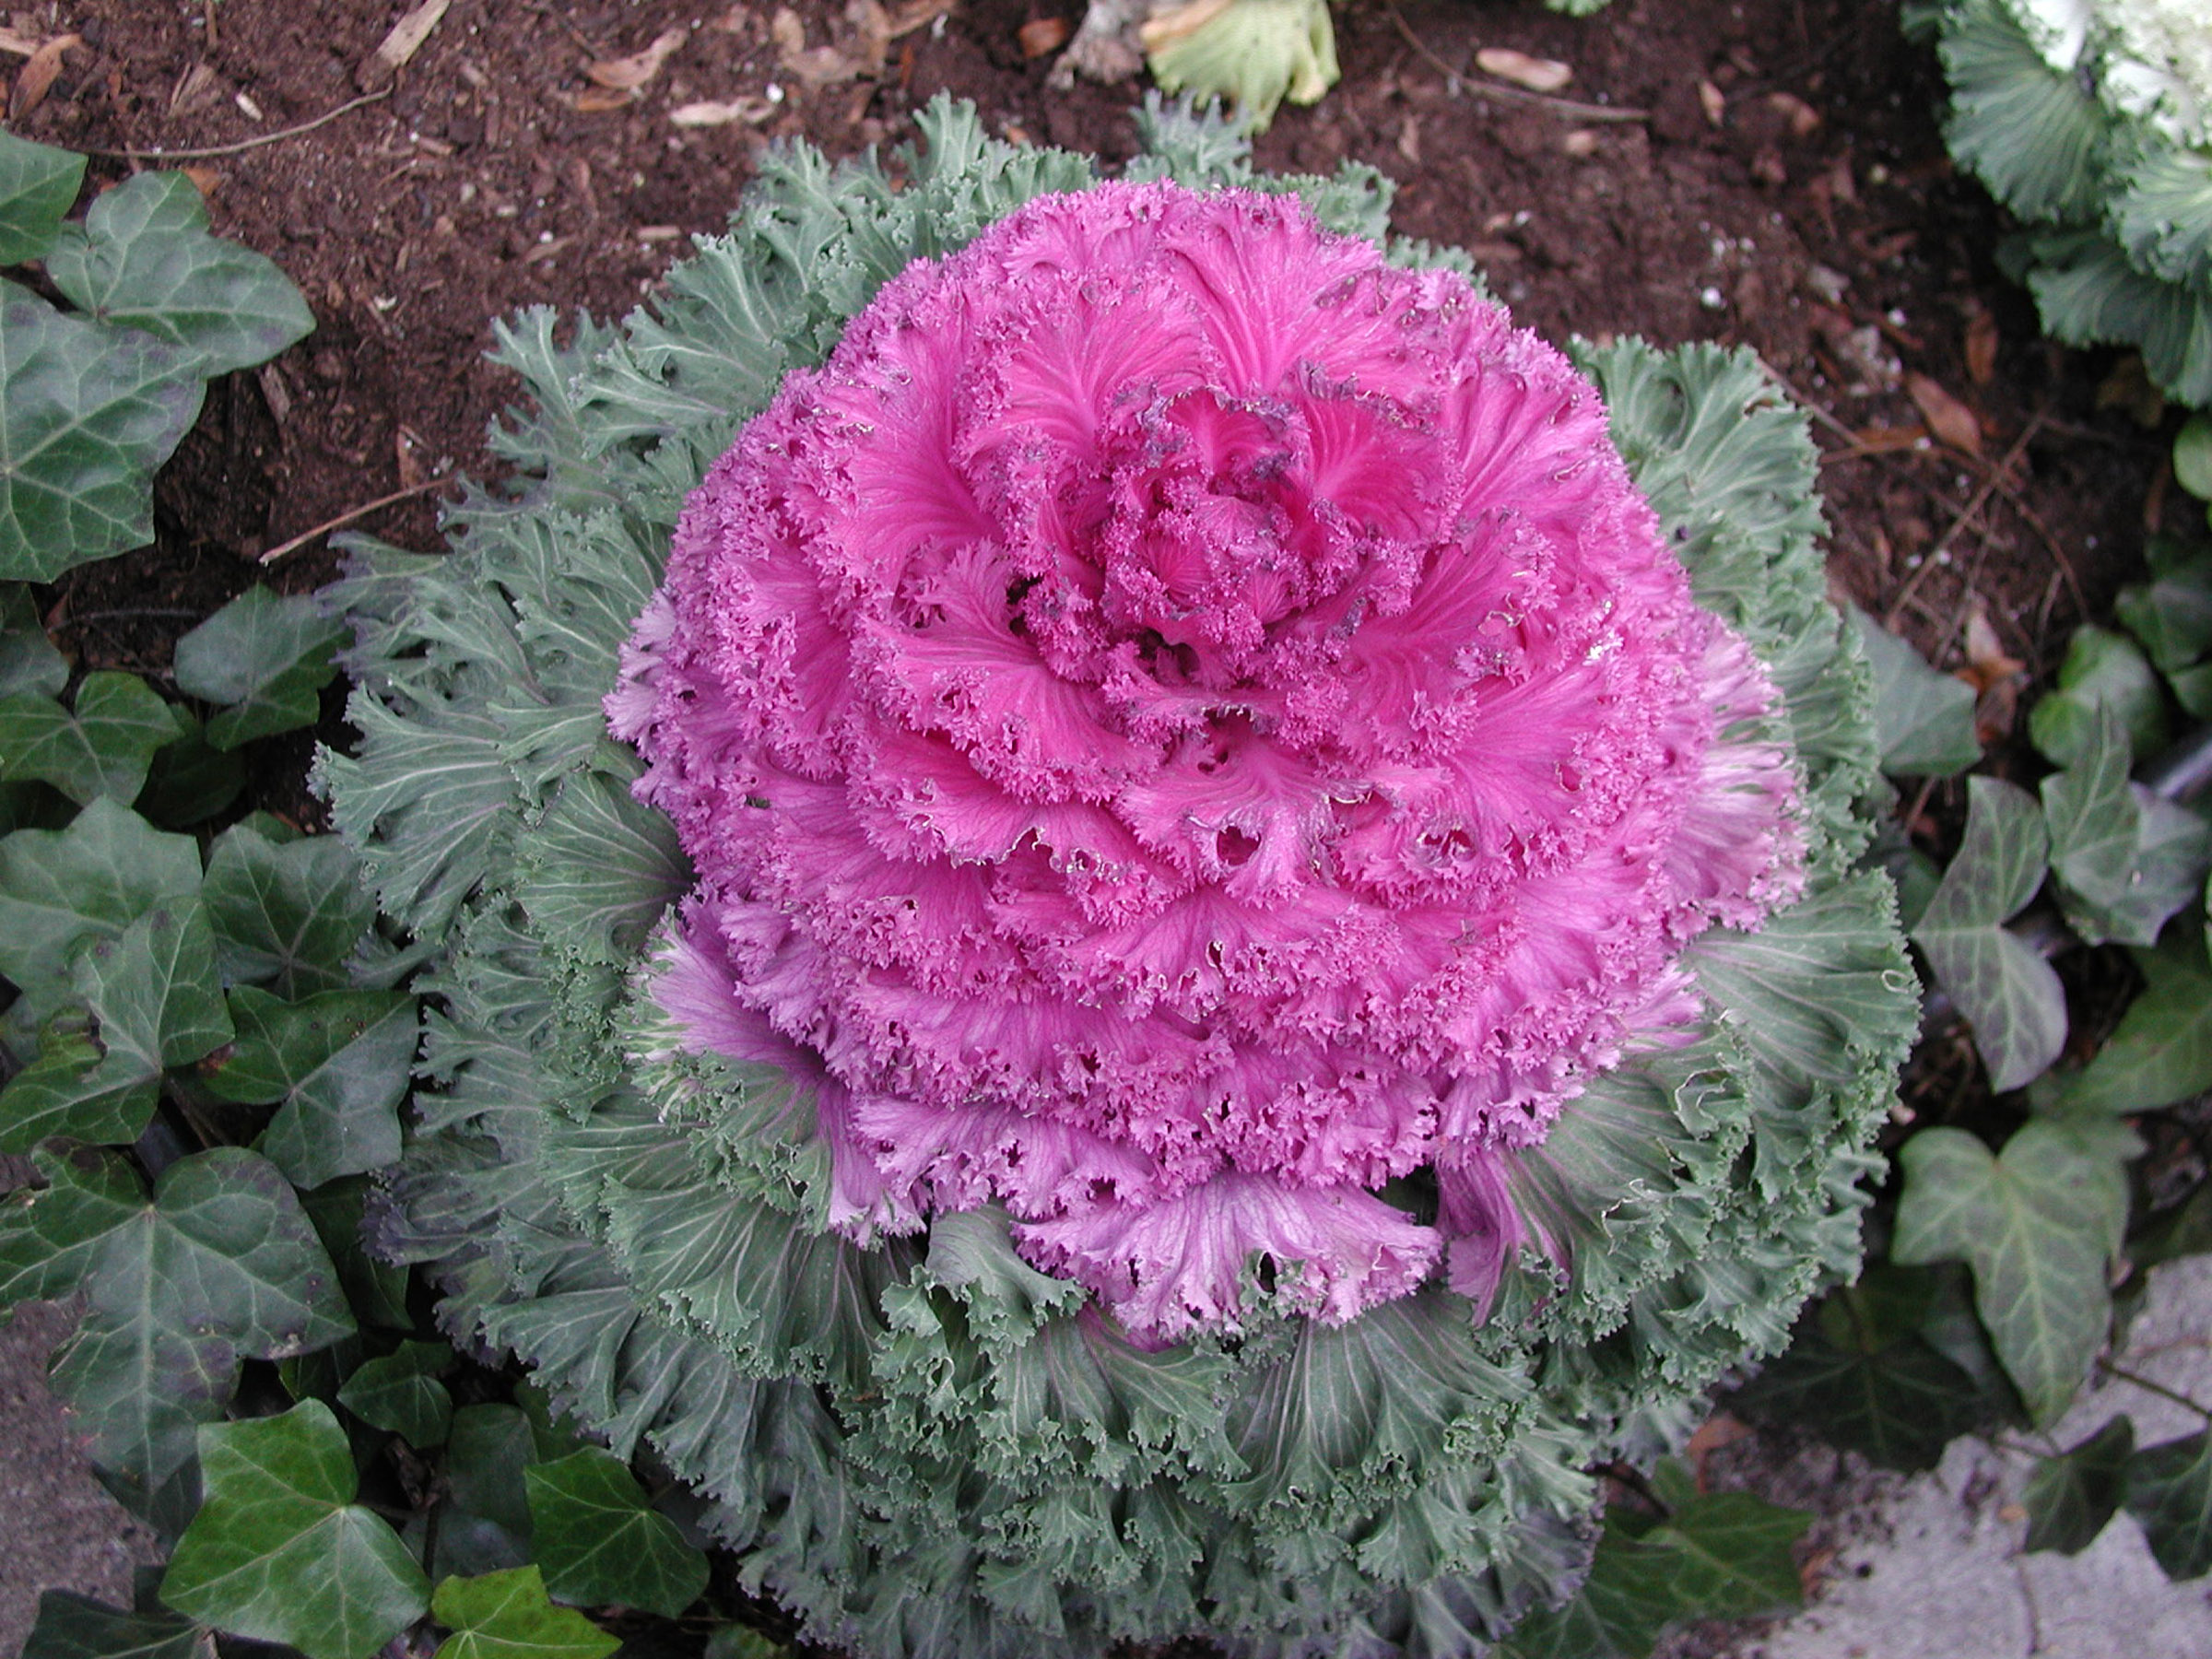
The same cold weather that has killed most herbaceous plants, or at least battered them ragged, has also brought out the color in flowering kale. Of course, the color is not really that of a flower, but that of a whorl of leaves — glaucous green or purple on the outside of the rosette and becoming more intensely white, pink, or red towards the center. Some varieties are even more ornate, with fringed leaves.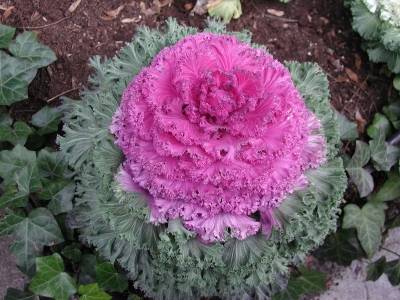
About this time each year, I make a mental note to plant seeds of flowering kale next season. But I always eventually forget to do it. For the past few weeks, though, I’ve been admiring a planting of flowering kale that has inspired me now to write myself a note about next year’s planting.
My source of inspiration can hardly be called a planting. It’s not a bed full of flowering kale, splashing color all over the place. Nor is it a single file of plants, lining and grabbing attention from a path. Read more
GREAT GIFT IDEAS: BOOKS (NOT ALL JUST) FOR GARDENERS
Fishing, Gardening
“Give a man a fish, and you feed him for a day. Teach a man to fish, and you feed him for a lifetime.” How true, also in gardening. Not to mention the emotional and intellectual gratification, the “companionship with gently growing things . . . [and] exercise which soothes the spirit and develops the deltoid muscles” (C. D. Warner, 1870).
Let’s take teaching the man — or woman — to fish one step further, gardenwise. Lot’s of people wow others with the expertise they have allegedly accrued as evidenced from the mere fact that they’ve spent a number of years, perhaps decades, with their hands in the dirt. I roll my eyes. Flowering plants originated at least 130 million years ago, which is plenty of time to let the trial and error of evolution teach them to grow. Tuck a seed into the ground and it will probably grow.
Better gardening comes from having some understanding of what’s going on beneath the ground and up in the plant. This comes from growing and observing a variety of plants growing in a variety of soils and climates — which is more than is possible in a lifetime.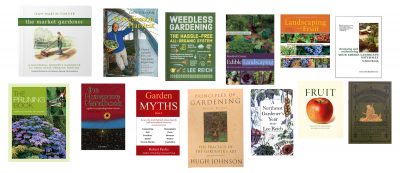
There’s a shortcut: books, a nice adjunct to getting your hands in the dirt. All of which is a roundabout way of my offering recommendations for books about gardening. The right book is also a great gift idea.
WHAT’S UP WITH THE LEAVES?
No Other Explanation
The leaf-goblin struck again; this time I was sure. Leaf season is pretty much over around here but I was in my car on my way to do some errands and spotted a row of plastic trash bags full of leaves lined up along the other side of the street. I says to m’self, “I’ll be back this way within the hour, so I’ll stop and throw the bags in the back of the truck on my way home.” When I drove by again, the leaf bags were gone! This was not an isolated incident, but never has the leaf-goblin’s handiwork been so quick.
I suppose I’m to blame for this curse. Over the years, I have written about, spoken about, yes, even bragged about all the leaves — that’s other people’s leaves, conveniently in bags — that I have gathered up each autumn for my garden. I have preached to anyone who would listen about the folly of stuffing leaves into plastic garbage bags to be thrown out. Read more
