DRAMATIC PRUNING & NOT-TOO-BIG ONIONS
Henry IV Method of Pruning
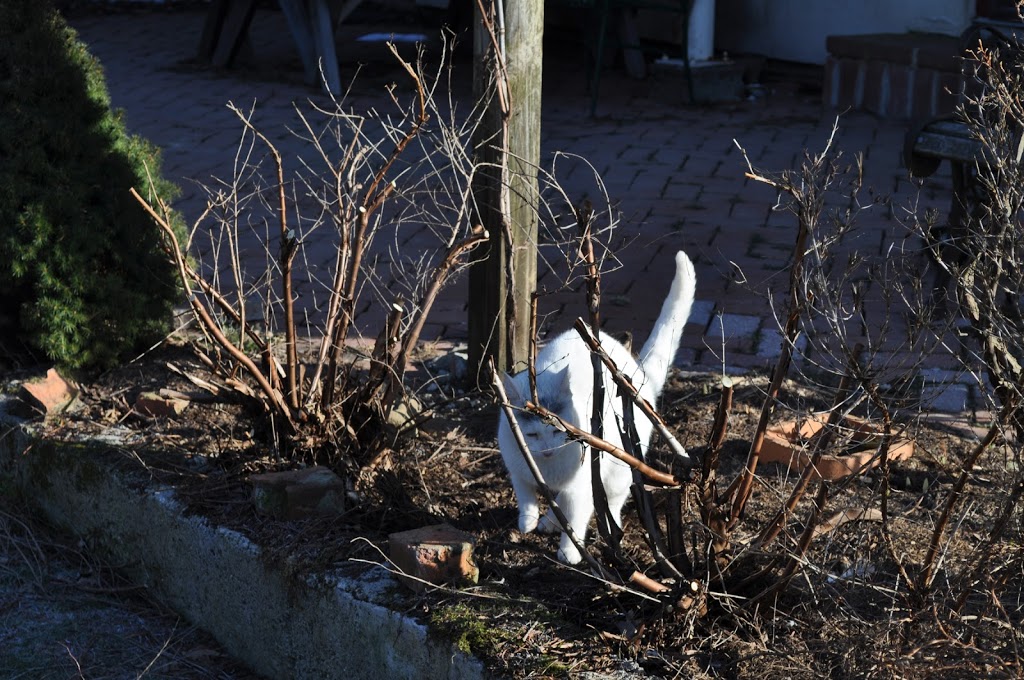
Deb get’s a little nervous every time a go into the garage for some pruning tools this time of year. Not because she’s afraid I might hurt myself but for what I might do to the plants. Today it was so-called “renovative pruning” of the St. Johnswort ‘Sunny Boulevard’ shrubs that line the western edge of the brick terrace. I approached the shrub with some unconventional pruning tools.
Let’s first backtrack and put everyone at ease. A shrub is a shrub because it’s shrubby; that is, it’s always growing new shoots at or near ground level rather than developing a permanent, upright trunk off which permanent limbs and new shoots grow. Some shrubs — most shrubs, in fact — get congested with too many new and older shoots rising from their base and too many old shoots that no longer perform well, in this case performance meaning a good show of flowers. An old stem can put on a good show for only so many years before becoming decrepit.

St. Johnswort, pruned
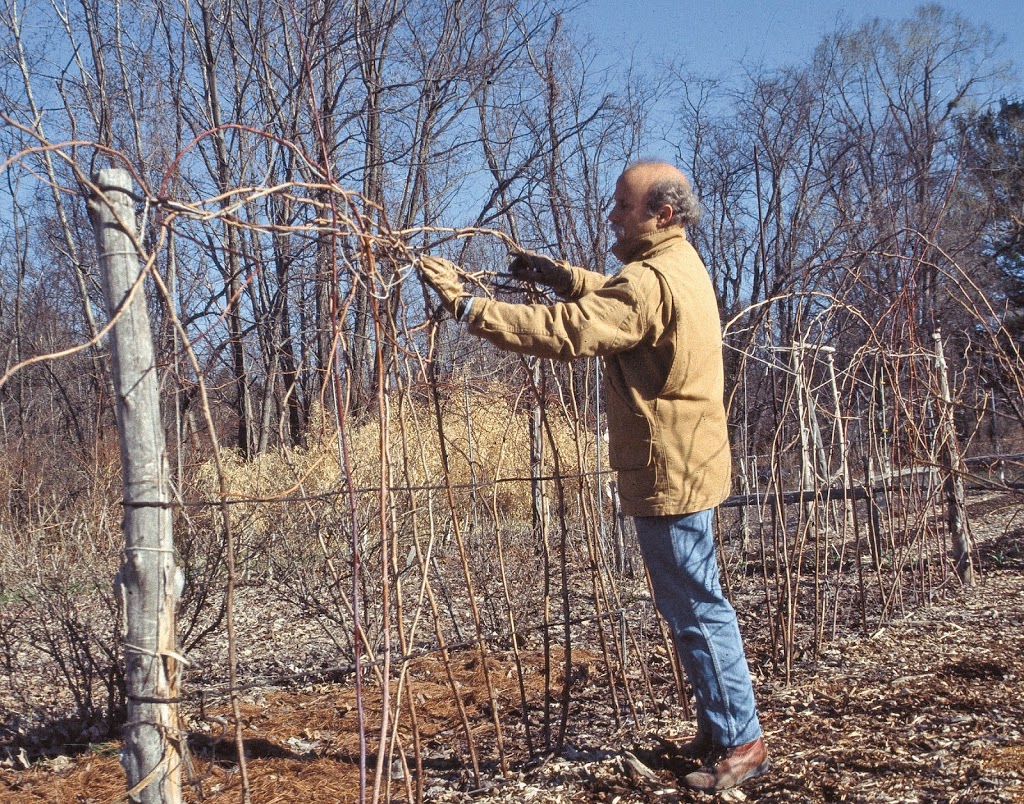
The obvious solution to the above two problems with shrubs is to, first, limit the number of new shoots arising low in or around the plant. It’s a matter of judgement for how many to leave. (Pruning is art and science, and my book, The Pruning Book, attempts to make readers better artists and scientists, when pruning, at least.) As far as those old stems, they should be cut down near ground level once they’ve overstayed their welcome.
So much for maintenance pruning. Sometimes a shrub has gotten too out of hand for all this detail work. Enter renovative pruning. It’s very easy: You just lop everything down to the ground, which is what I did to ‘Sunny Boulevard.’ I started out using a chain saw, my Stihl pole chain saw. This saw has a smaller blade and a long reach, which allowed me to get to the base of the plant without battling all the arching stems. After that, I sawed back stems arching over the hypertufa wall edge of the terrace with a Porter Cable sawzall powered by a 20 volt battery. Final cleanup was with my Fiskars Powergear lopper and Felco pruning shears. (That’s a lot of product recommendations, but I highly recommend all of them.)
All’s Well That Ends Well (in Pruning)
So what was I left with when I was done pruning? Nothing. Nada. Zip. Well, not really; the roots were still alive and in the ground. And I’m banking on those roots sending up new sprouts. And because ‘Sunny Boulevard’ is slated to start blossoming in July on buds that form on new shoots, I’m also banking on blossoms on those new shoots. Because they’re beginning growth way down at ground level, blossoming might begin a bit later than usual.
Shrubs that blossom early in the season, such as forsythia, lilac, and mockorange, form their flower buds a year before they actually open. Hence, the best time to prune these shrubs, if you want a full show of blossoms, is right after the blossoms fade. Prune them before blossoming and you cut off potential blooms.
Still, having a clean slate after a dramatic renovative pruning is appealing, sometimes even with a sacrifice of blooms. Deb is now nervous about the lilac bush, which also needs some renovation. I’m planning to do a less dramatic renovative pruning on it, and I’ll probably wait until after it blossoms.
Onions’ Size Matters
Big onions or medium-sized onions or small onions, what to grow? The choice is mine (and yours). Much depends on planting distances.
I’m opting for medium-sized onions, about 3 inches in diameter. Yesterday I set out about 250 transplants grown from seed I sowed in early February in a tub of potting soil: Three varieties: Ailsa Craig, an heirloom from 1887, for sweet, mild onions that need to be used early because they don’t store well; New York Early, a nonhybrid variety selected over the years by New York onion growers, for medium term storage; and Copra, a rock-hard, hybrid onion that stores very well, all the while maintaining some sweetness. In a 3-foot-wide bed, I planted 5 rows of onions, with about 4 inches between rows and about 4 inches between onions in each row.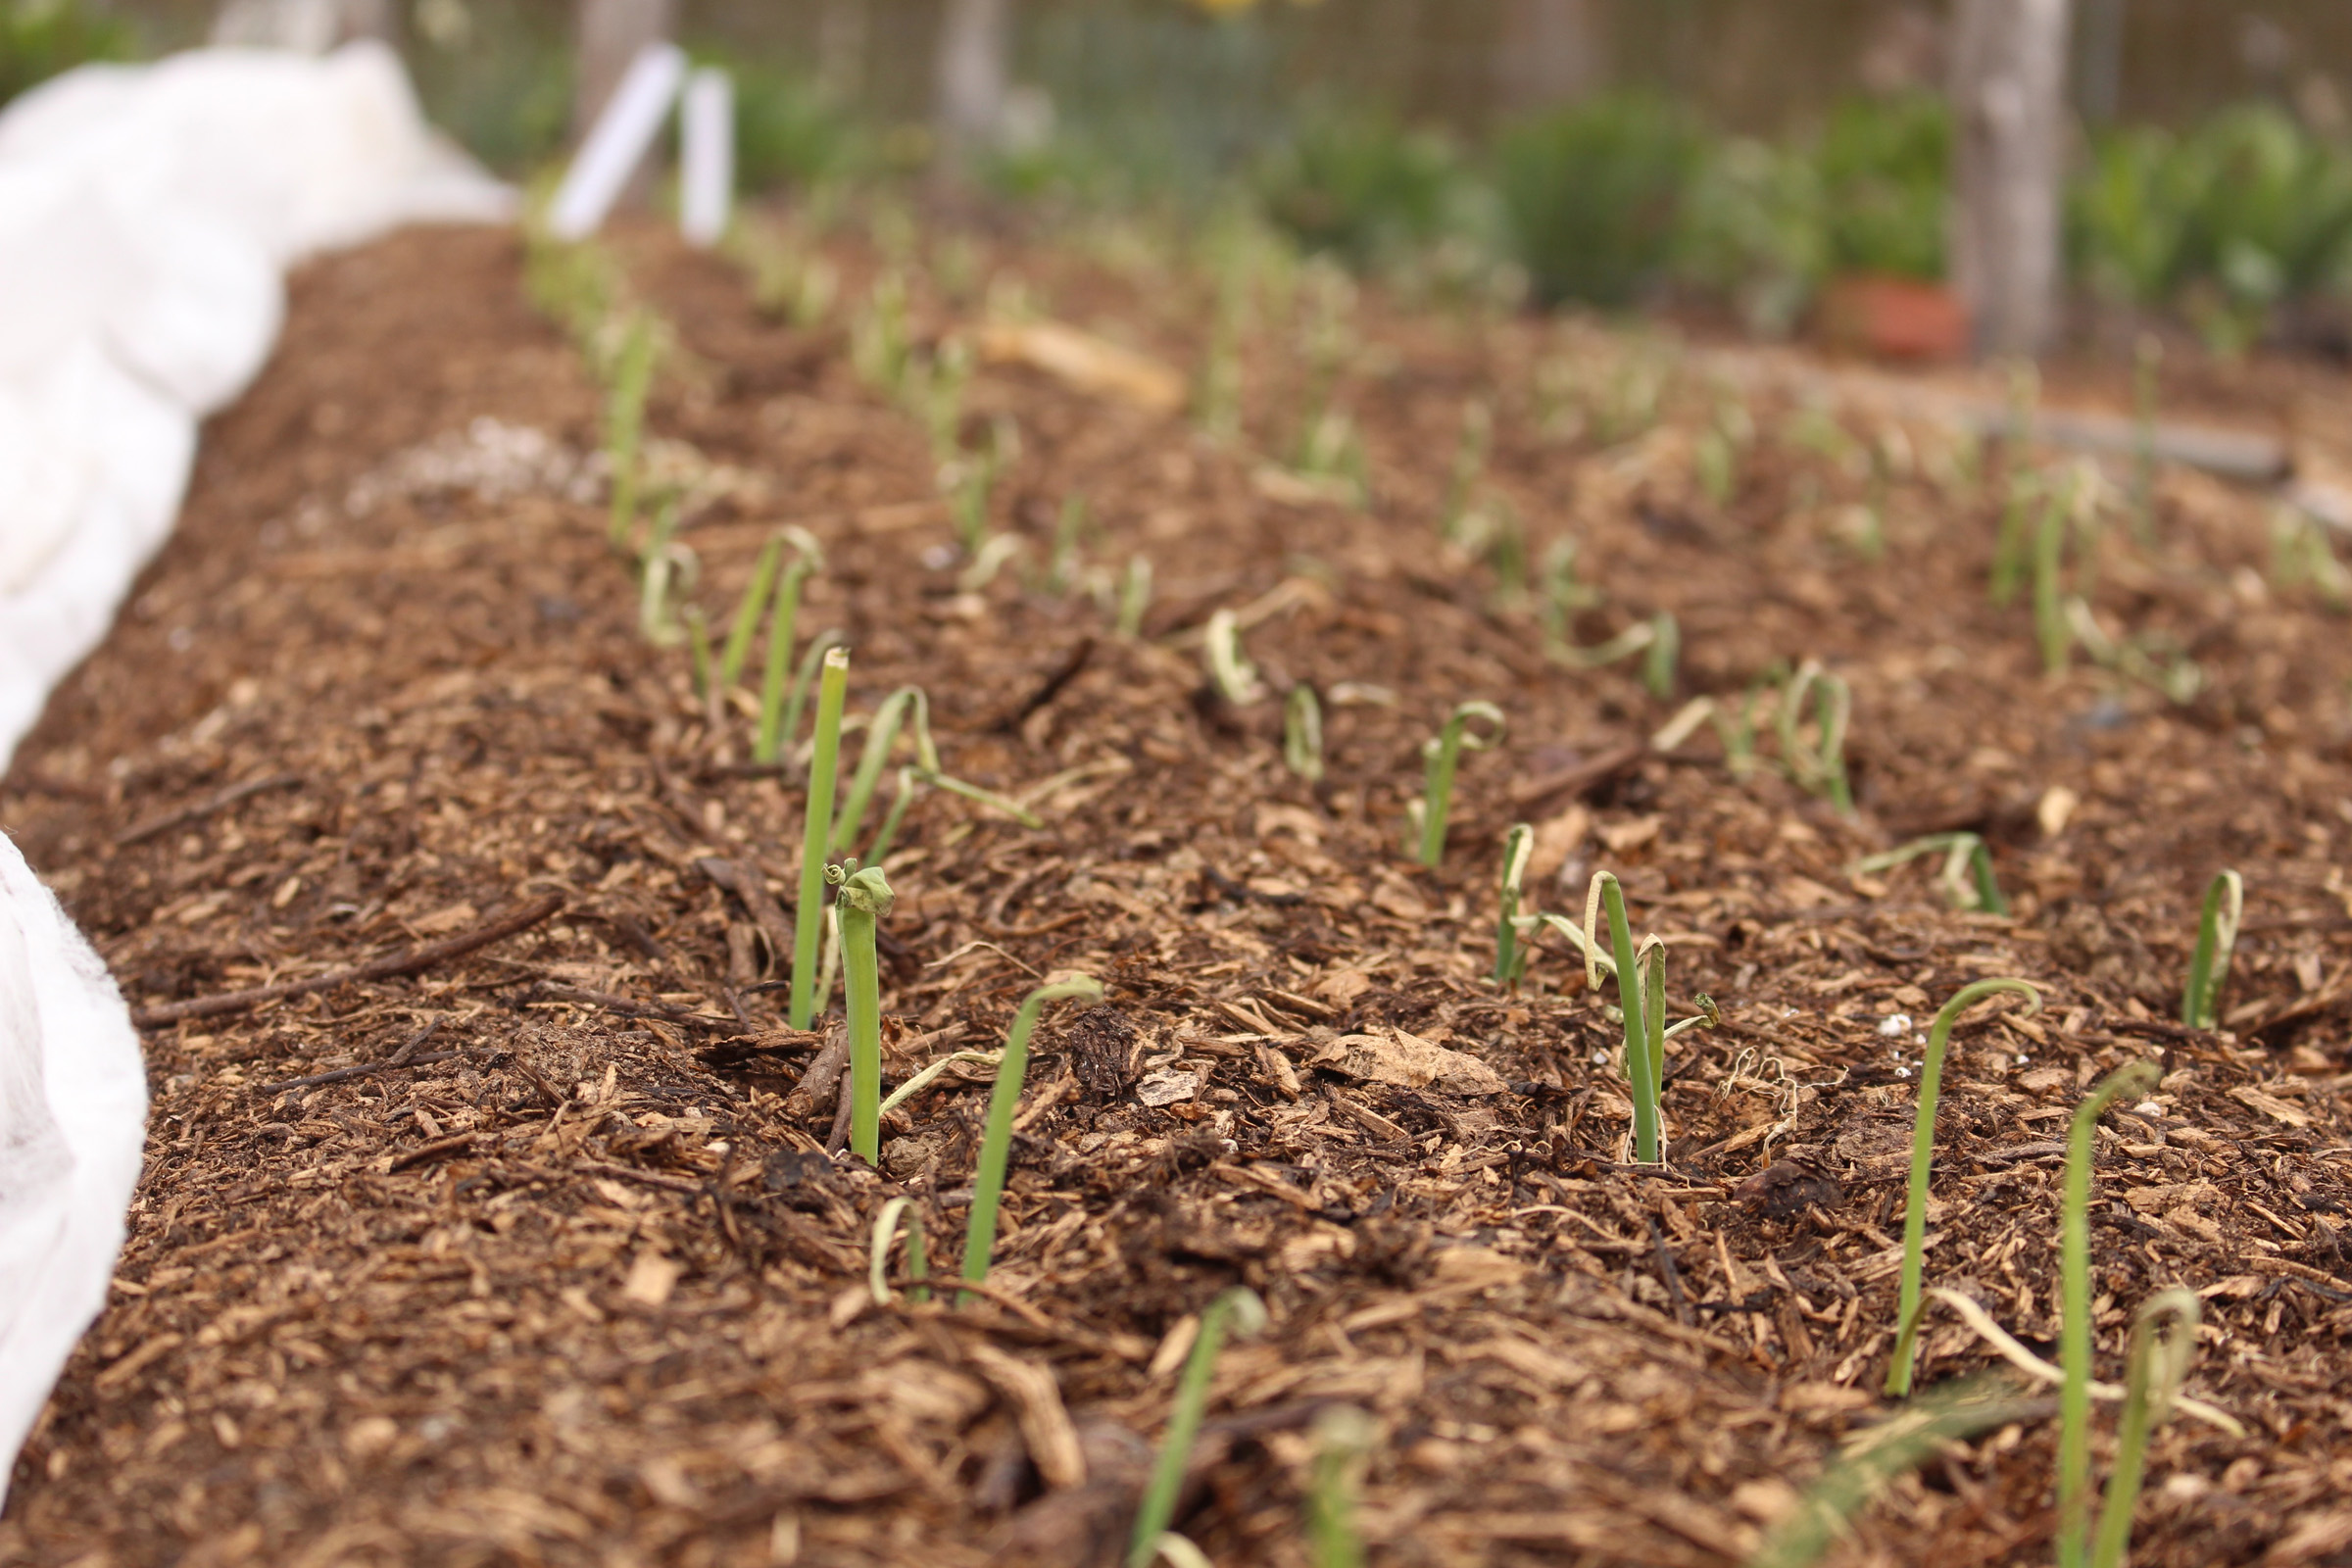 Planting distances are not the end-all for onion size. Variety also figures in; given enough space, In northern areas, such as around here, long-day varieties, which form bulbs when daylength is 14 hours or more, get largest because they grow the most leaves before bulbing begins. More leaves means bigger bulbs, which also a reason to plant as early as possible. (Note to myself: Plant onions earlier next year, in mid-April.)
Even among northern varieties of onions, potential sizes vary. Ailsa Craig onions have the potential grow quite large, which is why they’re grown for exhibition at state fairs and the like. I’m banking on the close spacing keeping them from growing too big, 5 pounds or more by some accounts.
Of course, good growing conditions also make for more leaves sooner. Got that. I spread compost an inch deep over the already mellow soil and drip irrigation lines are poised to quench the plants’ thirst.