CLOTHE THE GROUND
Something Good for the Soil
Soil has been called “the skin of the earth.” That “skin” nourishes much of life here, so let’s take care of it. Which is one reason for cover crops, that is, plants grown not directly for us, but specifically to maintain or improve soil health. Typical cover crops include rye, oats, buckwheat, clovers, and other mostly grains or legumes.
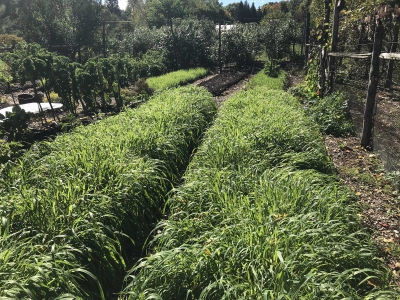 The most obvious benefit of a cover crop is the protection it affords the soil from wind and rain, either of which can carry away the most fertile surface layer. Also protection from temperature extremes. Another benefit is that cover crops can suppress weeds. Less obvious is cover crop plants’ ability to grab onto and bring back up to the surface layers nutrients that rain might otherwise wash beyond roots into the groundwater.
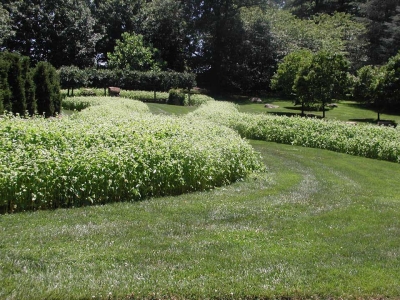
Buckwheat cover crop at Chanticleer
Some effects are even more subtle. Substances oozing from plant roots feed microbes and also bind soil particles to create small and large pores to create a good balance of air and water in the ground. Cover crops also can increase levels of all-important soil organic matter, which benefits plants and soils nutritionally, physically, and biologically in both known and unknown ways.
But Does My Ground Need It?
Despite the benefits of cover crops, you’ll rarely see them in my vegetable garden. Mostly, that’s because the beds are usually packed full of growing vegetables from very early to very late in the growing season. There’s nowhere to plant a cover crop! The vegetable plants themselves provide the same benefits as would a cover crop, especially since I plant at very close spacing, close enough, usually, to hide bare ground.
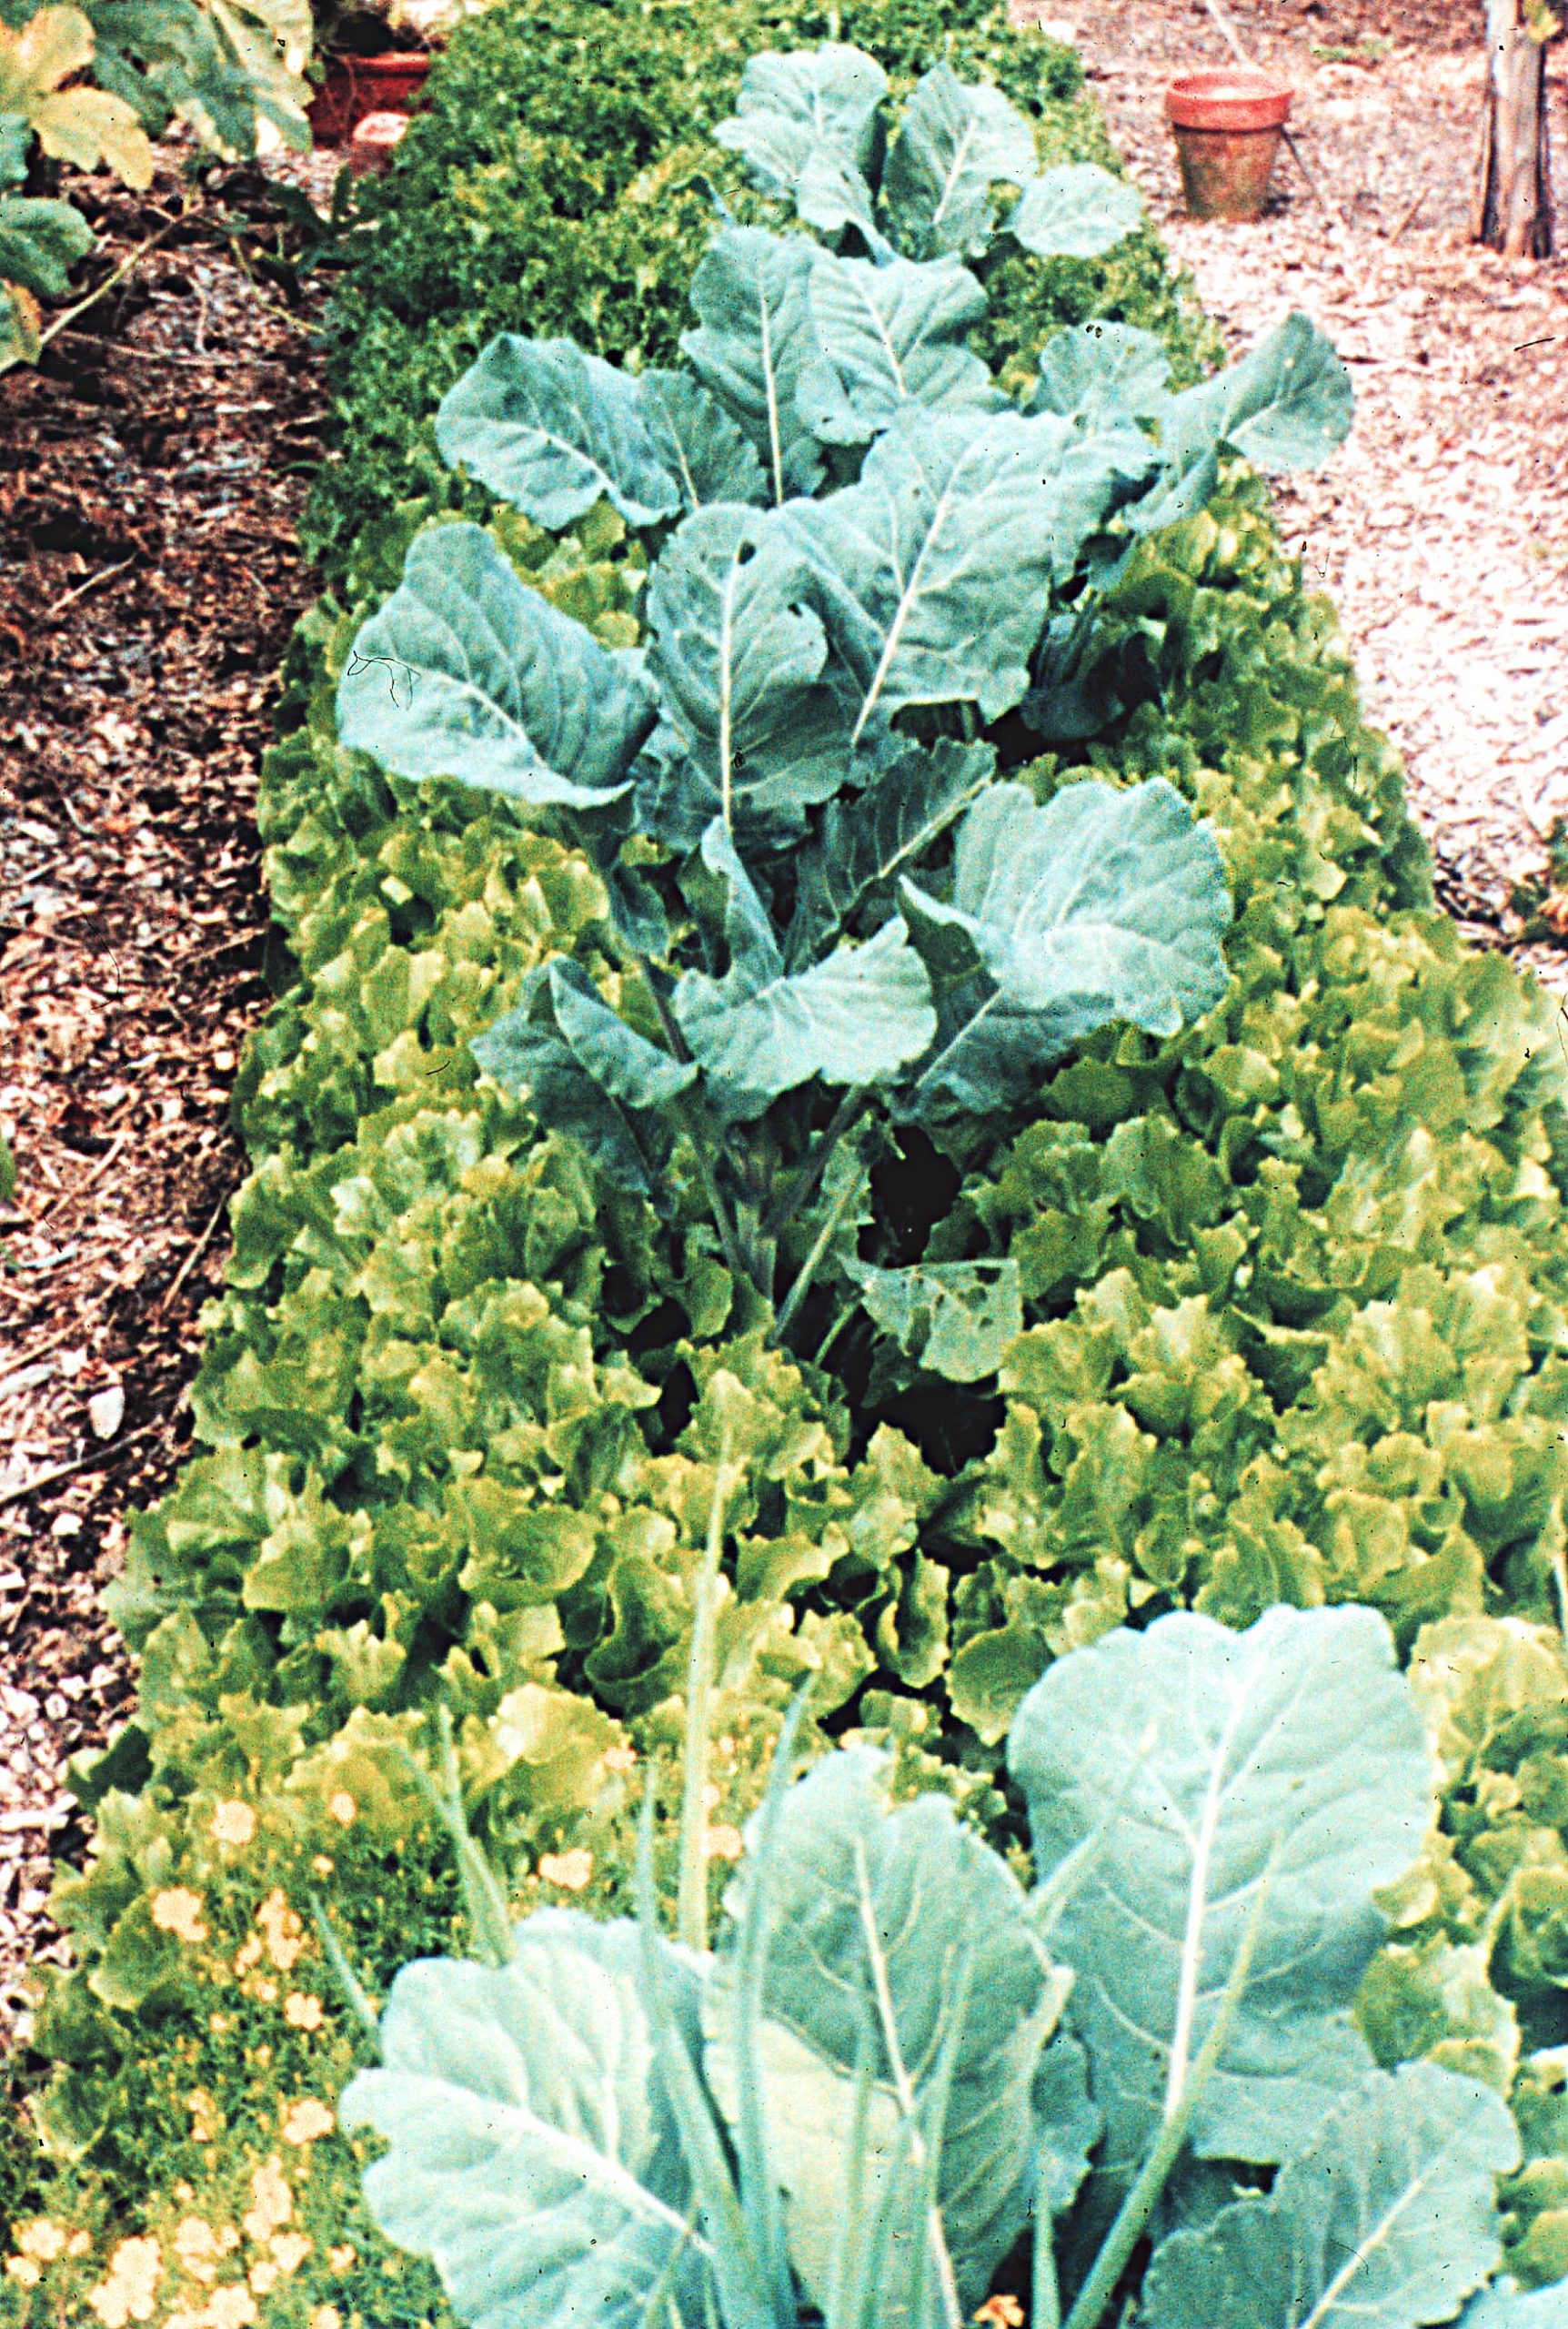
Bed of broccoli & endive
Planting cover crops in my garden to increase soil organic matter would be like taking coals to Newcastle. For decades, every year I’ve laid a one-inch blanket of compost over all my vegetable beds. (My book Weedless Gardening describes the whole system of soil care.) The result is soil organic matter levels, last time I tested, at about fifteen percent. No need for cover crops to boost my soil’s organic matter content.
Fifteen percent organic matter is very high. A typical, very good agricultural soil, such as the virgin Midwest prairies, was about five percent organic matter.
Then again, could fifteen precent be too high? Very high levels of organic matter lead to soil tests registering excessive levels of phosphorous and potassium. Traditionally, phosphorus was thought to be so tied up chemically in the soil that it would stay put, but some recent research indicates that water can push some phosphorus into the groundwater if phosphorus levels are high enough.
Conventional soil tests are for mineral soils, not soils that are very high in organic matter. A soil with around fifteen percent organic matter would better be called a “growing medium” rather that a “soil. Soils naturally this high in organic matter are classified as histosols, commonly called bogs, peats, or moors. Such soils, in contrast to my garden soil, are typically low in plant nutrients.
An obvious way to assess soil management is — duh — to look at the plants and their growth. Everything looks fine.
Problem? Maybe, Maybe Not
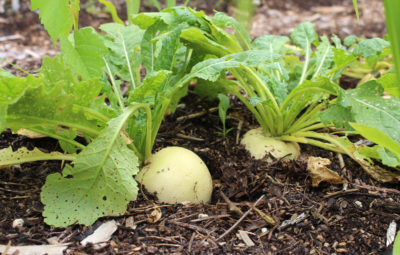
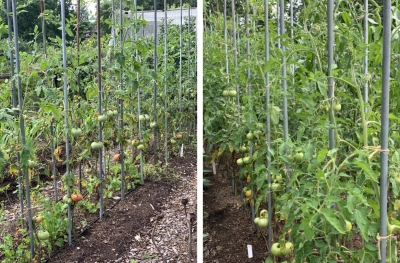
Except for a couple of strange goings on in one of my two vegetable gardens. In one bed, planted this year to early turnips and lettuce, now in corn, the corn in half the bed is stunted. (The turnips and lettuce did fine.) 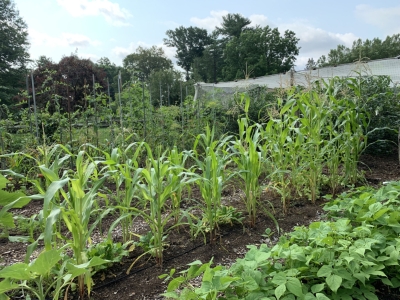 In another bed, tomatoes are doing fine, but are not as vigorous as they should be as compared with another bed of tomatoes in that garden.
 My notes indicate that both beds received their annual blanket of compost, just like all the other beds. Last fall, when the compost was applied, I also sowed cover crops in those beds. Rather than my usual oats cover crop, which winter-kills so integrates well with my no-till system, I sowed crimson clover along with the oats. Why crimson clover? Because it’s pretty when it blooms in spring.
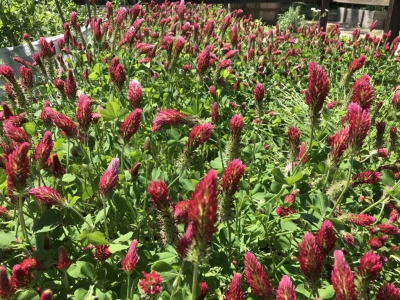
Crimson clover is allelopathic. Allelopathic plants can biochemically suppress growth or germination of nearby plants; the clover could have adversely affected growth of tomato and corn. Of course, only half the corn bed is stunted but clover germination, if I remember correctly, wasn’t uniform in that corn bed. I’ll file all this in the back of my head for future investigation.
Then again, oats, is also allelopathic, as are rye, sunflower, sorghum, and many other plants, including, most famously, black walnut. Allelopathy is often very specific, an allelopathic plant inhibiting the growth of only some species of plants. Said allelopathic plant might even promote growth of other plant species. Time, usually a couple of weeks, after an allelopathic plant is killed or removed, usually rids the soil of any allelopathic effect.
For completeness, I should mention that the corn and tomato bed problem could be traced to erratic behavior, this year, of my drip irrigation system, which has now been corrected.
I’m going to continue occasionally planting cover crops and will monitor more closely any positive or negative effects — in my garden. As they say in so many arenas: “Your results may differ . . .”